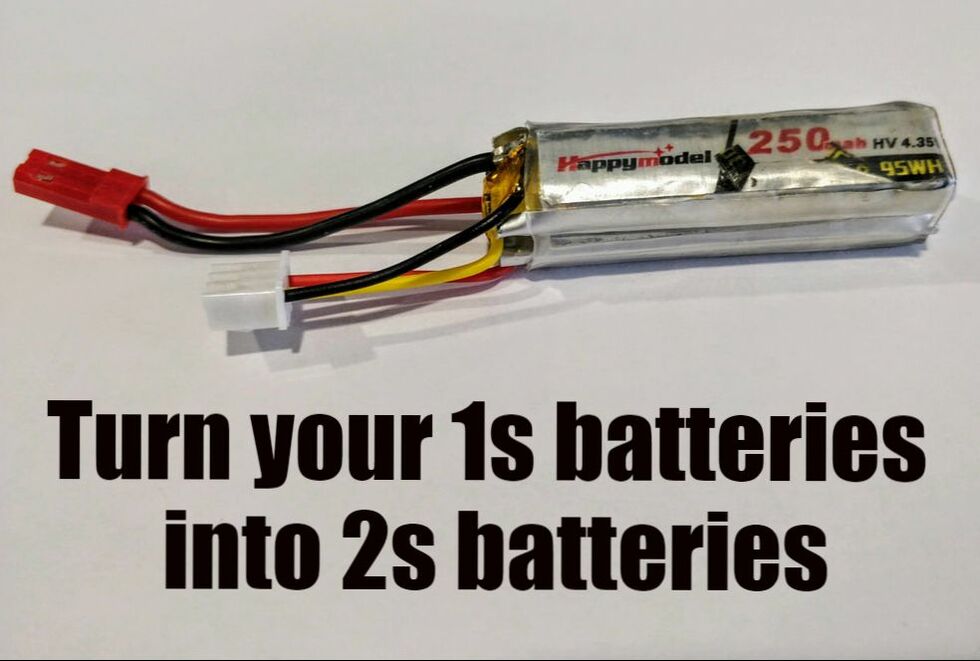
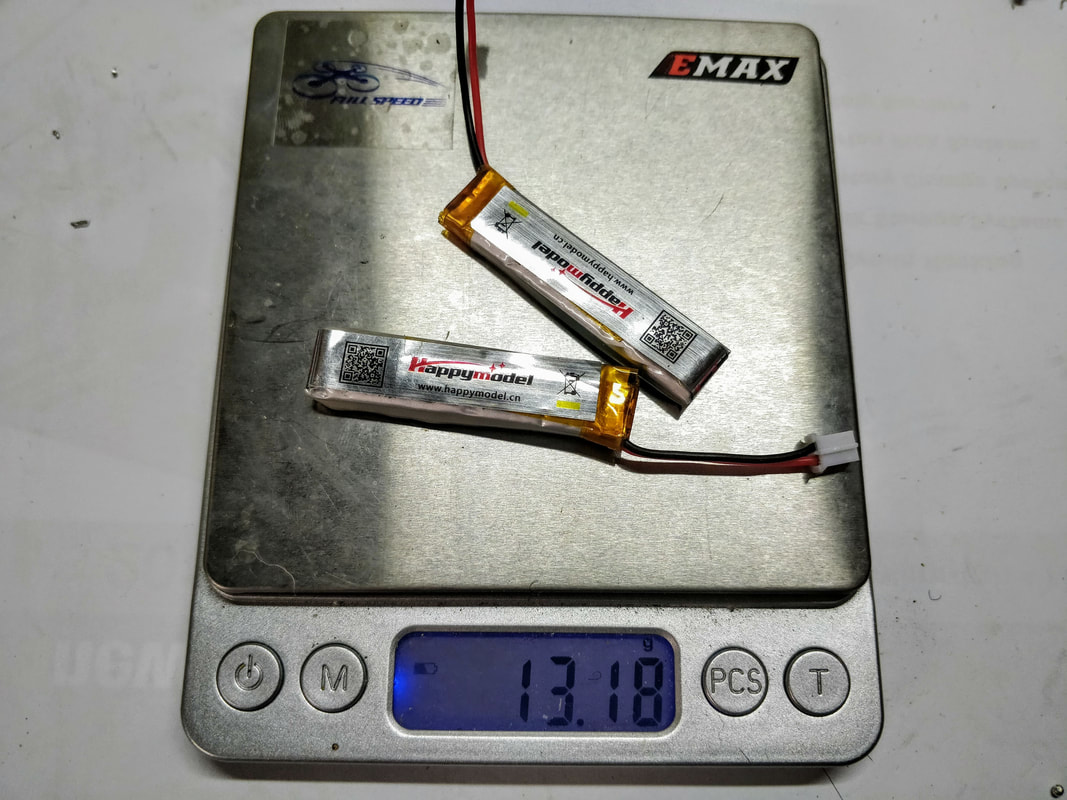
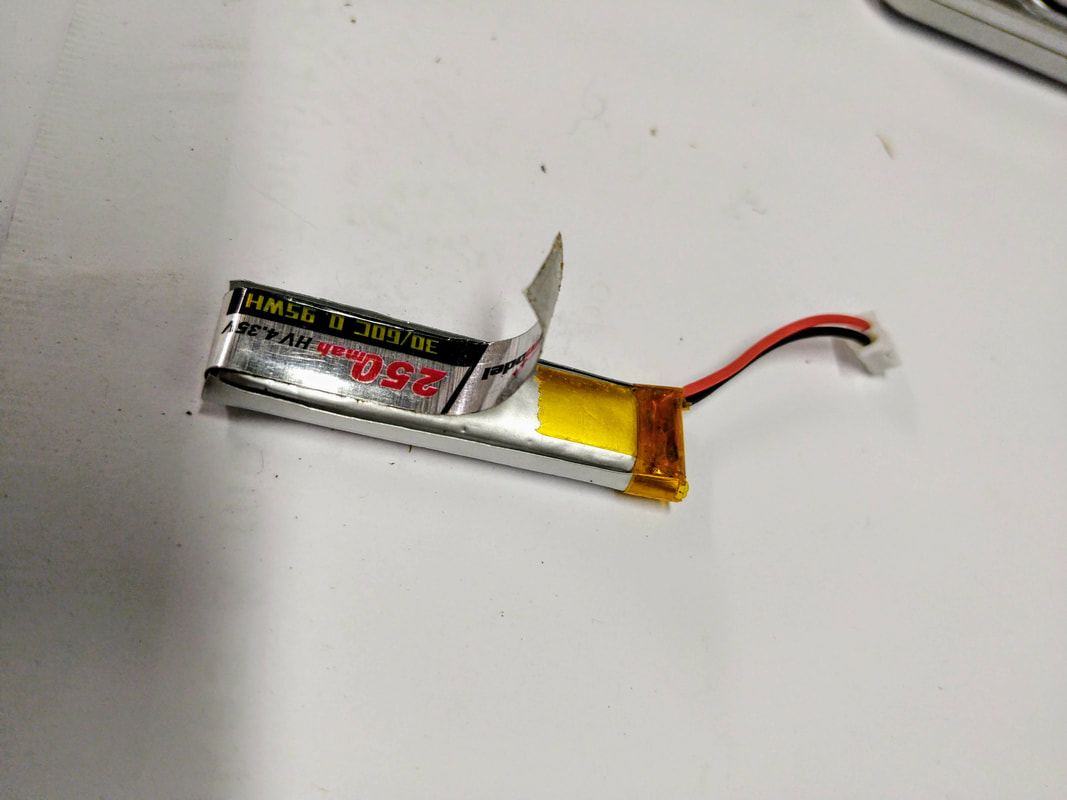
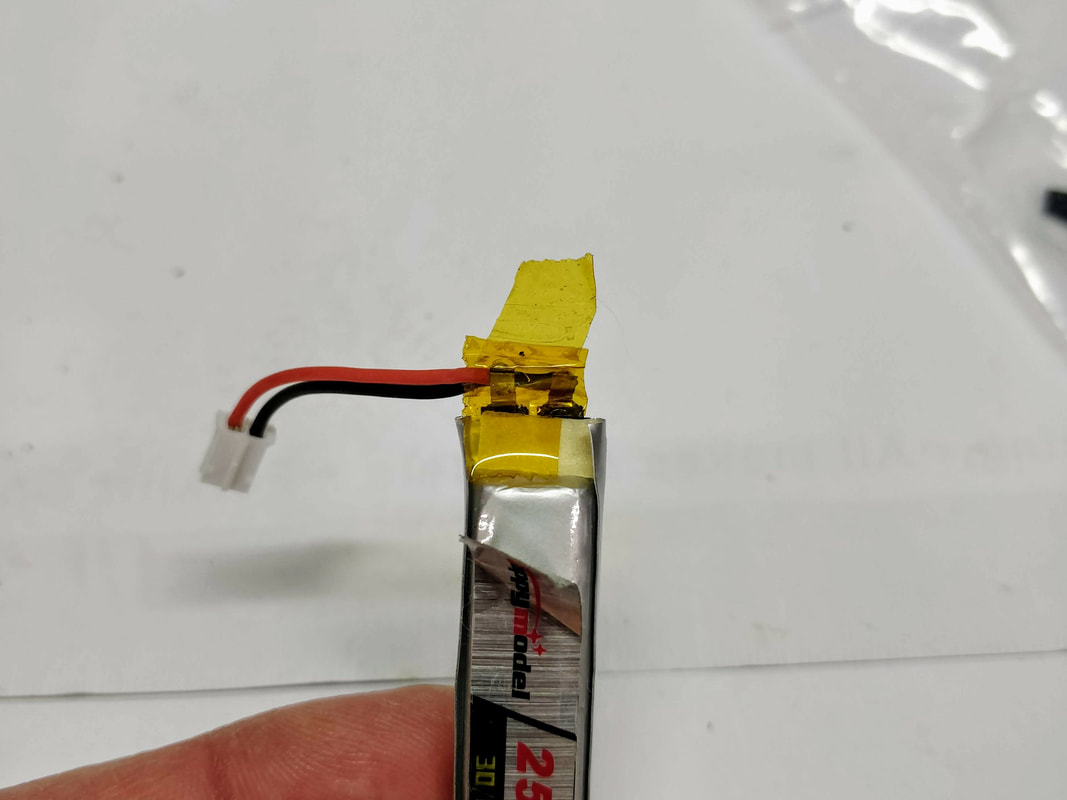
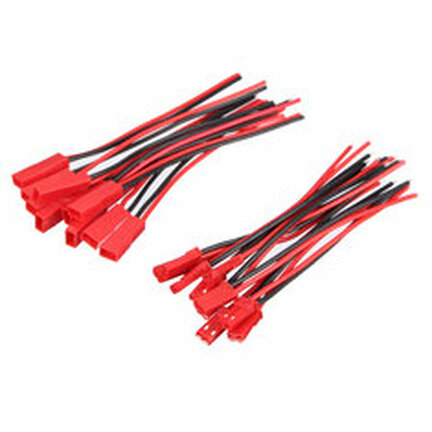
 Both the Happymodel Mobula7 (review) and Eachine Trashcan (review) both come with 4 x 1s batteries that are designed to be used in series 2 at a time with a fiddly ph2.0 series connector. This introduces a lot of resistance in the power circuit and resultant voltage drop under load which shows as battery sag. It is easy to upgrade to a true 2s JST connector as I've shown in this blog or a XT30 if you'd prefer. Although 2s 300mah batteries are not expensive it does feel wasteful just leaving the old batteries to die. This article covers how to convert these or any other 1s cell into a 2s battery and is scaleable up to 6s! This is the fifth article in my series of HappyModel Mobula7 upgrades, many of which can be used for the Trashcan too. Also to come are:
A Word of Warning Lipo batteries - even these tiny ones - have a lot of power. Anytime you modify you run the risk of rapid discharge (shorting) which generates heat and possible worse. Only do this mod if you are confident around electronics. Please wear eye protection at a minimum and work in a well lit space. Just go buy the 2s batteries if you are unsure at any point. Getting prepped As well as having a well lit area and a good soldering iron, solder and flux (see my article on budget tools here) you'll nee the following items:
8 Comments
In order to solve the charging issue FullspeedRC (yes the same ones that launched the Leader series of micro quads) have released a simple board that allows the batteries to be balance charge using the existing USB port. It can be bought for around $10 at the following retailers:
Please note this is not a beginner install but if you can solder a FPV cam and vtx to a flight controller you can probably do this. I've put in a LOT of photos and steps in below to make it as straightforward as possible since Fullspeed's manual is accurate but overly short. As usual click any image below to embiggen. Tools I recommend for this job:
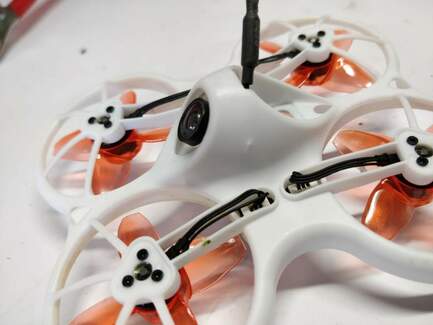 Crap! My Tinyhawk camera has popped out Crap! My Tinyhawk camera has popped out I love the emax tinyhawk, even though it is 'only' 1s it is well suited as an indoor racer and they've recently started a spec class near me just for this. My full review of it is here. One one common furstration however is that the FPV camera can come loose in a crash and if you try to push it back in the wrong way you can easily snap the tabs on the frame that hold it in. I've prepared a simple step by step walkthrough heretht will allow you to fix it safely in less than 5 minutes (I timed it!).  This mobula 7 is getting more and more upgraded This mobula 7 is getting more and more upgraded Introduction The crazybee F3 and F4 series of all in one boards that are the heart of the mobula7, m7hd, eachine trashcan, snapper7, ur65, uk/us65 and even beta75pro2 are an amazing piece of technology that incorporates a flight controller, 4xBL_HeliS ESCs and a receiver. Cramming all of this on one board does mean some compromises though and the biggest one for me is the poor receiver range. This brief article will show how to get a minor improvement with zero investment. Note: this mod is relevant for all the models listed above. This is the third article in my series of HappyModel Mobula7 upgrades, many of which can be used for the Trashcan too. Also to come are:
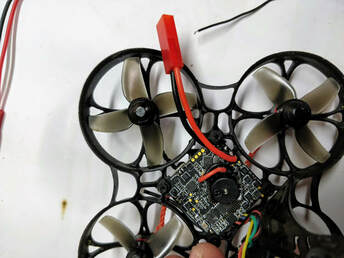 Introduction In order to run 2s, the Mobula 7 comes standard with 2 x PH2.0 connectors that allow you to run 2 x 1s batteries in series. When running in series the strength of the connection is determined by the weakest link in that circuit. The strength of connection determines the maximum current that can pass and the voltage drop that results. Although it works this system has a very low current overhead from a design perspective - 2 x budget PH2.0 connectors with the dreaded 'folded' pin and very lightweight 26AWG wire. All this adds up to a lot of voltage drop when even reasonable current is pulled - something all will be familiar with on the mobula where you see voltage drop to scary levels (6v and below) during punches even when you have a full battery. Although it recovers almost immediately it does mean you don't get access to the battery's full voltage potential. This is the second article in my series of HappyModel Mobula7 upgrades, many of which can be used for the Trashcan too. Also to come are:
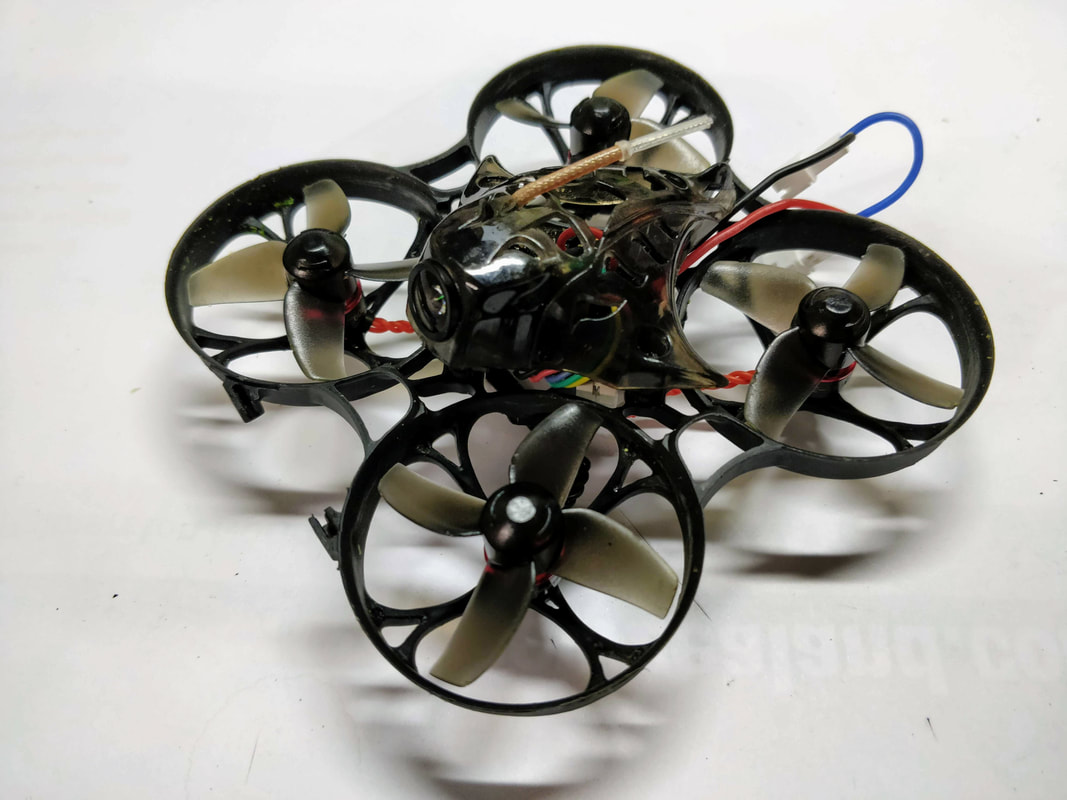
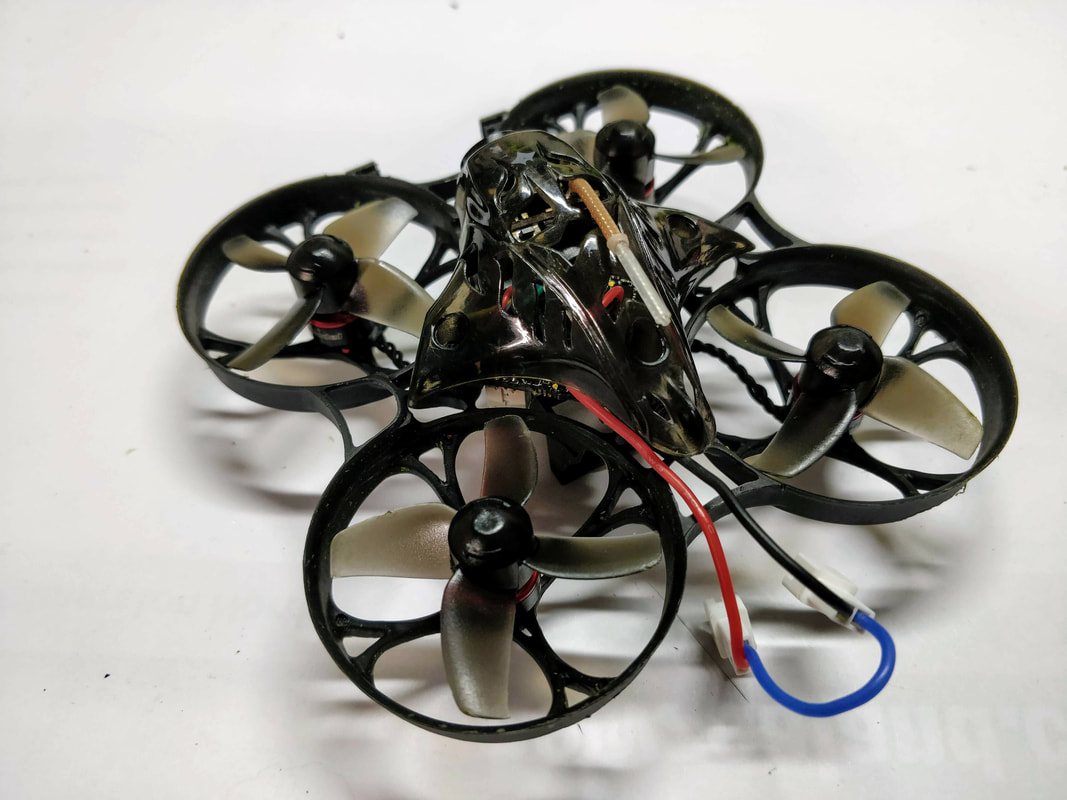
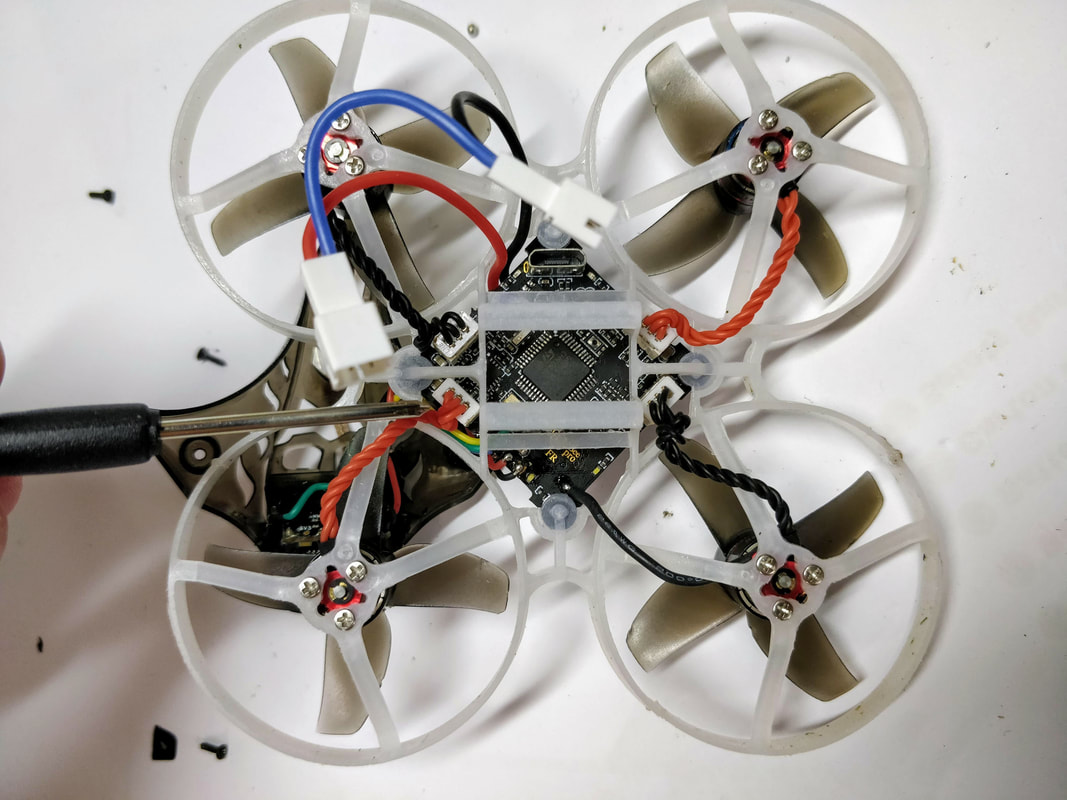
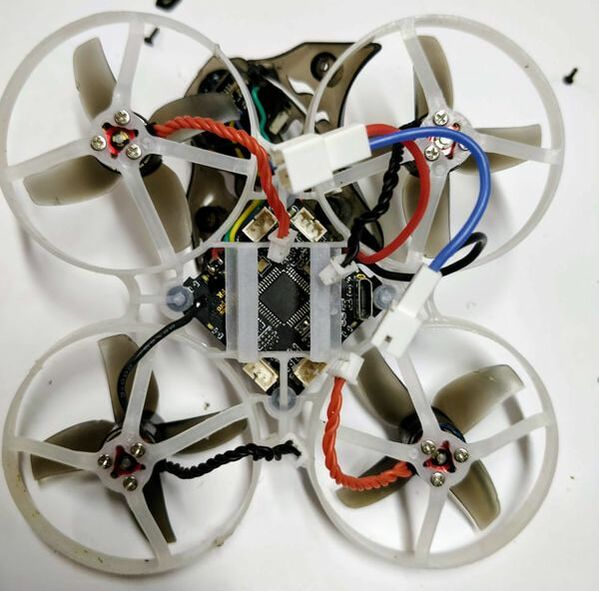
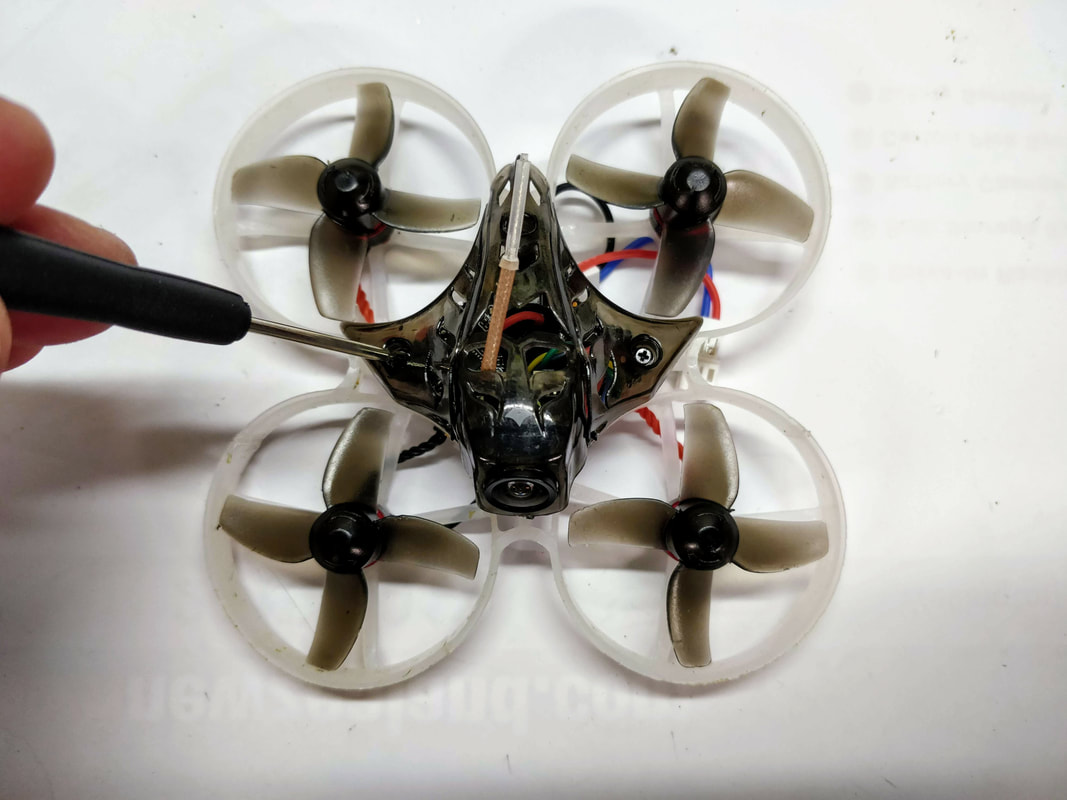
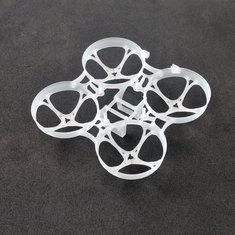 The Mobula7 v3 frame (same as the Eachine trashcan frame) The Mobula7 v3 frame (same as the Eachine trashcan frame) Introduction and why I like the Mobula7 better. It's been a few months since I reviewed the HappyModel Mobula 7 (here) and have more recently reviewed the Eachine Trashcan here. Since reviewing the Trashcan I've been flying the Mobula 7 more and find I actually prefer it. Why? Even thought the image quality is better I can't get used to the narrow vertical field of view on the traschan's EOS2 16:9 camera and I find the 0803 motors on the trashcan draw too much power on without delivering a whole lot more speed. The Mobula7's major downside is the frame which breaks easily even though the v2 frame is an improvement and e6000 glue (as tested here) is great for repairs. For this reason I've written an article for newcomers on how to upgrade to the V3 (trashcan) frame which completely addresses the strength issues. This is the first article in my series of HappyModel Mobula7 upgrades, many of which can be used for the Trashcan too. Also to come are:
Instead of just writing about it, please see the steps below with captions. Click on the picture to embiggen
|
Archives
November 2020
Categories
All
|
Thanks for visiting QuadifyRC.com Follow us on facebook below to get all the latest updates

 RSS Feed
