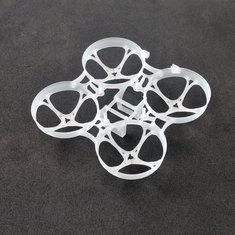
 The Mobula7 v3 frame (same as the Eachine trashcan frame) The Mobula7 v3 frame (same as the Eachine trashcan frame) Introduction and why I like the Mobula7 better. It's been a few months since I reviewed the HappyModel Mobula 7 (here) and have more recently reviewed the Eachine Trashcan here. Since reviewing the Trashcan I've been flying the Mobula 7 more and find I actually prefer it. Why? Even thought the image quality is better I can't get used to the narrow vertical field of view on the traschan's EOS2 16:9 camera and I find the 0803 motors on the trashcan draw too much power on without delivering a whole lot more speed. The Mobula7's major downside is the frame which breaks easily even though the v2 frame is an improvement and e6000 glue (as tested here) is great for repairs. For this reason I've written an article for newcomers on how to upgrade to the V3 (trashcan) frame which completely addresses the strength issues. This is the first article in my series of HappyModel Mobula7 upgrades, many of which can be used for the Trashcan too. Also to come are:
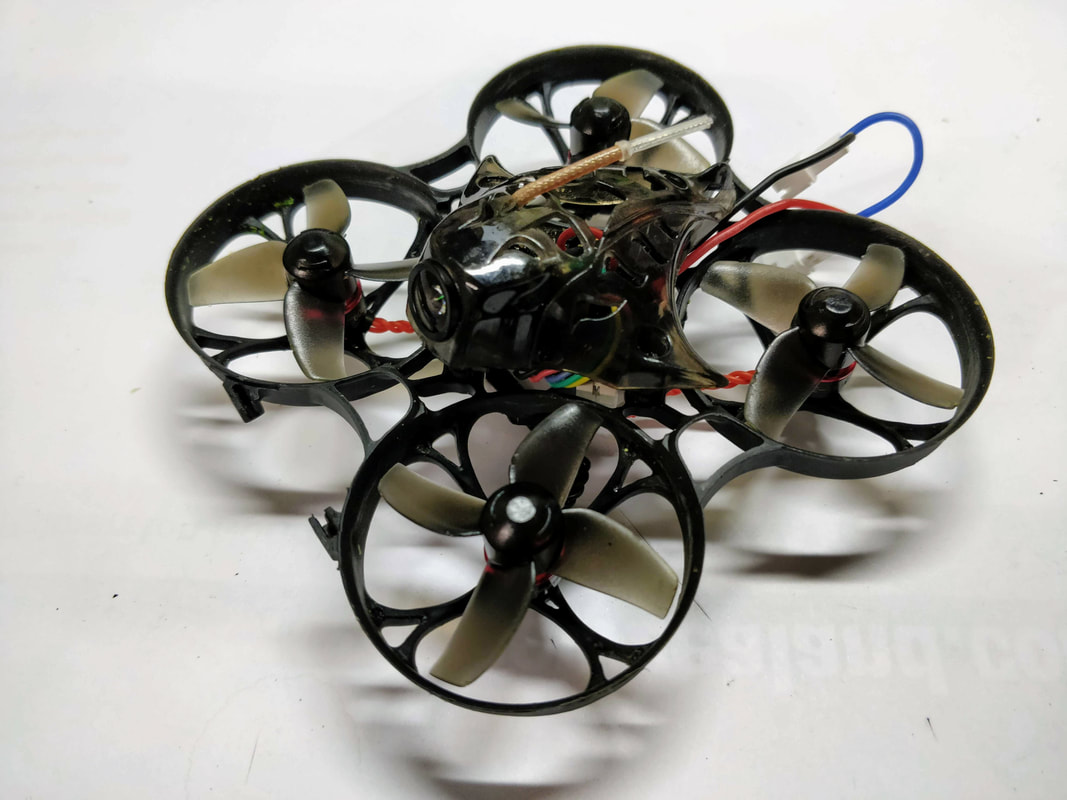
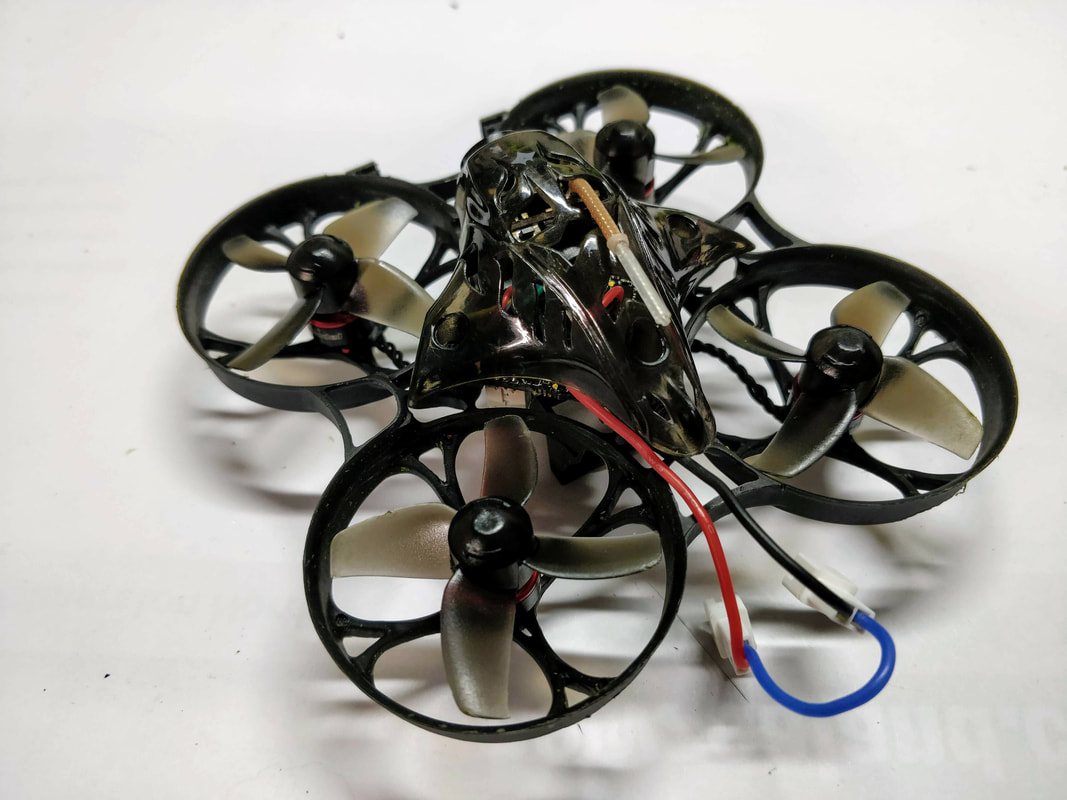
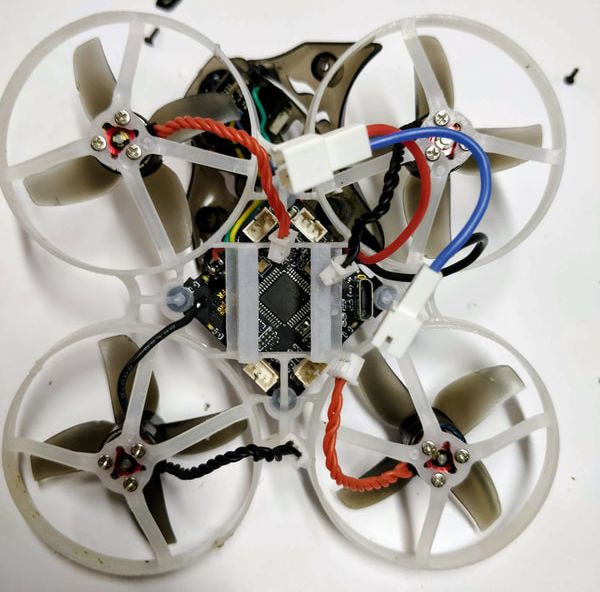
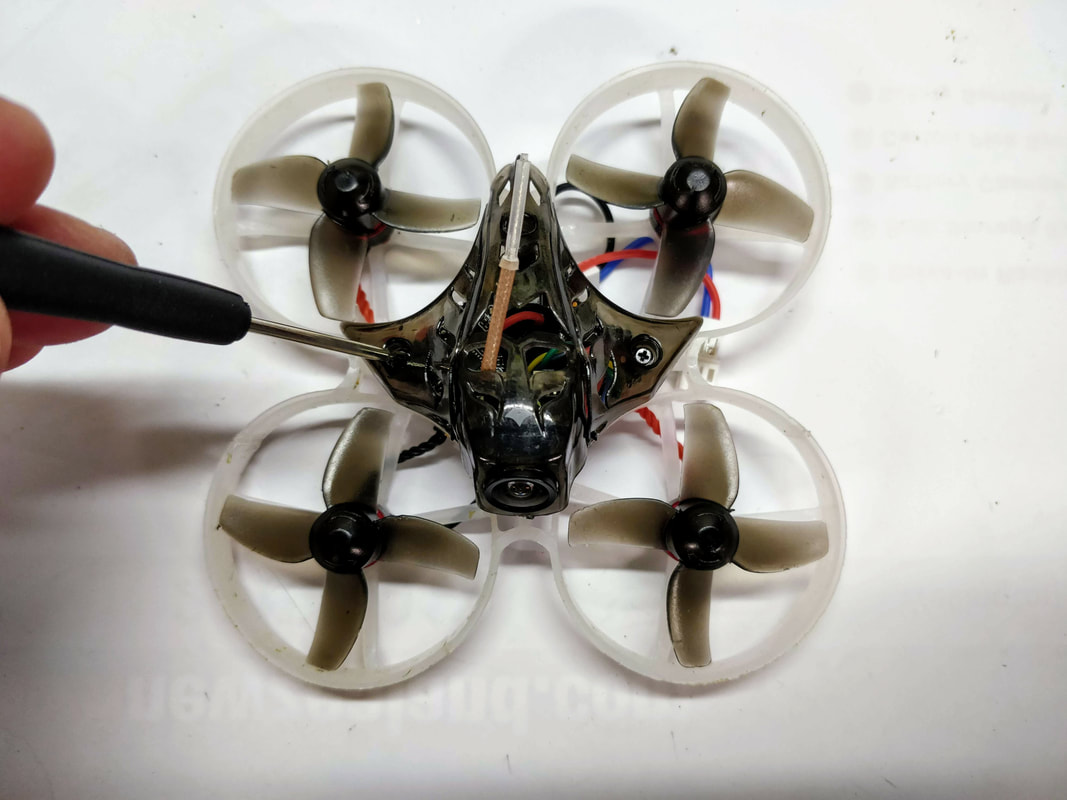
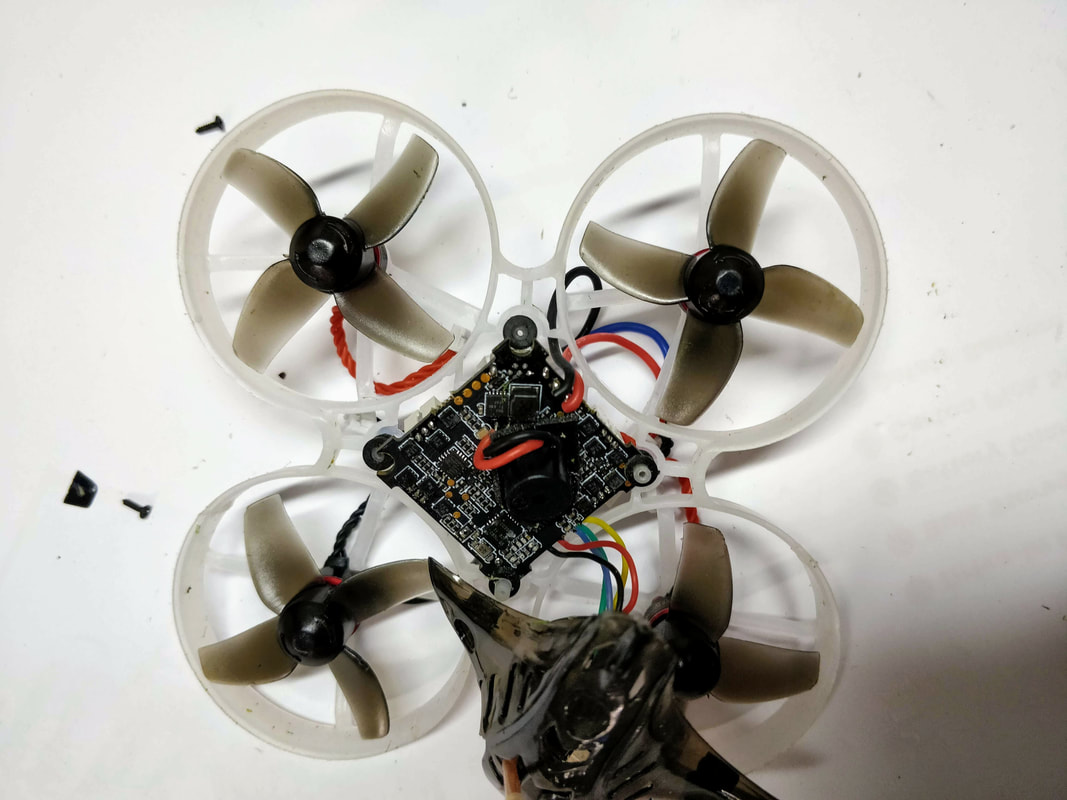
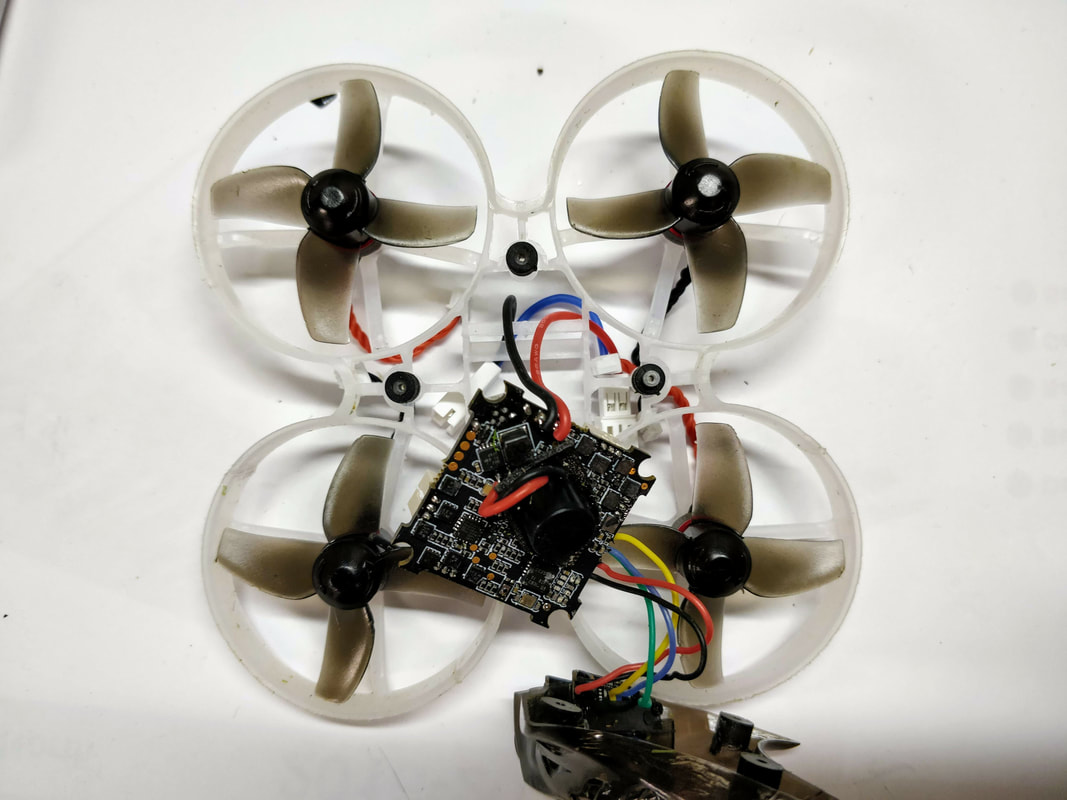
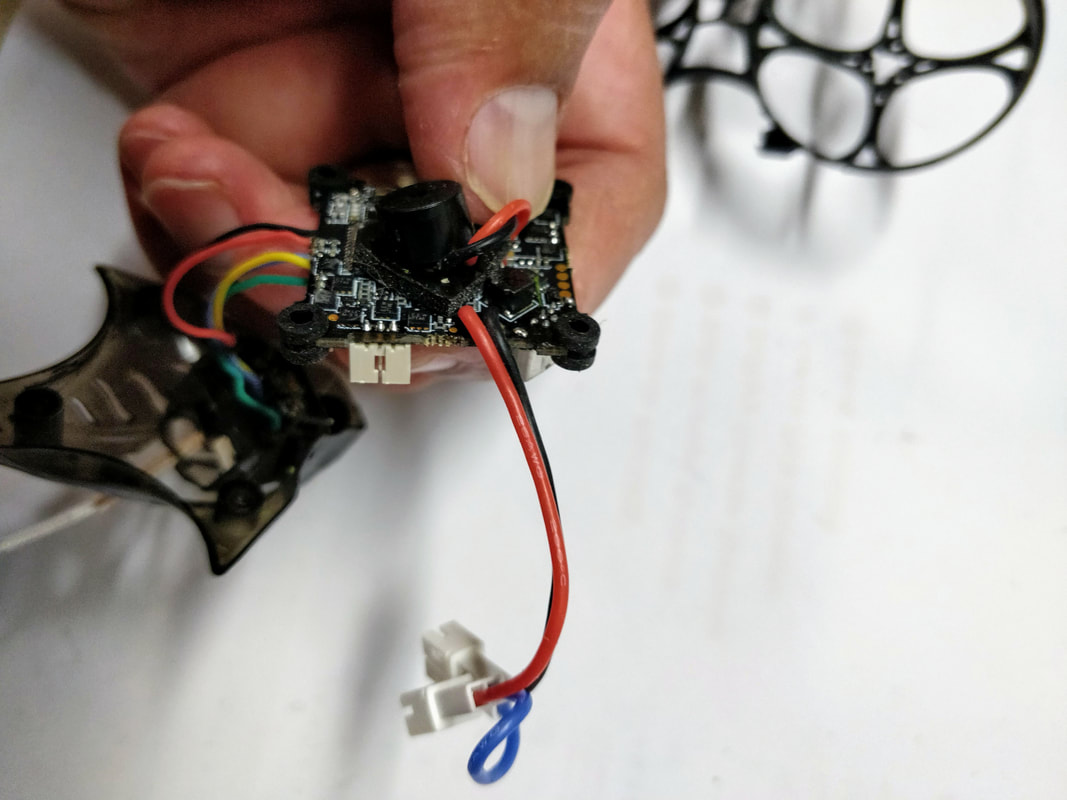
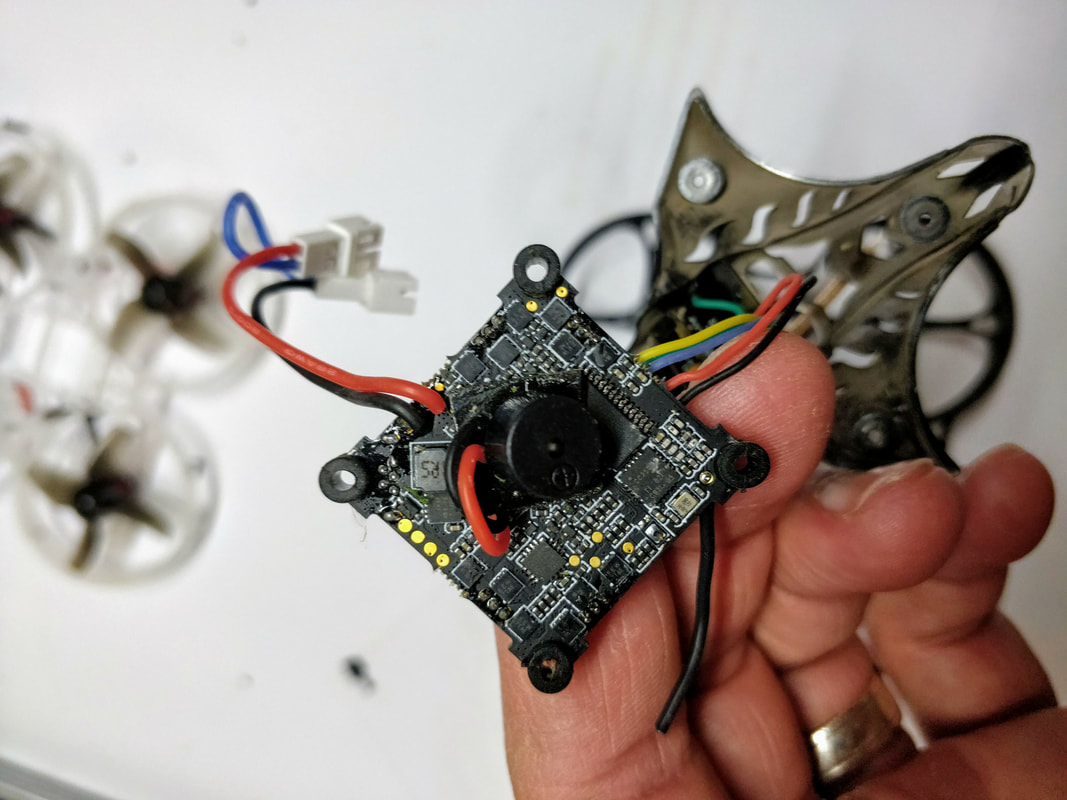
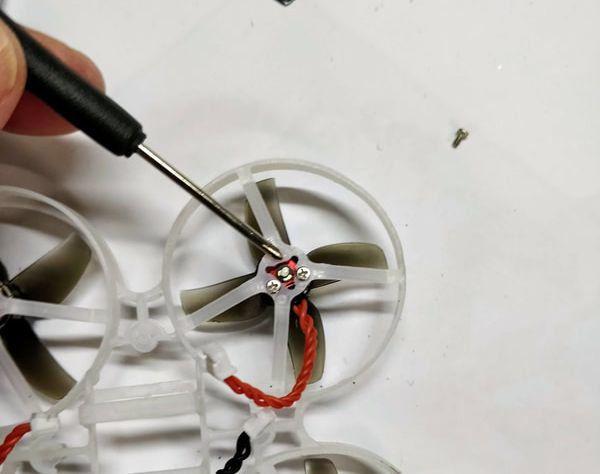
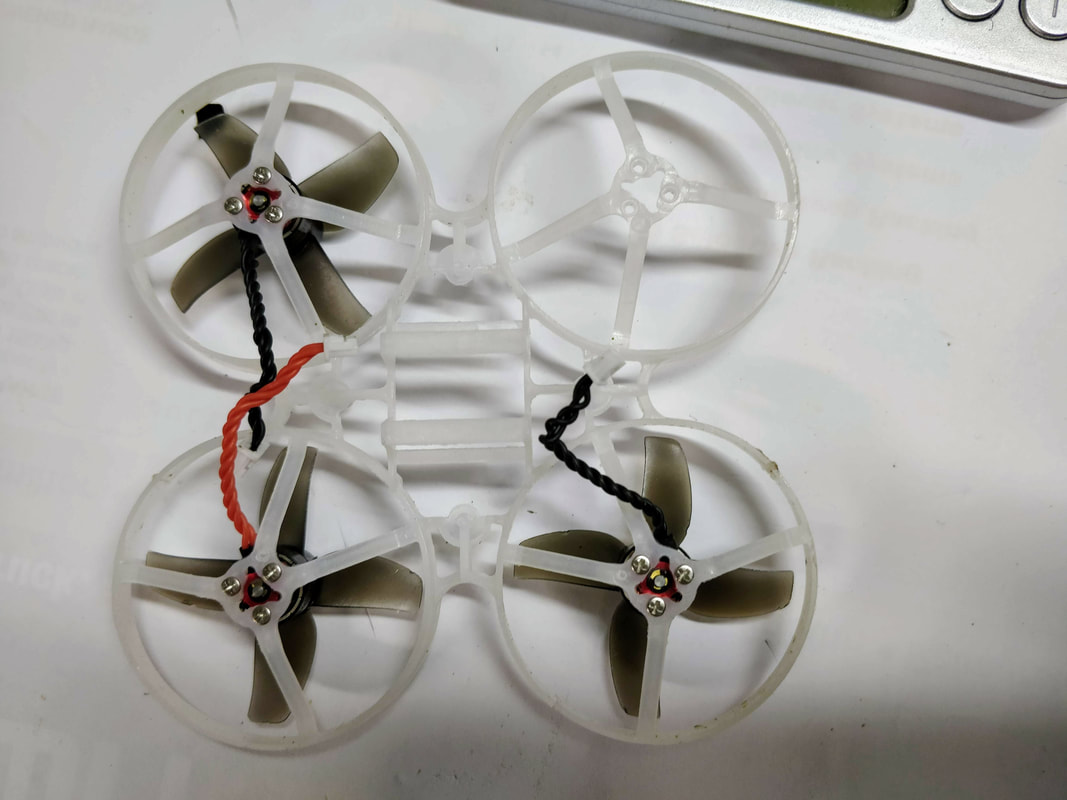
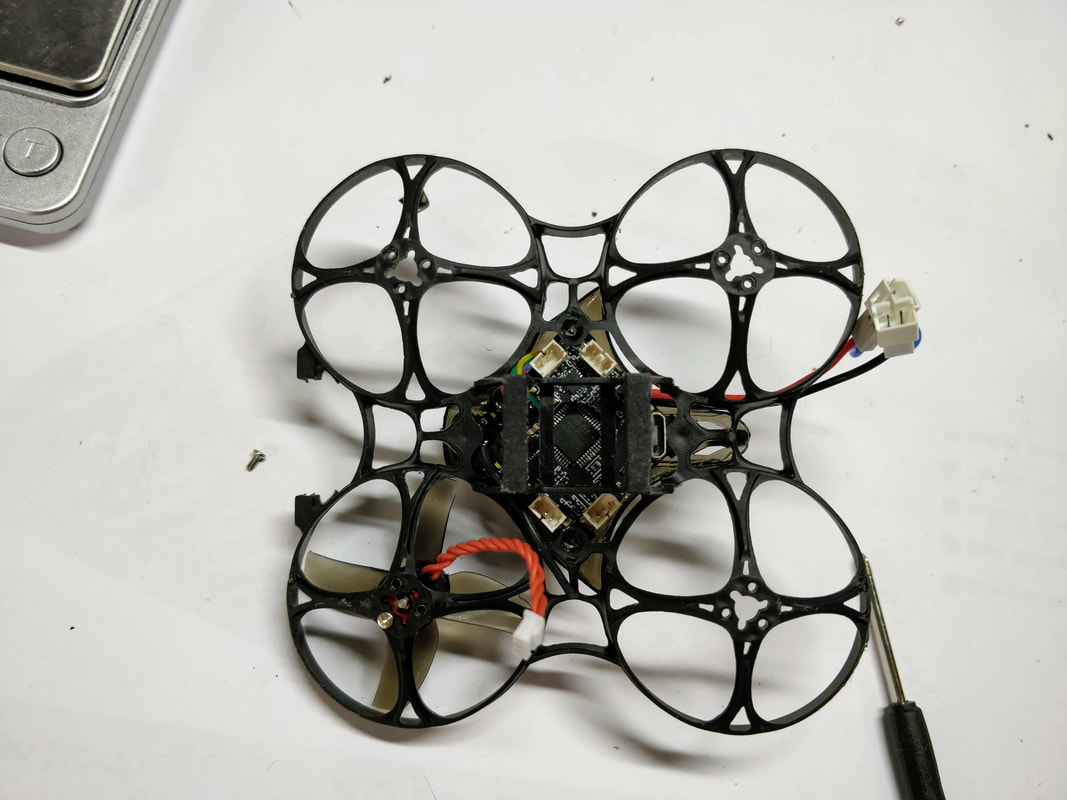
Instead of just writing about it, please see the steps below with captions. Click on the picture to embiggen
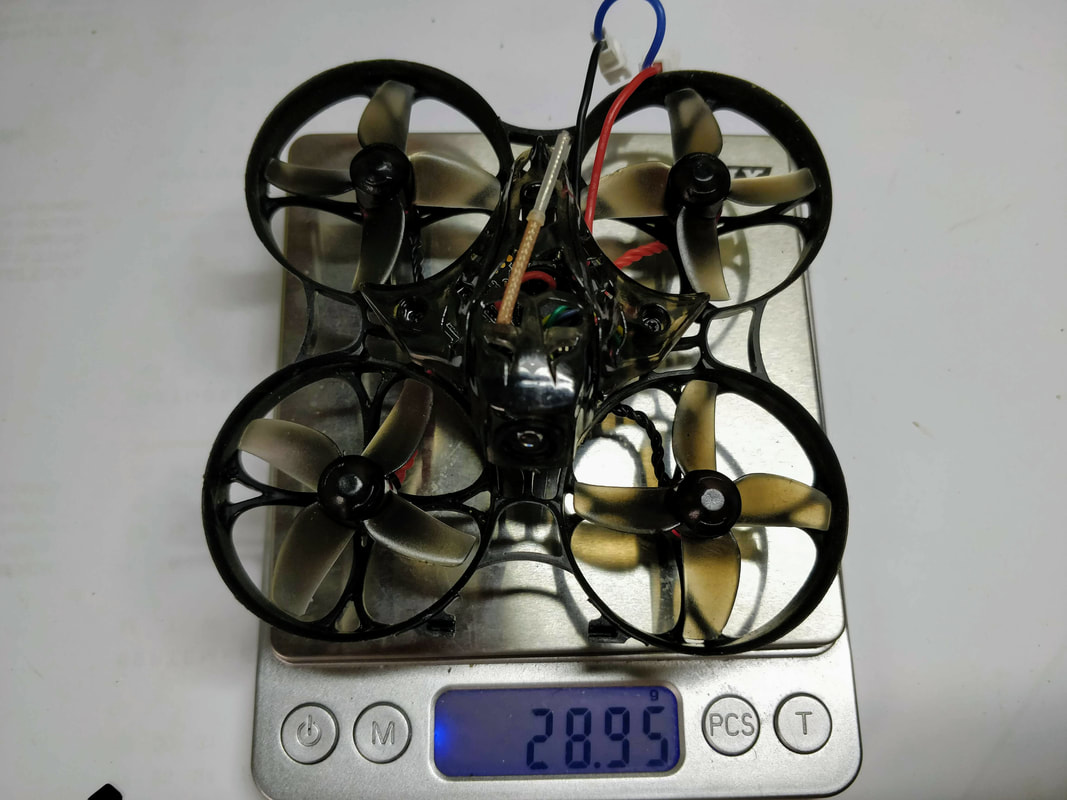
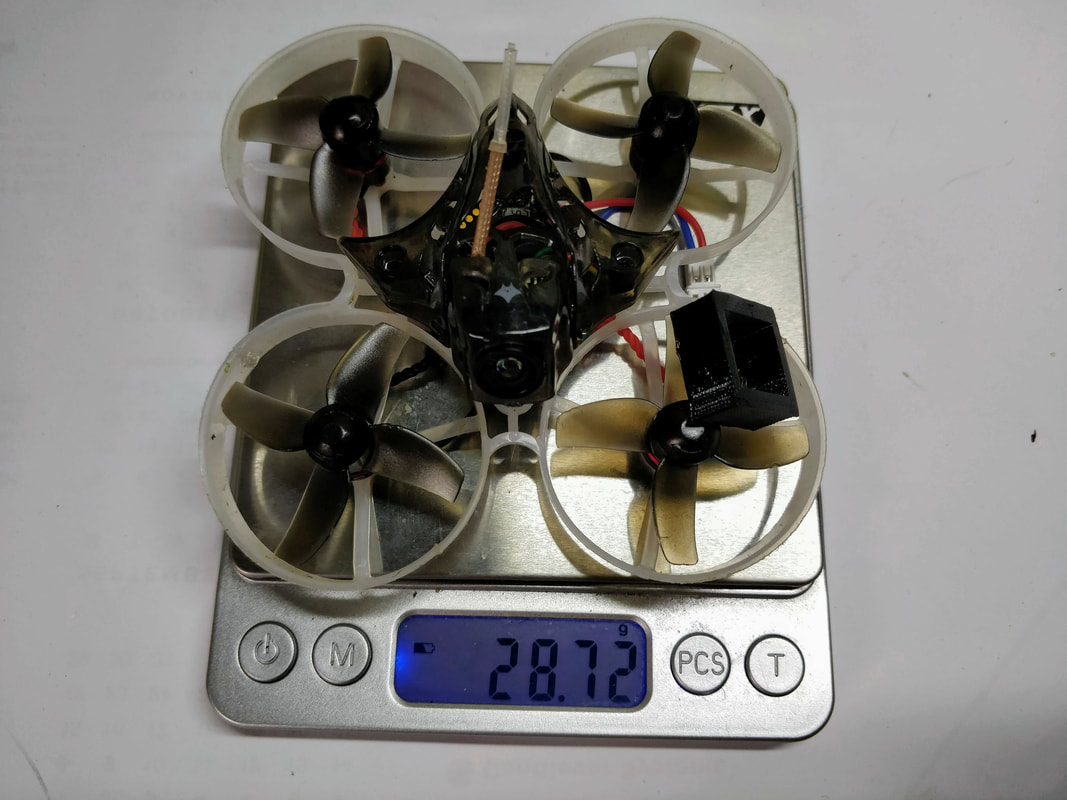
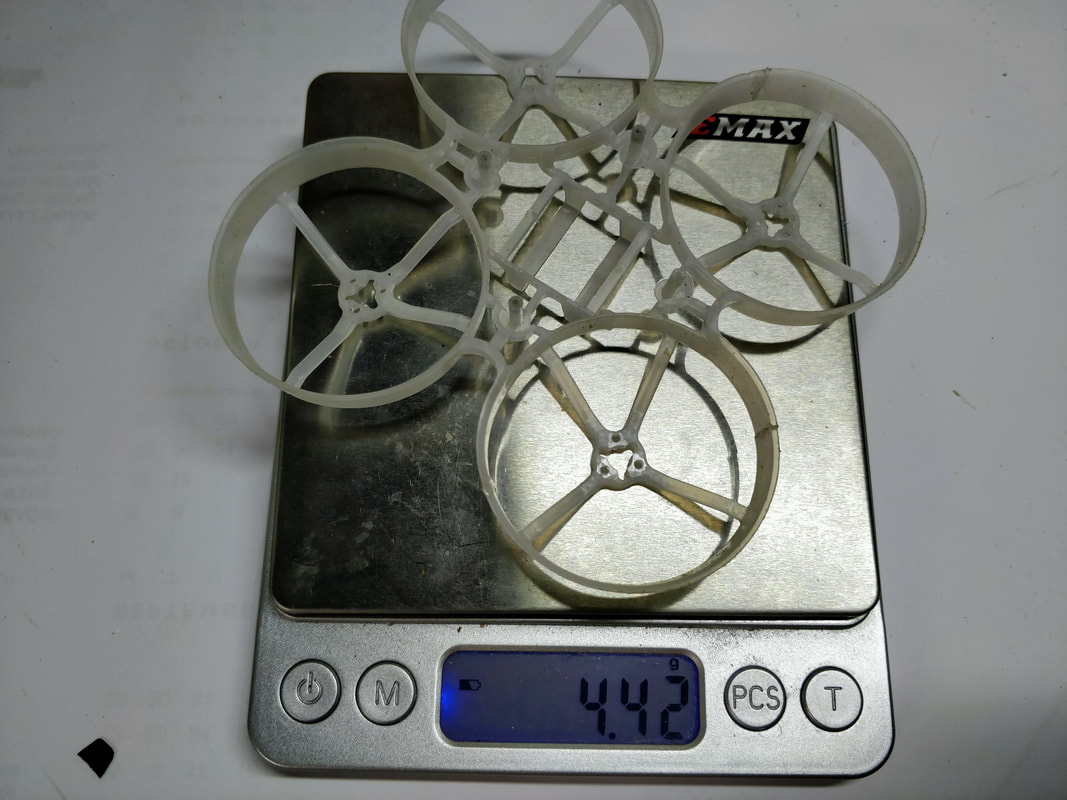
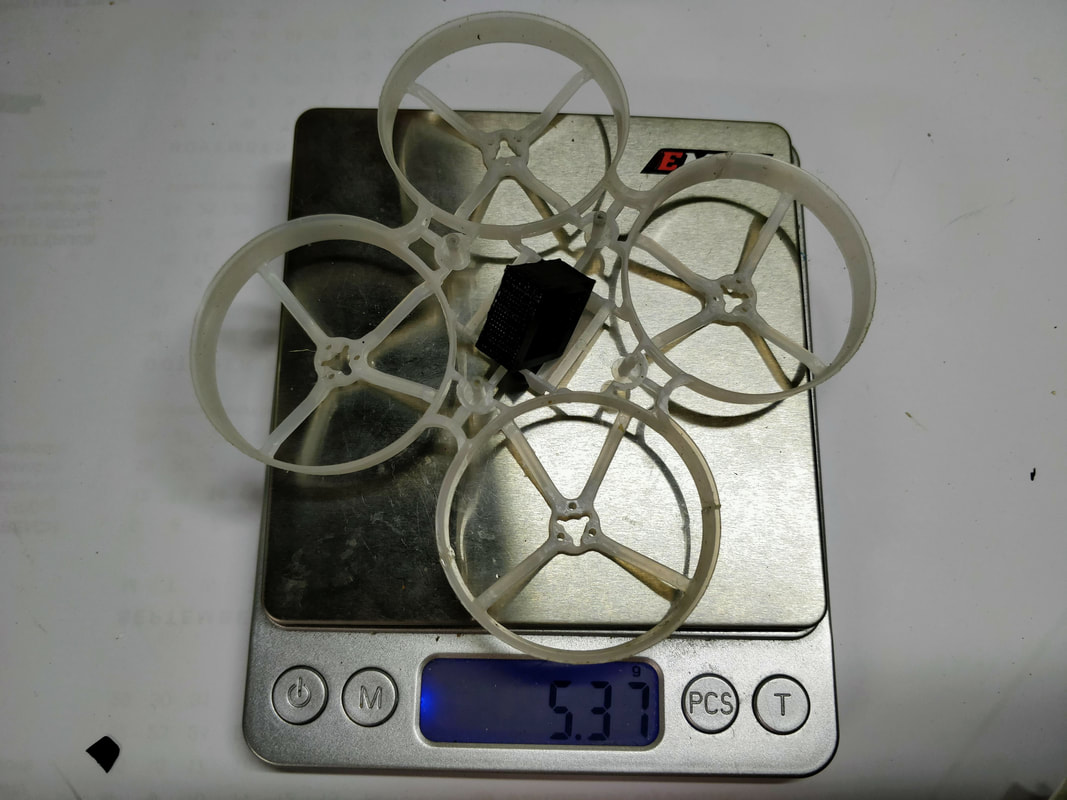
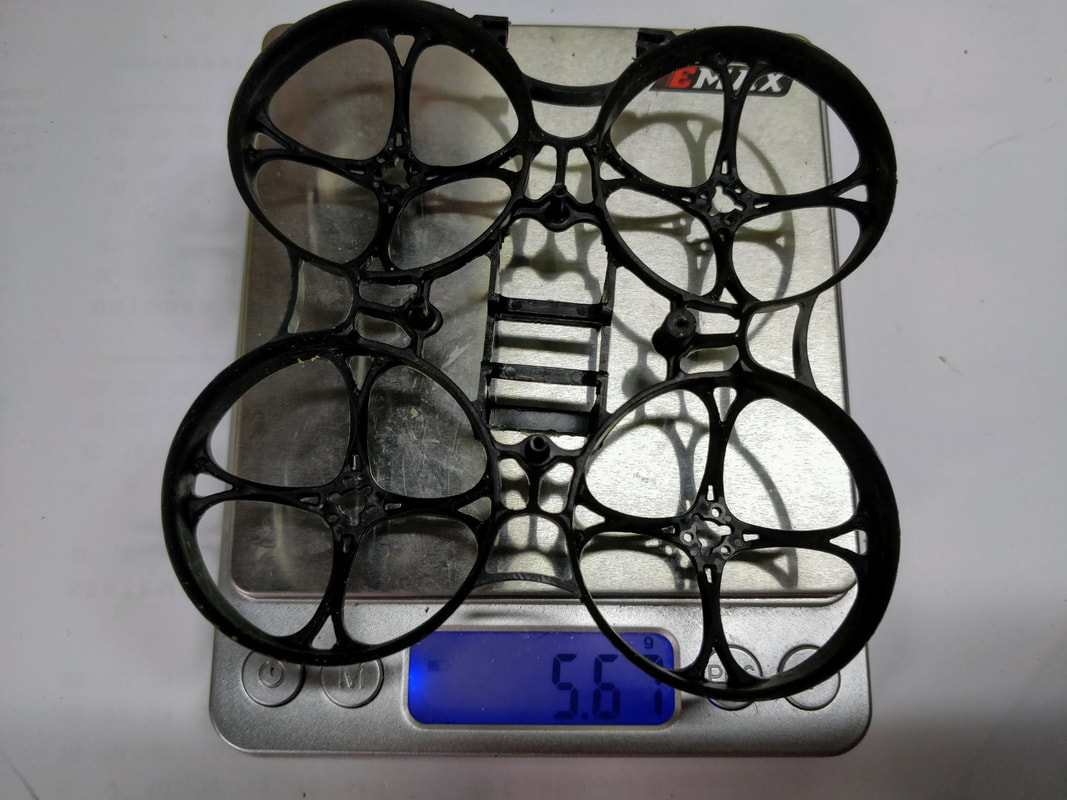
So as you can see a fairly basic change that takes about 5-20 minutes depending on your level of experience. You don't need to drill, cut, solder or modify anything - it is a direct change. You don't even need to update anything in betaflight. After spending some time flying this frame it is so much more durable. The first night was very windy and I crashed a LOT. No damage to the frame whatsovever with crashed which would have destroyed the Mobula7 frame. A lot of comments have been made that the V3 frame is much heavier, I'm here to debunk that myth as you can see from the first 2 pics below. about 15 packs in I feel no difference in performance to the original frame given the weight is near identical and the ducts are no bigger. I can say my flying has improved though because I now feel more confident the frame will hold up better when crashing from trying more risky moves.
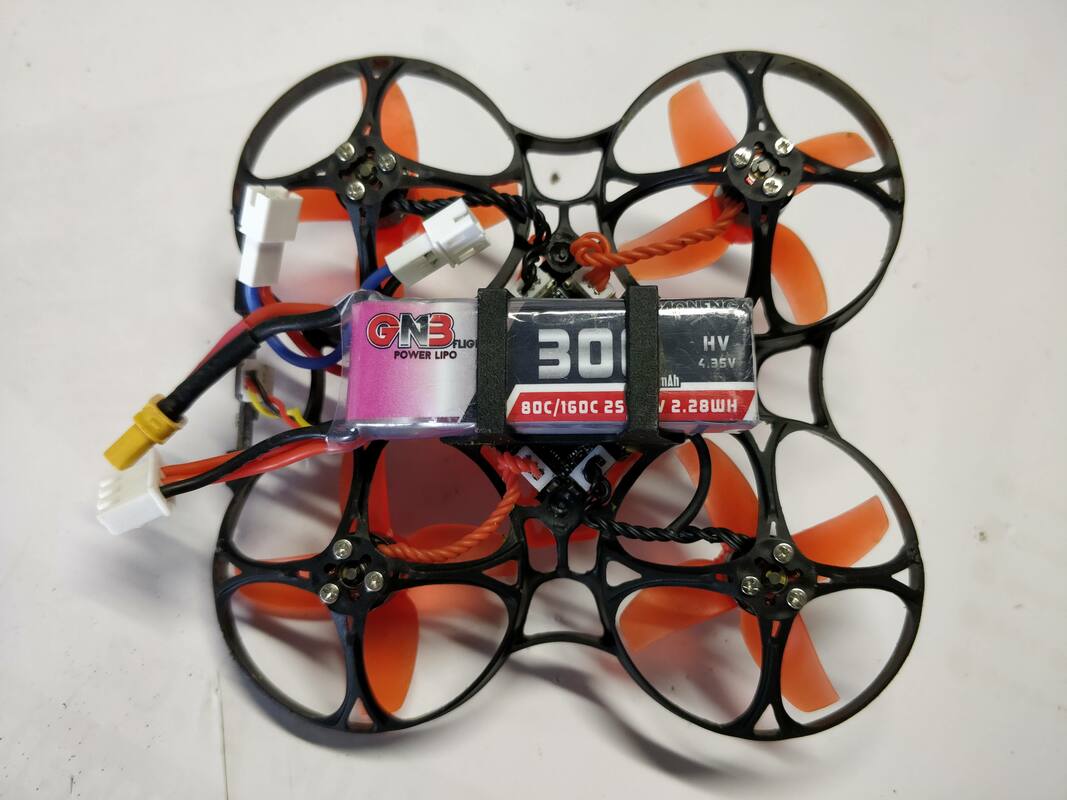
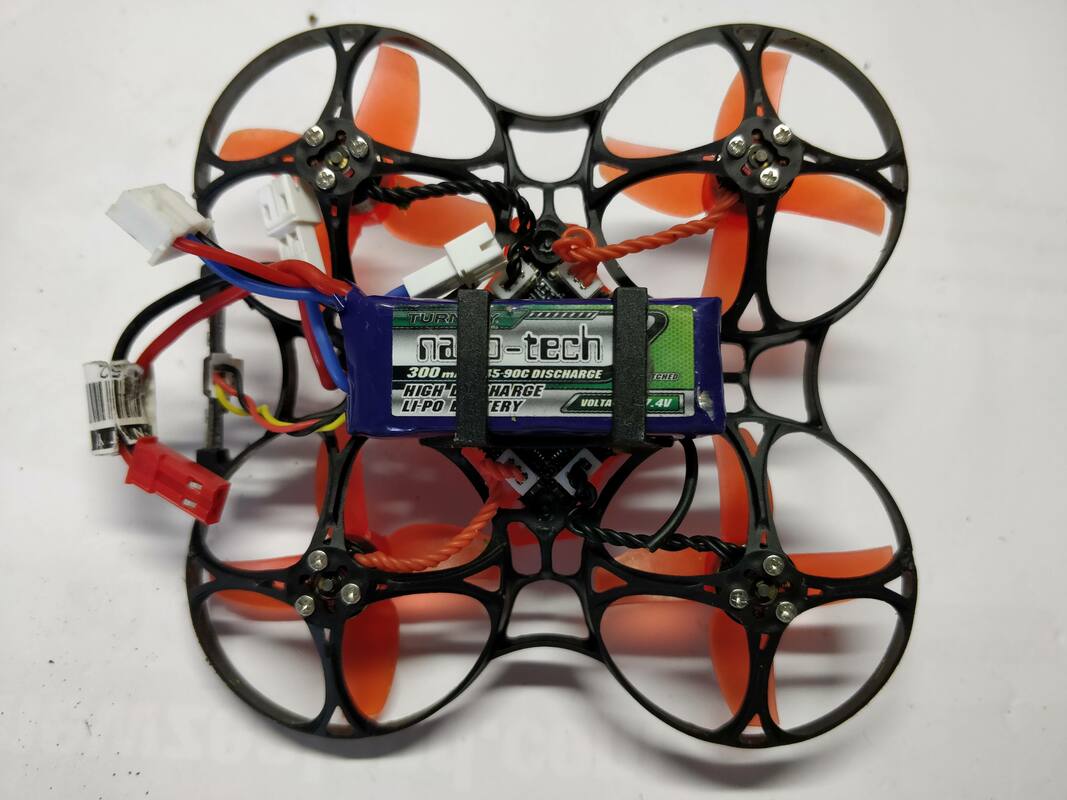
Final note on the battery bay As you know in order to run 2s on the Mobula7 you needed to use 2 single 1s batteries and the square 39 printed mount so that the batteries could be piggy-backed. The V3/trashcan is different, and more awkward with 2 x 1s batteries where foam tape is used to wedge them in. The reason for this is that the frame is actually designed for a proper 2s battery as you can see below. My next article addresses this by changing the connector and looking at making a proper 2s battery from 2 x 1s batteries. Parts used in this walkthrough: Hopefully this article was useful, please feel free to share or like.
11 Comments
Joel
23/2/2019 11:18:10 am
Great article. I bookmarked your website so that I can check in to see how the other upgrades are coming along. One upgrade I have been searching for but have not found, is it possible to solder in a new antenna for the built in receiver in order to extend the range? perhaps a longer one? I would love to have a longer range
Quadifyrc
23/2/2019 12:27:58 pm
Thanks Joel. You're in luck, planning on doing this and writing it up this weekend :) I link all new articles on my Facebook page if that helps, probably the easiest way to see updates
QuadifyRC
26/2/2019 04:19:14 pm
Hi Joel
Joel
28/2/2019 04:07:19 pm
Wow, thanks so much for the heads up! I appreciated the article!!
Josh
13/6/2019 10:04:58 am
Embiggen is by far the best part of this article. Thanks for your effort!
Quadify RC
13/6/2019 10:26:26 pm
Thanks Josh, you know it's the most cromulent word going!
Ryan
20/7/2019 04:49:06 pm
I keep coming back to your site for helpful info :) thank you for all this hard work it is very appreciated. Im about to have a go at 2x1s = 2s battery... but my question is does the v3 frame cause a noticeable increase in washout on more heavy moves eg dives or quick turns?
Quadify RC
22/7/2019 03:06:57 pm
Cheers Ryan, thanks for the support. Good luck with the battery, take your time and check you've wired up correctly using your charger along the way.
Abe
9/12/2019 09:37:35 pm
If you prefer the V2 frame in the end. How do you attach your 2S batteries to this frame?
Ole
29/1/2020 10:50:28 am
I've just ordered the V3 frame, as I'm beginning to break the V2 frame. After ordering I see that the frame isn't really optimized for 1S usage, which is my primary configuration. It seems to hold 3S quite nicely, but that's 2S more than I'd like=P Any tips for attaching 1S batteries to the bay?
Quadify RC
29/1/2020 09:34:11 pm
The battery tray on the v3 is definitely designed for 2s. You could wedge some foam but perhaps consider running a small 300mah 2s and a throttle cut - you can tune performance to 1s level and will get minimal sag and maximum battery life Leave a Reply. |
Archives
November 2020
Categories
All
 |


 RSS Feed
Thanks for visiting QuadifyRC.com Follow us on facebook below to get all the latest updates