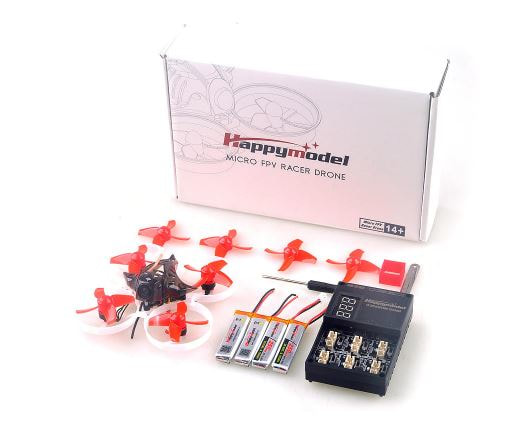
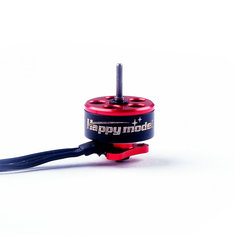
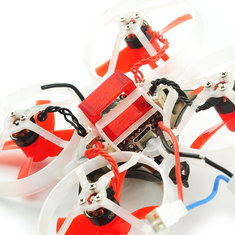
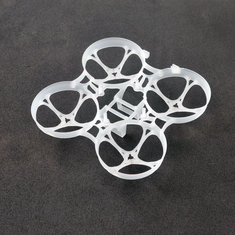
 Introduction The Mobula7 is made by Happymodel who also released the popular Snapper7 which I reviewed here. Like the Snapper 7 it is a 75mm brushless whoop but it is lighter and more importantly, designed for 2s batteries. The Mobula 7 is not the first ready to fly 2s brushless whoop to the market but it is by far and away the lightest at just 28g without battery. That means the small and light 0802 16000kV motors are able to reach their power potential even on the small 260mah batteries included in the kit and make this quadcopter move very quickly with extremely nimble handling. Update! I've had this for 3 months now and have put a lot of packs through the Mobula7. After trying the Eachine trashcan, TinyLeader and Tinyhawk it remains my favourite brushelss micro. I've started modding it and am documenting everything as I go. There are certainly improvements to be had. (links made live as articles updated):
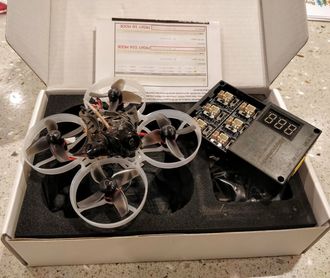
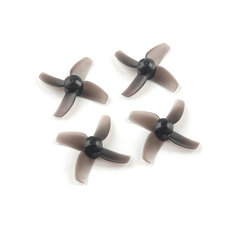
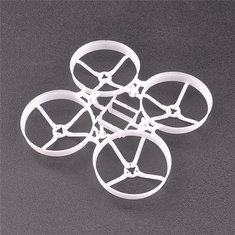
Specs and breakdown
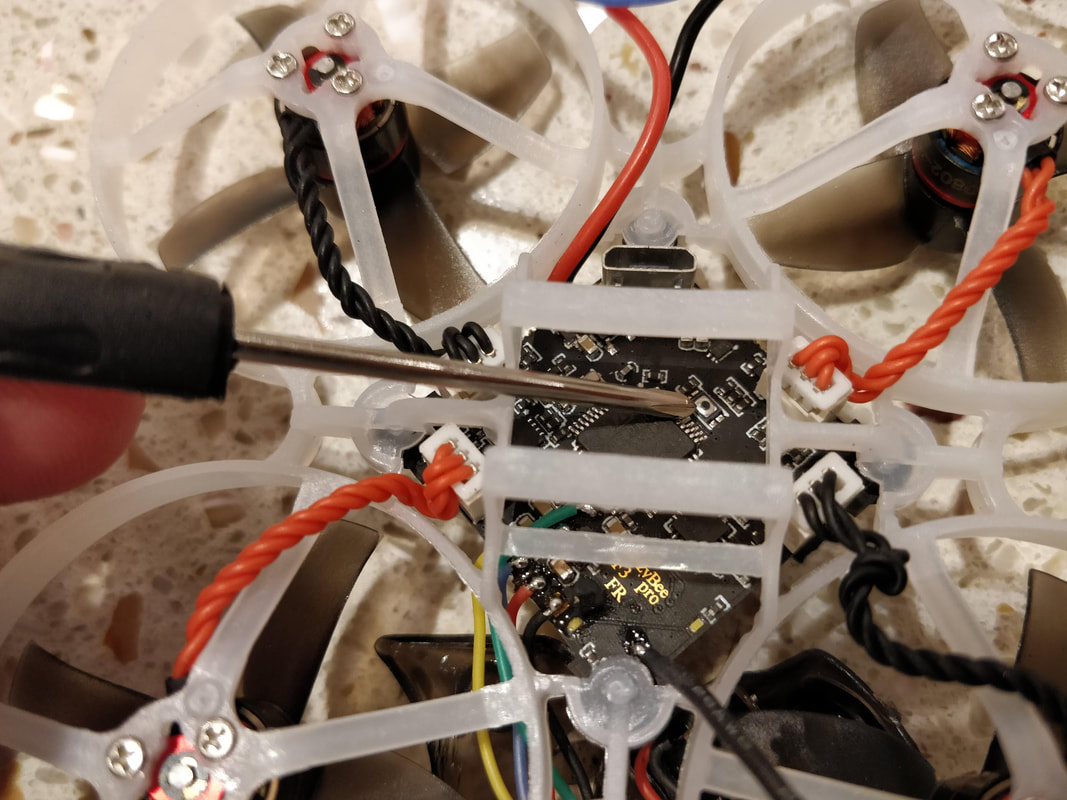
Setup As per the instructions you'll need to bind the receiver first. Since this receiver is integrated, binding process is really easy: power on THEN hold down for bind button for 2 seconds to enter bind mode. Don't need to hold down the tiny button when powering on!!! It's a small win but a win nonetheless. Please not the receiver bind button is underneath the canopy (you'll need to remove it). The button you can see underneath the quad is for the DFU FC boot mode.
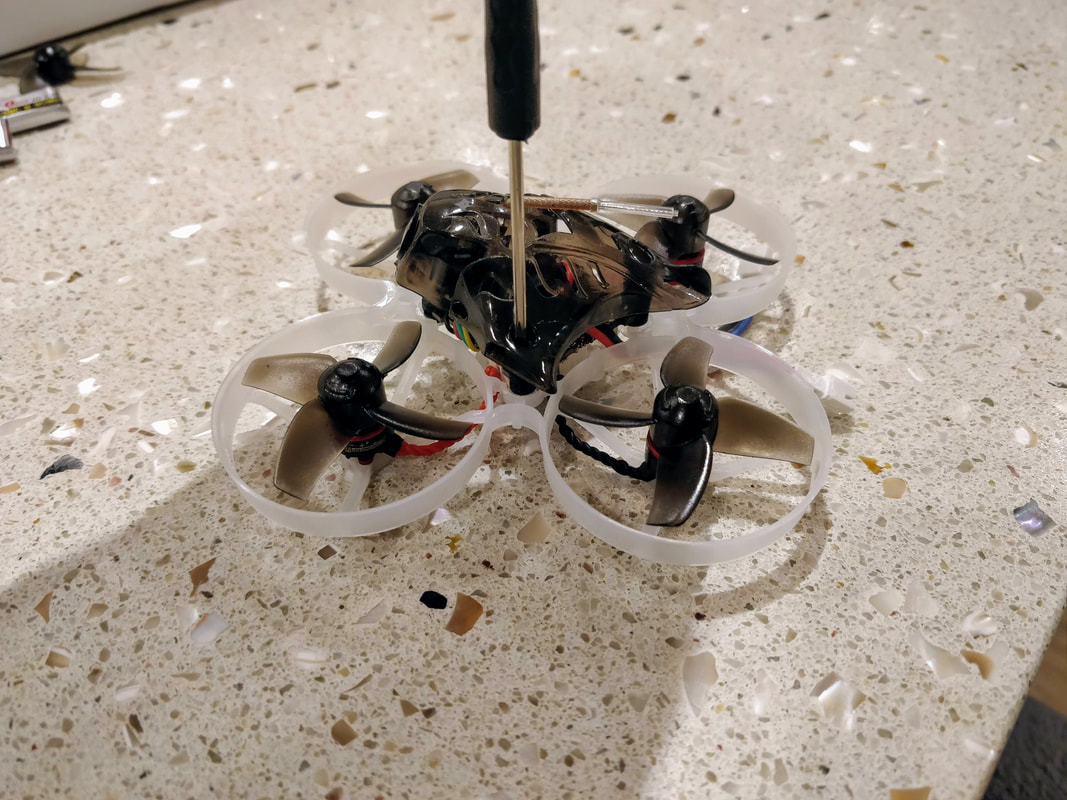
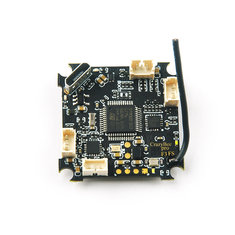
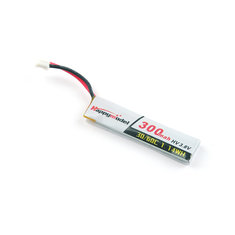
Betaflight Great news that at the time of writing the Mobula 7 ships with betaflight 3.5.0 which is the latest major release. It is fully setup out of the factory although you may want to set up your own rates, OSD and anything else that is unique to you. Please see below for all factory settings in screenshot form. Batteries and throttle limit The mobula7 is capable of both 1s and 2s power supply. The stock batteries are 1s but are designed to be used in series. If you are looking a new batteries I'd recommend 2s 250-350mah and changing the connector to a JST or XT30. Most people seem to be having success with the following hobbyking batteries: Turnigy nano-tech 300mah 2S 45~90C Lipo Pack Turnigy Nano-Tech Plus 300mAh 2S 70C Lipo Pack If you are looking at flying indoors I'd recommend against using larger 1s batteries (450-600mah) but instead use a throttle limit in betaflight. The advantages here are lower current draw and less battery sag. Putting the limit in betaflight rather than on your radio gives you better control and allows you to put throttle limits on an auxilliary switch. Full details on how to limit throttle in betaflight 3.4.0 and up here. Flight performance There has been much already said about this quads performance and it is all true. You simply cannot compare this to any brushed whoop (e.g. santa whoop) or brushless whoop that has come before, 2s makes it so much more powerful and responsive. It flies like a full sized quadcopter in terms of ability to perform freestyle moves including dives, split s, power loops except that prop wash is exaggurated due to betaflights inability to cope with this well (compared to say, NFE silverware). Where does the mobula 7 fit? For me you cannot beat a lightweight 1s brushed whoop running NFE sliverware in tight indoor spaces for simplicity, agility and its ability not to get confused when you bump into things. In tight indoor spaces 2s on the Mobula 7 too sensitive on the throttle unless of course you limit throttle. For outdoor flight I prefer to have no prop gaurds on micros like on my eyas x2 build. So where does the mobula 7 fit in? I think the very best scenario is a large indoor area where you can really open it up or a smaller outdoor area where people or property can be upset - reason being it is tiny, quiet and if you do happen to crash into something or someone then between prop gaurds and the extremely light weight, that something or someone is unlikely to be damaged. Furthermore I often here people asking for 1 quad that can peform in all situations - not perfect for anything in particular but capable of all. I can think of not other quad that can perform this broad role better - for example 1s brushed quads lack power for outdoor flight and ductless brushed quads will damage an inside environment. Below is a night time flight I did that should give you a feel of the camera performance in the dark which was surprisingly fly-able. As you can see I was fairly gentle on the throtte given the lighting. Turtle mode It works! So much better than the 1s brushless quads - the extra voltage from 2s means turtle mode works just as well as the bigger quads on a hard surface. Durability Straight up this is not a strong frame, especially if you are flying in colder weather. It is however easy to fix with flexible e6000 glue available here but I would definitely recommend a spare frame available here for only $4. Apparently Happymodel are working on a new more durable frame. In my mind frame strength is the weakpoint on this quad. Conclusions I can genuinely see why there is a lot of hype around this quad. There is no other quad available at any price that will perform capable in both tight indoors and large outdoor space so competently. But this is not any price, it is just $80-$90 depending on where and when you buy it. Yes it has shortcomings, the frame is weak, ducts handle propwash poorly the camera performance and range is limited. But the fun this quad offers and represents easily offsets those issues. My final summary is this: If I were to go on a trip and take just 1 quad for ANY situation, it would be this one. I hope you enjoyed the review, please feel free to like or share the article on facebook or anywhere else if you found it useful. Spares available here:
20 Comments
Vlado
27/11/2018 10:02:51 pm
Hello. Thanks for the review! I have just received this quad. I am beginner :) i have some questions, if you have time:
Quadifyrc
2/12/2018 11:24:39 am
Hi Vlado
Mike
11/12/2018 04:28:02 pm
Hello,
QuadifyRC
11/12/2018 04:37:07 pm
Hi Mike
Mike
11/12/2018 04:39:51 pm
Thanks a ton for the info and short response time!
Paul M Edwards
24/12/2018 01:15:10 am
try putting airmode on permantly i had this issue turned airmode and it arms
sam
16/12/2018 03:15:47 am
hey! im a newbie but cant find the answer anywhere. I was able to bind my mobula to my taranis RC but i have no idea how to arm the drone. on the manual it says its automatically set to aux 1 but i tried every switch on my drone and nothing gets it to arm. Can you please help me out? :)
QuadifyRC
16/12/2018 10:09:39 pm
Hi Sam
FIREfpv
6/7/2021 05:43:03 am
In the Betaflight Configurator, go to the Modes page. With your transmitter turned on (and bound), you can flip the switches and see which modes activate on each switch.
Mike
16/12/2018 06:59:10 am
I am going to a local quad shop to see what they think is happening with mine today, so I will diffenetly tell you what is going on with our quads. Hope all goes well.
QuadifyRC
16/12/2018 09:45:58 pm
Best of luck, I'm sure you'll get flying.
Mike Rahn
15/6/2019 02:22:28 pm
I got a used mobula 7 and it was junk got new fc f4 v1 and smoked it trying to set it up in beta flight so got another fc this time a f4 v2. Got it to arm but not all motors start at same time and is so far out of tune won't fly so now looking at all betaflight youtube vids I can find. I own a bugs3 and it is not a safe bird to fly in parks and of course no betaflight. I use happybee for androids to work on it
Mohan
8/8/2019 05:21:57 pm
hi there, thanks for the info, very useful, actually i bought 2nd hand mobula 7 from a friend. 1st connect to usb successfully but i accidentally messing with port setting. i believe i disable of enable something ( ports ) . then i disconnect it and connect it again, but suddenly my pc dont recognized the fc, tried to install stm driver, using impulse rc repair, and some others approach , but still don work at all, need ur help on this, thanksss a lot
Quadify RC
8/8/2019 09:21:58 pm
Sounds like you have turned off the USB VCP port. You can connect in DFU mode. Hold down the small boot button when you plug in the USB and it will load into DFU mode. Reflashing with 'Full chip erase' checked will force a valid config
Raffaele
16/2/2020 06:53:20 am
Dear Team,
Quadify RC
17/2/2020 10:52:13 pm
Hi Rafaele
Jack Roberts
26/9/2020 07:24:48 am
when I set my mobula 6 up it wants to run even when it has no throttle. do I need to redo it and maybe you could tell me a video to watch. I have the mobula6 and a TX16S please help me ...Do I also need betaflight and is hard to download I am a good carpenter and locksmith but I just started on this drone business..
QuadifyRC
29/9/2020 09:32:28 pm
Hi Jack
Josh
18/5/2022 05:37:16 am
I’m about to mobile seven happy modelsAnd I have the jumper T pro controller every time I try to bind it the lights stop working on the drone or it just cuts off for good
Harley Myers
19/3/2023 02:55:43 pm
Does anyone know what the non-eu kit#3 mingchaun happymodel mobula 7 hd comes with????? Leave a Reply. |


Thanks for visiting QuadifyRC.com Follow us on facebook below to get all the latest updates