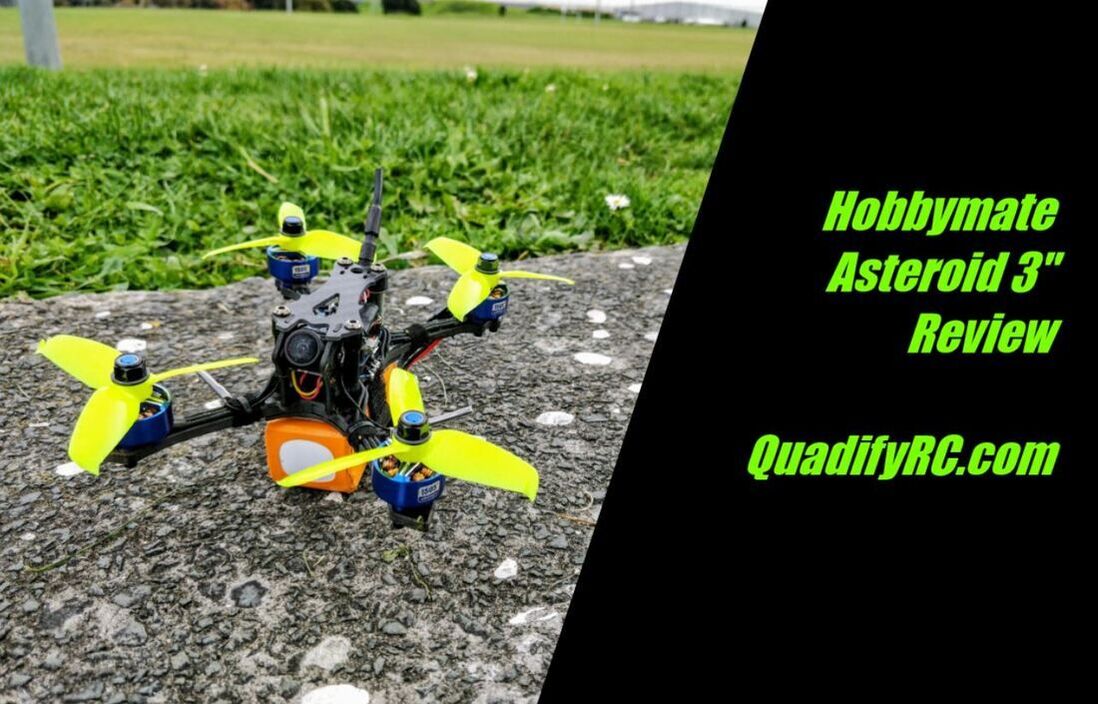
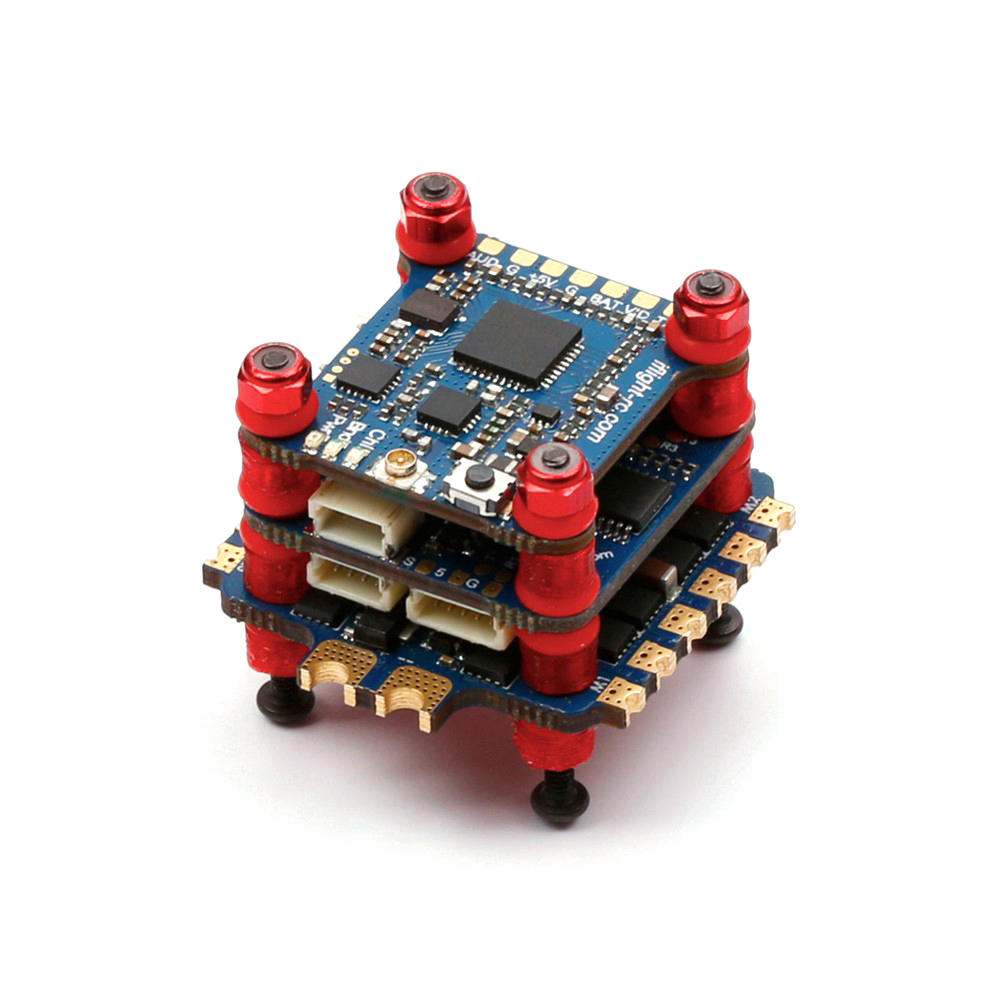
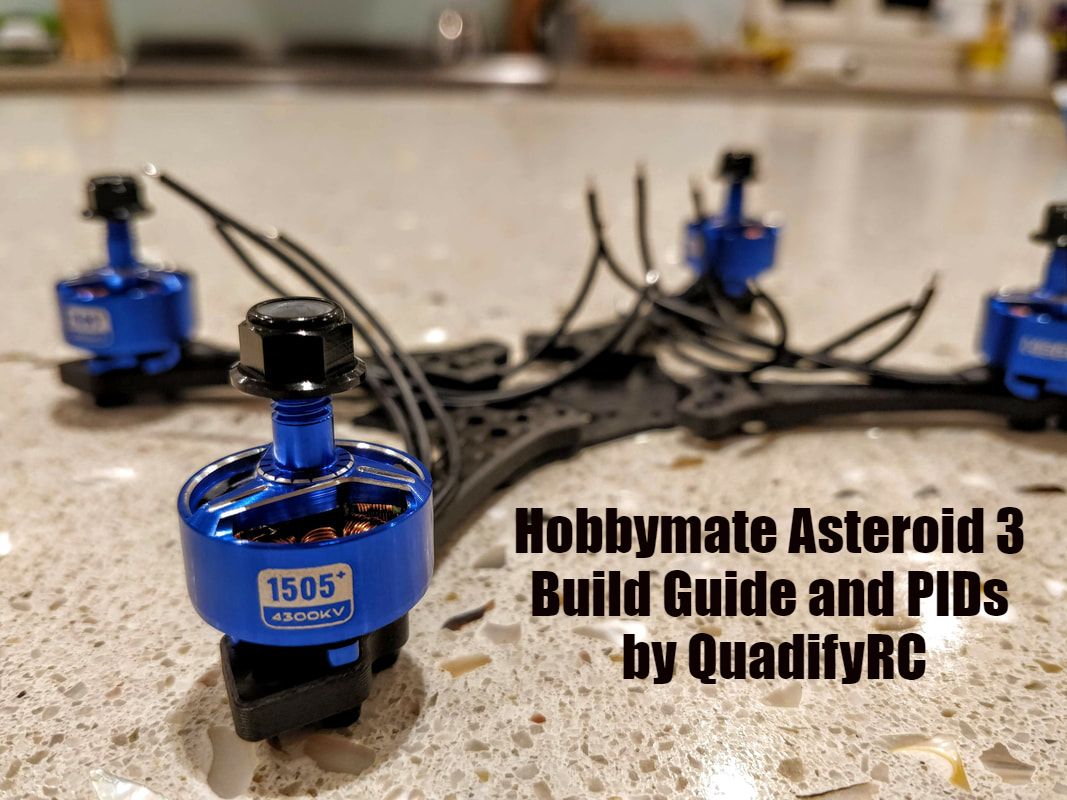
 The Hobbymate Asteroid is a new 3 inch quadcopter that is available in kit, BNF or PNF formats that is available with motors and electronics suitable for 4s or 6s (!) operation. Following on from the awesome Hobbymate Comet (built here and reviewed here) this is another premium set of components at a spectacular price. It is available exclusively from HobbyCool.com here: http://hobbycool.com/asteroid-3-mini-fpv-racing-drone-kit/ In part 1 of this blog here I looked at the build and betaflight setup process in full. In this part 2 I'm taking a closer look at the components and review in general. On the bench From a specs standpoint this is a pretty special kit but that only tells half the story. I'll walk through the components and talk about their strong and or weak points
2 Comments
The Hobbymate Asteroid is a new 3 inch quadcopter that is available in kit, BNF or PNF formats that is available with motors and electronics suitable for 4s or 6s (!) operation. Following on from the awesome Hobbymate Comet (built here and reviewed here) this is another premium set of components at a spectacular price. It is available exclusively from HobbyCool.com here: http://hobbycool.com/asteroid-3-mini-fpv-racing-drone-kit/ The purpose of this blog is to show how I have built in close detail and how I have set up betaflight software for optimal performance. Note you can spend an extra $30 to have this build with a FRSKY receiver but I always like to tinker and optimise my build which is why I have chosen this path. Update: review now completed here I like to take my time on a build and ensure I have a clean well lit area. Makes things easier when I inevitably drop screws or small parts on the floor. My recommended list of budget tools is here.
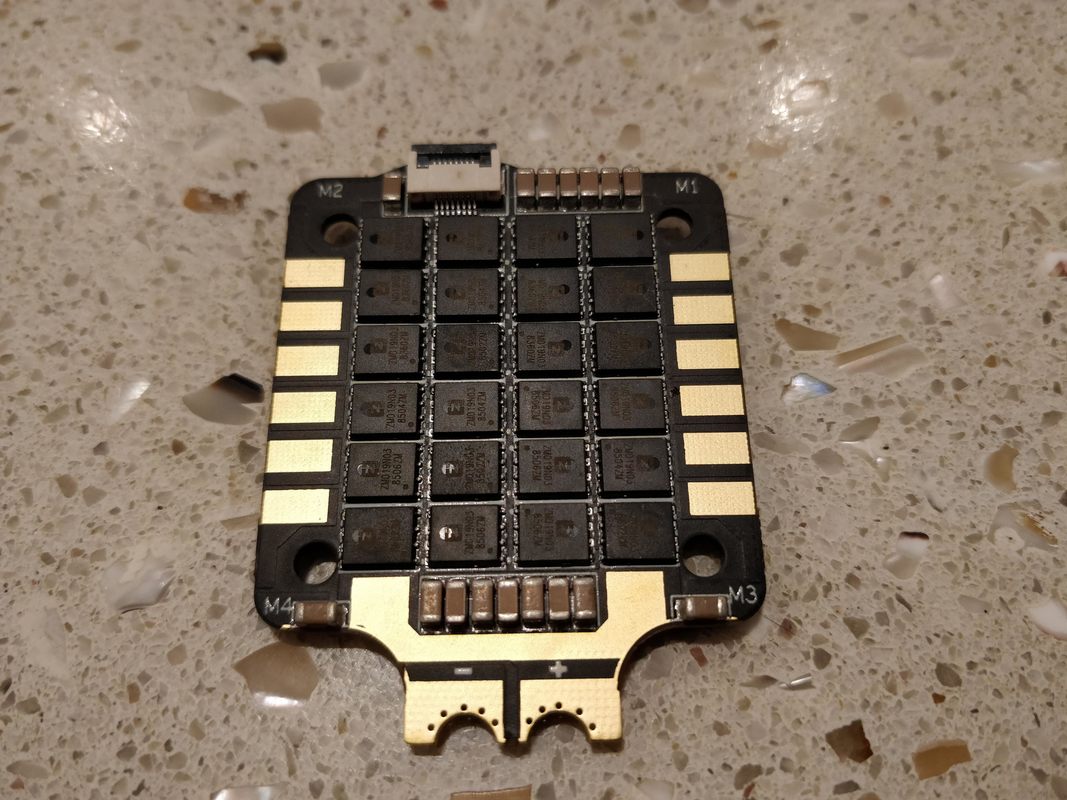
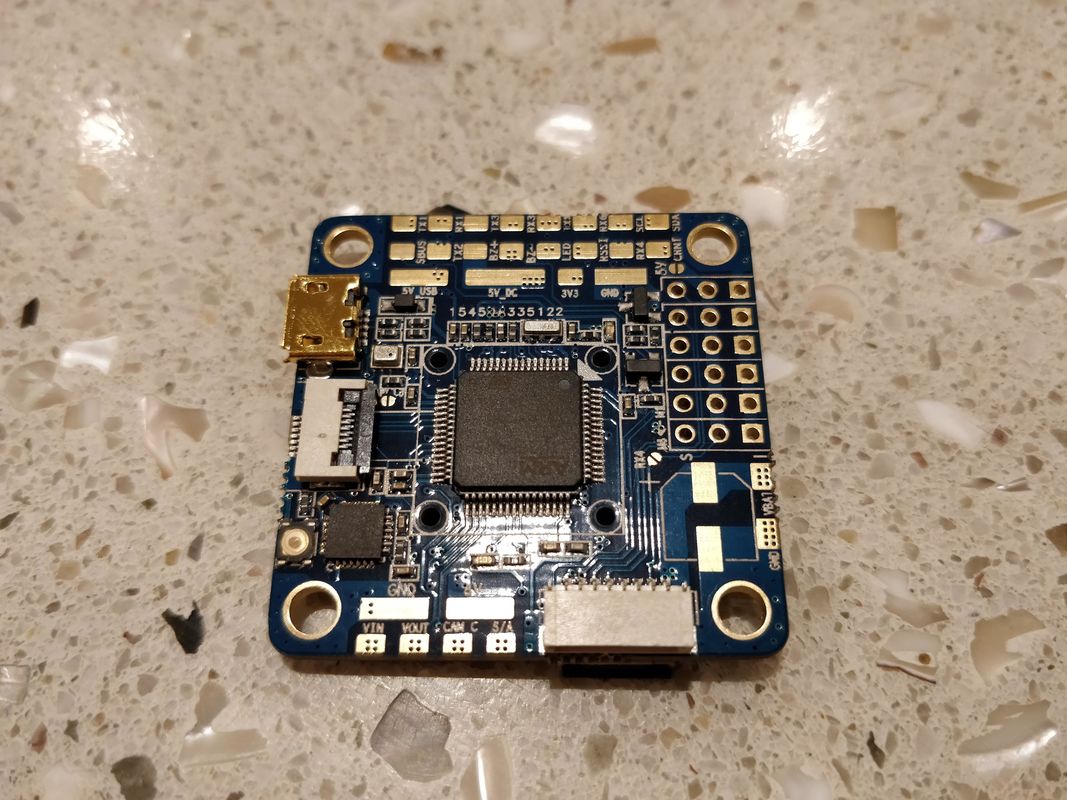
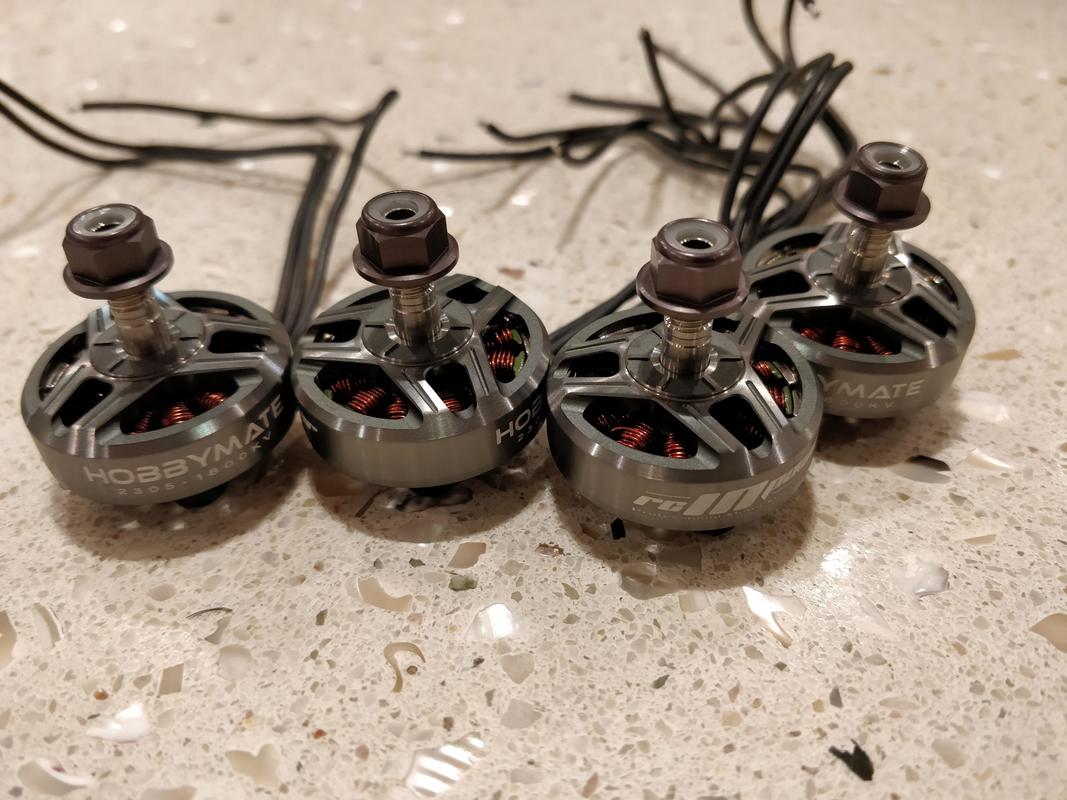
I'll cover this quad over 3 blogs. This first part will cover the build walkthrough, the second the software (betaflight/blheli32) setup here and the last part the flight review.  The $180 Hobbymate Comet kit is full of premium and dependable 6s components The $180 Hobbymate Comet kit is full of premium and dependable 6s components The Hobbymate Comet Kit is a premium 5" quadcopter that is currently available as a kit for $180 but will soon be available as a bind and fly version. Update: it is now available as a pre-build pnp or bnf with xm+ or r-xsr receivers. In the days since the Holybro Kopis 1 was released there have been some excellent ready to fly models (along with some not-so-great models) available including the Emax Hawk 5 (review here) and the HGLRC Batman (build here) which have been standouts because they have been well balanced, well built and good value for money overall. Since this is a kit, this particular blog is to walk you through the build and then software setup including a betaflight 3.5.1 cli diff. The Hobbymate Comet from HobbyCool.com (or Amazon) is a kit the consists of higher quality parts than even the HGLRC Batman at only a fraction of the cost. Infact when bought on their own the parts come to $257 which is clearly much more than the $180 the kit costs (or even the $200 PNP kit). The Electronics are rated 6s from the factory (unlike the Hawk 5) and come with motors suited for either 4s/5s operation (2500kV) or 6s operation (1800kV). I'm especially excited that this include a genuine airbot ESC and flight controller. More details on the parts below:
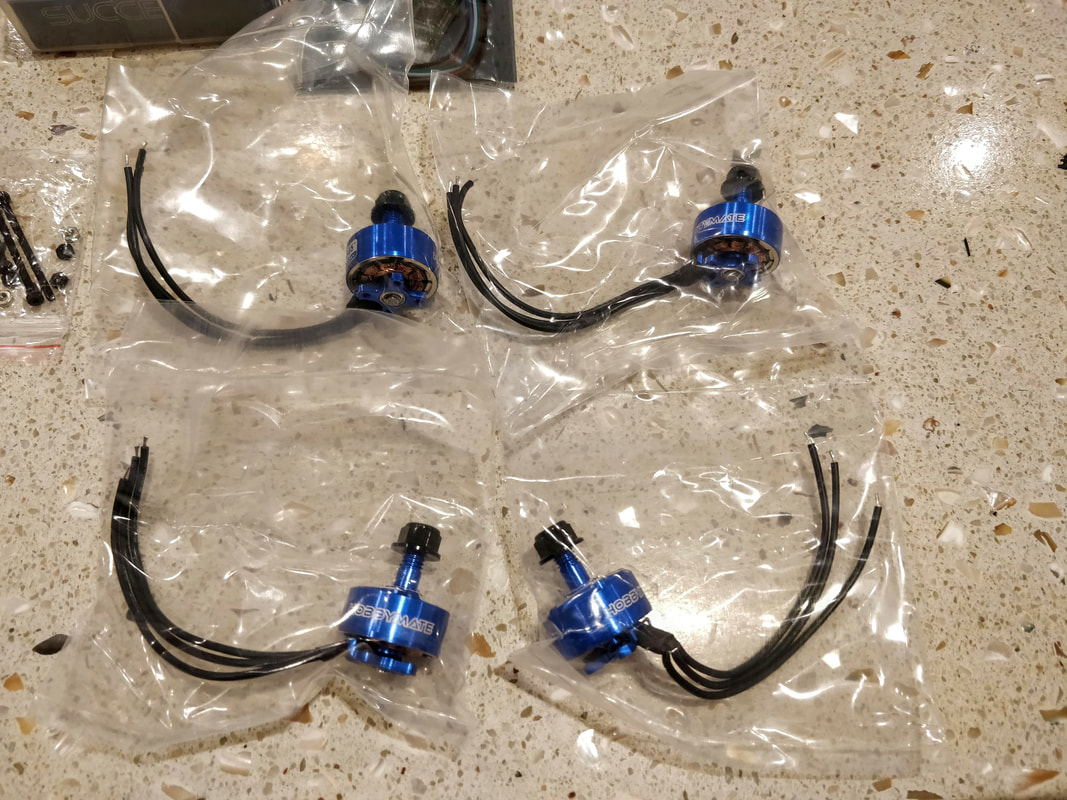
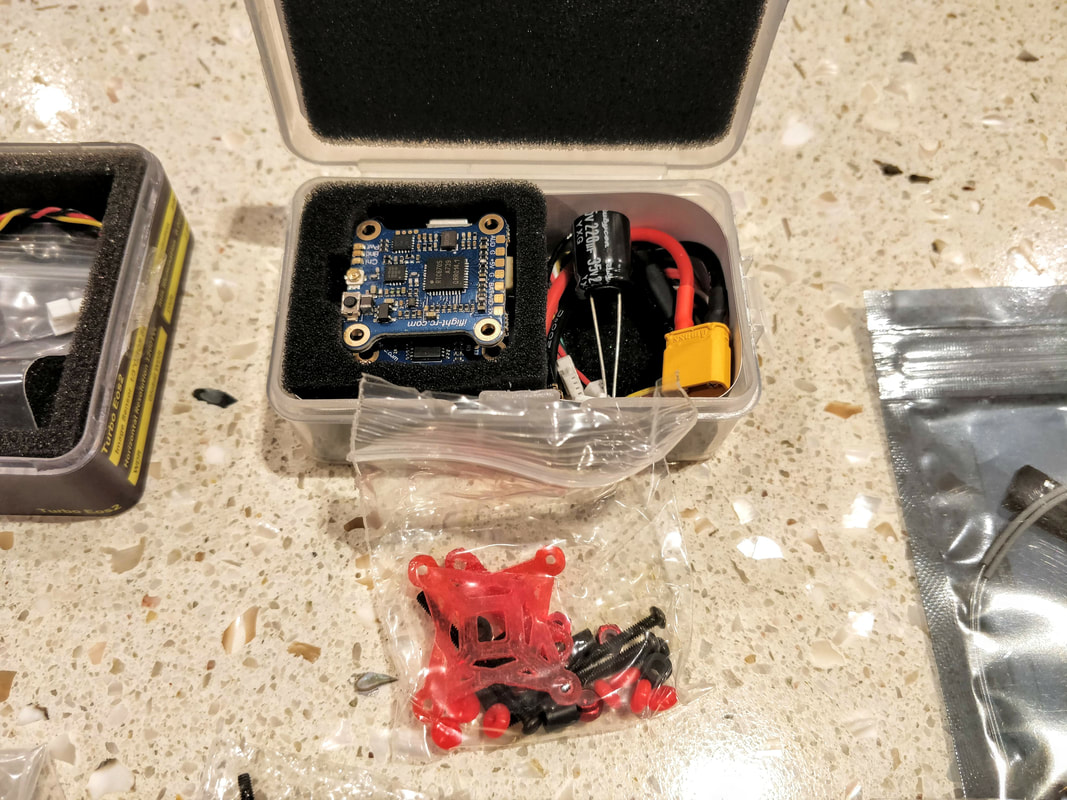
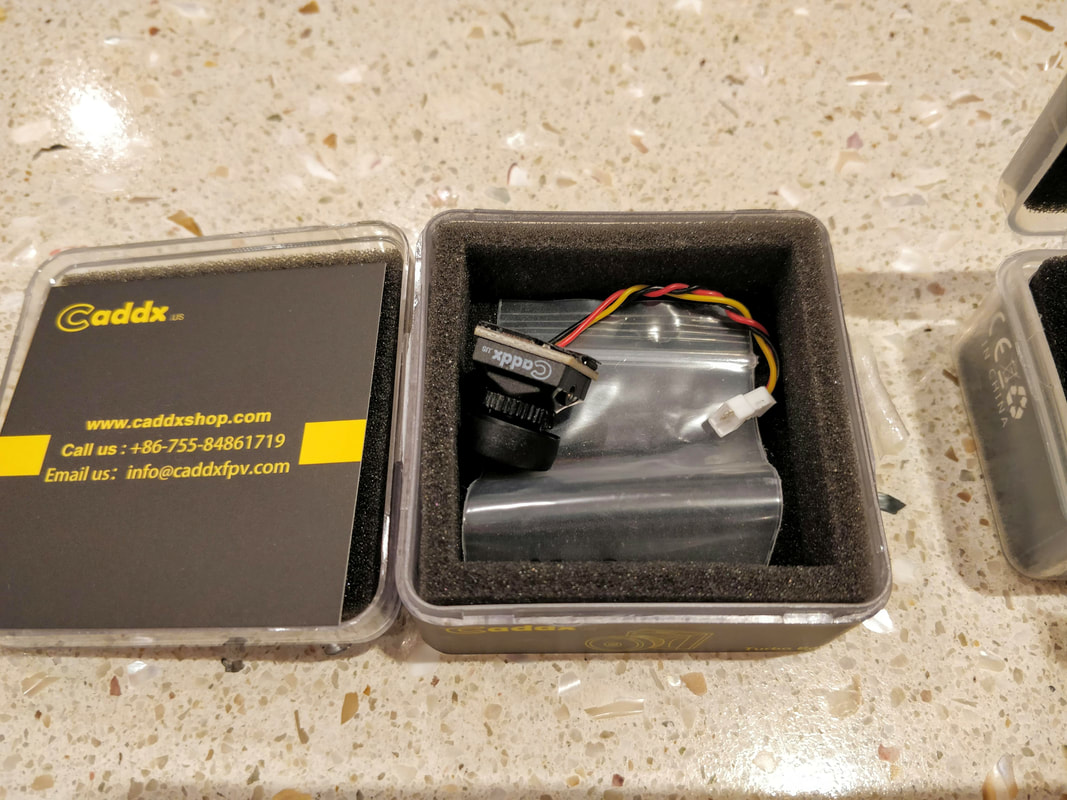
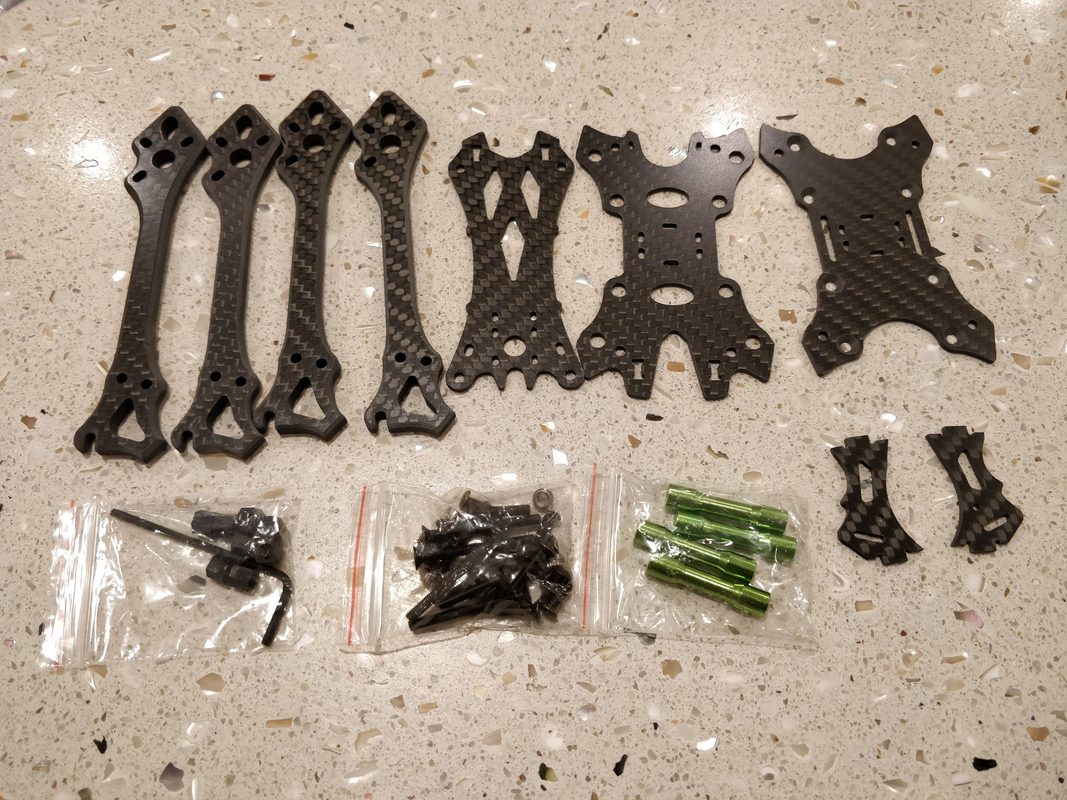
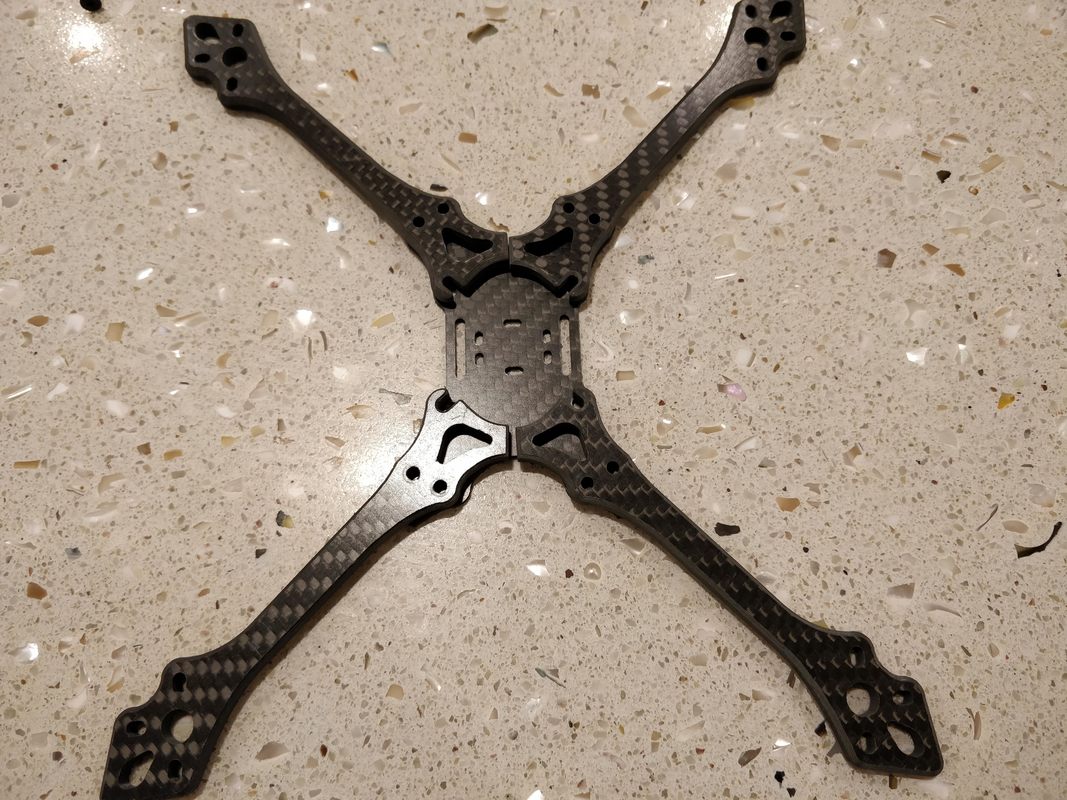
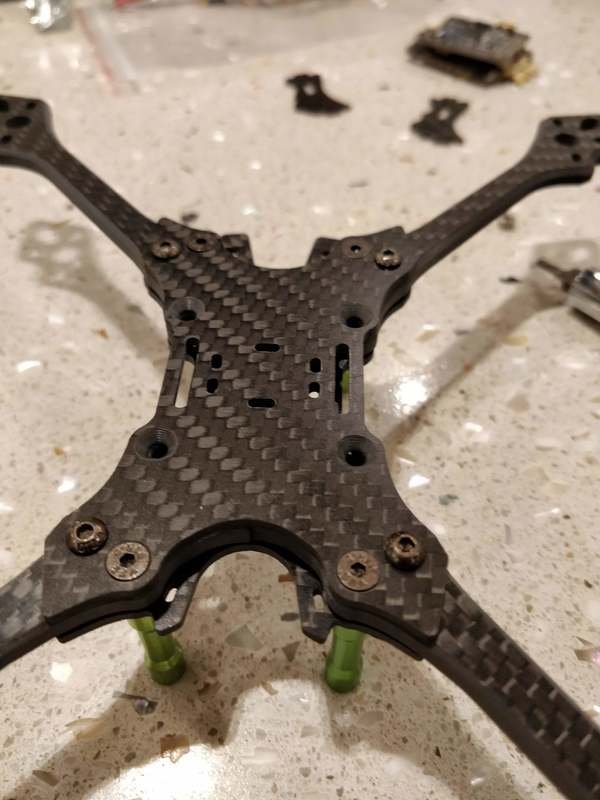
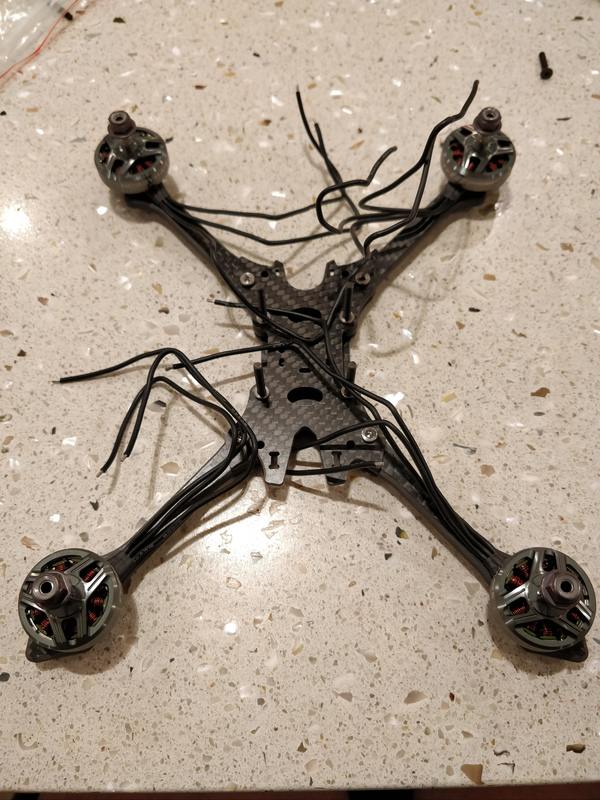
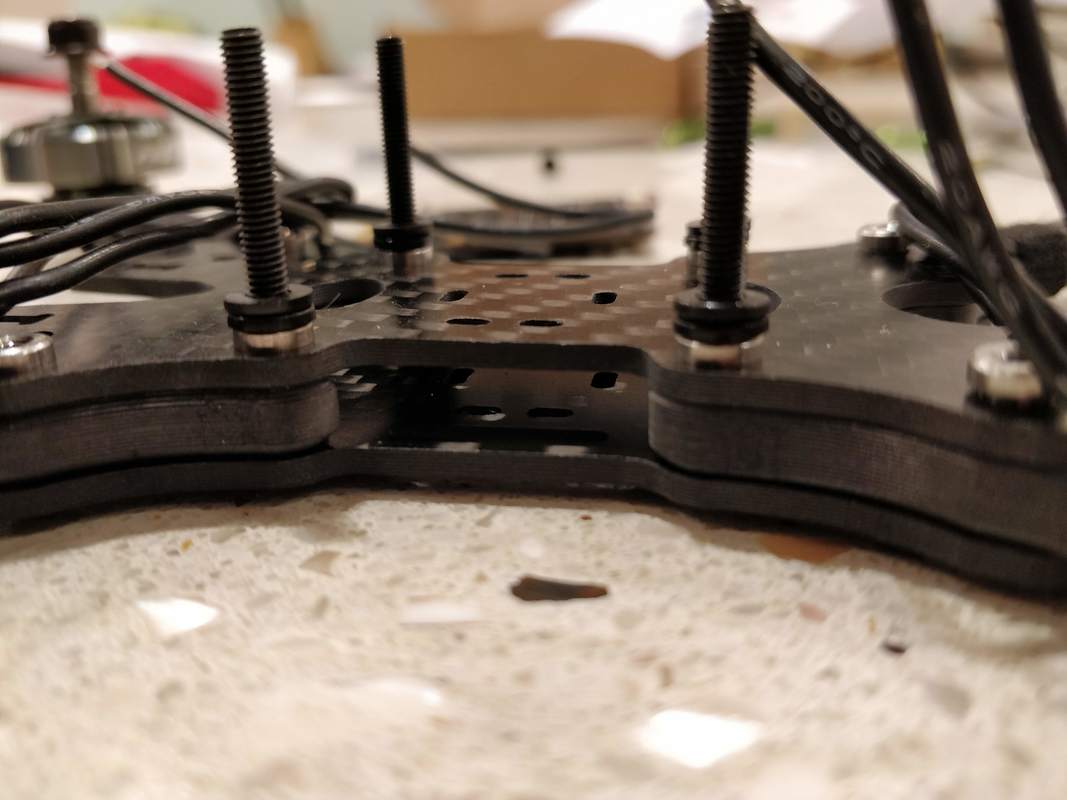
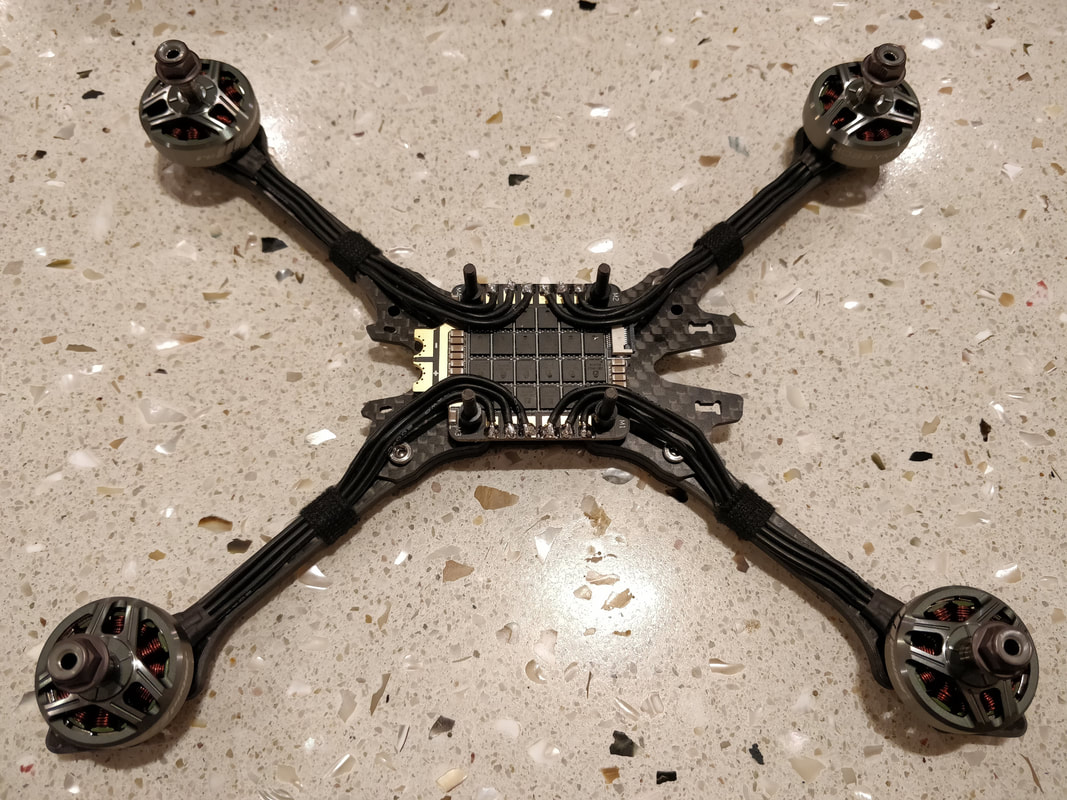
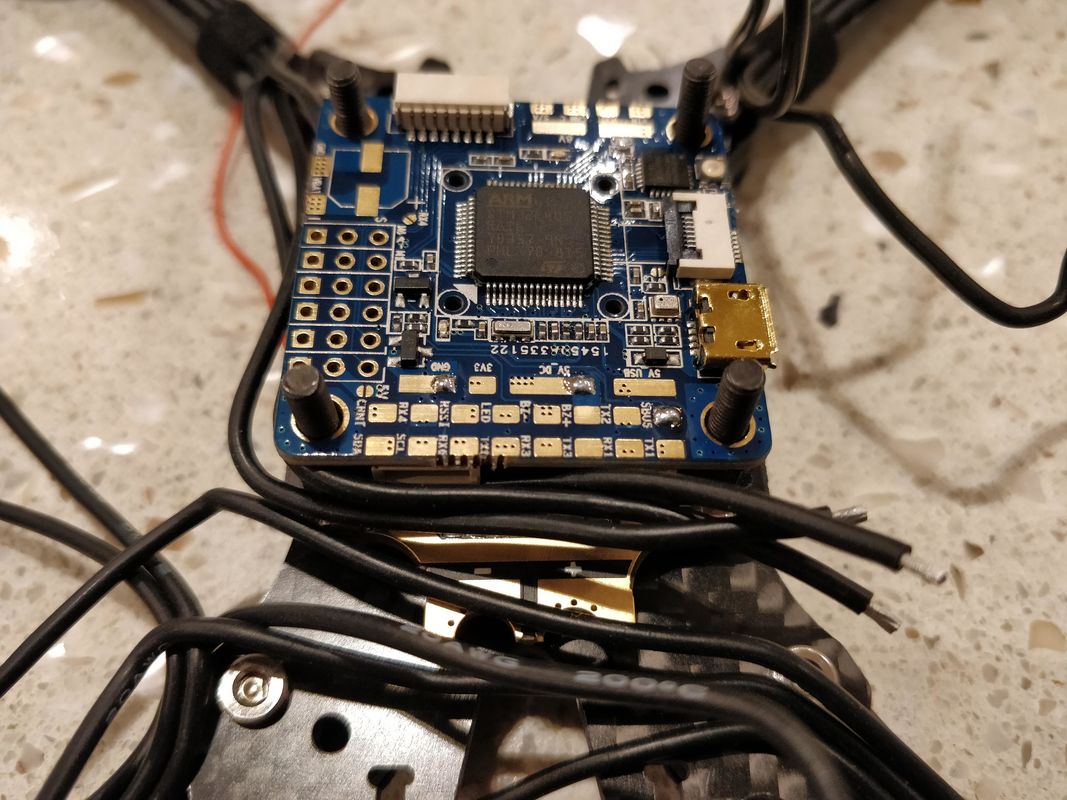
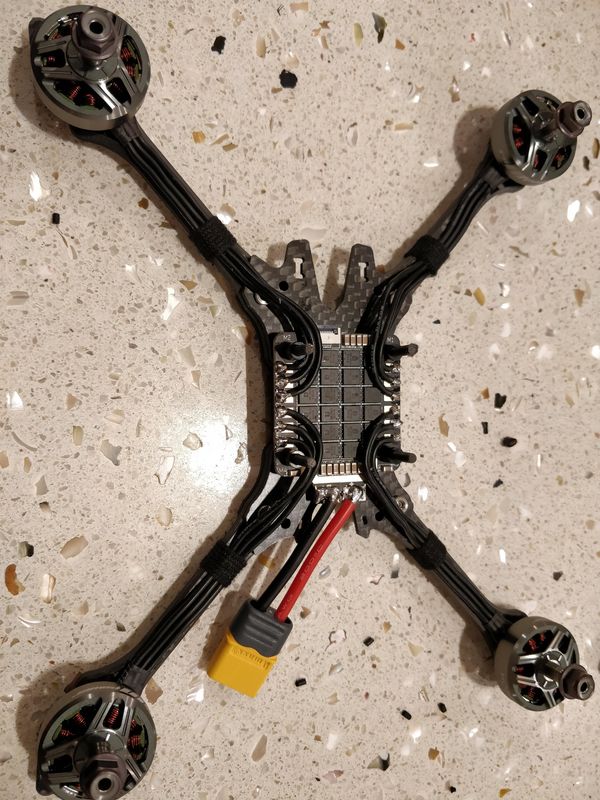
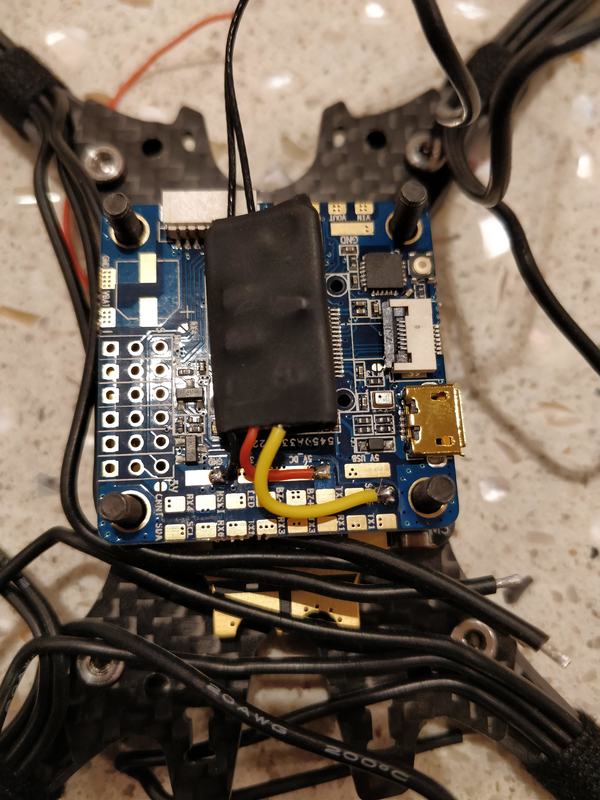
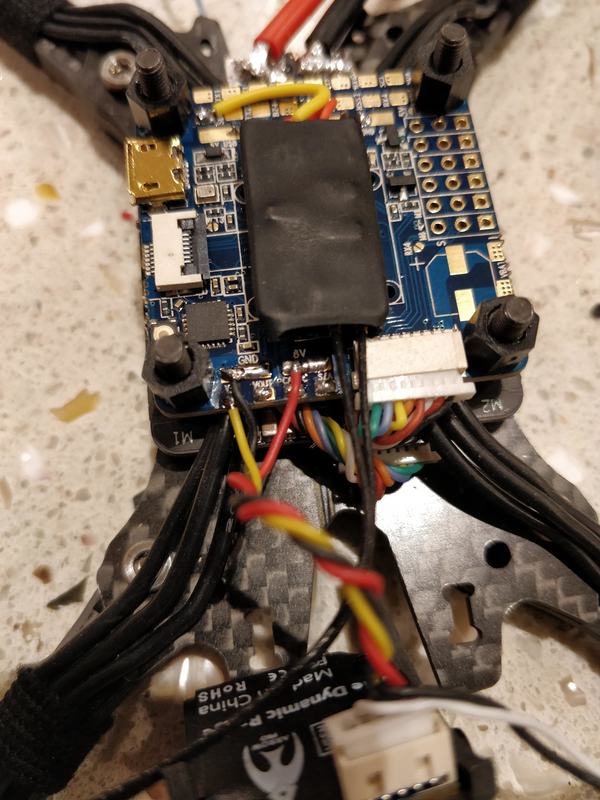
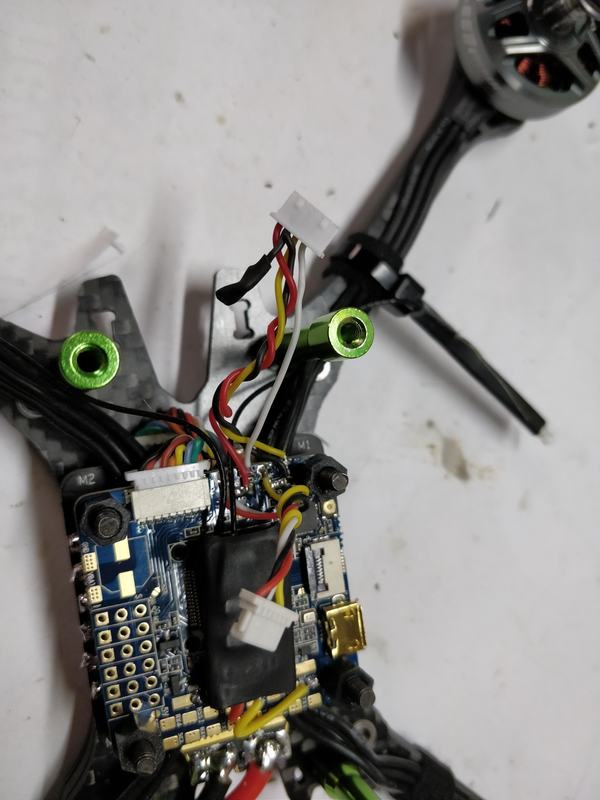
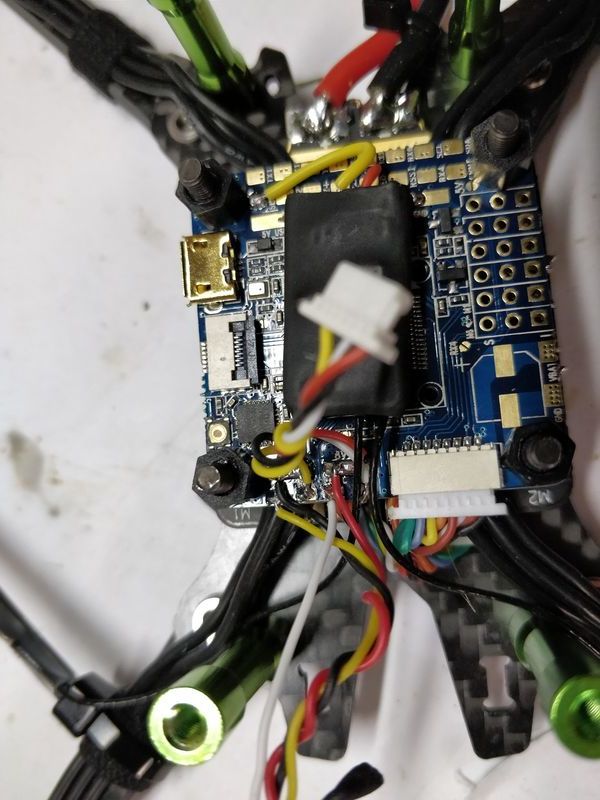
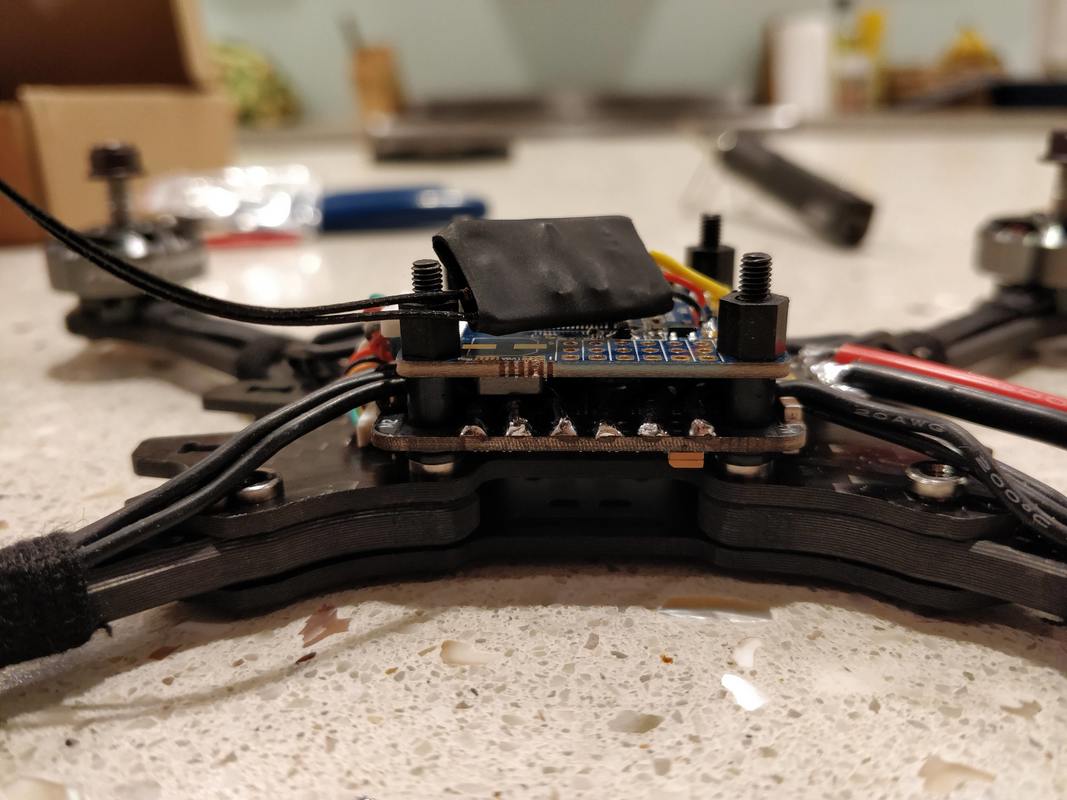
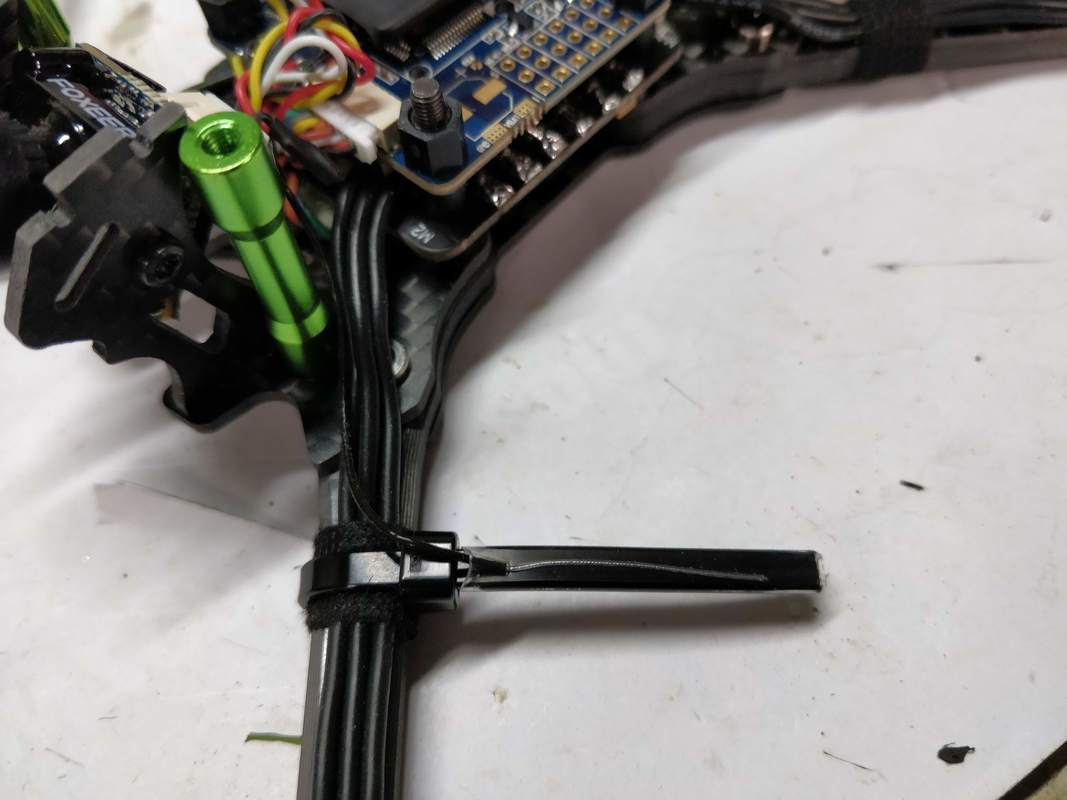
Extra parts and recommended for the build Firstly you will need extra parts for this build. I've used the following with links to Hobbycool as they tend to have the sharpest price: And tools/sundry items: On with the build Captioned images below should walk you through the build process and I've noted anything tricky as I've gone through. Click on images to zoom.
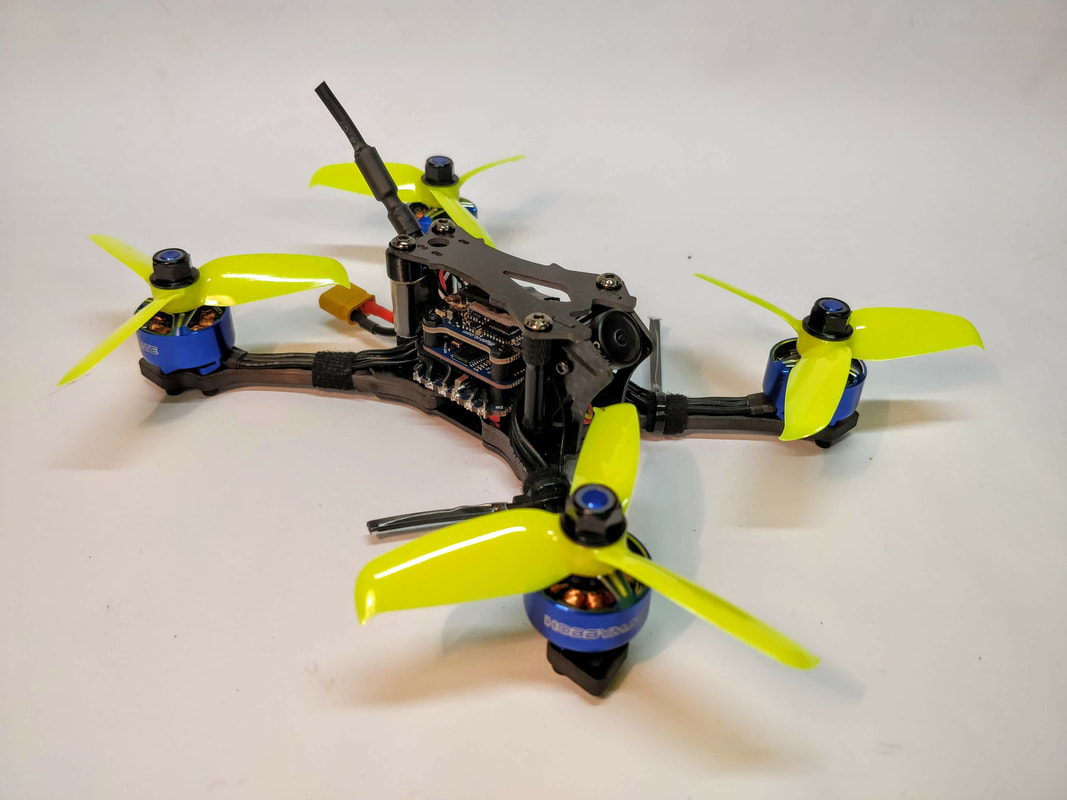
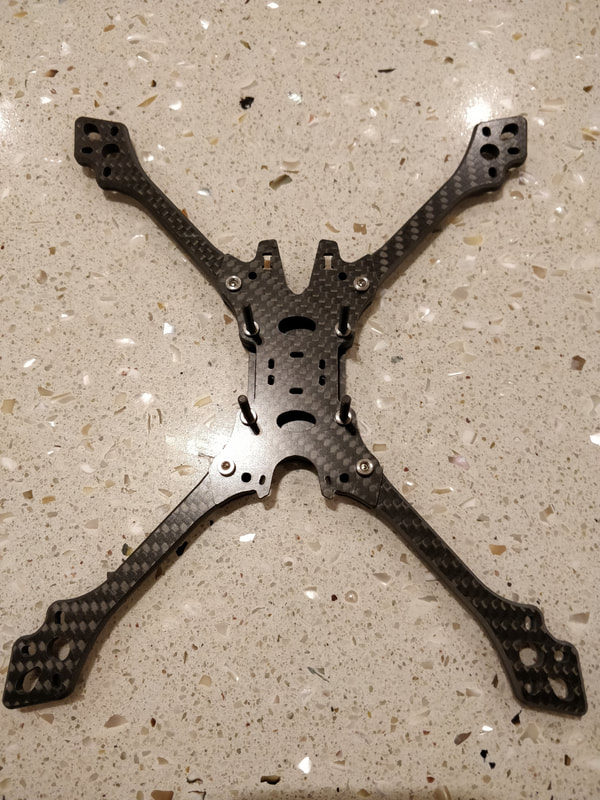
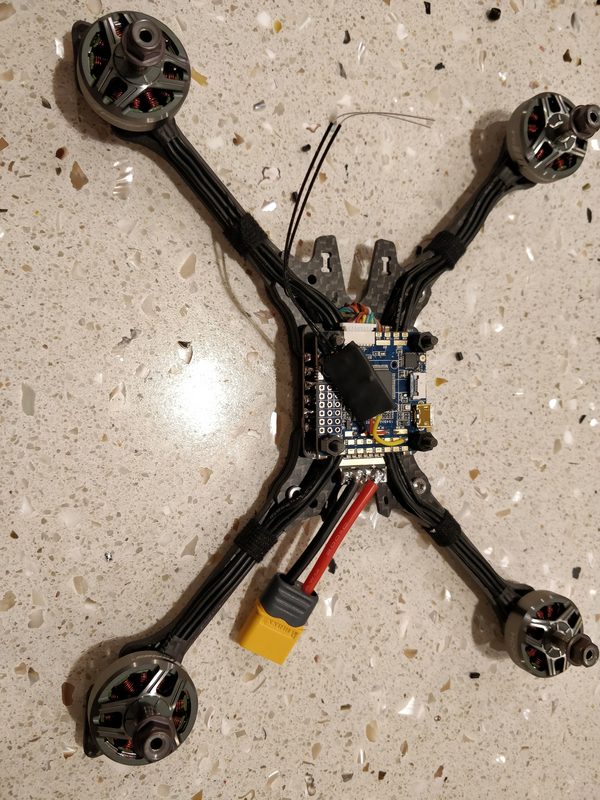
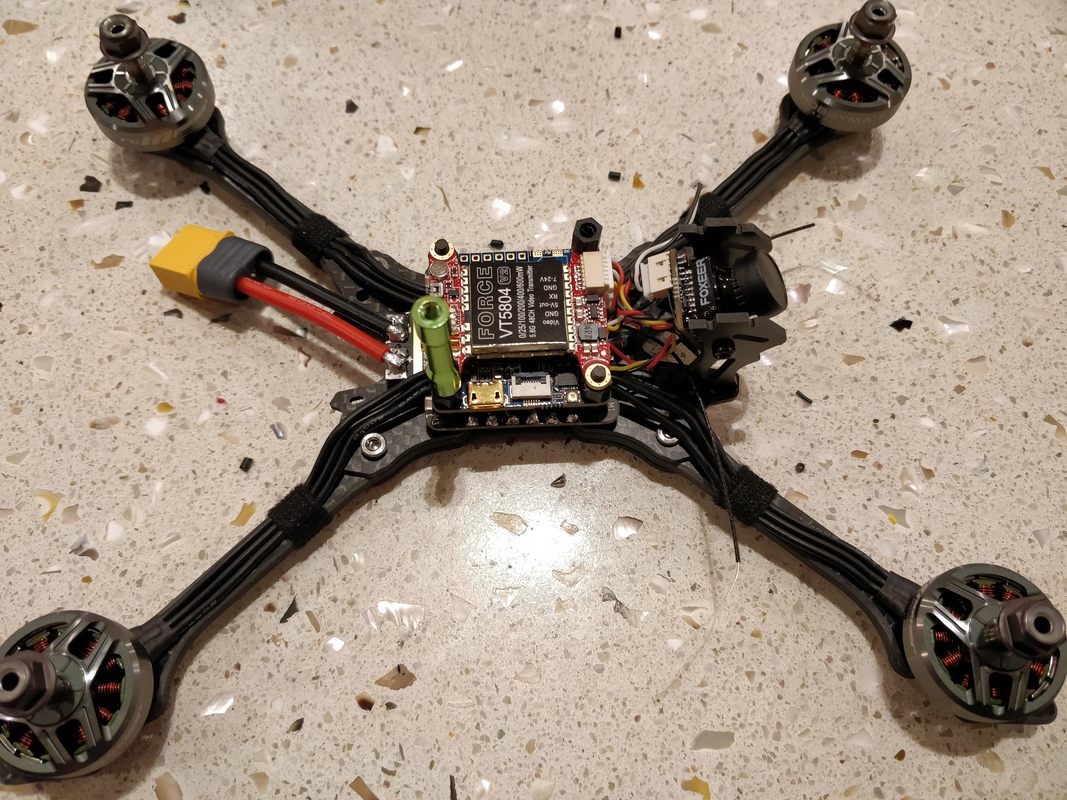
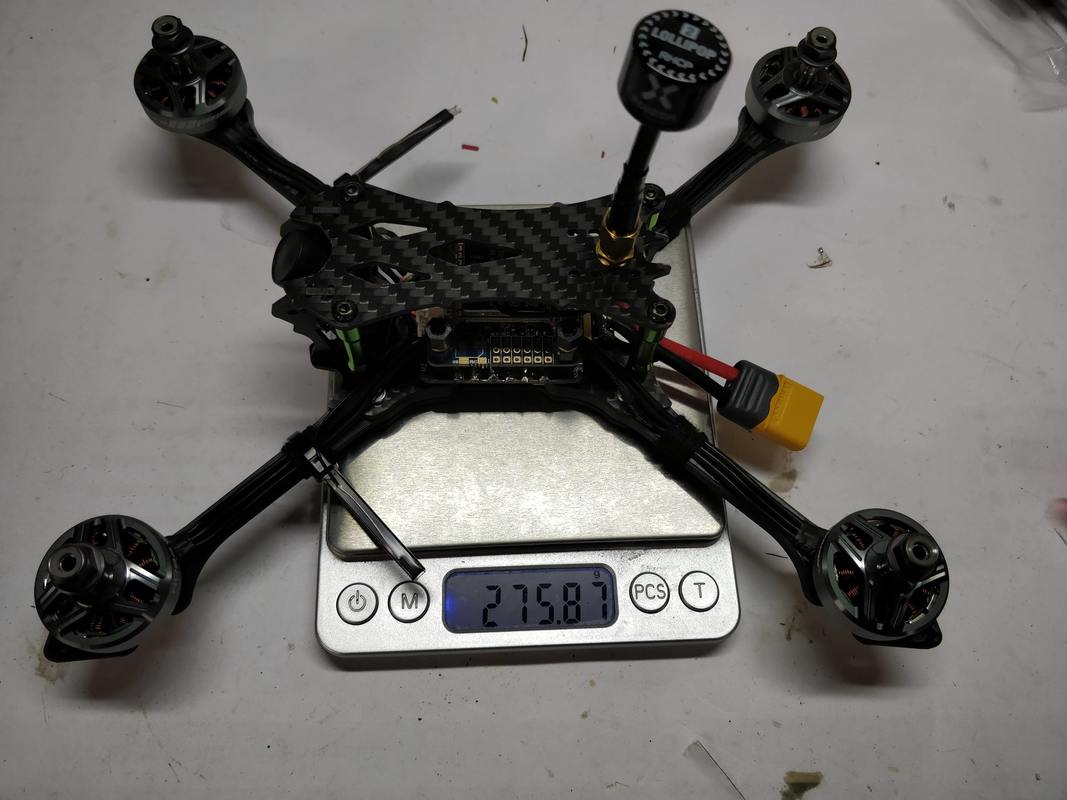
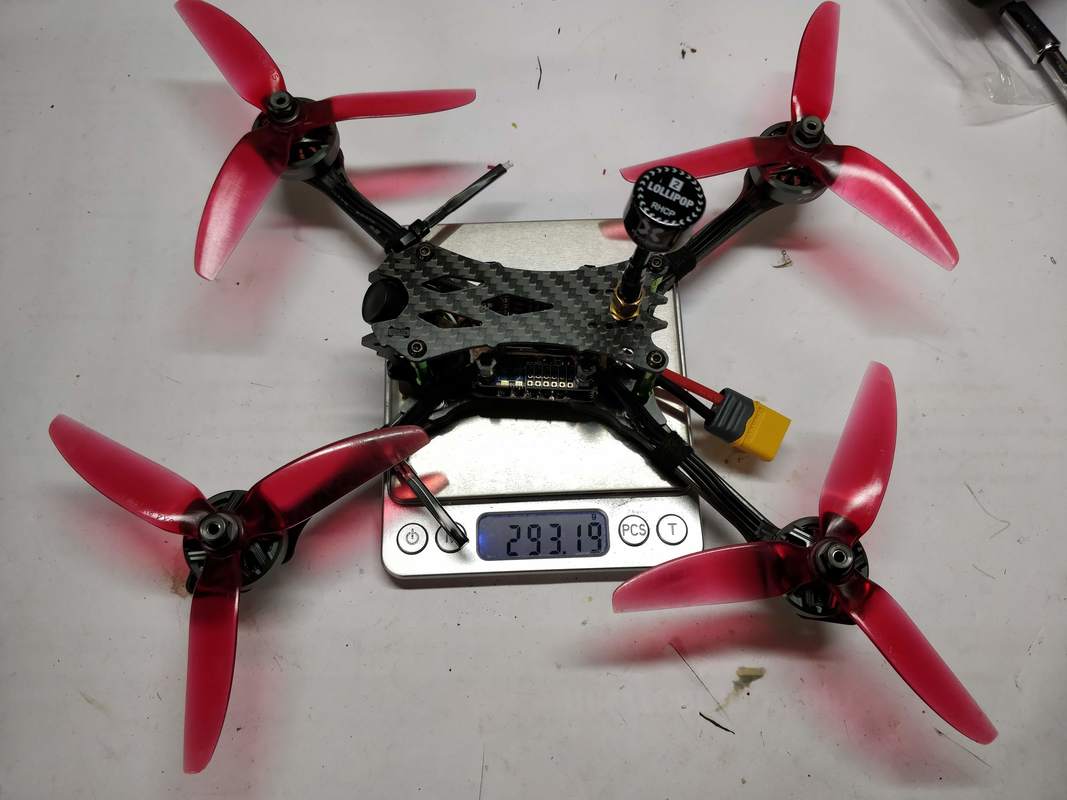
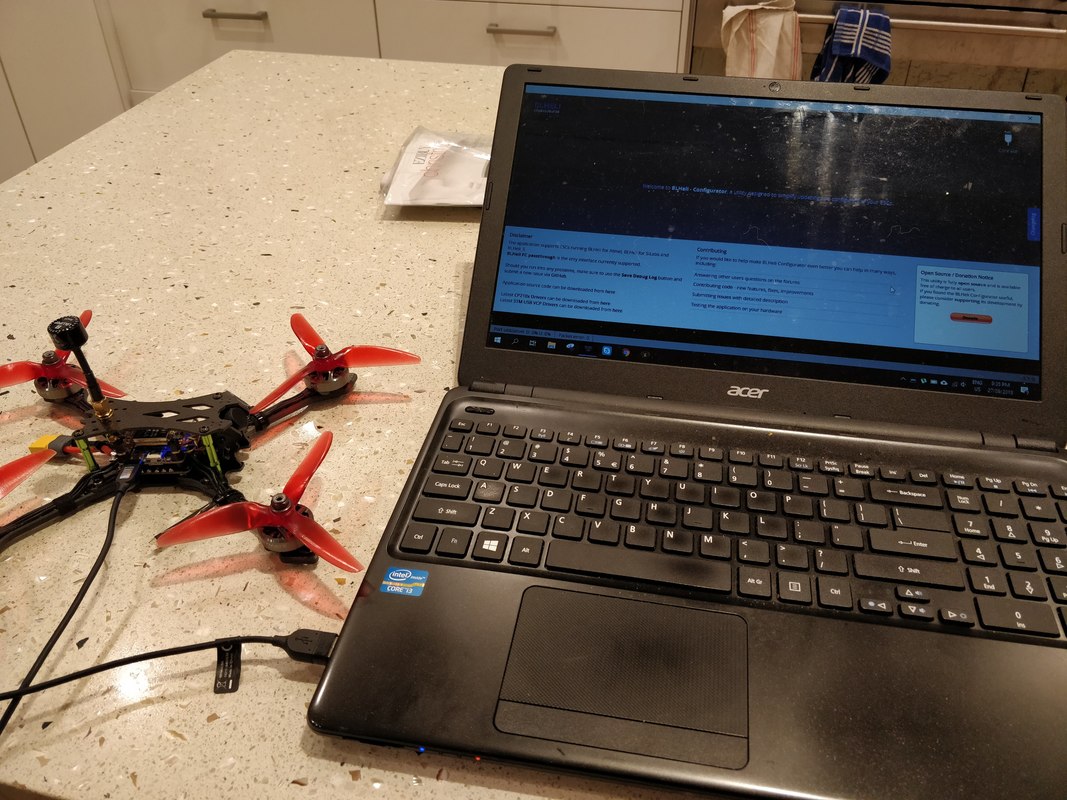
So that is it for the physical build. Not a difficult build at all in the scheme of things - components fit easily with plent of room to work. Part 2 (software setup) is here and part 3 (flight review) here.
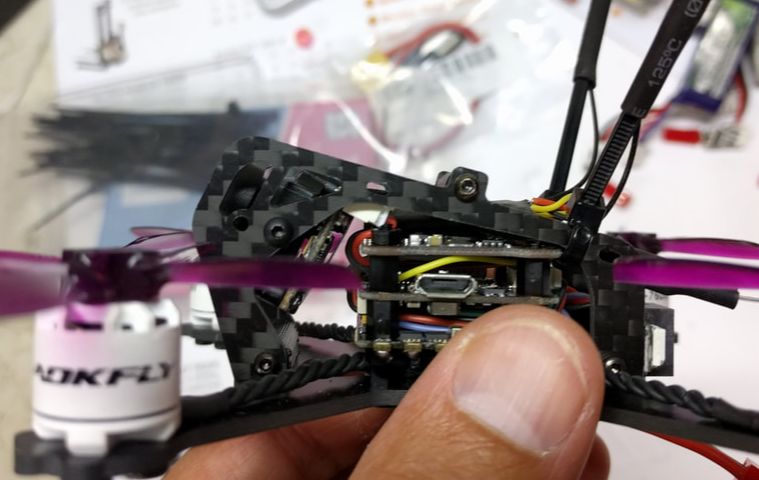
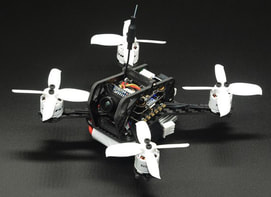 The Flyfox 110mm is a BNF Micro 2 inch quadcopter for newcomers HobbyCool.com. I was most interested in this micro quadcopter because so far as I can see, the BNF model here is completely exclusive to HobbyCool. Specifications The frame is based on a 3mm bottom plate with 1.5mm sideplates attached by tabs and 3d printed standoff - very similar to the Leader 120 but with a different look and more importantly, a factory micro CCD camera. The frame with hardware on its own weighs 15g and is available here for less than $10. Speaking of the camera, it looks to be nicely protected by the frame without impacting the view however only a limited amount of camera angle is available as can be seen in the image below:
Electronics are fairly typical - F4 flight control and 20A DSHOT600 ESC. 2 nice suprises I was not expecting here though - tramp control of VTX (my first in a micro) and a baromoter in the flight controler (my first altogether!). ESC uses a JST connect which should be ok although I would have preferred a XT30. Voltage drop may or may not be an issue but in practicality in all except my lightest brushless quads (less than half this weight), it is a much more robust and convinient connector.
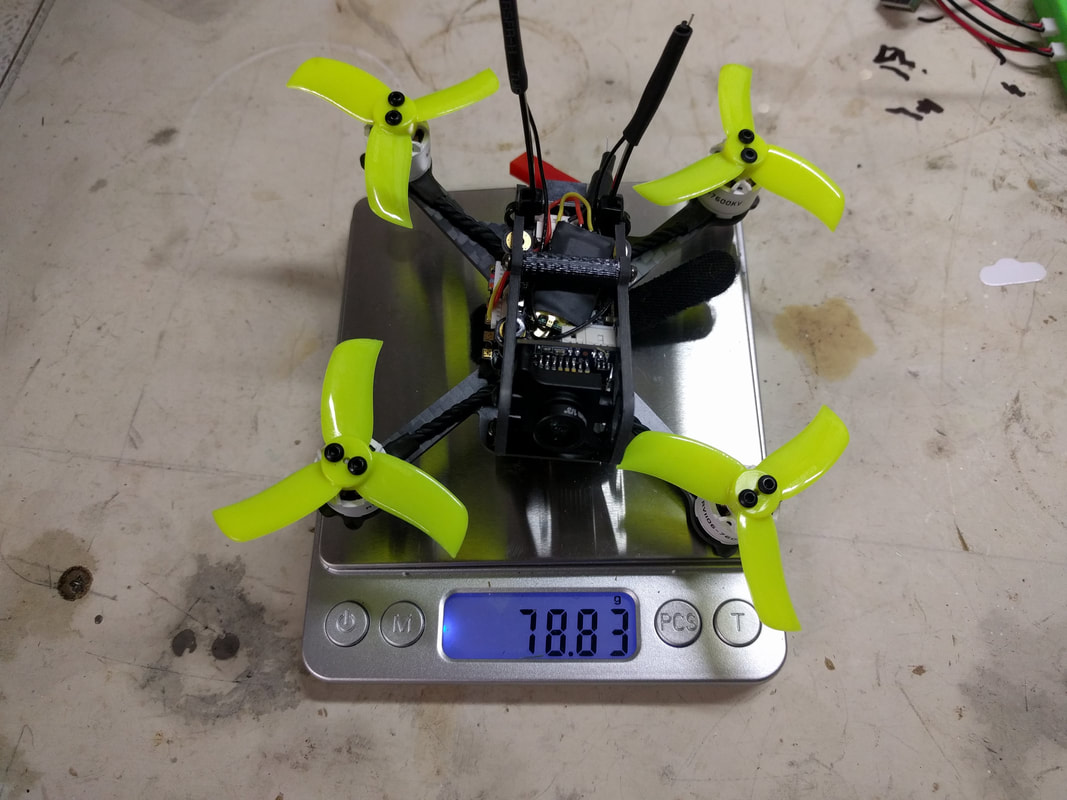
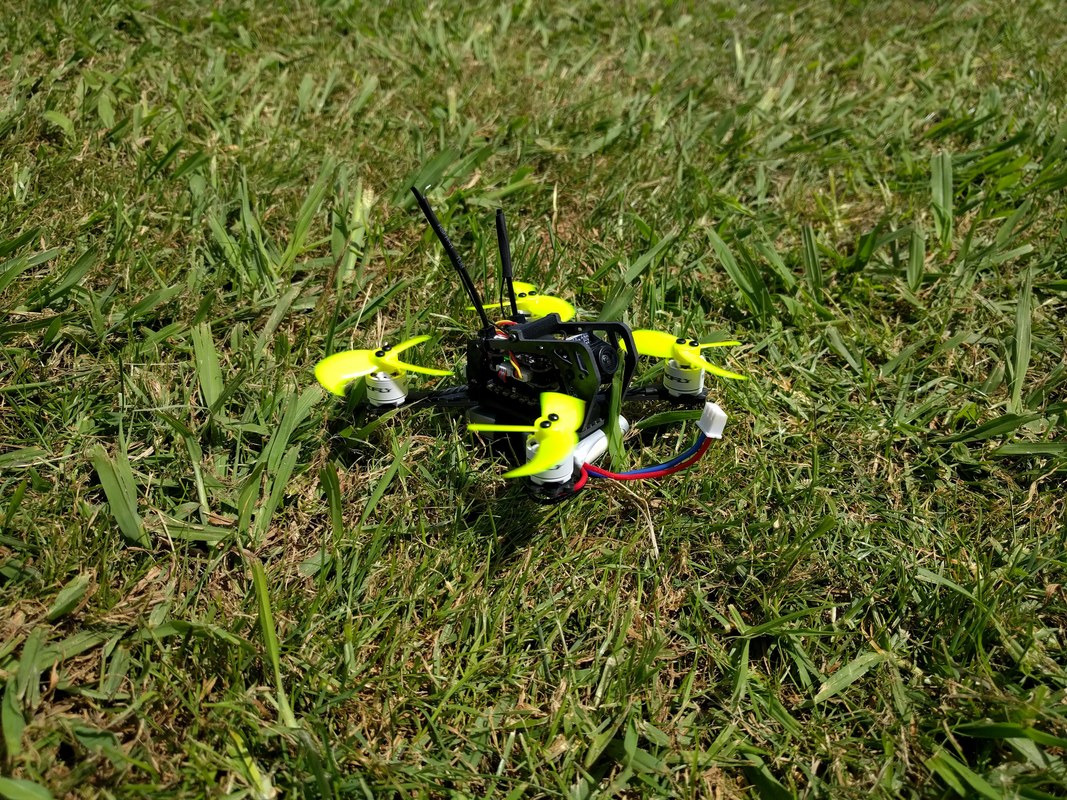
This quad is PNP so does not ship with a receiver so I used my favourite XMPlus for FRSKY. It does however ship with a nice 550mah 2s GNB battery which unfortunately for me is still with Hobbycool since getting batteries to where I live (NZ) is getting harder and harder. Lastly a buzzer and 2 x programmable LEDS are connected and mounted and 16 x Kingkong 2035 4 bladed props with screws are included. All solder joints that I could see looked to be good, wires were well trimmed, routed and secured and the build quality looked good. All up weight including props, battery strap but no battery is 78g which is heavy but it's worth noting that this is in a power class of it's own with these monstrous motors. When I first plugged in betaflight configurator in I was expecting to see a dead stock list of settings but was pleased to find some customisation - see below for a list of stock settings which included a number of modes set, craft name, DSHOT600 etc but unfortunately no custom PIDs (or rates). Prior to the initial flight the only changes I made to setting were for my receiver with RSSI set to channel 16 and my stock modes - arm-disarm; angle-horizon-air; beeper off-beeper on. Getting ready for FPV Maiden Even before I started FPV I could tell from the hover test that the PIDs were too aggressive by the excessive fluttering I could hear. This is to be expected because the comparitively large motors have absolute control of the motors and so the feedback loop is exaggurated. I knocked P, I and D down for all three axes to get it in the air without risk of damage but it could certainly do with some more tuning to crispen up the controls. Since it was Betaflight 3.2.0 that was installed, PIDs were easily changed via OSD. 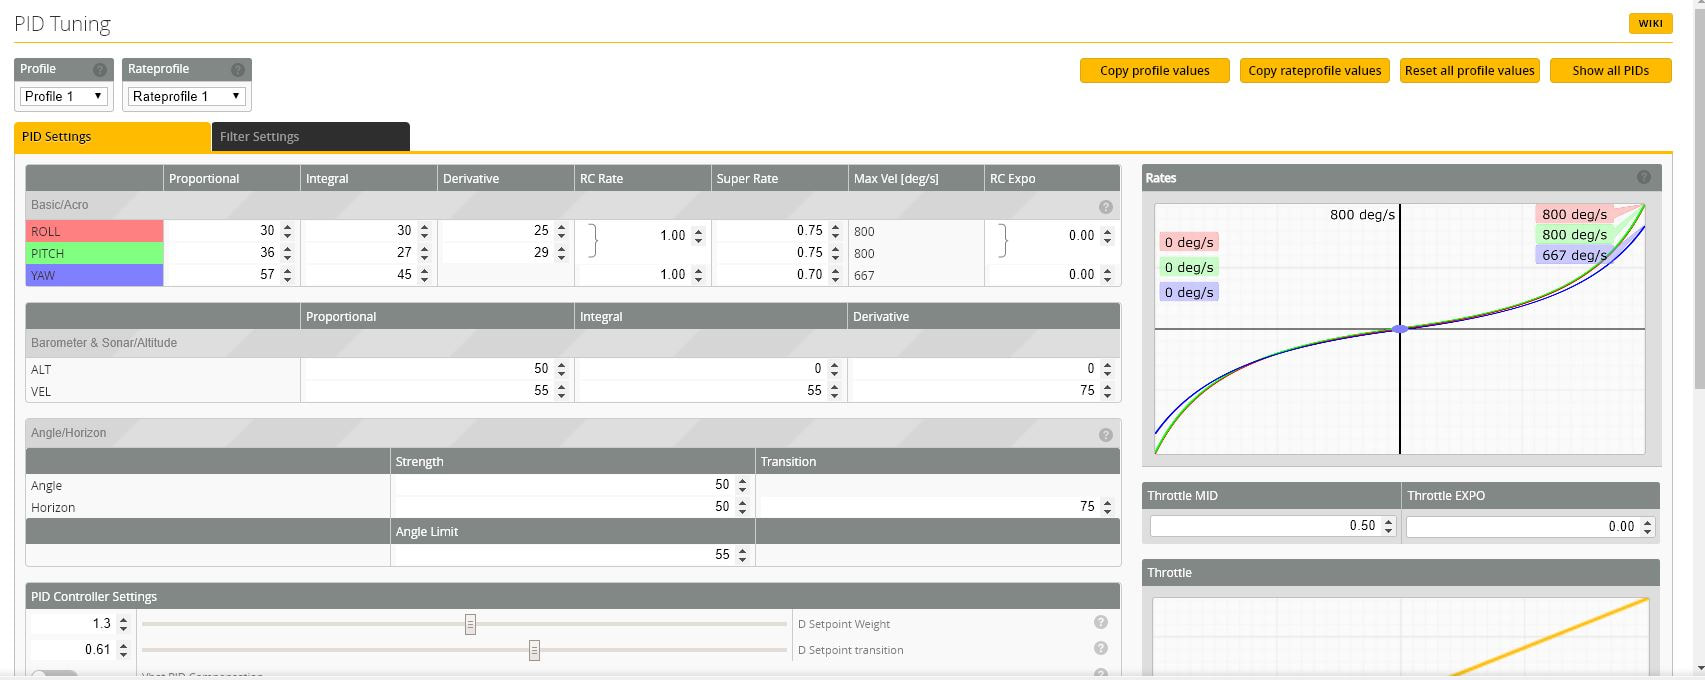 If you are getting a lot of fluttering try these PIDs to start. They take away much of the oscillation and motors remain cool but are overly conservative Since I did not have the stock 550mah 2S GNB battery (which is highly regarded) I used my turnigy bolt HV 2s 500mah 65c batteries charged to regular voltage with stock jst discharge connectors. For what it is worth, radio was FRSKY QX7s and goggles were the AOMWAY commander V1s. Takeoff weight was 104g  Ready to maiden. Here I used the Gemfan 2035 props instead of the stock Kingkong 2035. Not sure what my shadow pinkie finger is doing here. Drinking a cup of tea? Maiden Flight The quad powered on without issue and I was off flying immediately. I started with the stock propellers but switched the the Gemfan 2035 4-blades after finding that they had a bit more top end through a wider blade at the tip. Power was predictably high for a 2 inch but regardless of the large motors lacked a bit compared to a quad swinging a 2.5 inch prop (e.g. leader 120, HGLRC Hornet, Mini Fight). Update: After more time with the Gemfan 2040 Hulkie 3 bladed props I found I was able to get better performance again out of these 3 bladed props over either set of 4 blades. As I suspected when I first reviewed the hulkies, their stiffness and less blades are better suited to a high power setup.
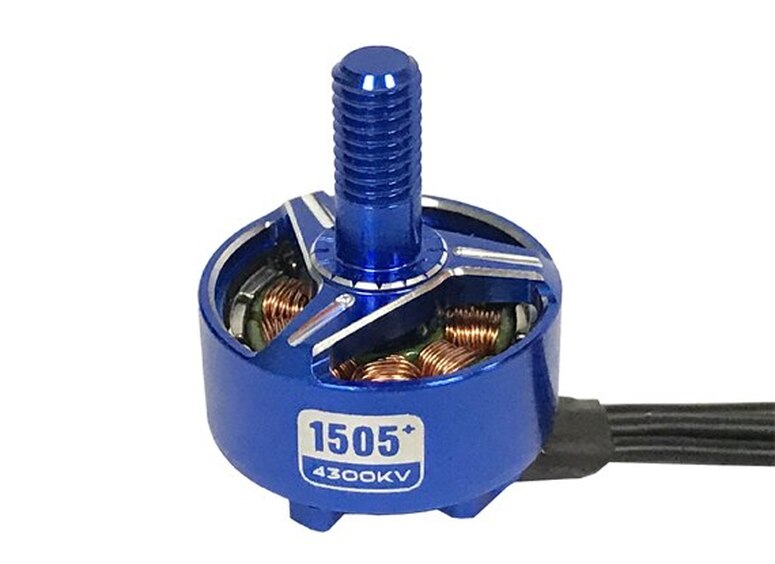
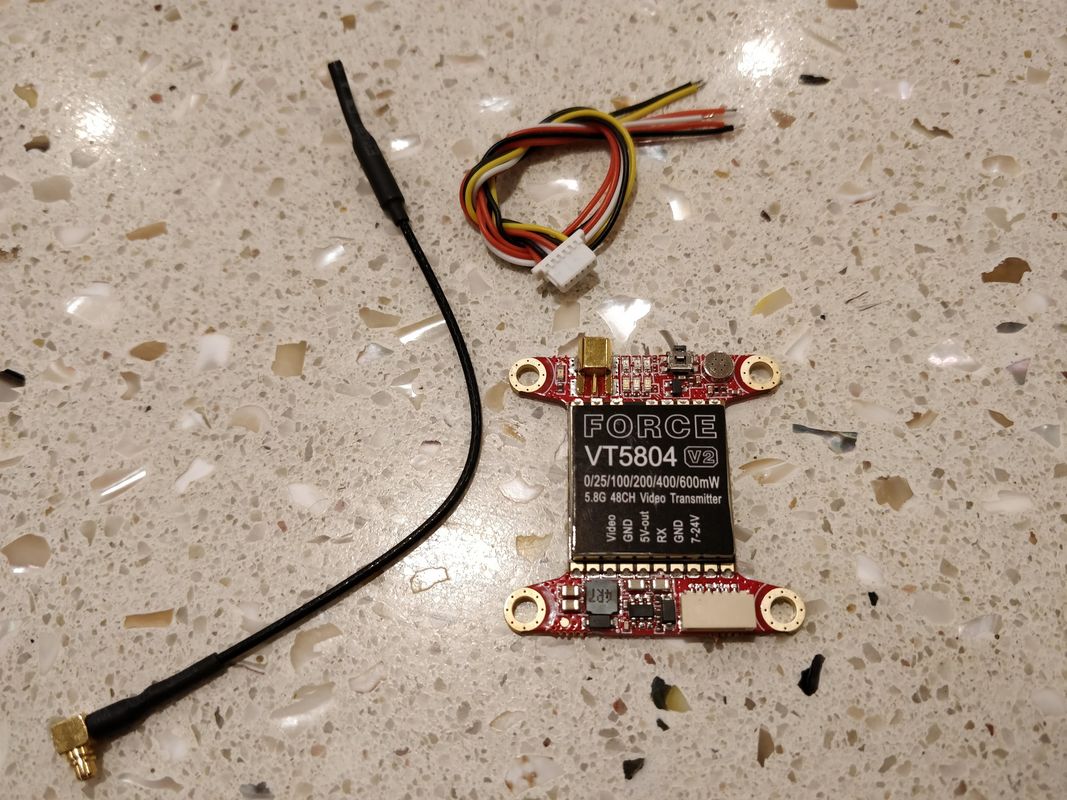
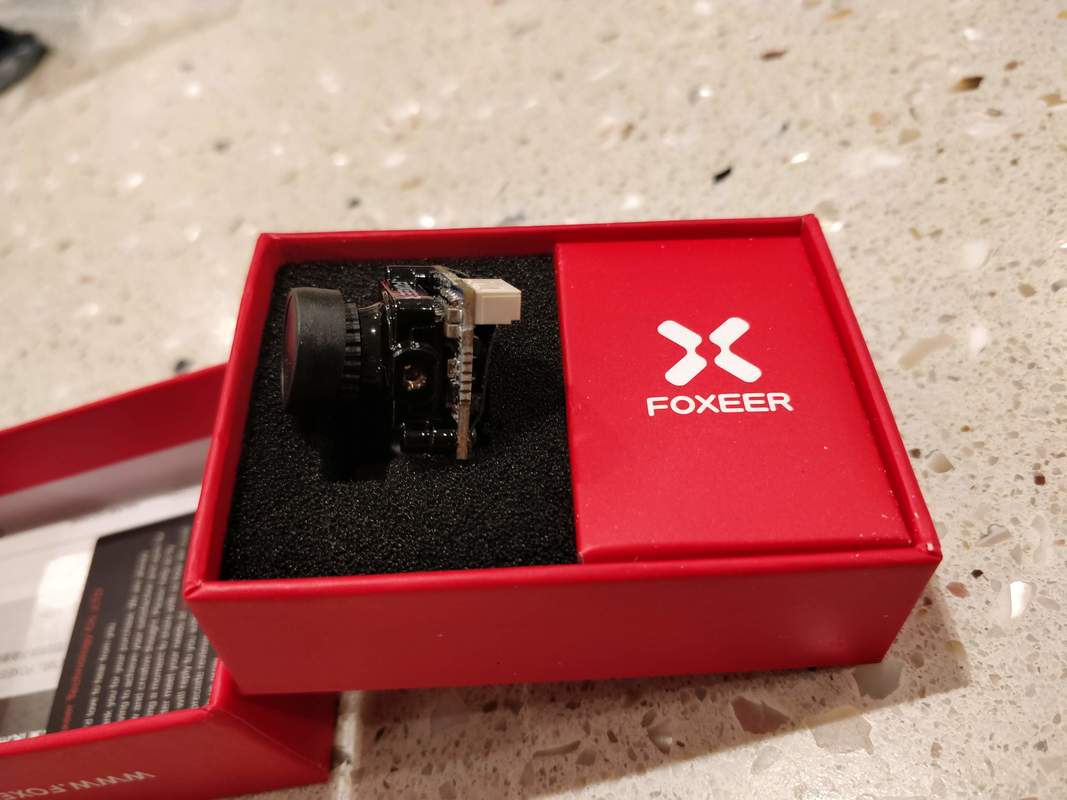
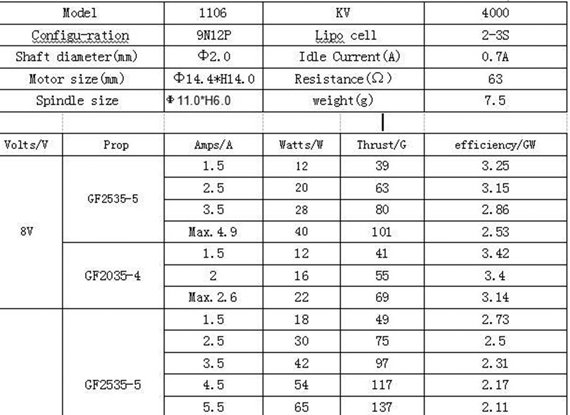
Due to the large motor size response was excellent but given I tend to have a preference for light weight over power I found that hard flying took quite a toll on the batteries. For moderate to heavy flying I found I got about 2 minutes of flight on the 500mah batteries, which recovered to about 3.73 v per cell on resting. During flight though I did get a lot of warning of battery low and land now but in reality just need to change the battery voltage hysterisis setting to be a little more tolerant - article on how to do that here. Update: 15 packs later I consistently get 2 minutes on these batteries. It is fair to say that between the large stator height of 6mm and very high kV of 7800, this motor is designed for 2s and no more - even trying 3s did not cross my mind... not only because of the likelihood of the motor cooking itself but because you simply cannot take advantage of it with the 2 inch props - it will just make more noise and heat. Batteries and motors aside, the quad feels like any other high powered 2 inch - powerful but certainly not floaty where you need more throttle to make it change direction. Camera performance was on par with other CCD micro cameras including the Runcam swift micro, Foxeer arrow micro, HGLRC Elf, Furibee MS 1672. Video signal was good - typical for a dipole but like that it had the option of switching by 25mW-100mW-200mW via tramp protocol in the ESC. To be consistent with other reviews I stuck with 25mW. It's worth mentioning that when the vtx dipole is laying flat against the quads as in my pictures the reception is poor. Even when I temporarily bent it up performance improved a lot, but will cover this more in my list of recommendations. Conclusions
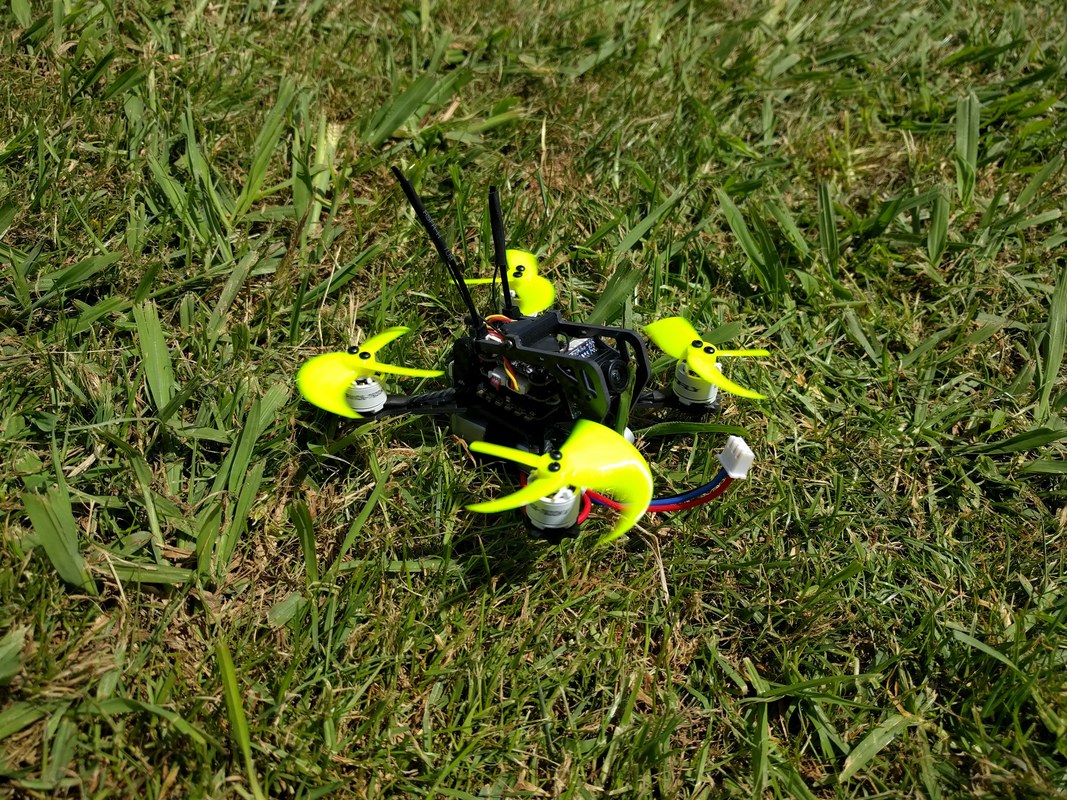
The Flyfox 110mm BNF from Hobbycool is a high powered 2 inch drone that is well built and fairly priced at $129 the time of writing. It's key feature is the massively powerful 1106 AOKFLY motors that are fast but make the quad heavy and limits battery choice to 2s, even though the electronics can take up to 4s. These features make for a fast quad in a straight line that needs extra throttle in corners to help keep a line. The downside is that battery life is shortish - 2 minutes flat out on a 500mah battery. The kit is well provisioned with 16 propellers in total and a very nice 2s 550mah GNB battery. Recommendations
The FlyFox 110mm BNF Micro brushless quadcopter is available exclusively at HobbyCool.com I'd like the thank Kevin for the sample he provided for me to review. |


Thanks for visiting QuadifyRC.com Follow us on facebook below to get all the latest updates