|
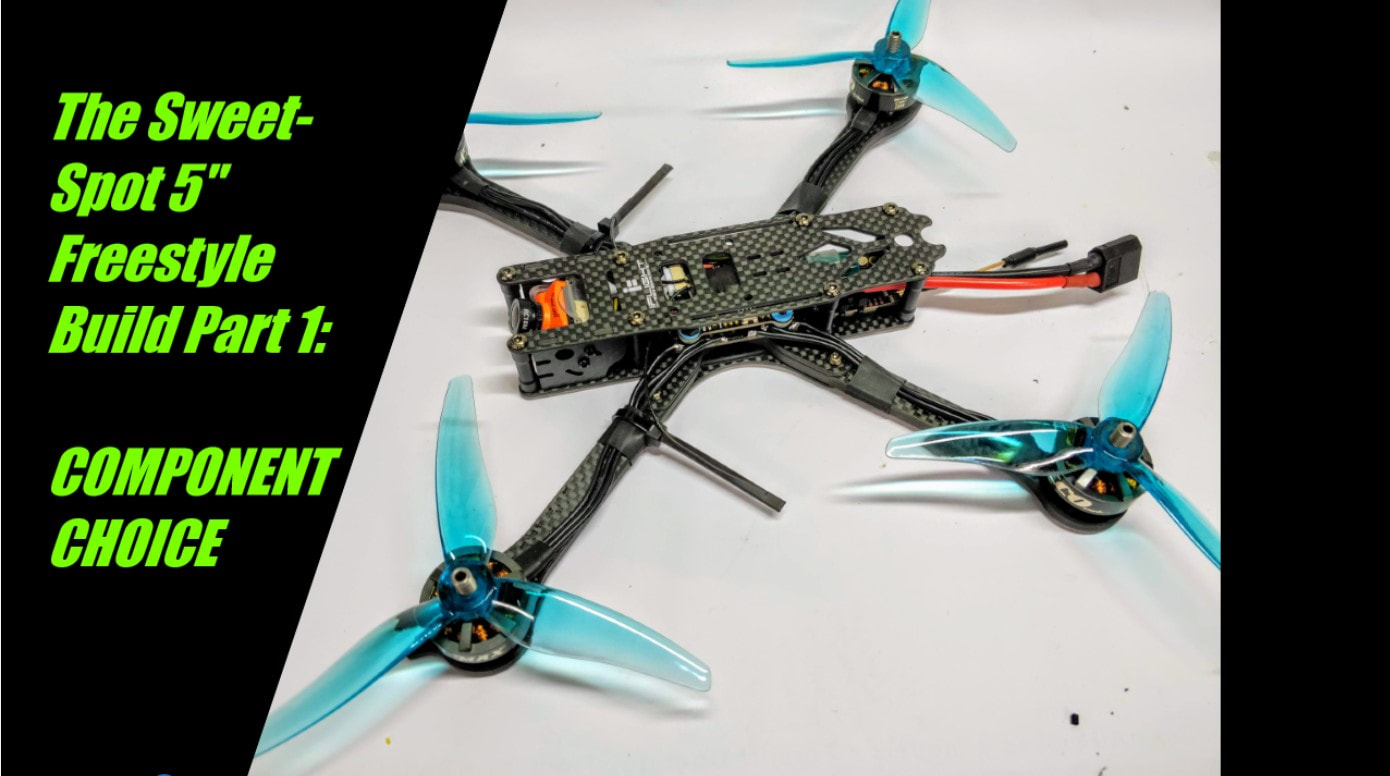
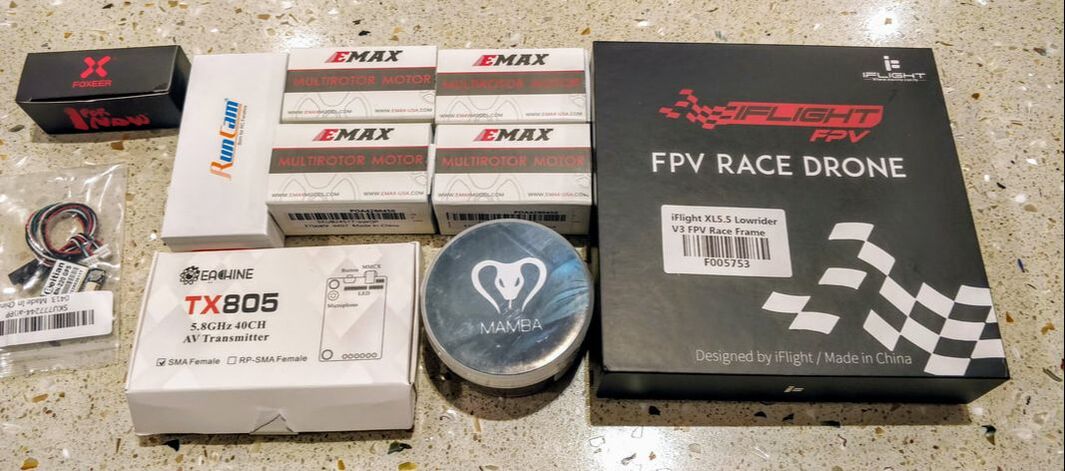
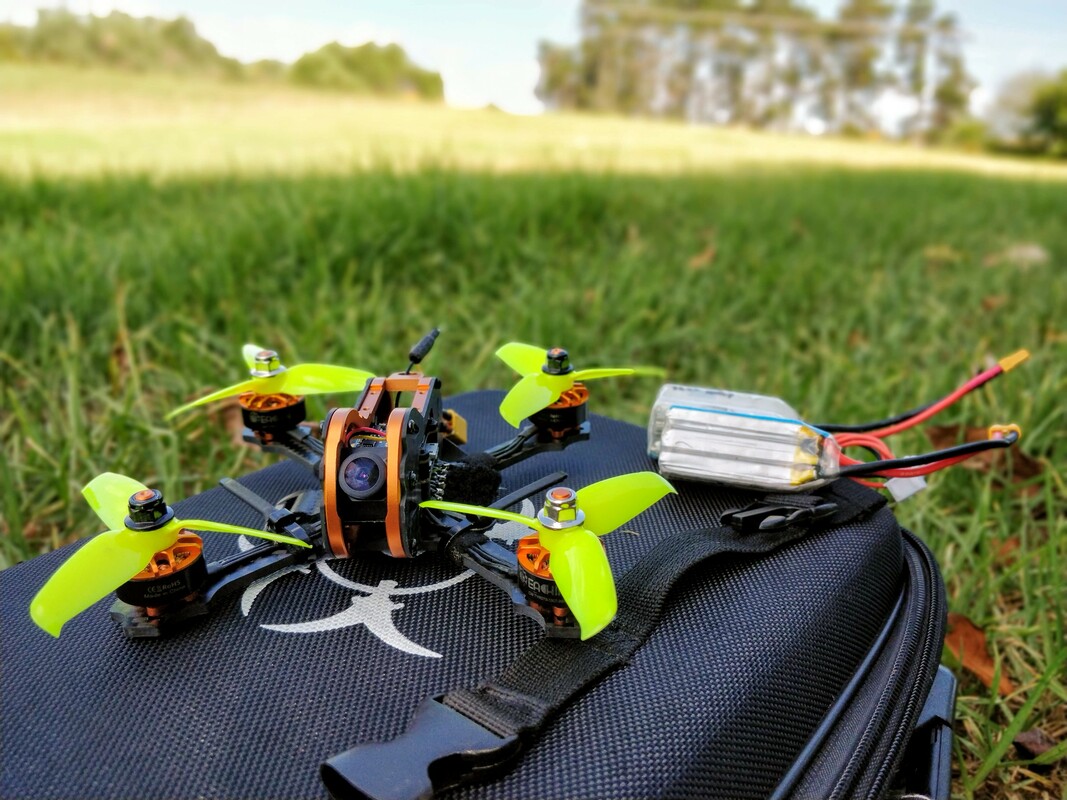
I have decided to piece together a bang for your buck freestyle build to coincide with the summer in the Northern Hemisphere. My objective for this build was not to build the cheapest quad but the best value. This means parts will be from recognised brands with a good track record of performance and reliability with a good degree of future proofing. To be clear, this is not a $99 build, it is more like $150-$170 but will be more reliable AND outperform any pre-built quad and will easily hold it's own against something double or triple the price - I like to think of it as the Sweet Spot. This Sweet Spot Quad will be split into 3 parts:
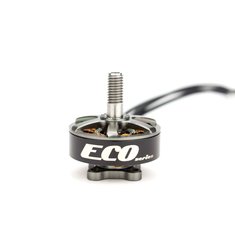
For each key component I'll show you what I chose, a cheaper option and a more premium option with price indication and justification. Let's get straight into it!! Motors
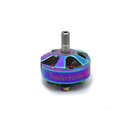
Flight Controller/ESC
0 Comments
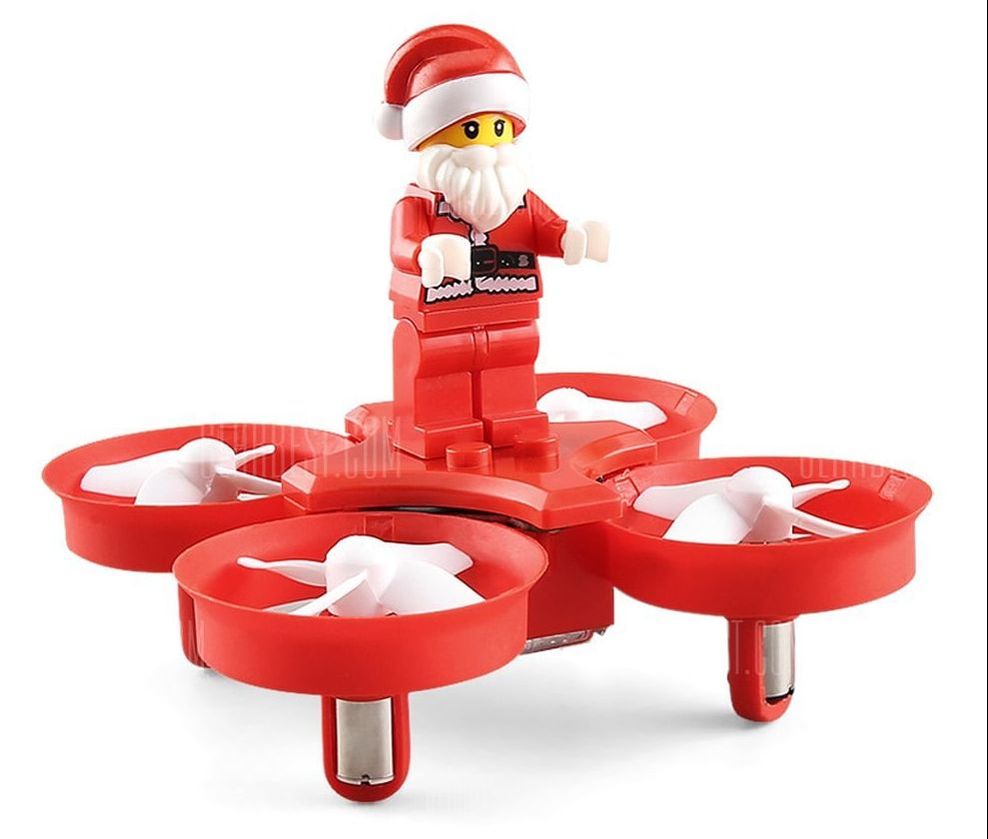
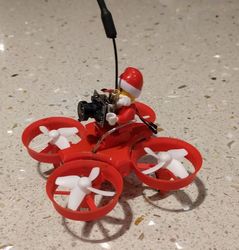 Time for a cheap, high performing tiny whoop build with a twist - Christmas style. I know it is a novelty but the JJRC H67 Flying Santa Claus RC Quadcopter is actually the Eachine E011 in disguise. The E011 in my mind is the absolute best starting poing for a tiny whoop with the larger 716 motors that have absolutely no problem lifting an All In One (AIO) camera. So what make this build so special? Freakin' Santa Claus does! 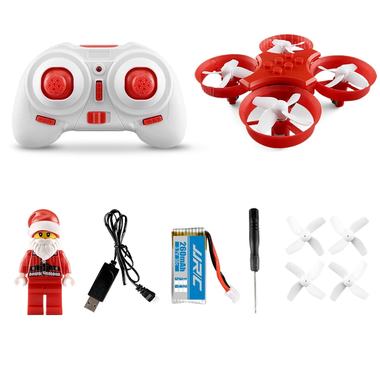 The JJRC drone is in Christmas themed colours and comes with a Santa minifig. The best (and most annoying part as a parent) is the noisy sound module on board that plays a Christmas tune. As a stand alone unit this is a micro brushed quad that flies very well albeit with a small but proportional remote. Of particular note, the motors and battery are very good and will give you a genuine 5 minutes of throttle-heavy flight time. Included in this pack is:
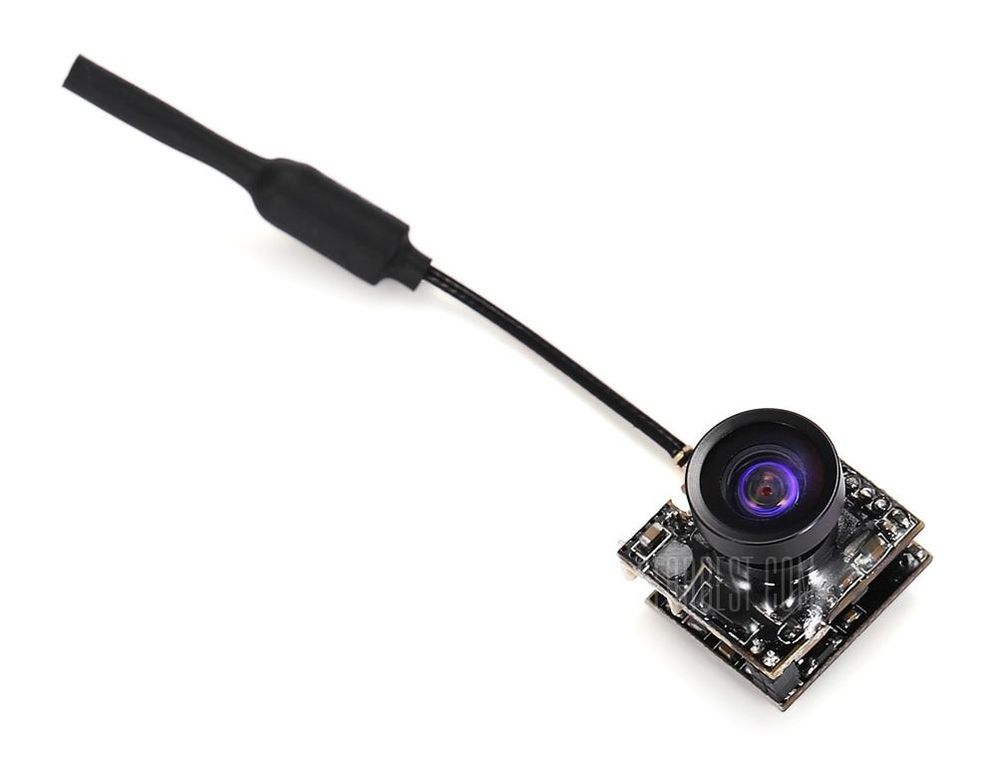
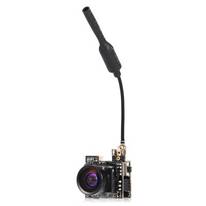 This quad is a lot of fun but it needs more FPV! I used the LST - S2 5.8G 800TVL HD Micro CMOS FPV Camera which is tiny and weighs only 3.5g. I've built an E011 whoop before with a 5g AIO Eachine TX01 camera and it had no problem lifting that. This new LST camera will offer much better performance even the seemingly small 1.5g weight difference has a very big performance impact on these brushed whoops. See below for pictorial instructions for mounting the camera in the spirit of Christmas. The minifig is very heavy at 4g but I couldn't leave santa out of this garish whoop so will take him off when we start taking the Christmas decorations down, weight savings will have to wait for now. Here is a handy tip given the crappy stock reciever range. Drill a 2mm hole on the canopy as shown above and poke the antenna through it. You get over 100% more range which is absolutely necessary as this does not have a failsafe and will fly away from you if you lose signal! In conclusion this is an absolute bargain for a basic little FPV rig. To date all of cheaper fpv ready whoops have the smaller and less powerful 6mm motors and I'm suprised that a 7mm motors FPV ready unit hasn't been released. No problem though, as you can see above building this is not difficult or expensive and much more rewarding. The set up as above flies well enough but needs quite a bit of throttle. When you decide to take the minifig, canopy and speaker out you'll find performance will increase dramatically but that can wait till after the novelty has worn off :) If you want to use your own hobby-grade transmitter and have the full control of betaflight with acro/air mode, check out part 2: Adding the Furibee F3 Flight Controller. I'll have a link live here by 4 November. Parts in this build: See this page for current bargains on Gearbest for play and racing
|
Quick Access Menu
All
|
Thanks for visiting QuadifyRC.com Follow us on facebook below to get all the latest updates

