|
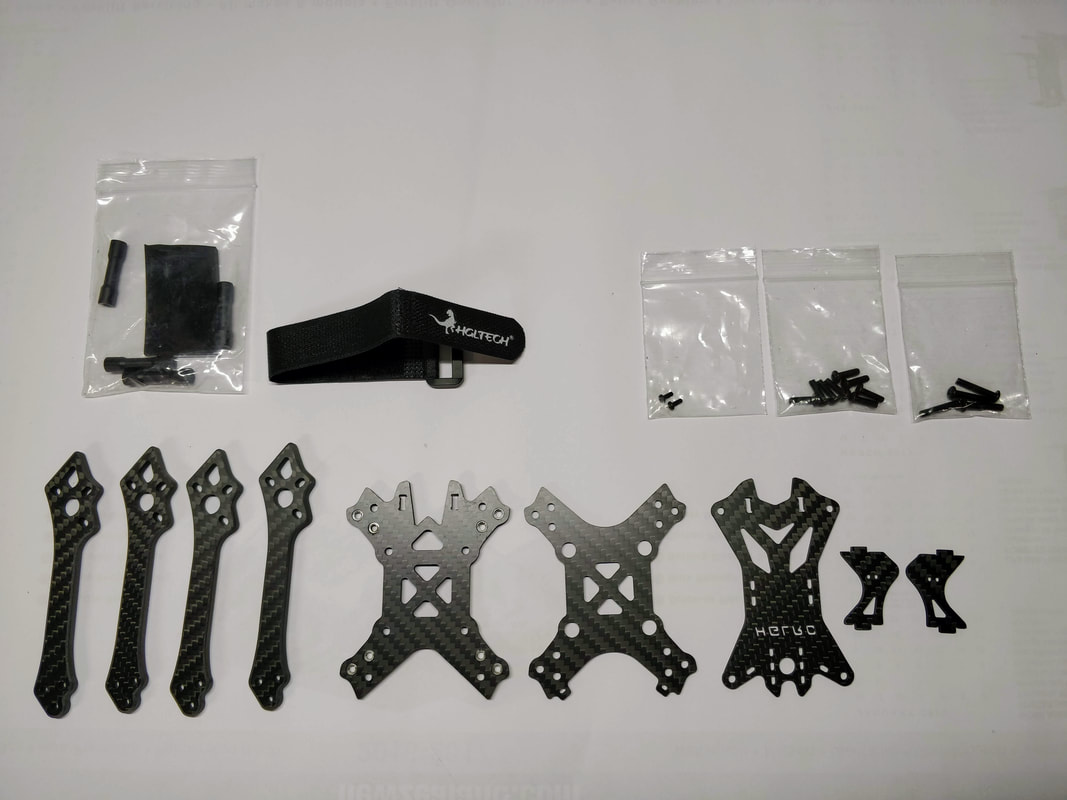
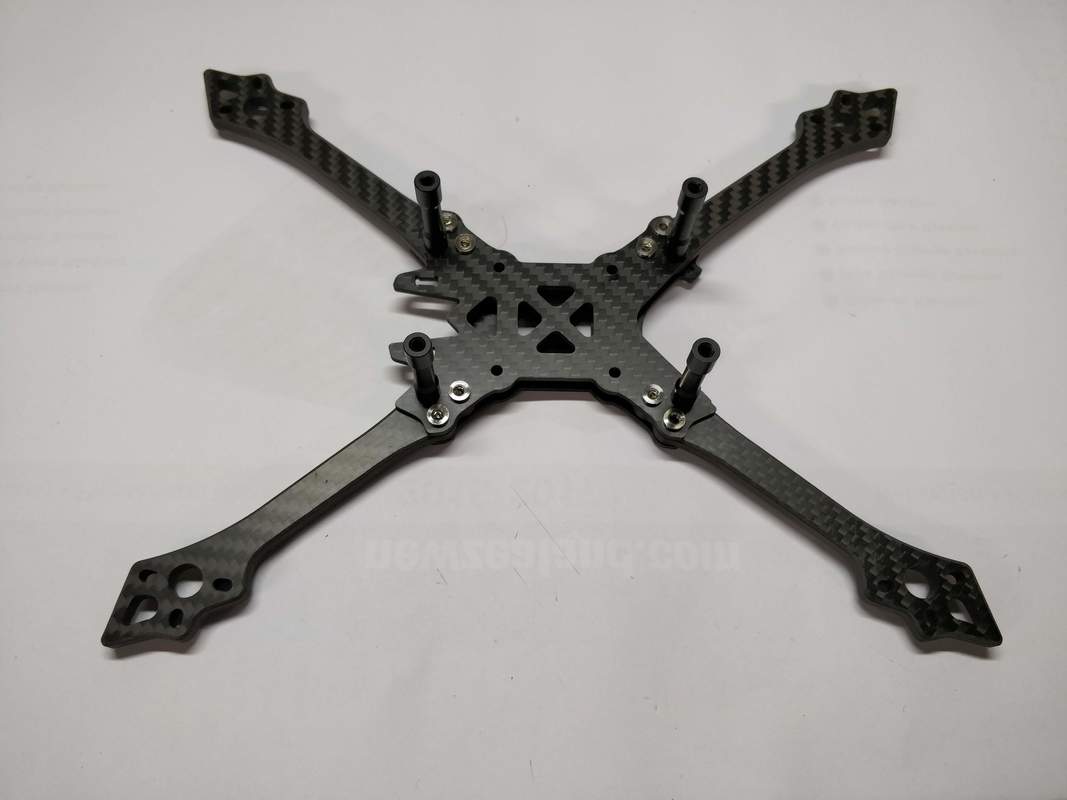
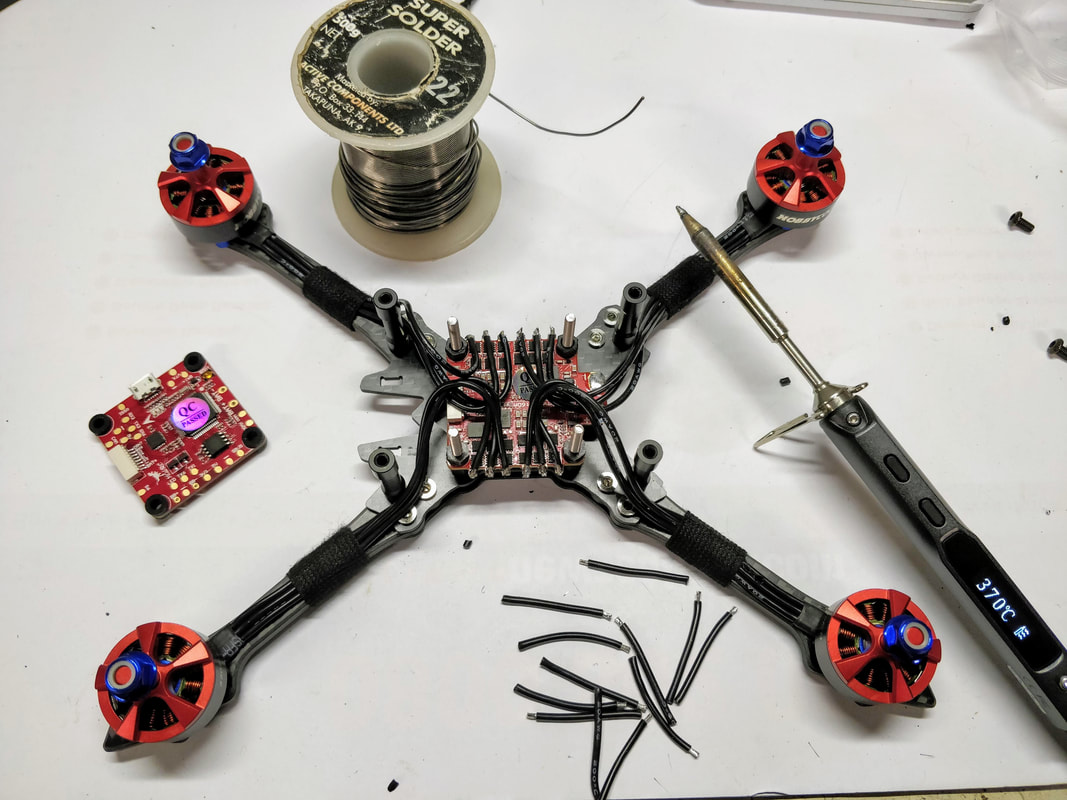
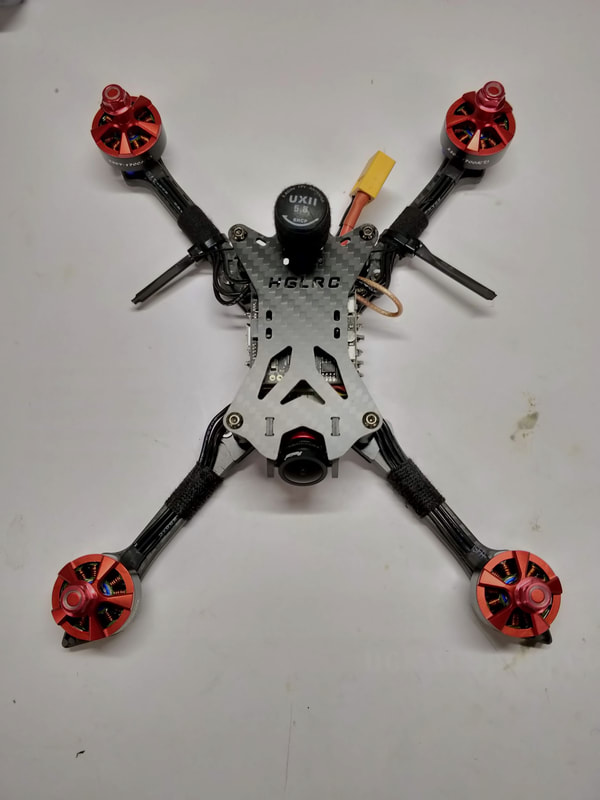
In part 1 of this build I reviewed the components I chose and why. In this blog (part 2) I go through the process of building the quad. 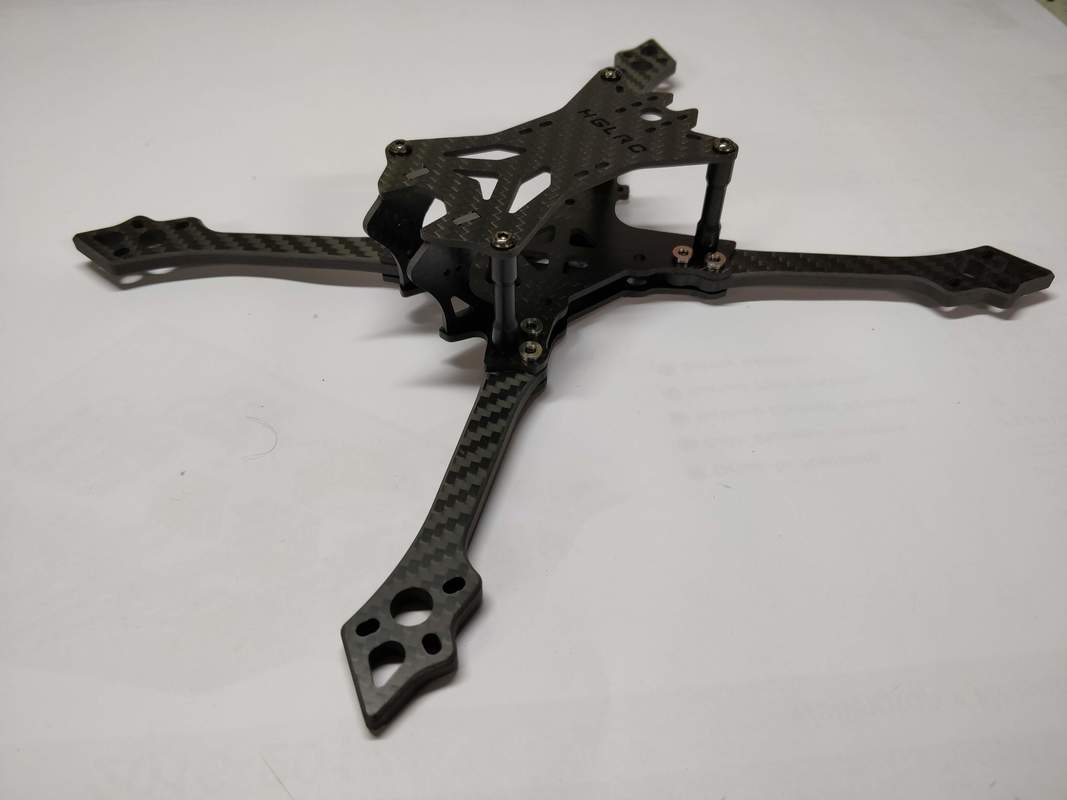 Building the frame (HGLRC BATMAN220 Frame) To recap the HGLRC Batman frame was chosen for strength, weight and price and the frame itseld did not disappoint. Quality carbon fibre looks to have been used and most importantly the weave is aligned with the arm length. There are a number of nice design touches including arm chamfer top and bottom, well considered component mounting and a nice camera mount. See the the captions in the gallery below for full details:
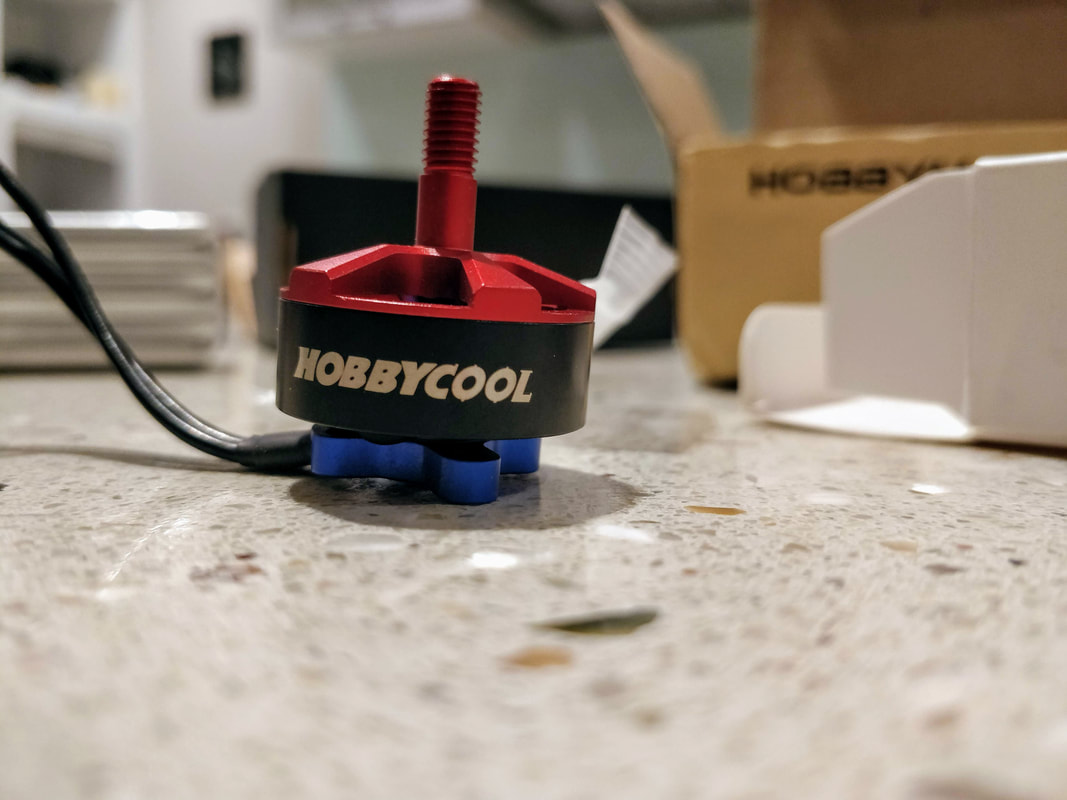
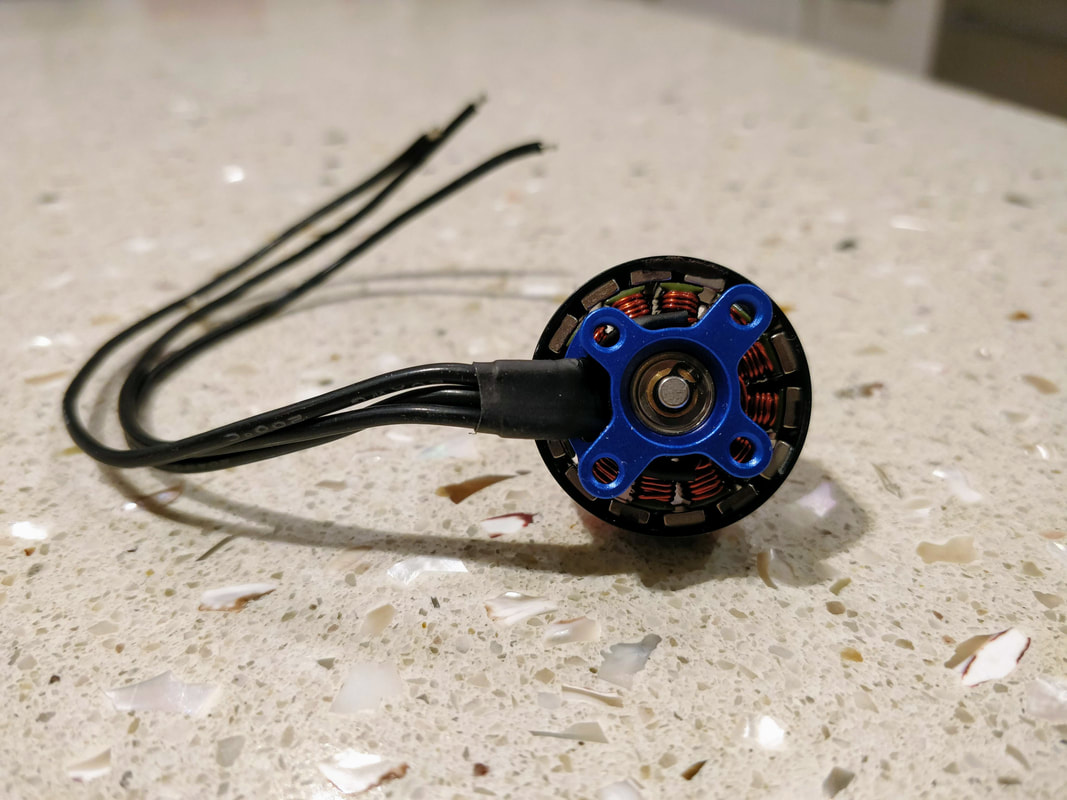
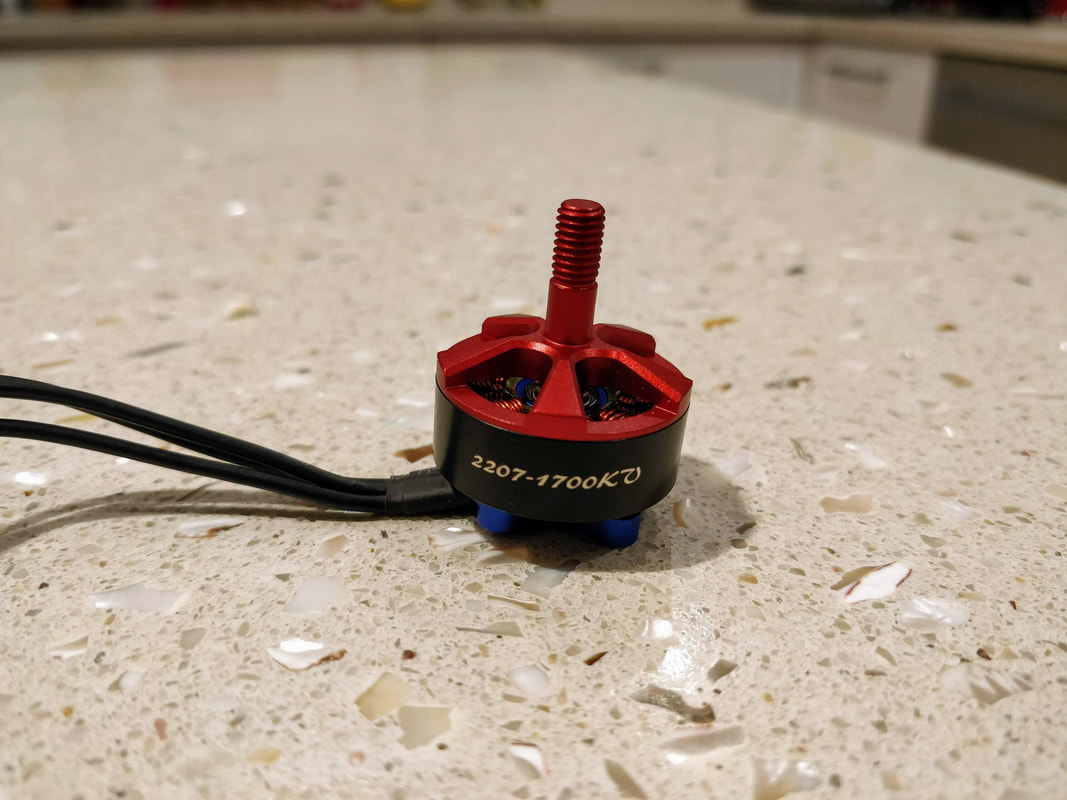
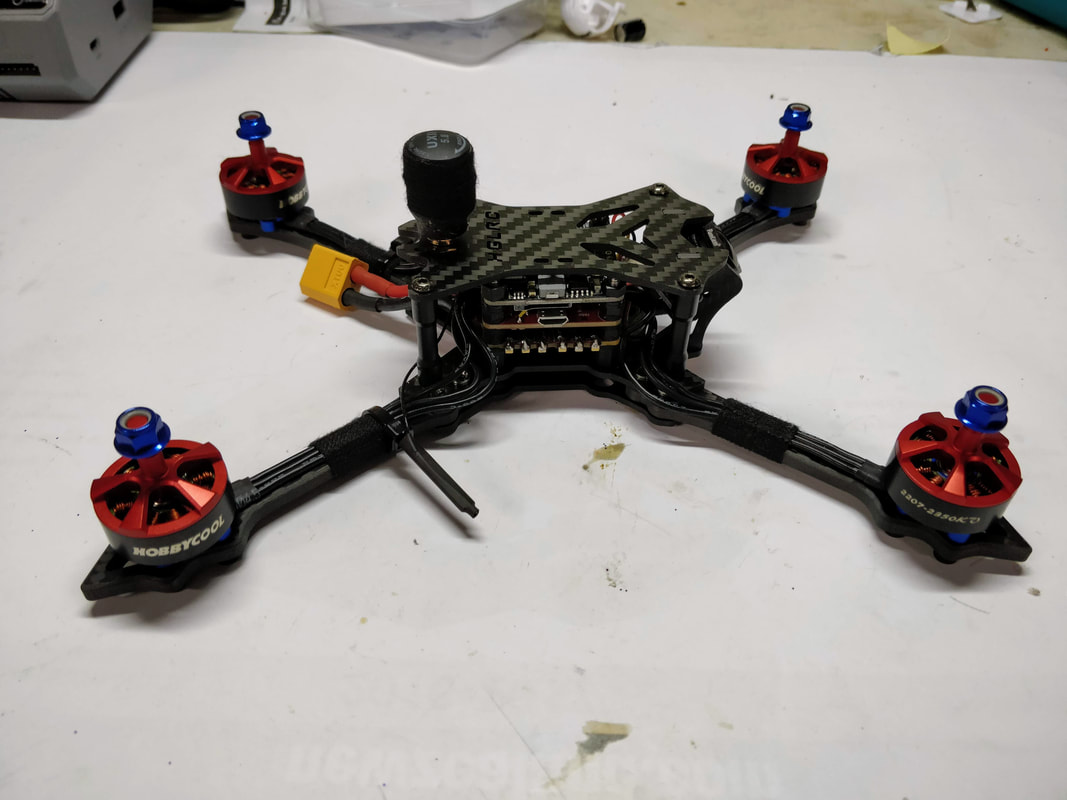
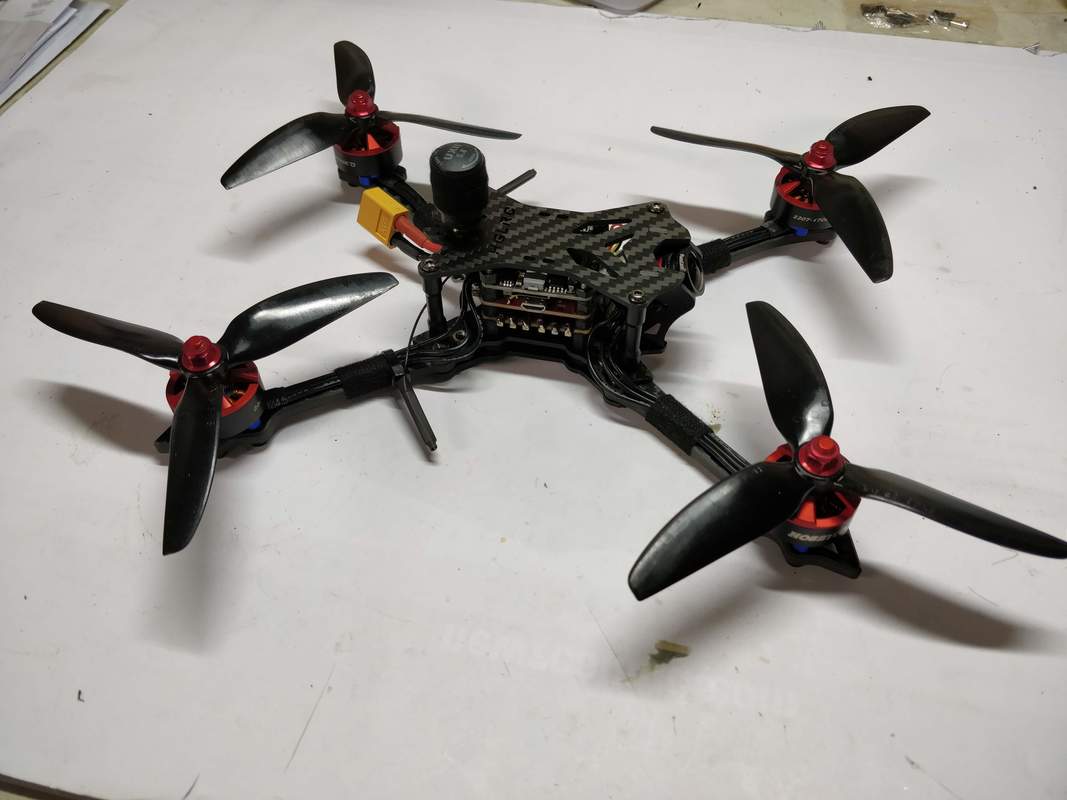
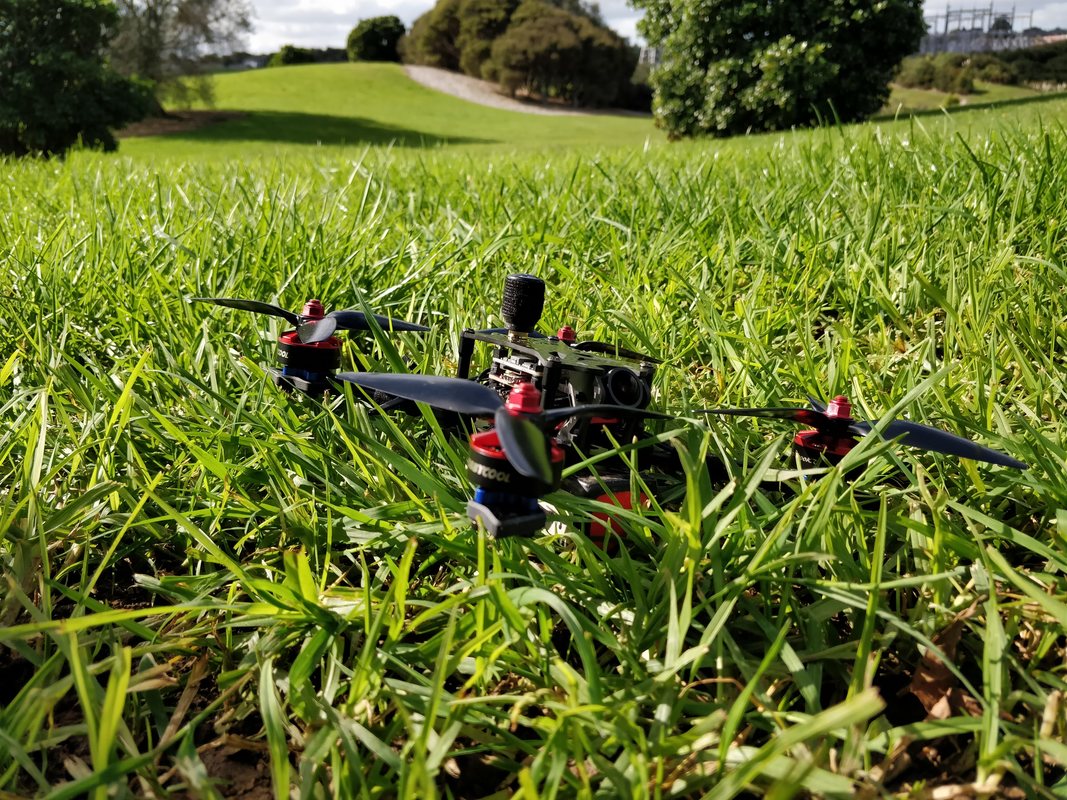
A note on the HobbyCool 2207 Motors Arguably the star of the show, the HobbyCool 2207 1700kV motors are the real thing - Brother Hobby R3 2207 in a 1700kV variant and they are very classy. I've kept the wires long in case 6s is not for me and these make there way into a 7inch build...
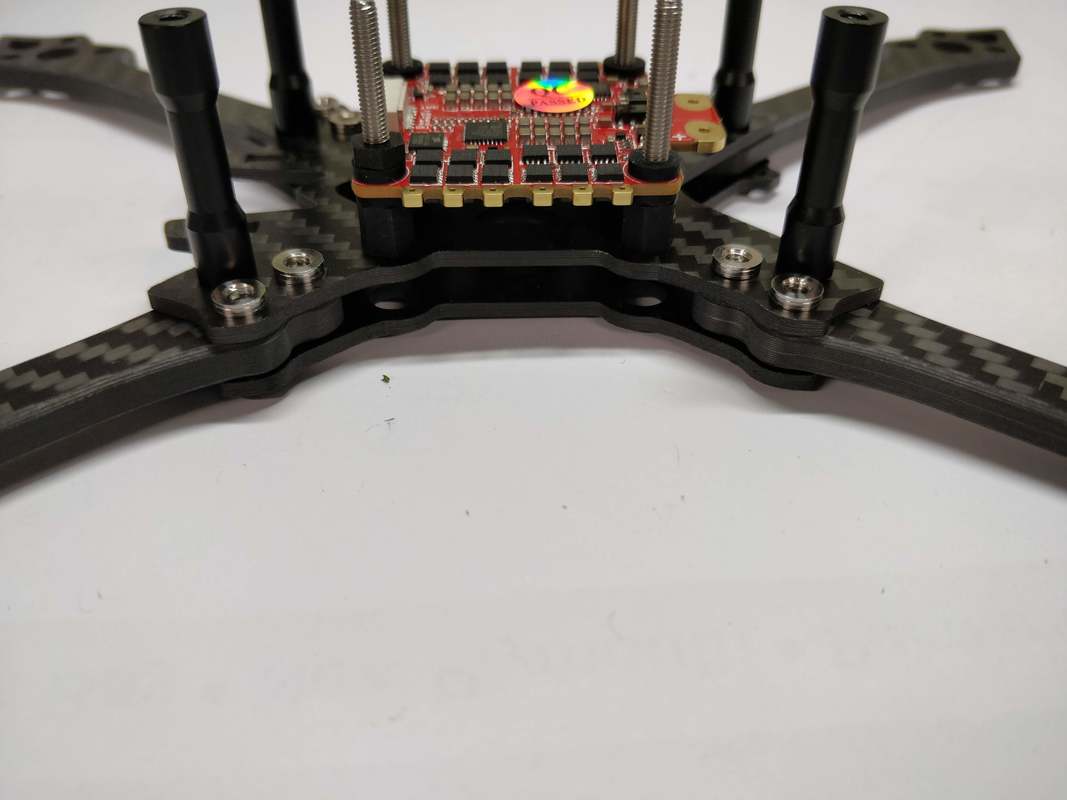
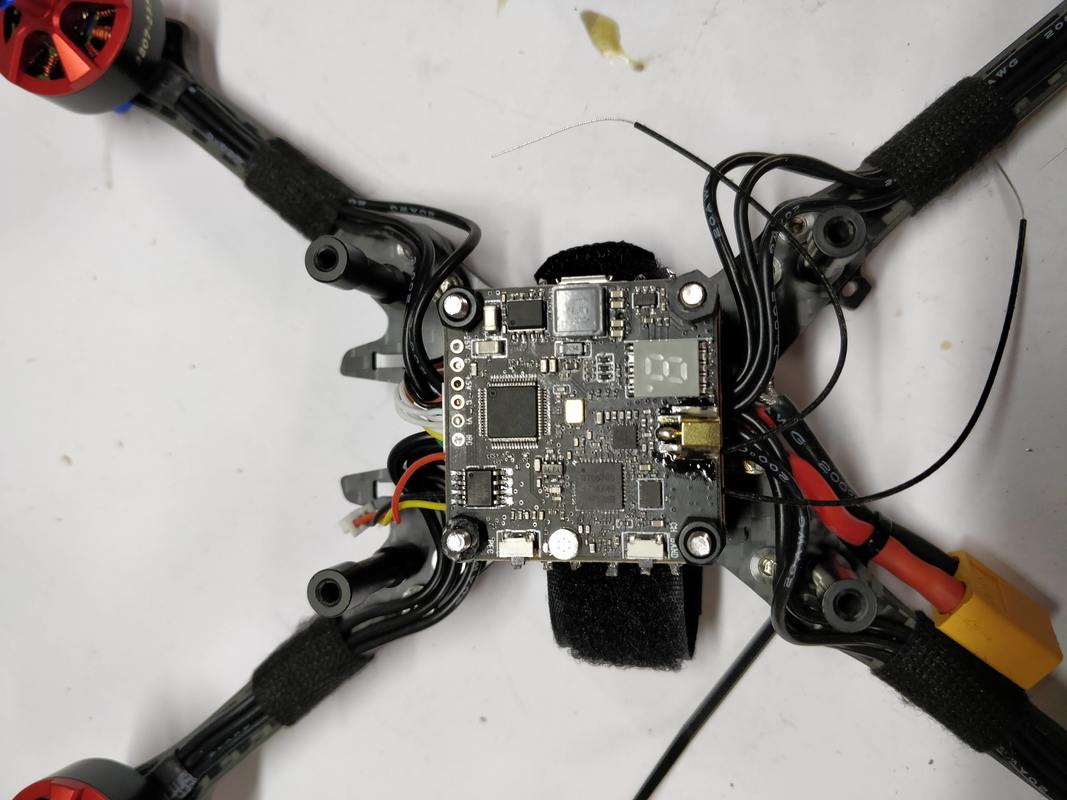
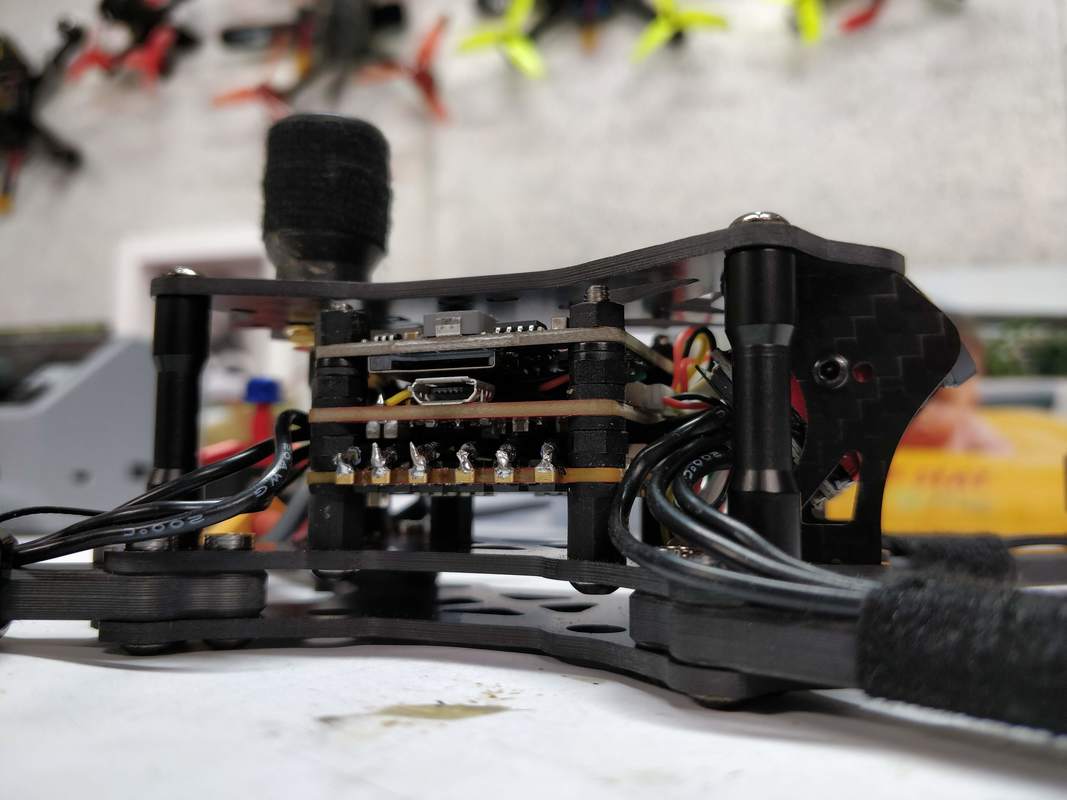
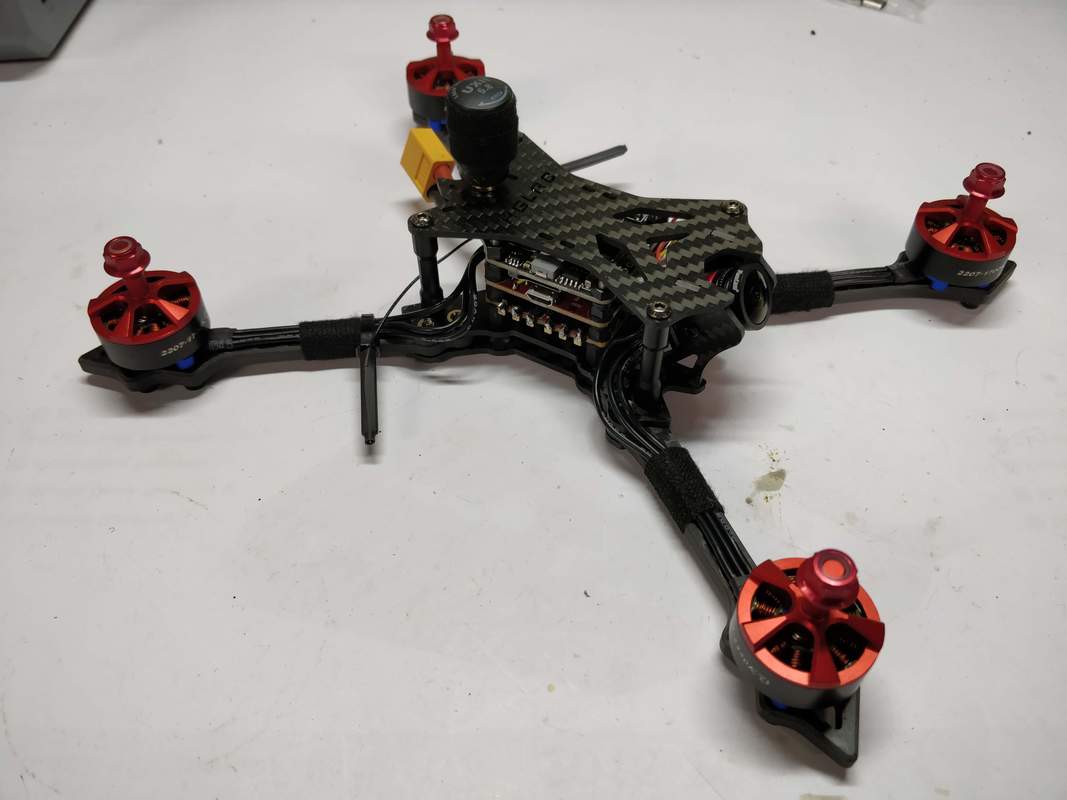
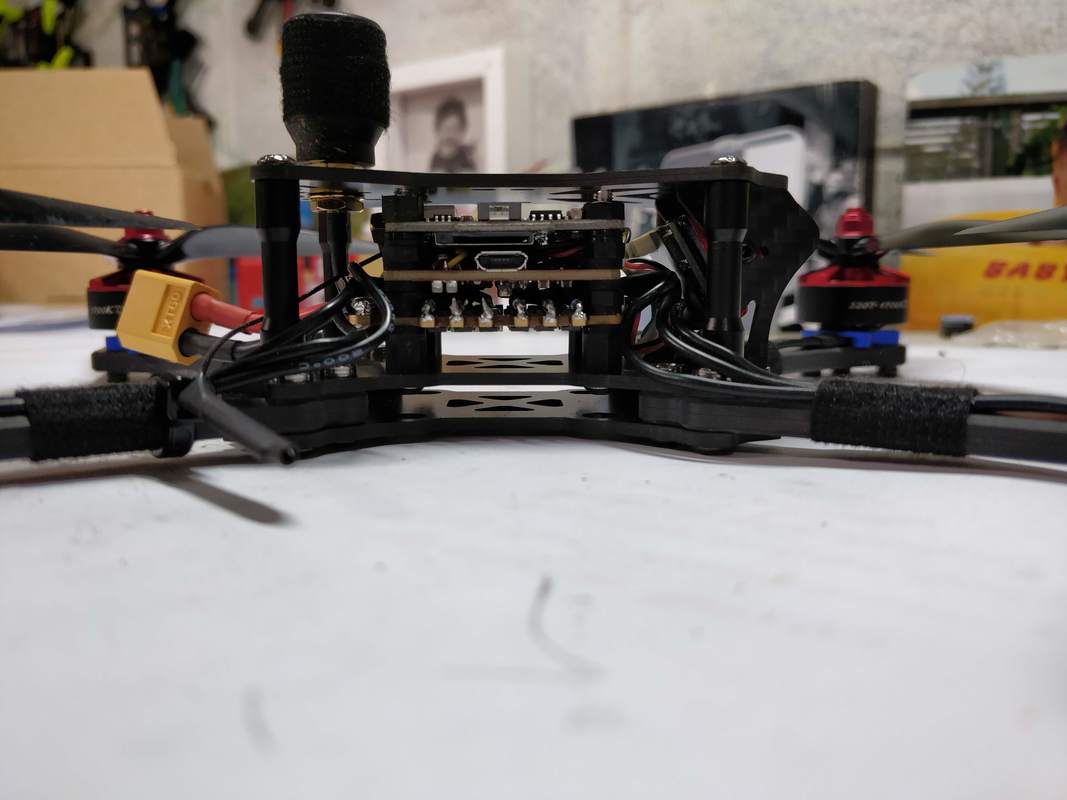
Installing the Flight stack Much has already been said of the HGLRC Titan F460 stack that was chosen here. It is not cheap but it is high quality and the ESC is a BLHeli_32 unit with full telemetry wired in by defaut. I don't like that an XT60 connector is not included (especially since I'd just run out!!) but did like that they did include a 1000 microfarad capacitor and some really nice mounting harware - long stainless steel bolts and threaded spacers rather than the crappy m3 nylon standoffs. Both ESC and FC boards are include rubber grommets so require no further soft mounting. See images below for more comments.
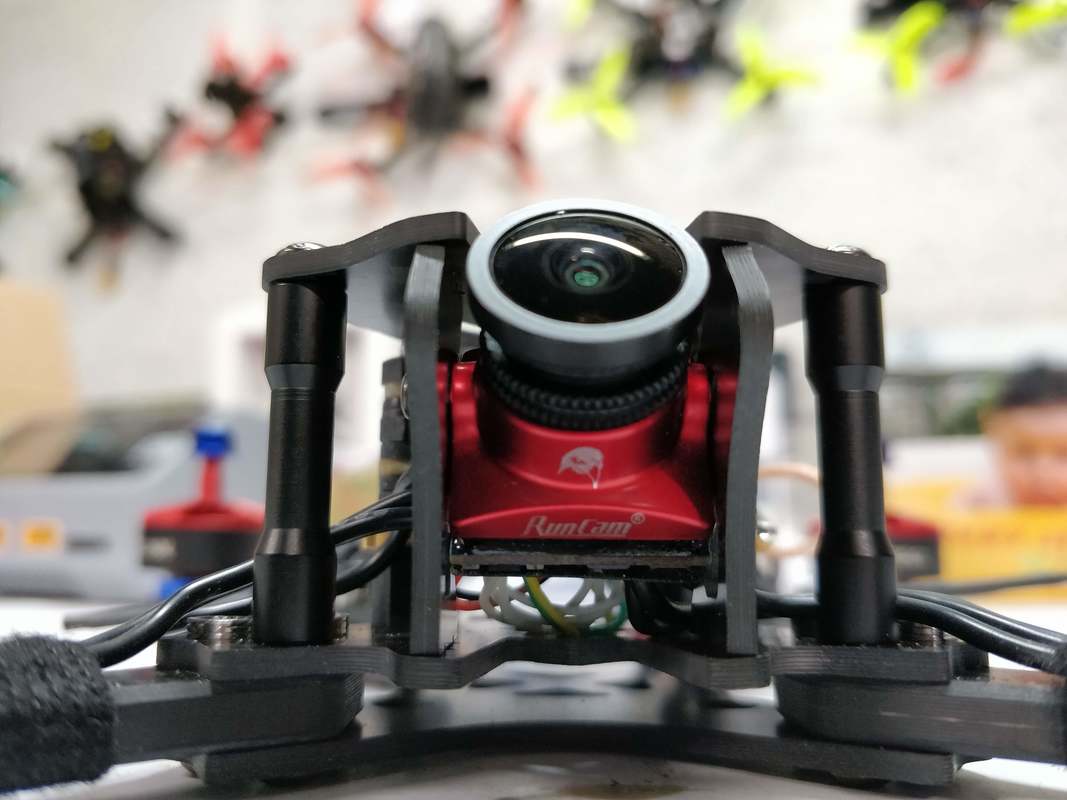
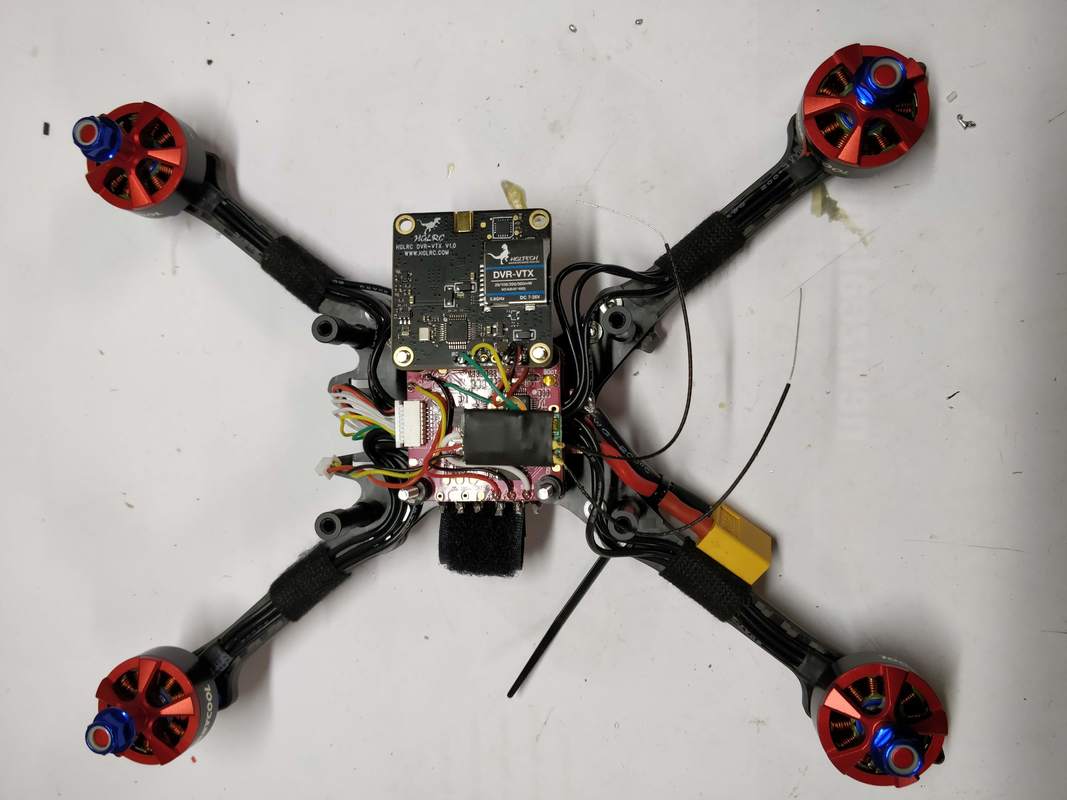
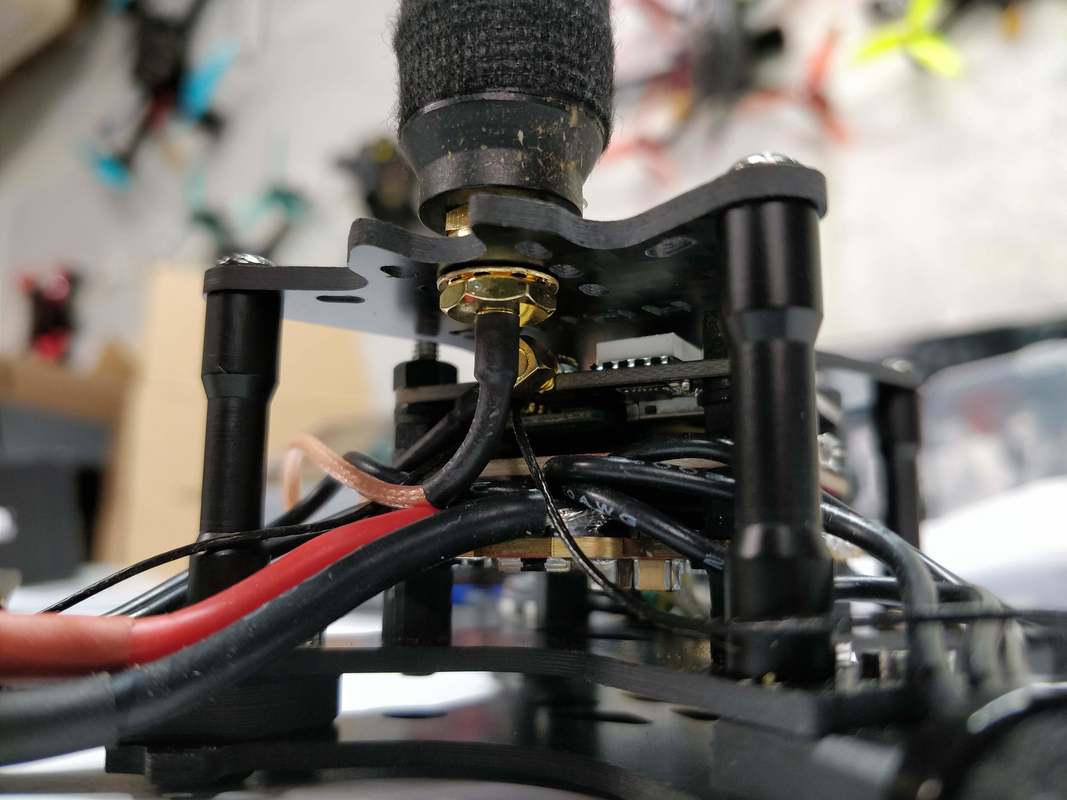
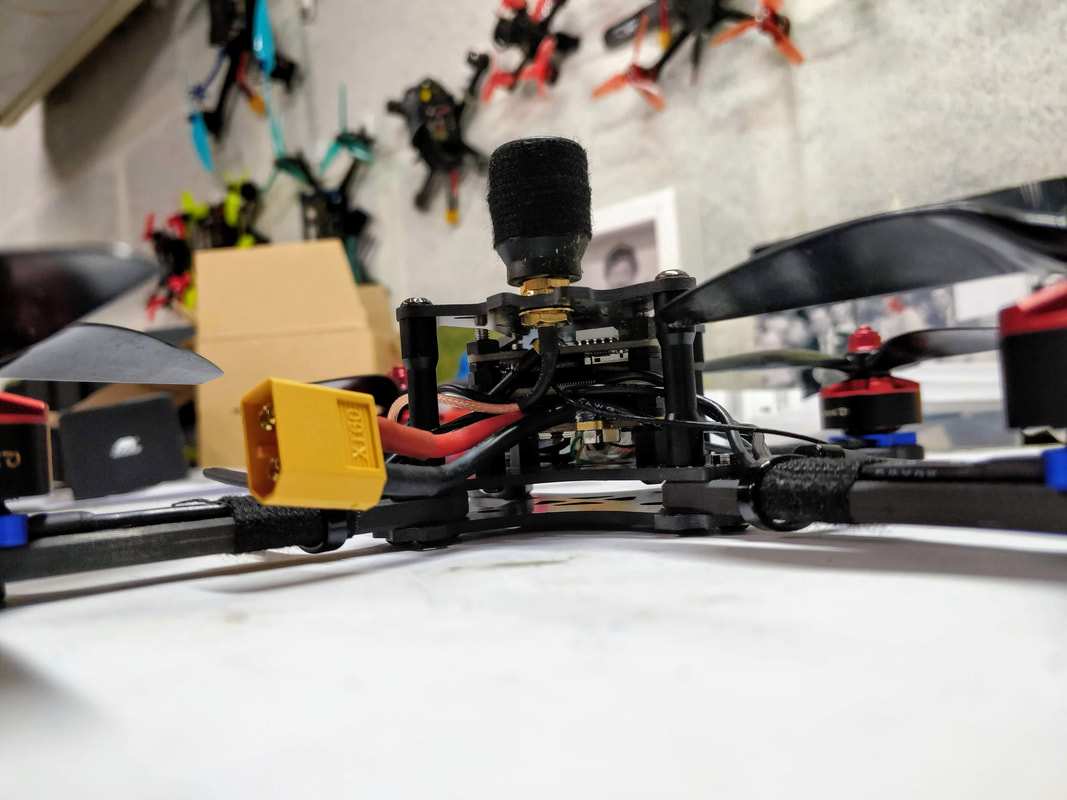
FPV system - Cam and VTX/DVR The Runcam Eagle Micro camera was easy to mount on the carbon fibre plates and I'm please to say where they fit in with cutouts on top any bottom place is smooth with no wiggle. As you can see from the pics the large 12mm lens on the Runcam Eagle Micro Pro *just* fits in, allowing full camera angle adjustment up to about 70° - more if you have a m8 lens. The HGLRC AIO VTX/DVR was no harder to wire in than a reguar VTX and regular solder pads mean you don't need to mess about with a connector. See pics below for more detail. I'm not a big fan of the antenna system at present and is only temporary until I can get a 3d printed option. The reason I don't like it is an antenna mount via SMA perpendicular to the chassis will inevitably get destroyed when 'landing' upside-down. My ideal solution of using the MMCX UXII Antenna (see what I mean in my blog here) unfortunately doesn't work on this frame as it would be too enclosed.
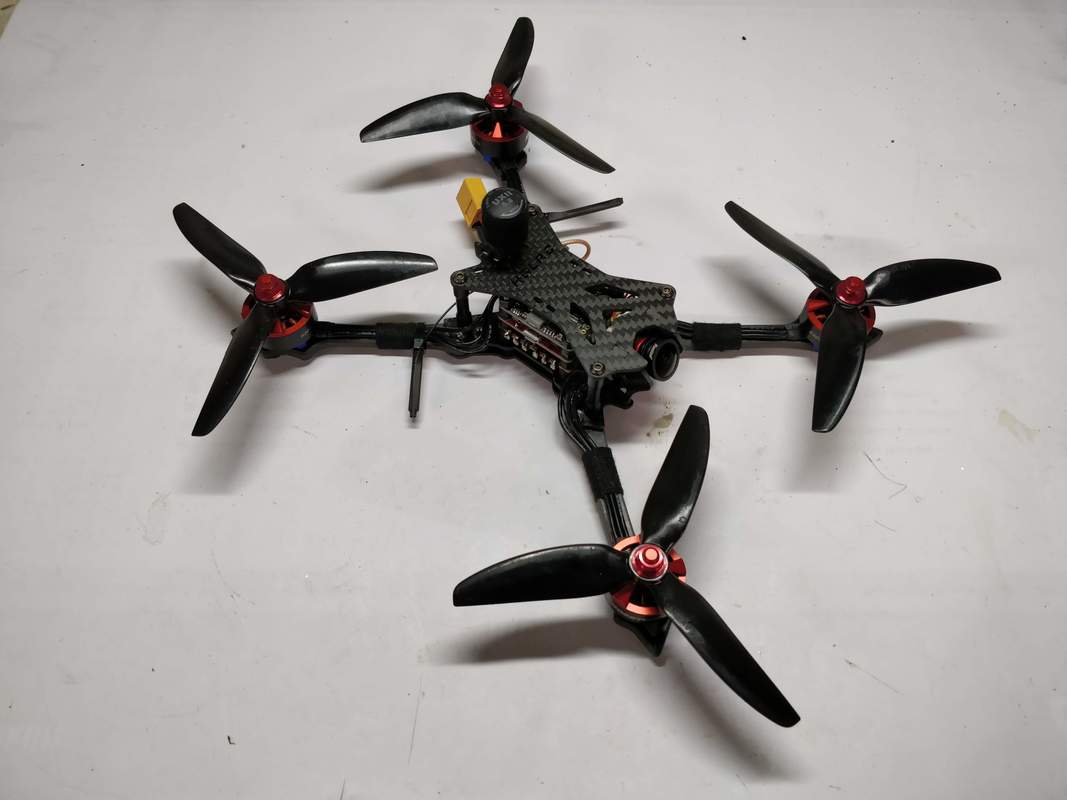
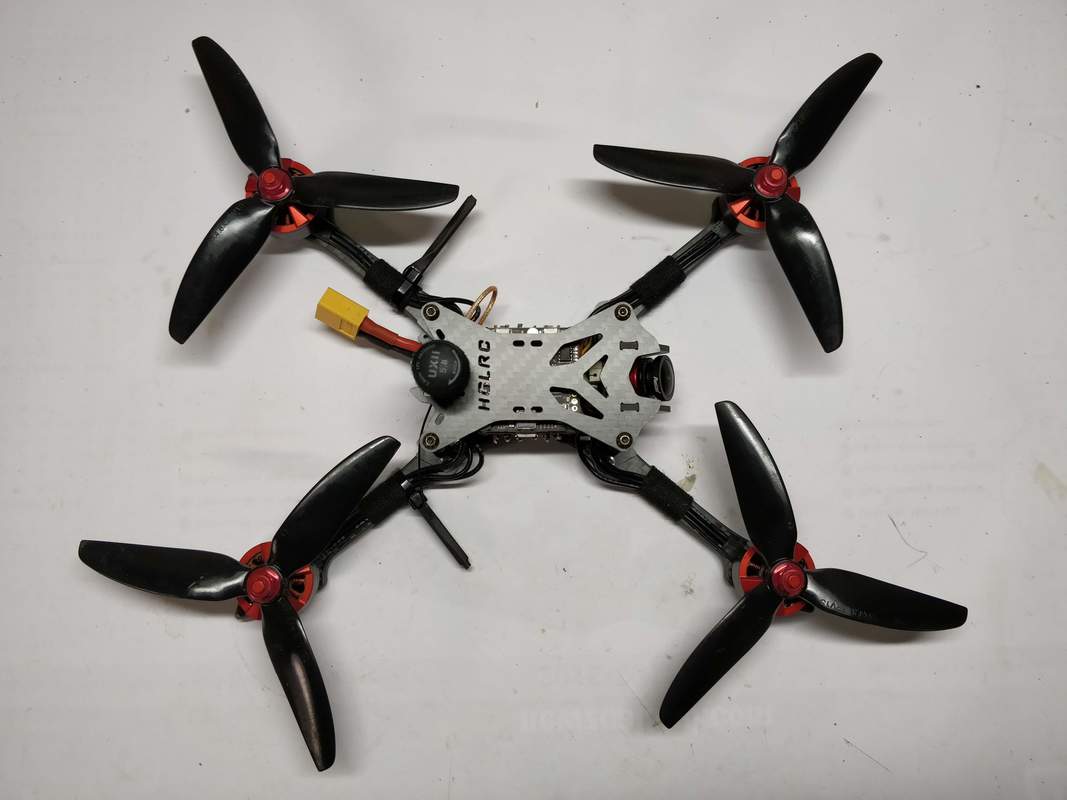
Other build notes Other than the VTX antenna I'm pretty happy with this build. The small body means it is suprisingly compact with 3 full 30.5mm board plus receiver. Speaking of the receiver the antennas are mounted in the now common cable tie / heatshrink method which is robust and compact and offers more than enough range for a race quad. Small holes on the trailing edge of the bottom plates means that strain relief is easily added to the battery connector. When routing the battery strap I chose to go over both sandwich plates (i.e. under the ESC) rather than just the lower sandwich plates as I'd be worried about the force the heavy battery would exert on 1 plate only. 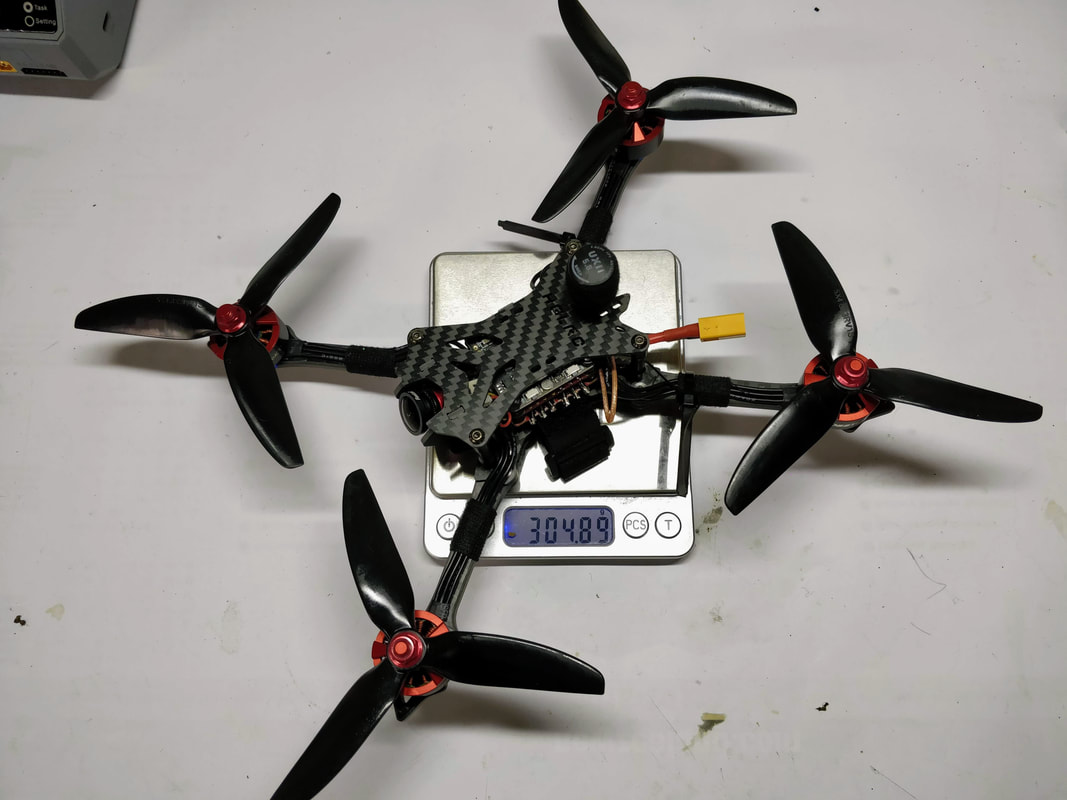 Final weight It's 305 grams ready to fly with everything except the battery. Given the motors are over 30g and hugley powerful each I'm fairly happy with the weight. More pictures are below including one from the maiden which means maiden flight detais will follow soon :)
1 Comment
Johan
21/4/2019 11:33:38 pm
Hi, can you do a video for beginner builders to build this awesome beast Leave a Reply. |
Archives
August 2018
Categories |


 RSS Feed
Thanks for visiting QuadifyRC.com Follow us on facebook below to get all the latest updates