QUADIFYRC MODS AND REVIEWS
  • RC Cars
  • Car of the Month
  • Quad Reviews
  • Quad Mods
  • COUPONS AND DISCOUNTS
  • Long Range
  • About & Contact

TIPS and TRICKS

MOBULA7 UPGRADE: Betaflight 4, PIDS and Filters

17/6/2019

16 Comments

 
Picture
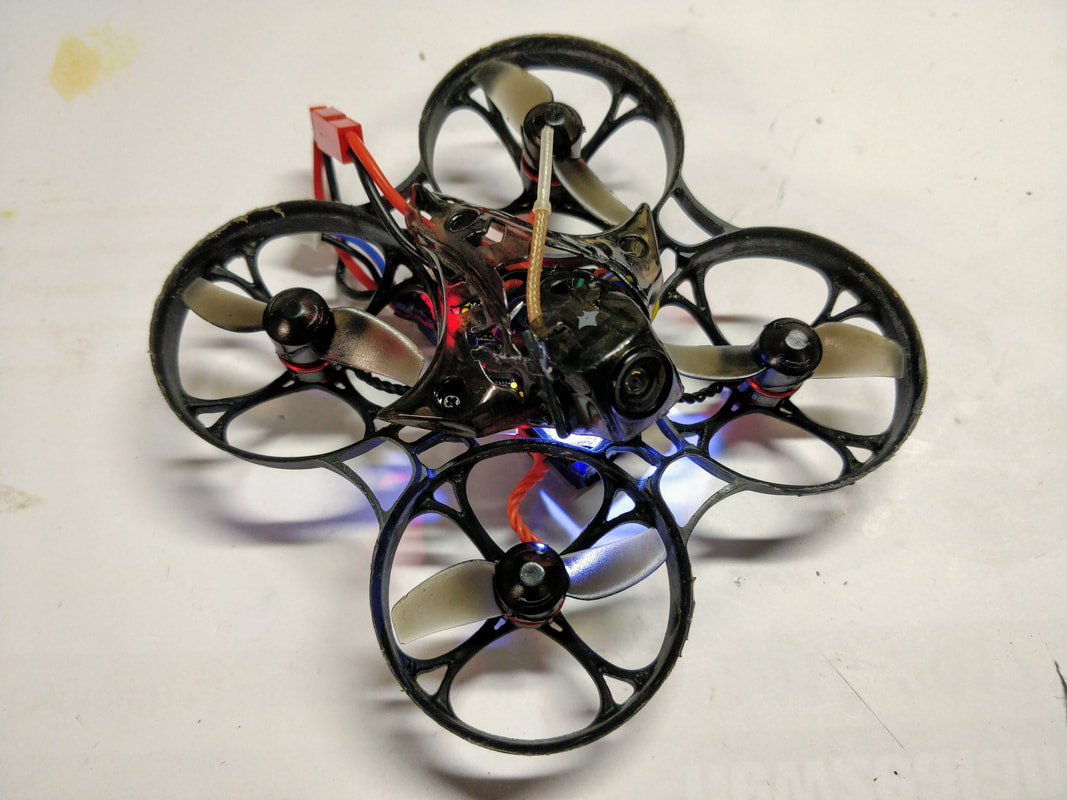
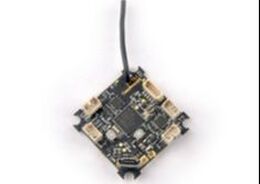
The Happymodel Mobula7 uses a F3 based flight controller and since Betaflight 3.4, these boards have not had full functionality of F4 and F7 boards due to smaller memory size for firmware storage. However in this article I will cover how to upgrade to the performance edition of Betaflight 4.04 kindly compiled by UAVTech (his in depth YouTube Channel is here). This special version adds the key performance functions at the cost of typically irrelevant features like servo control, acro trainer, camera control etc. In this article I will show you where to access this firmware and then I'll show you the filters that suit brushless whoops best as well as some good starting PIDs. 
This is the seventh and likely final article in my series of HappyModel Mobula7 upgrades, many of which can be used for the Trashcan too. Also to come are:
  • Swapping to a much more durable frame​
  • Improving the battery connector for more power
  • converting to run 'props out' 
  • Long term propeller upgrade recommendations​
  • Converting your 1s batteries into a true 2s battery
  • receiver range improvement​
All links will be updated here when completed. Many of these I've completed the work and am testing at present - it's starting to feel like a more complete little quad now. If you're looking for my review of the mobula7 including setup it can be found here
Betaflight 4 Performance edition for F3 boards
This is the final version of Betaflight you can use and I strongly recommend you use this version rather than the one on the Betaflight configurator to get full performance functionality otherwise you will miss out on features like:
  • Gyro Lowpass2
  • Launch Control (optional - OFF by default)
  • Dynamic Lowpass Filters (Dyn_LPF) (ON by default)
  • D-term Minimum (D_min) (ON by default)
  • Throttle Boost (ON by default)
  • iTerm Relax (ON by default)
  • RC Smoothing - Filter (ON by default)
  • TPA Mode - D-term ONLY option (ON by default)
Download the custom file below at the GITHUB source. SKIP THIS STEP FOR THE EACHINE TRASHCAN
For FRSKY built-in receiver
betaflight_4.0.4_crazybeef3fr_performance.hex
File Size: 679 kb
File Type: hex
Download File

For Flysky built-in receiver
betaflight_4.0.4_crazybeef3fs_performance.hex
File Size: 646 kb
File Type: hex
Download File


Read More
16 Comments

MOBULA7 AND TRASHCAN UPGRADE: Long term propeller results

12/6/2019

0 Comments

 
Picture
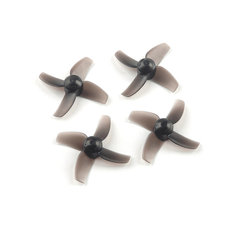
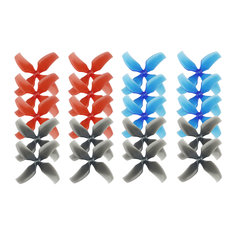
The Happymodel Mobula7 (reviewed here), Eachine Trashcan (reviewed here) and many other brushless whoops use generic 4 bladed 40mm props that are cheap and readily available but are they the best? Simply put, no. They are from a toy grade mould and we have accepted them because when these brushless whoops were first released there was simply nothing else available. Fast forward to the present day with the growth in popularity of these models there are a lot more options, some readily available internationally, some not so much. In this article I'll give you my experiences on what I found to be my favourite prop and the justification of why (what it is I look for in a propeller).
This is the sixth article in my series of HappyModel Mobula7 upgrades, many of which can be used for the Trashcan too. Also to come are:
  • Swapping to a much more durable frame​
  • Improving the battery connector for more power
  • converting to run 'props out' 
  • tuning betaflight filters more specifically for brushless whoops, 
  • Converting your 1s batteries into a true 2s battery
  • receiver range improvement​
All links will be updated here when completed. Many of these I've completed the work and am testing at present - it's starting to feel like a more complete little quad now. If you're looking for my review of the mobula7 including setup it can be found here
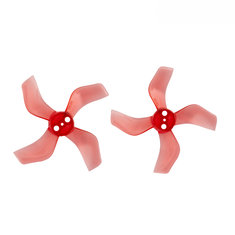
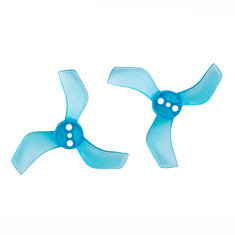
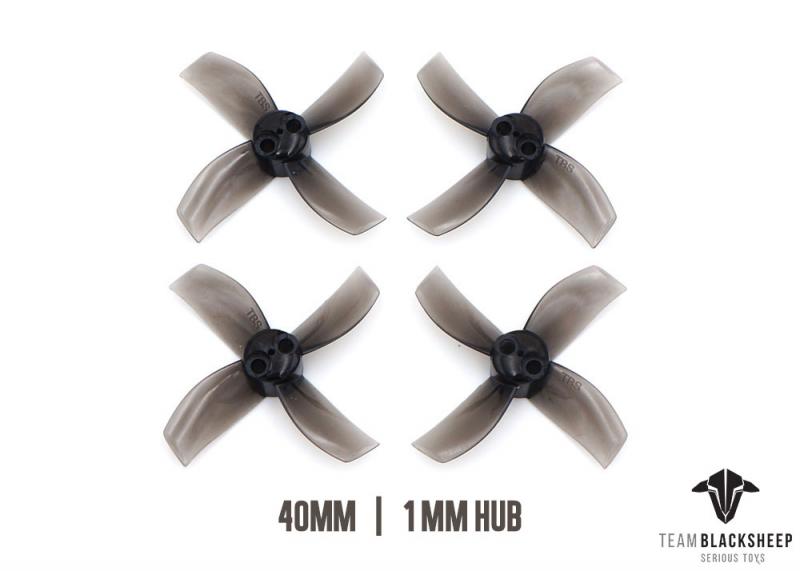
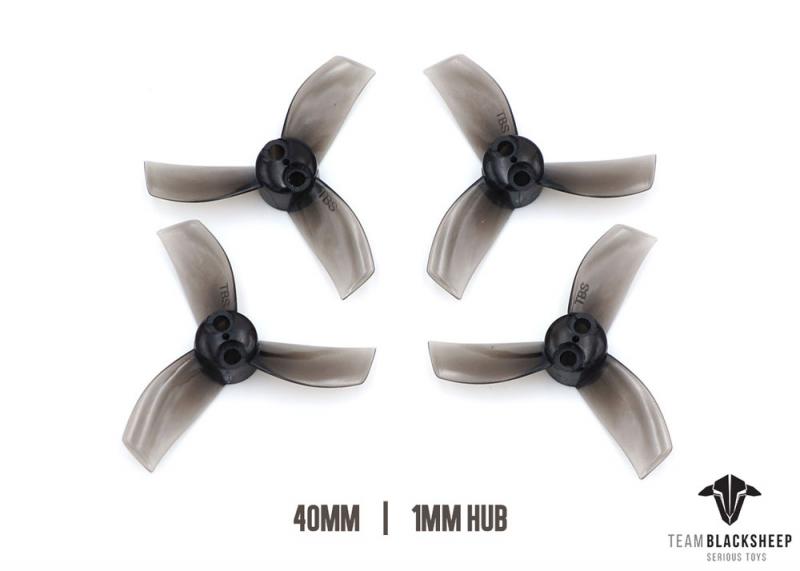
What props are available?
If you're in North America probably the full list of what is below. I'm not in North America though so I was limited to what was locally available and what had low (or no) international shipping cost. Therefore this is not an exhaustive test, my approach was more on of pragmatism. ​
Props I looked at
Picture
Mobula 7 propellers
Picture
Mobula 7 propellers cut down to 2-blade
Picture
Gemfan 1636 1.6x3.6x4 40mm 4-blade 1mm Hole Propeller
Picture
​Gemfan 1635 1.6x3.5x3 40mm 1m Hole 3-blade Propeller
Props I didn't look at
Picture
KINGKONG/LDARC 1545 40mm 4-blade Propeller 1.0mm Hub

​These are newly available since I started tests. KK can be hit and miss.
Picture
​TBS MICRO BRUSHLESS PROPS 4BLADE 40MM (BLACK) (1MM HUB)
Picture
​TBS MICRO BRUSHLESS PROPS 3BLADE 40MM (BLACK) (1MM HUB)
Picture
HQ Prop 1.6 x 1.6 x 4 (1mm Shaft)
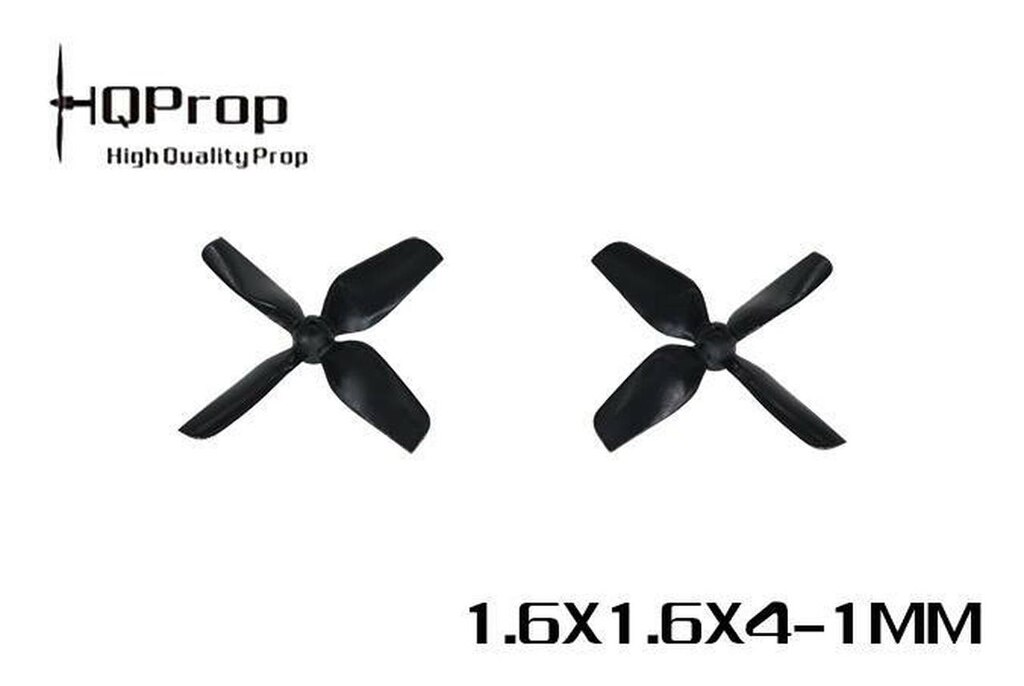
My Findings
I'll compare all my findings back to a baseline result of the stock props for simplicity
Picture
Gemfan 1636 (4 blade)
I used these when I was running the v3/trashcan frame which I blogged about here. These were a direct improvement over the stock props in all aspects but were a little more amp-hungry. Grip and speed was improved and control felt better. Props are well balanced but heavier than stock. They are extremely durable especially when you consider the protection afforded by the ducts. You will achieve hover at very low throttle

These props are a good upgrade but not my personal favourite.

Note: These are more like 41mm than 40mm and frustratingly don't quite fit in the ducts of of the v3/trashcan frame - the ones you see above were painstakingly sanded down and even then still rubbed every now and then. I hear TBS props have the same issue


Read More
0 Comments

Sailfly-X Upgrade: Improving Range

10/6/2019

0 Comments

 
Picture
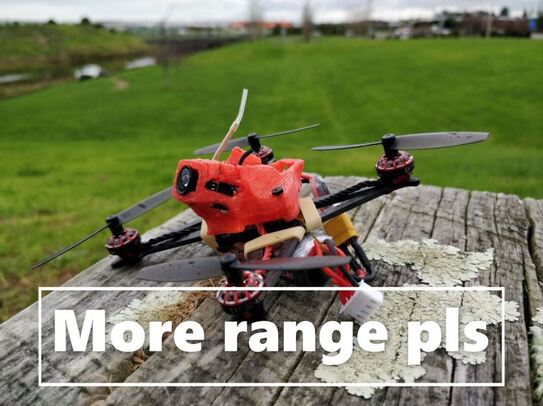
The Happymodel Sailfly X is my favourite quad I've reviewed so fat this year (review is here) but as with any product, there are shortcomings especially when is it built to a price. Like I did with the Mobula7 I'm starting a new series of articles on upgrading and customising the Sailfly-x.
Current State
Picture
The Sailfly-X is based around a Crazybee board like many other models, in this case it is the latest revision CrazybeeF4 pro V2.1. It uses a SPI-connected receiver that offers full telemmetry and D16 or D8 modes for FRSKY. There is some very cool technology here (I think SPI connected receivers will be the future) but the implementation here is not great on the key measure - range performance. In this article I'll document how to improve range from minor tweaks to full on long range and will be relevant for FRSK, Flysky and DSM
Step 1: Software only
The most simple mod to do is ensure the onboard receiver is given an armchair ride from a software standpoint. This means changing D16 to D8 mode in betaflight and turning off telemetry which has been known to lock up the flight controller. This can be done as below. 

Read More
0 Comments

How To caLibrate your Voltage in Betaflight

6/6/2019

1 Comment

 
Picture
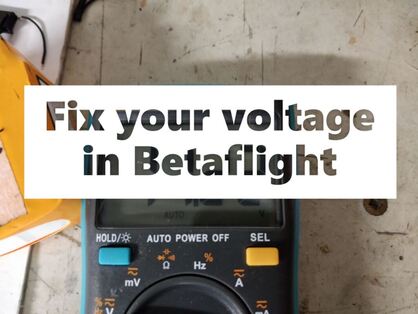
Voltage sensing is critical in Betaflight not least of all because it is the best indicator of when to land in order to protect your batteries to make them last longer. I've always taken for granted that this reading is correct on every board from the factory but I can tell you it is not. On 2 recent quads I've set up it was well out (Happy model Sailfly-x and my 2019 freestyle build) to the point were it reported my 6s battery as being 24v instead of 22v.
Picture
I've been pleased with this digital multimeter from Banggood
The good news is the is an easy fix , my recommendations to get the fastest, most accurate results are below. You will need:
  • A battery that can be connected to your quad, I'd recommend the most number of cells your quad allows.
  • Your quad and a computer running betaflight with the appropriate USB cable
  • A digital multimeter that you have a bit of faith in. I use this one from BG and it hasn't let me down. You could use a cheap lipo tester like this one but I think a reasonable digital multimeter is a very important tool for troubleshooting and building.
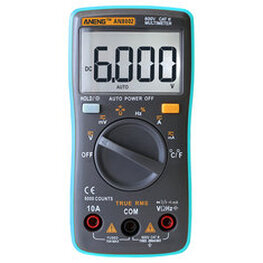
First you'll need to connect your quad to betaflight and enter the "power and battery" tab. Next plug in your battery (please do it in this order). With you battery plugged in you'll see the voltage as shown by betaflight in the area highlighted below:
Picture
Betaflight reports voltage in either of these locations
Next use the digital multimeter to test the battery voltage using the balance connector. Do this by touching the multimeter probes on the terminals at the extreme edges of the balance connector as below. Don't worry if on backwards, your multimeter will just report a negative voltage which is fine. It is important to do this whilst the battery is connected to the quad as the electronics (especially the VTX) will draw a small amount of current and thus cause the voltage to drop a little compared with having the battery disconnected.

Read More
1 Comment

    Archives

    November 2020
    July 2020
    January 2020
    December 2019
    October 2019
    September 2019
    August 2019
    July 2019
    June 2019
    May 2019
    April 2019
    March 2019
    February 2019
    January 2019
    December 2018
    November 2018
    September 2018
    August 2018
    July 2018
    June 2018
    May 2018
    February 2018
    December 2017
    November 2017
    October 2017
    September 2017

    Categories

    All
    1.9 Inch
    2 Inch
    2s Whoop
    3.4.0
    3.5
    3d Printing
    5.8GHz
    6 Inch
    6s
    AKK
    AKK Infinite
    Antenna
    Attitude V5
    Battery Pad
    Beeper
    Betaflight
    Brushless Whoop
    Cheap Mods
    Dji Fpv
    Dshot
    DVR
    Eachine
    Eachine Trashcan
    Emax
    Fatshark
    Fullspeed
    Furibee X140
    Goggles
    Happymodel
    Hawk 5
    Hawk 6
    Headstrap
    Hq Props
    Iflight
    Jello
    King Kong Fly Egg
    Larva X
    Larva-x
    Leader 120
    Lightweight
    Micro Brushless
    Micro CCD
    Micro Quad
    Mobula
    Mobula6
    Mobula7
    Mobula7 Upgrade
    Omnibus
    OSD
    Pids
    Propellers
    Red Devil
    Repair
    Runcam Nano 2
    Sailfly X Upgrade
    Sailfly-x Upgrade
    T65mm
    Throttle
    Throttle Limit
    Thrust
    Tinyhawk
    Tinyleader
    Trashcan
    Upgrade
    USB Charger
    VTX
    Walkthrough
    X2 Elf
    Xlite

    RSS Feed

    follow us in feedly
Thanks for visiting QuadifyRC.com Follow us on facebook below to get all the latest updates
  • RC Cars
  • Car of the Month
  • Quad Reviews
  • Quad Mods
  • COUPONS AND DISCOUNTS
  • Long Range
  • About & Contact