|
The WL Toys 144001 is an excellent low cost hobby grade RC buggy that I ordered from Banggood. I've already taken free and low cost steps to improve performance in part 1 and part 2 of my upgrades guide. This upgrade guide here is dedicated to installing a powerful and efficient 2838 brushless system that is optimised for balance, handling and efficiency. It will also be much faster and reliable that the stock system. This upgrade is fully compatible with the new 124019 and 124018 as well and an excellent option to improve performance and battery life.  As mentioned above the brushless upgrade I am doing here is based on a smaller, lighter more powerful motor than stock so I can get the best handling by reducing weight and improving balance. For this reason I have chosen a brushless 2838 sized motor (28mm diameter, 38mm can length) that runs at 4500kV. This is the same spec powertrain used by the premium LC Racing EMB-1 on which the 144001 is based. The objective is to optimise handling by removing the extremely heavy and power hungry but inefficient brushed 550 motor. I have not gone with a brushless motor the same size as the brushed 550 (3650, 3652, 3660) as these are really only suited to speed runs - see my speed run build guide if that is the kind of build you are looking for Benefits from this 2838 brushless setup over stock will include:
Click on any picture in this article to Embiggen or go to product link
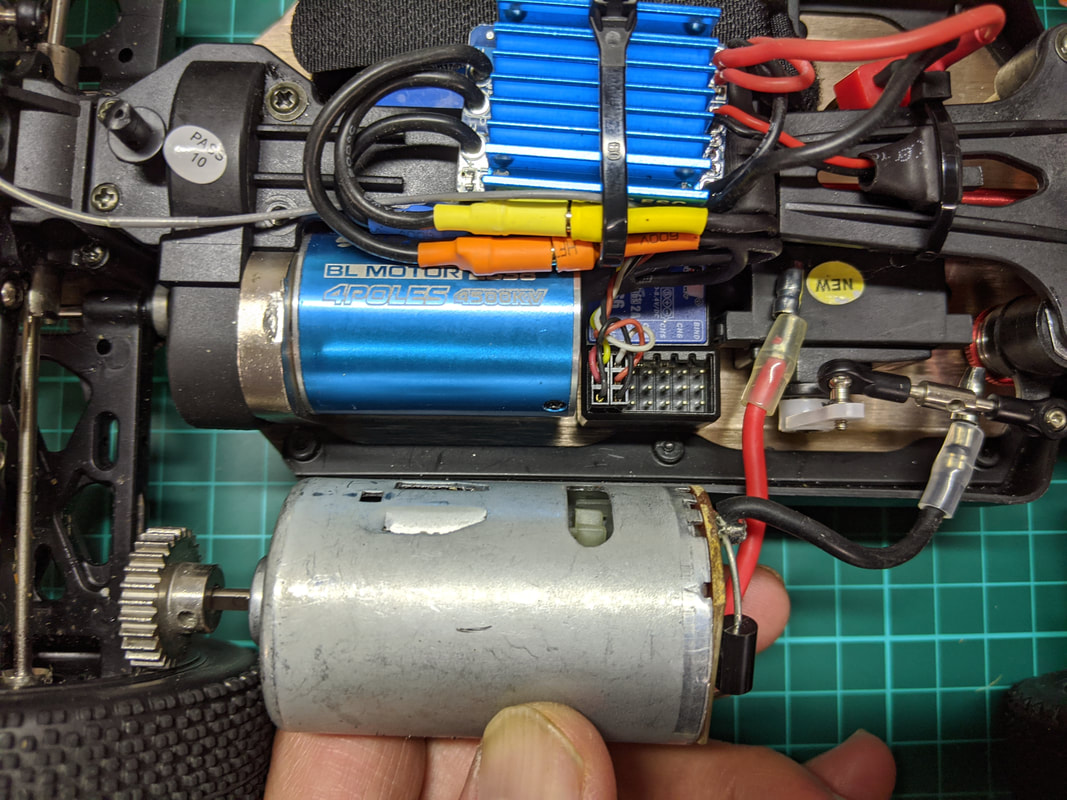
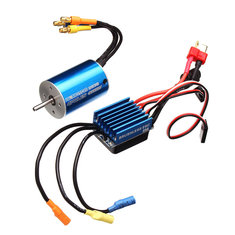
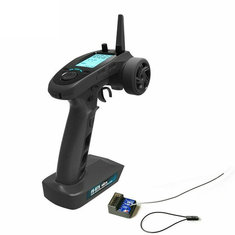
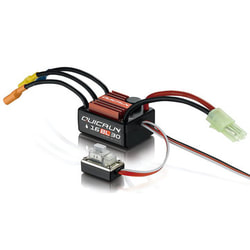
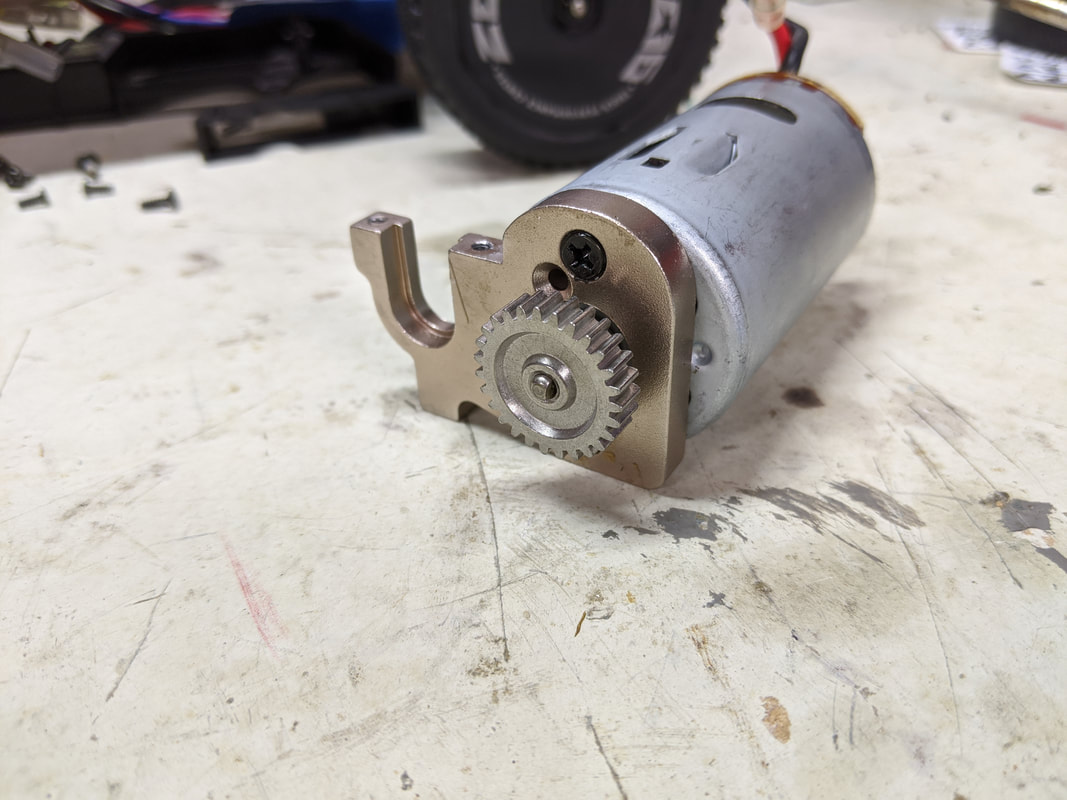
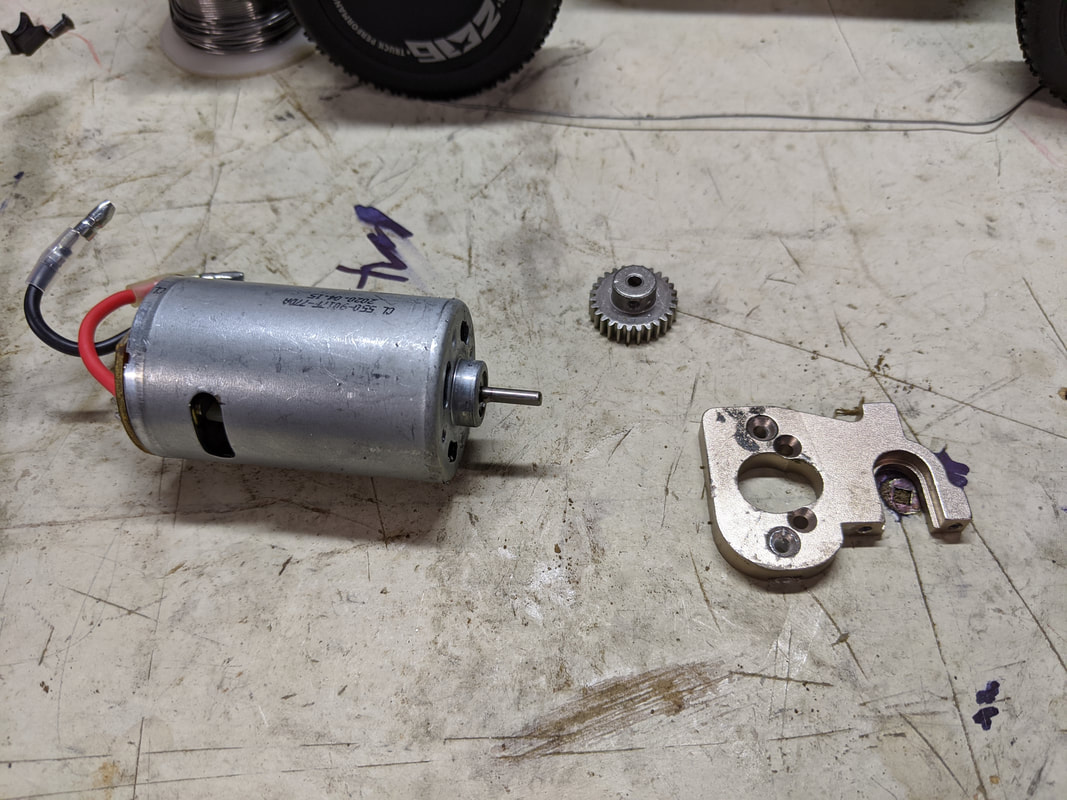
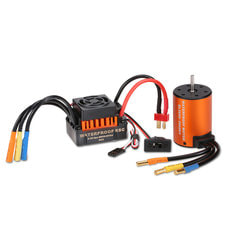
Motor size comparison: The stock 550 weighs 271g and the new, more powerful 2838 weighs 95g. Damn! I strongly recommend looking at the first 2 articles I've written on mostly free or very cheap upgrades that significantly improve the handling and life of the EMB-1 before you upgrade the powertrain - you will enjoy it so much more and will get to know the car better. They are here: Parts needed Unfortunately upgrading to brushless power is not simply a matter of changing the motor. If you want to use a brushless motor your will need a brushless ESC. The stock ESC has a receiver built in so you will also need a new receiver and transmitter. Lastly the stock servo is a 5-wire servo that is incompatible with regular receivers so you will need a new receiver too. There are some other minor parts too, I've listed everything I've used below:
The following can be considered optional although I would stongly recommend:
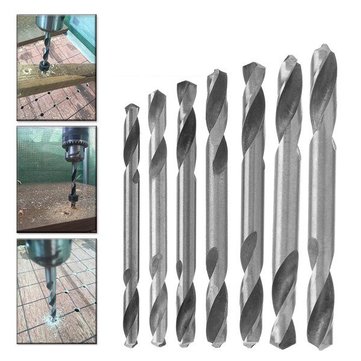
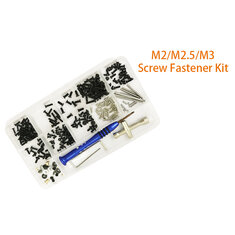
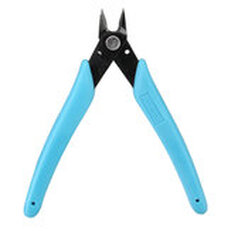
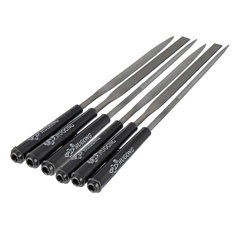
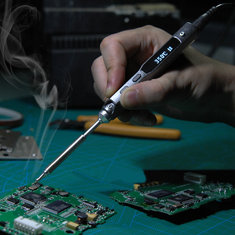
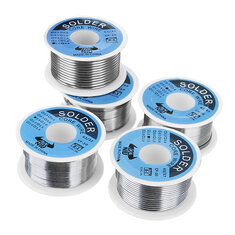
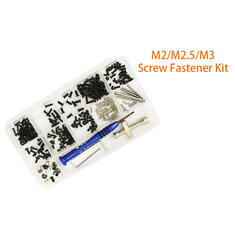
For tools you need a drill, a fine needle file (<3mm diameter) or dremel, 1.5mm hex driver, + screwdriver and some good double sided foam tape. I also used the tools below to make the install cleaner but are not crucial:
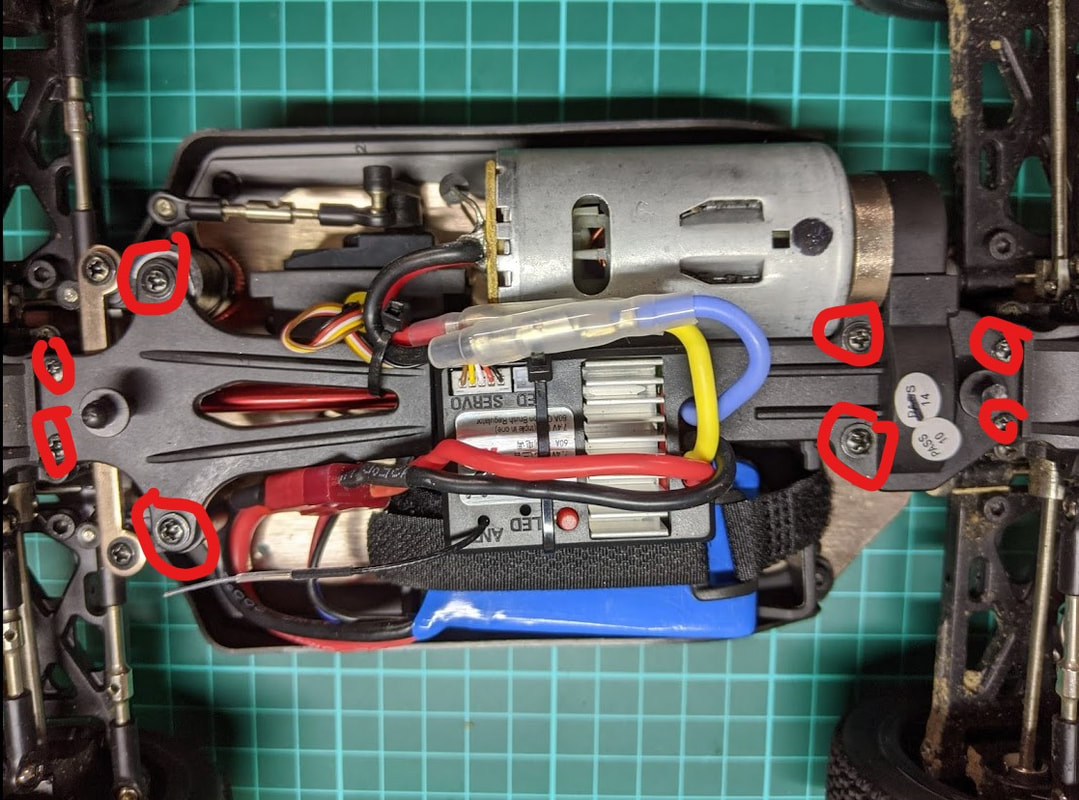
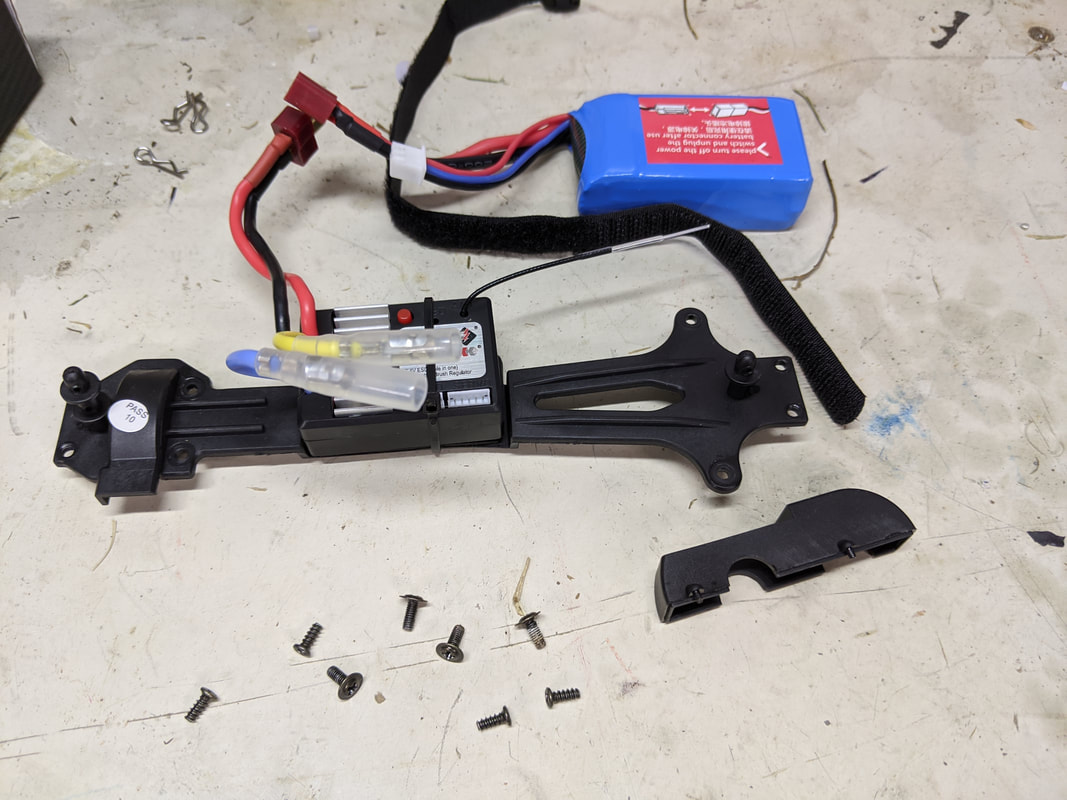
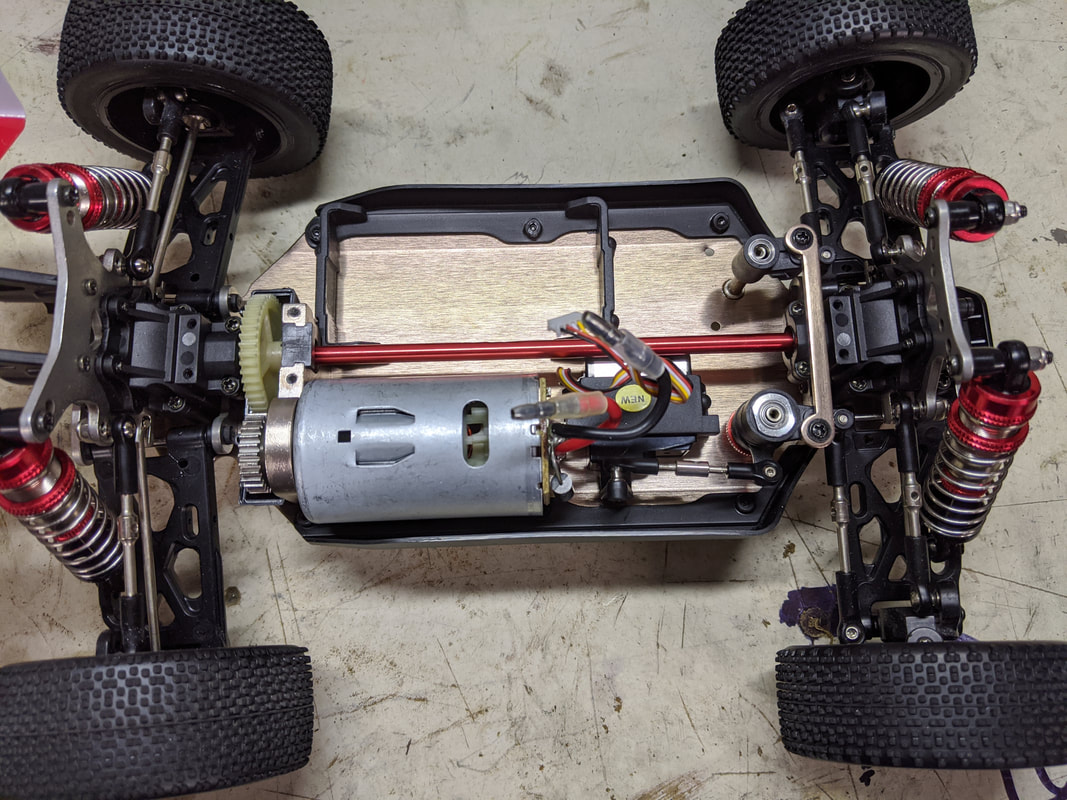
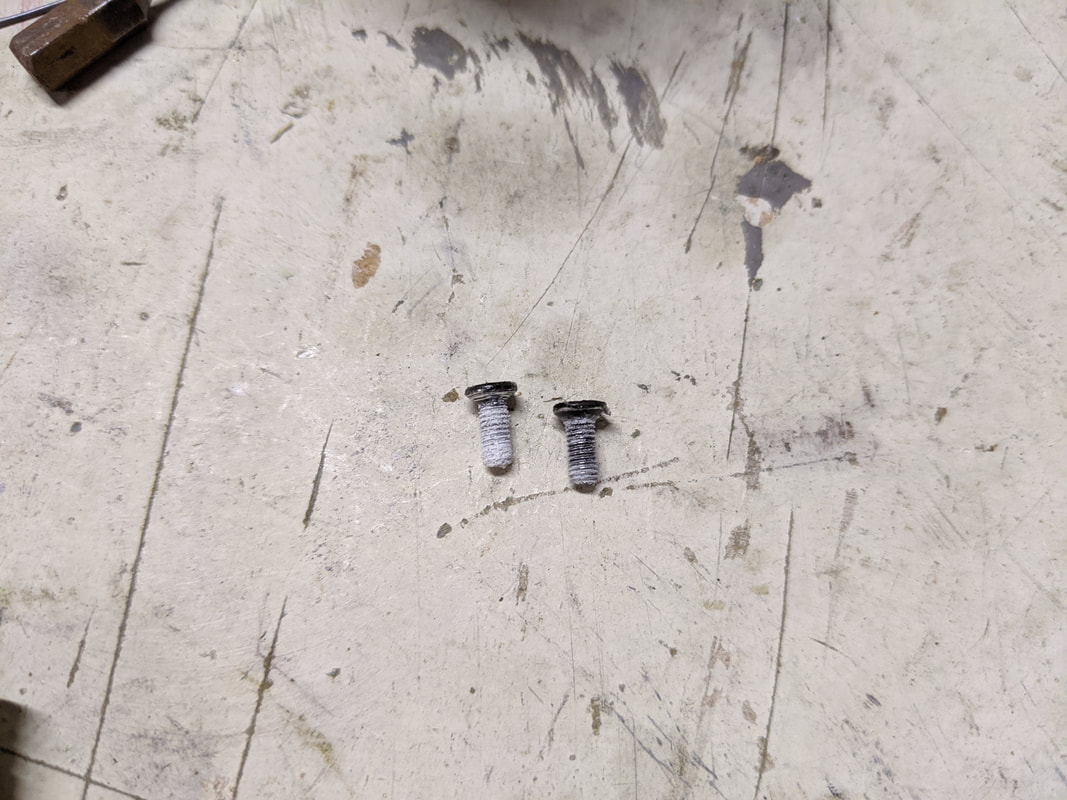
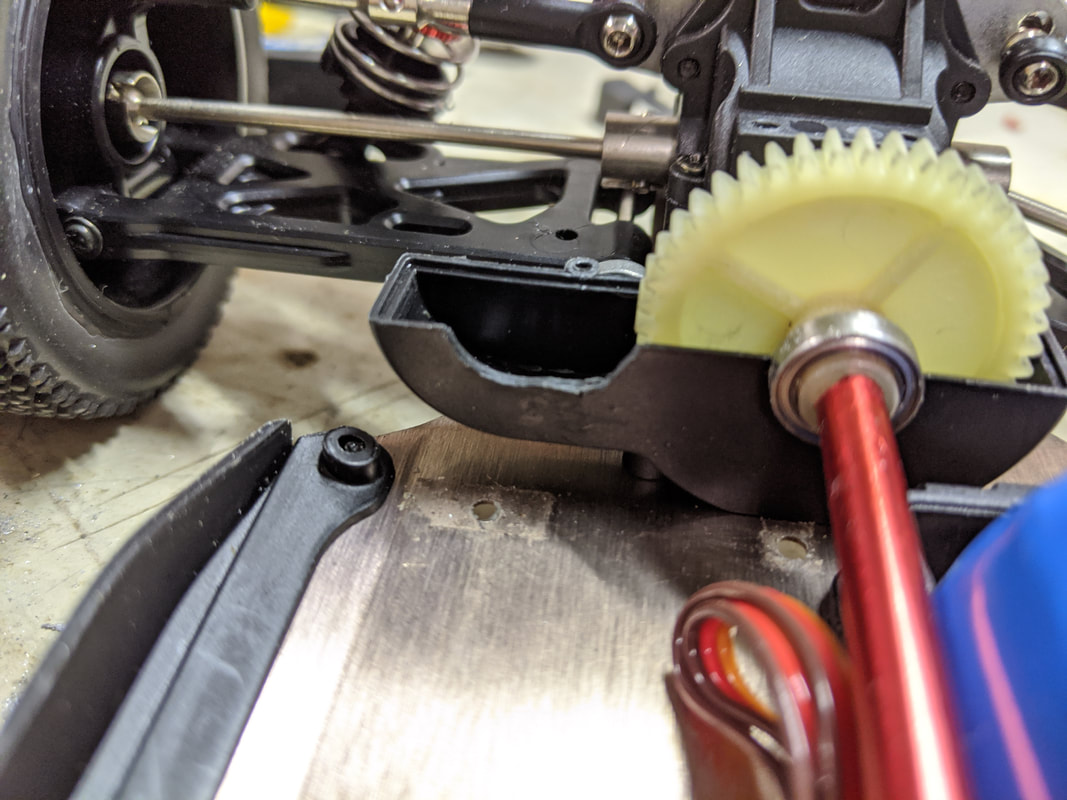
Step 1: Remove the old gear All the old gear will need to come out - the motor, the ESC and the servo. Follow the steps below:
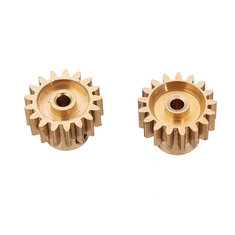
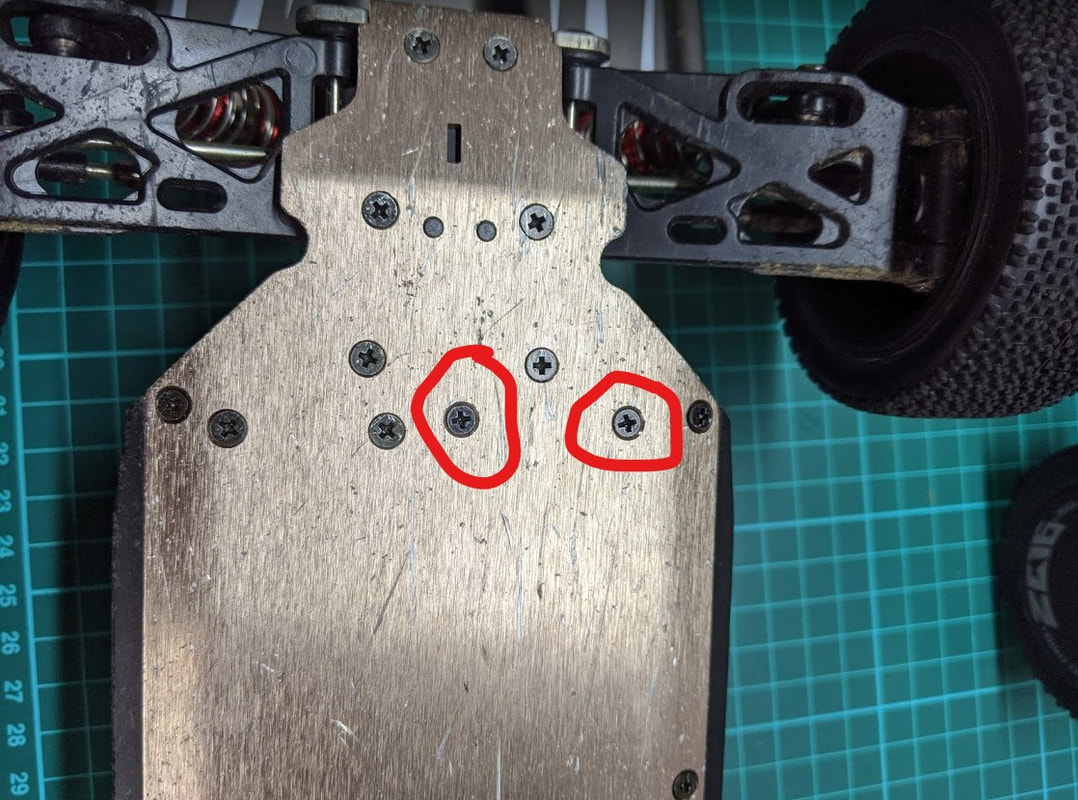
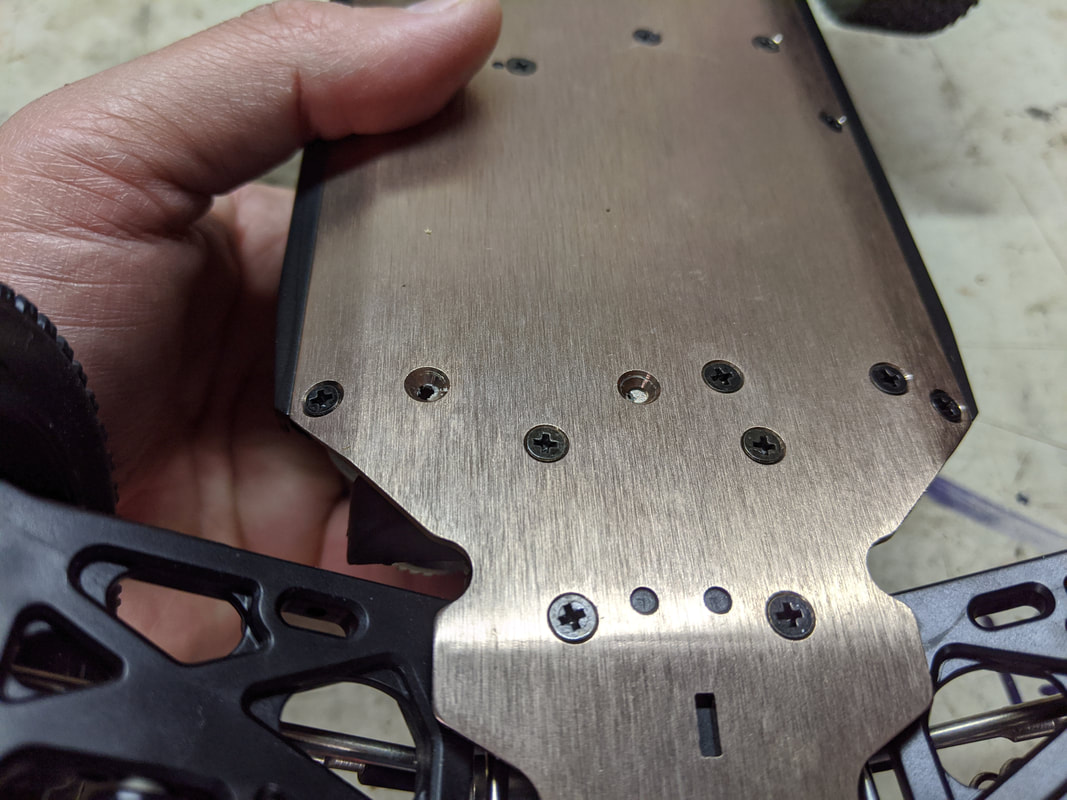
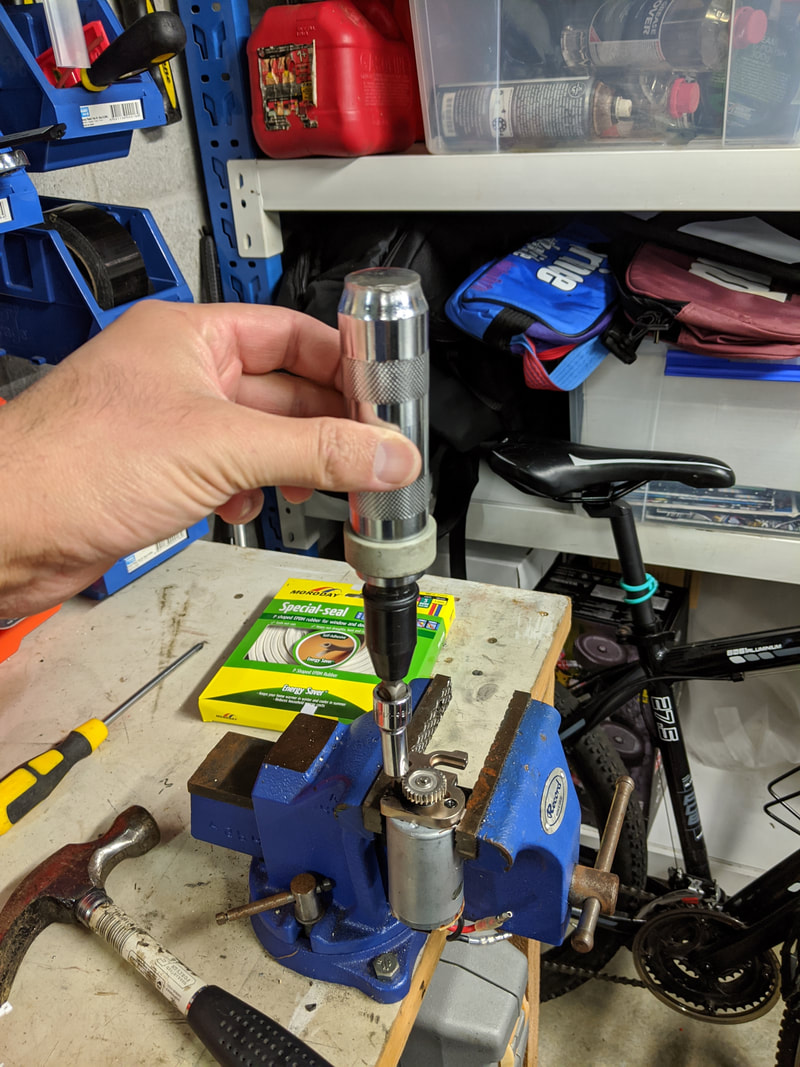
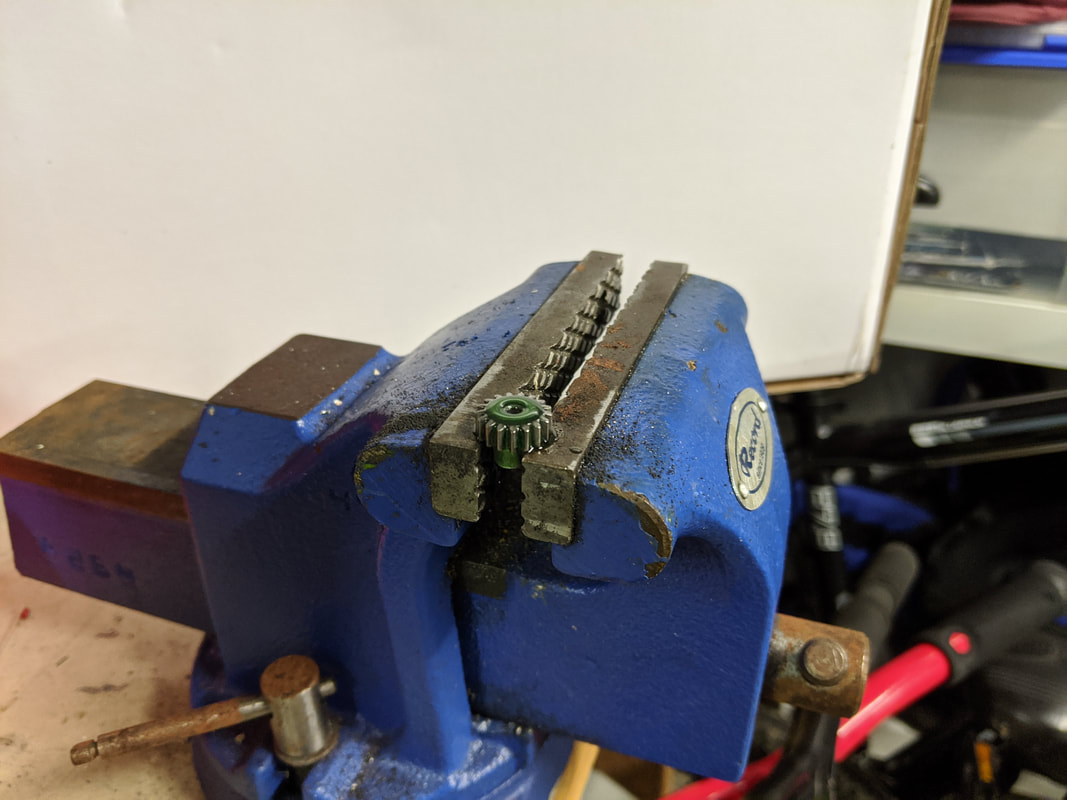
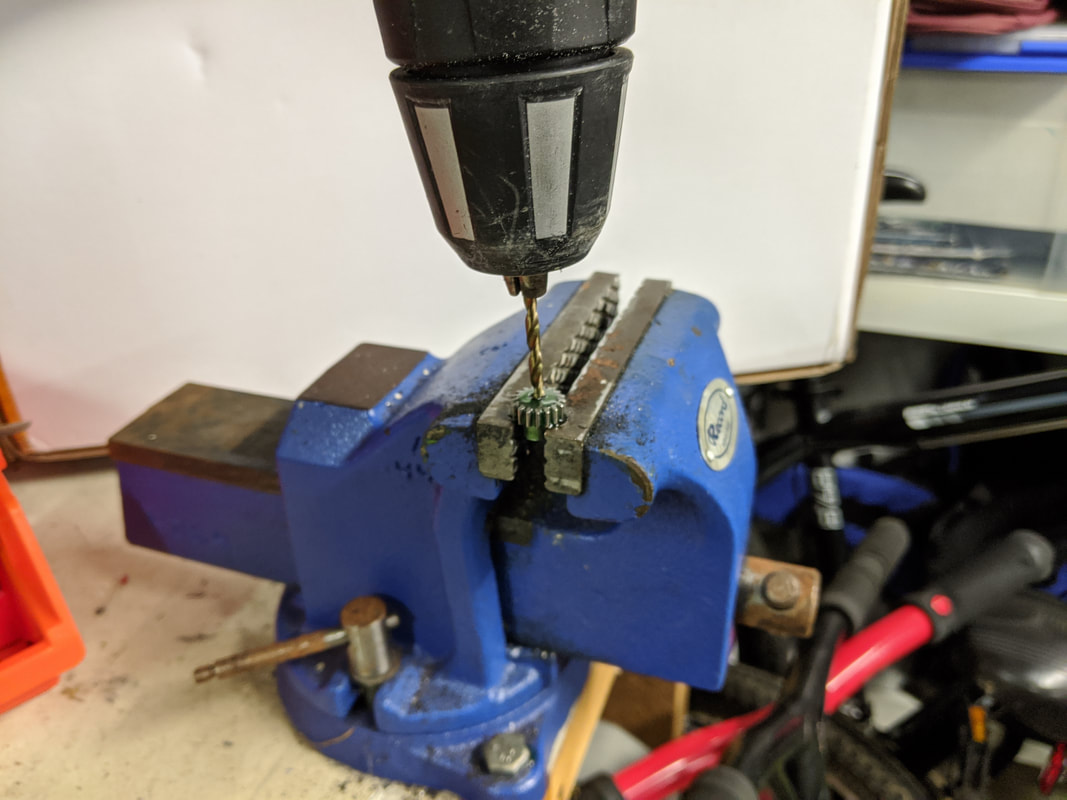
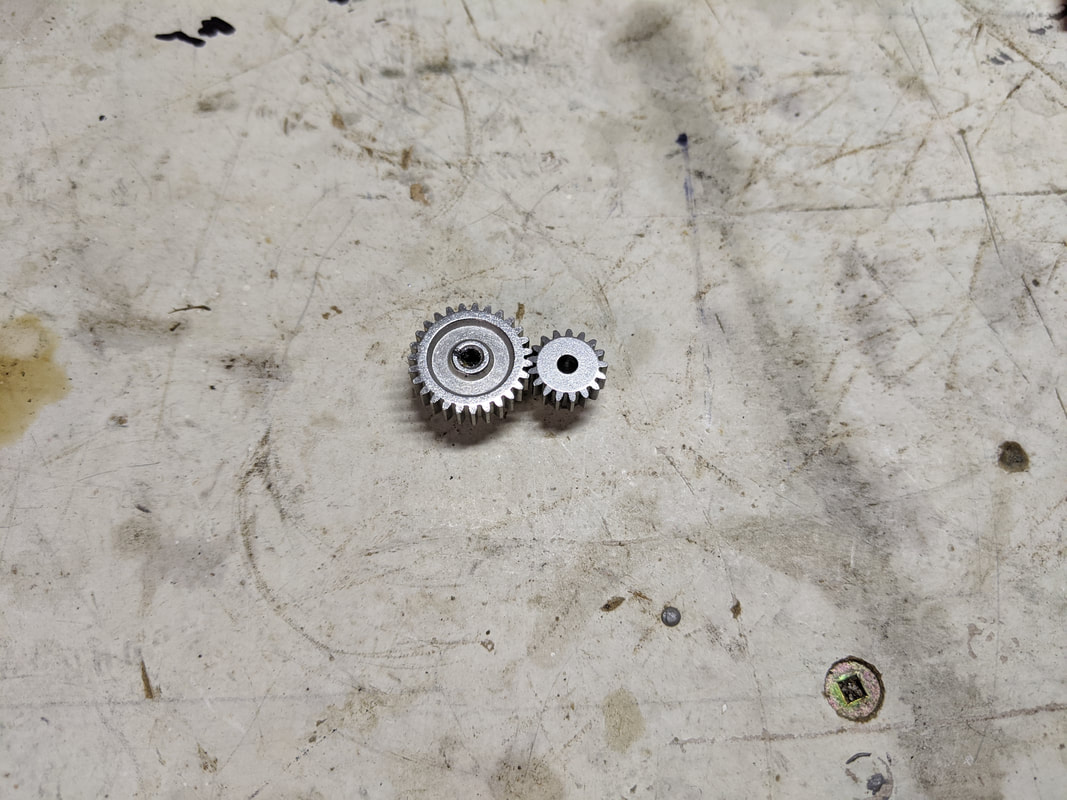
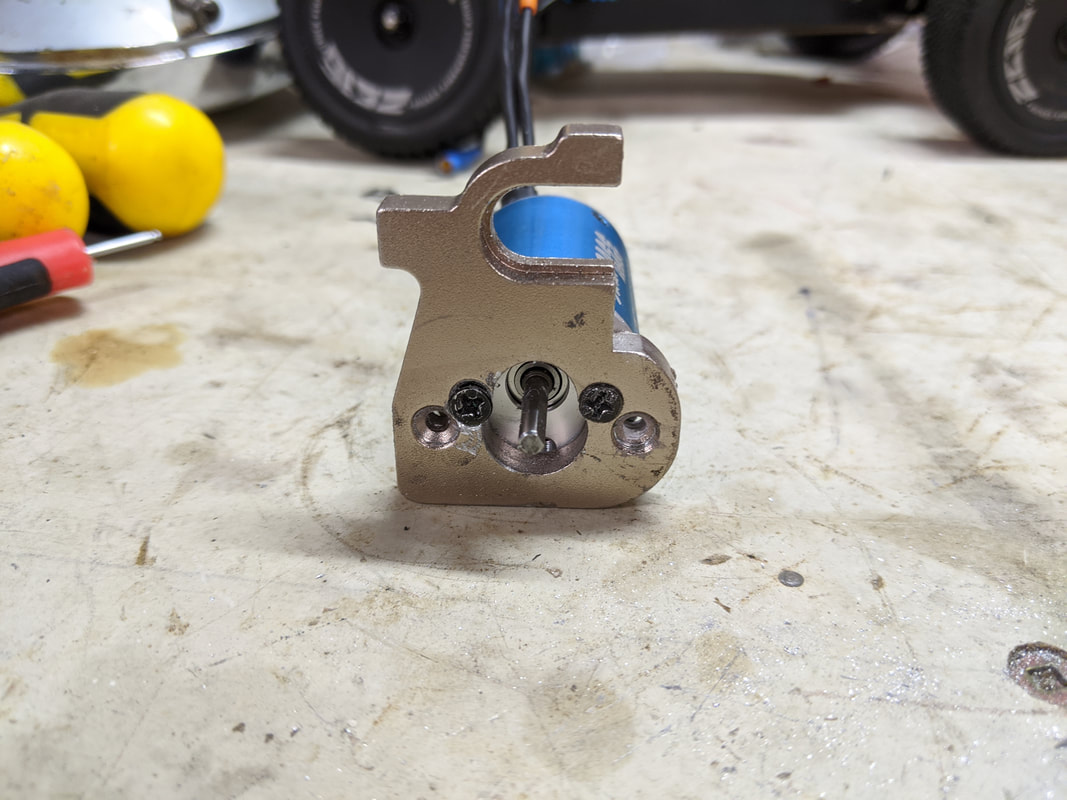
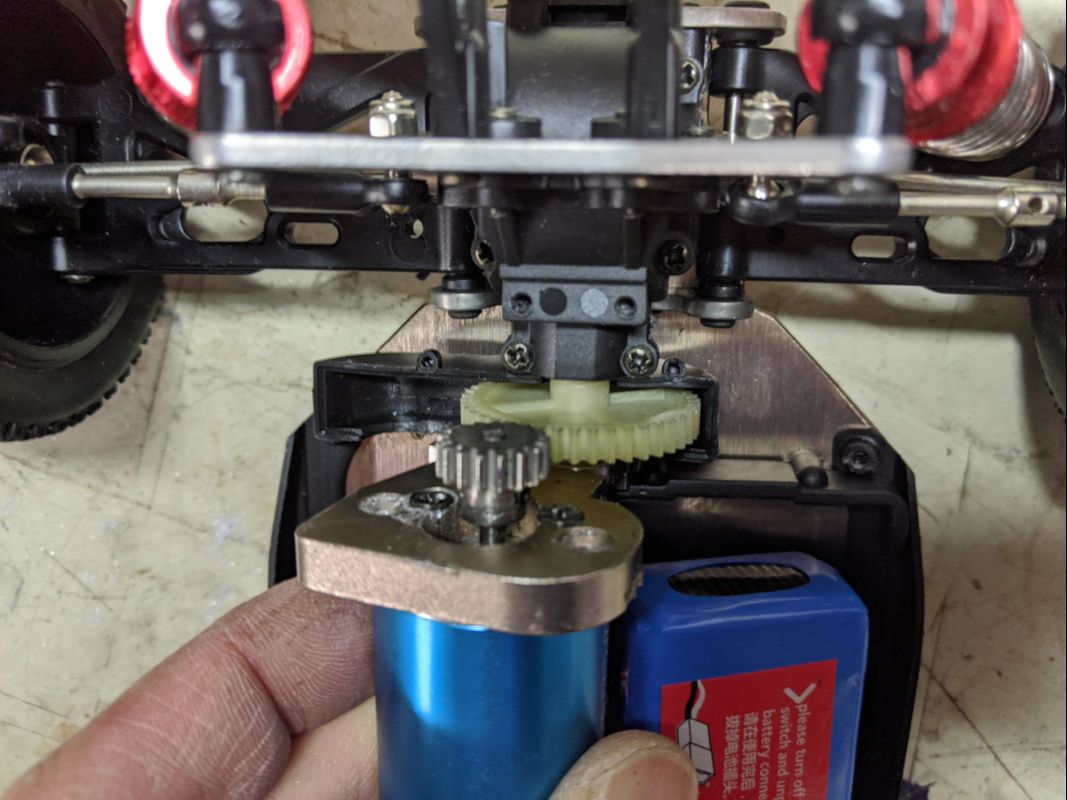
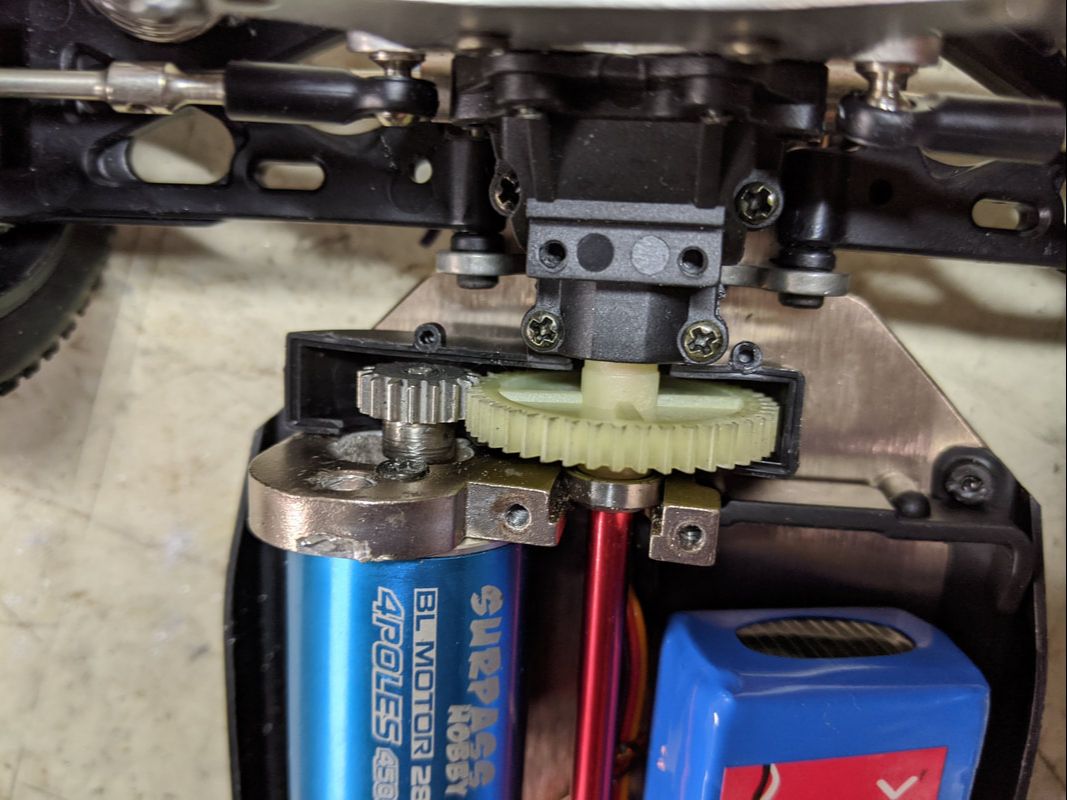
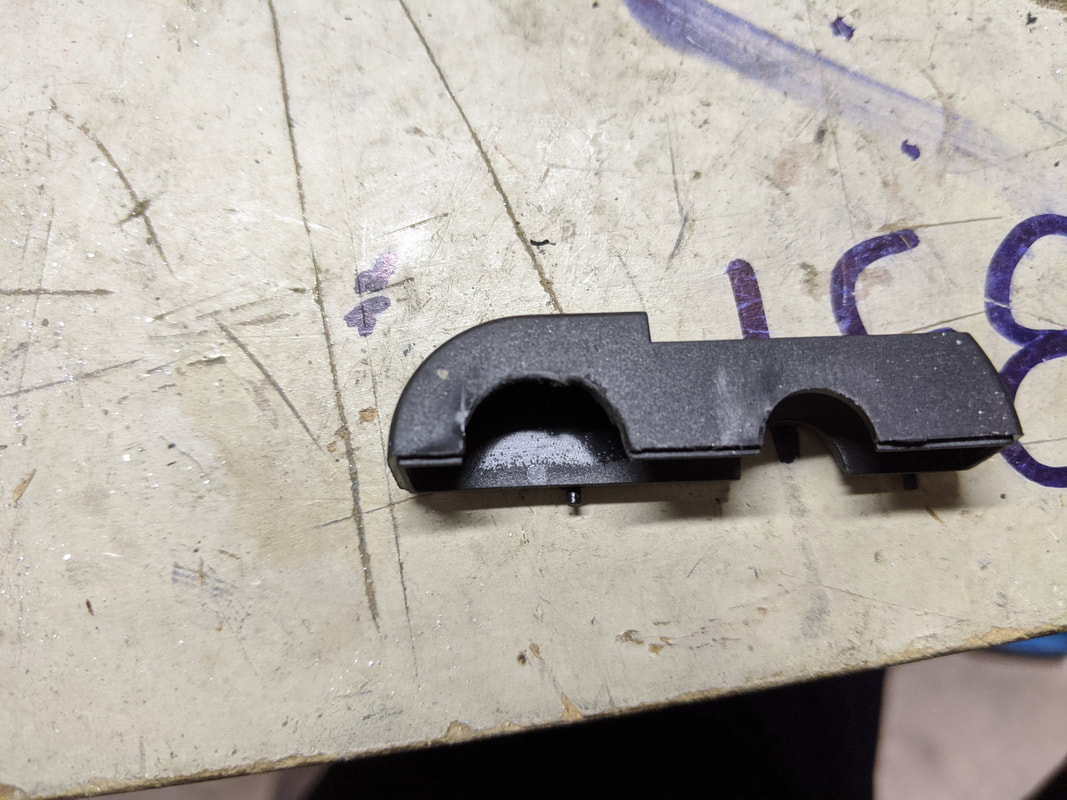
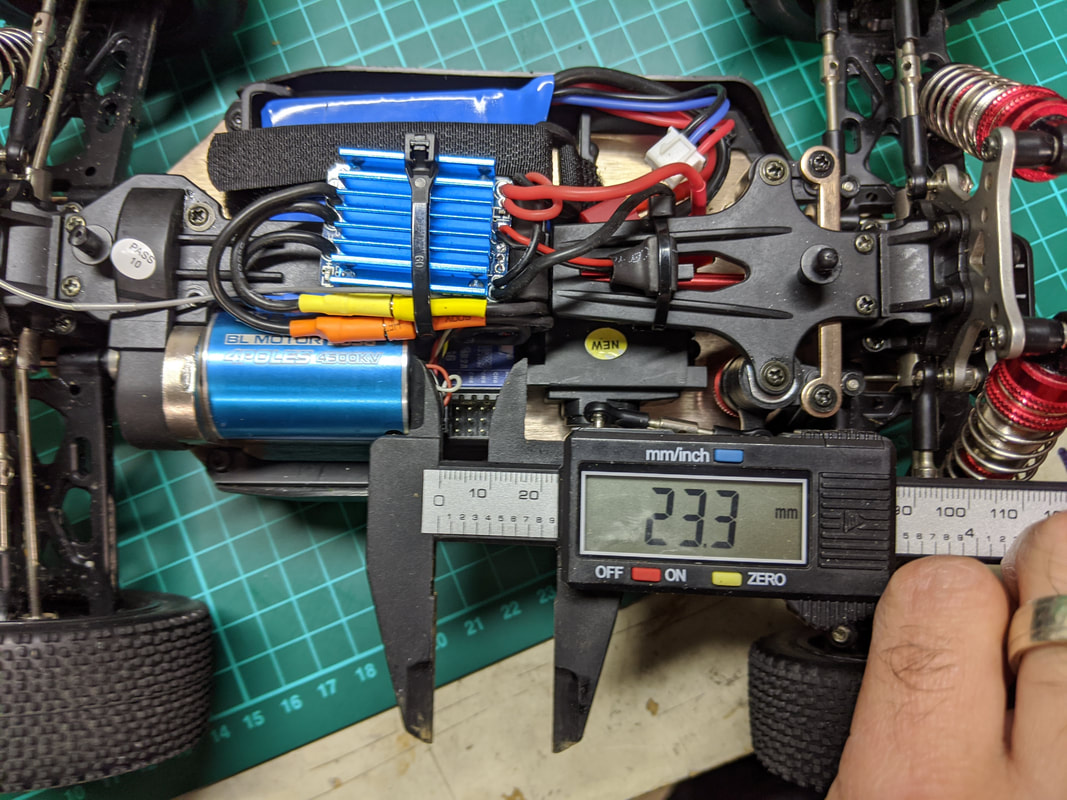
Step 2: Motor install This is the hardest step as you'll need to drill out the pinion and slot one of the motor holes on the mount. Moving to the smaller 17t pinion is a critical part of this upgrade and a big reason why it performs so well.
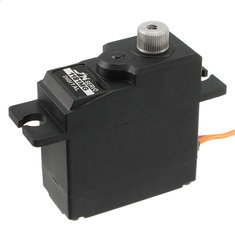
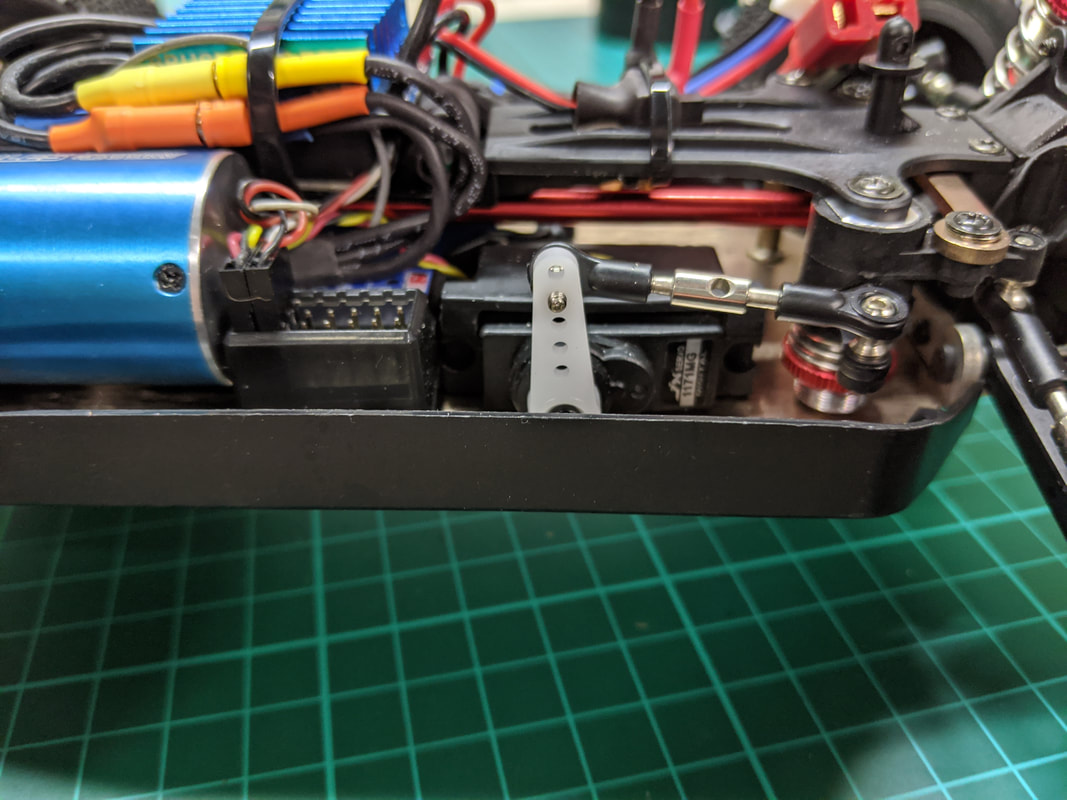
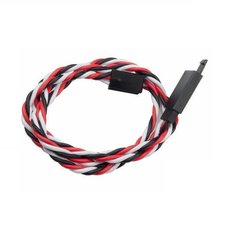
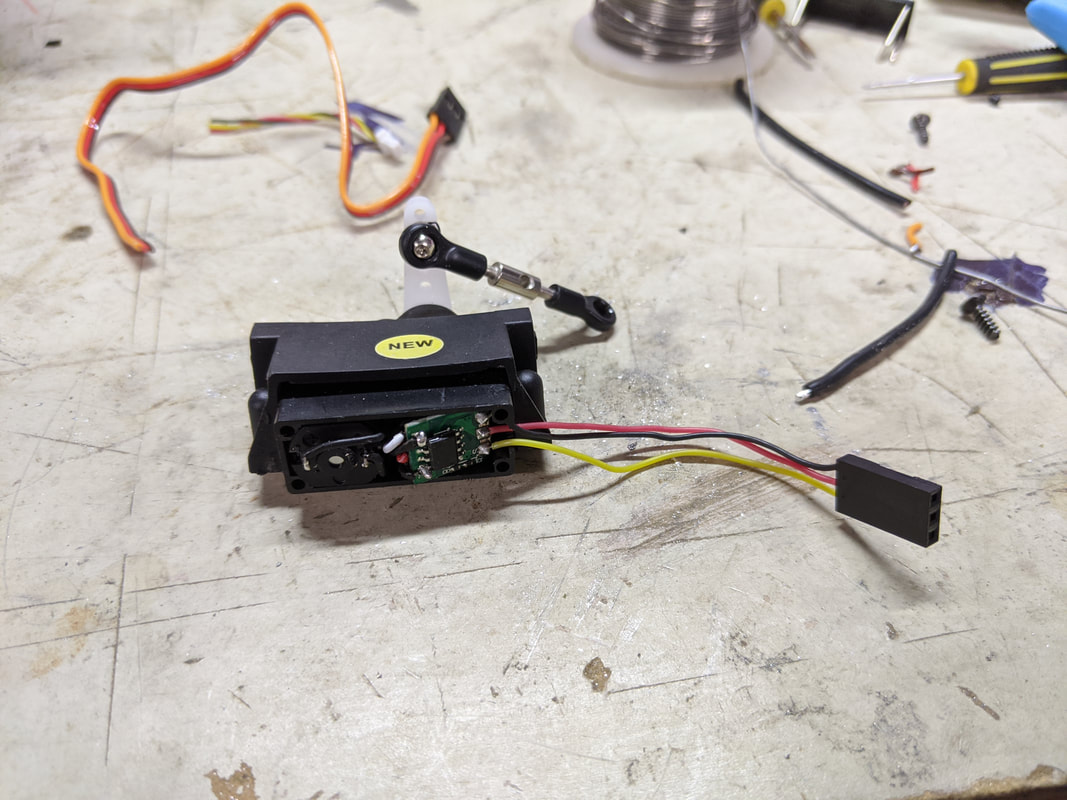
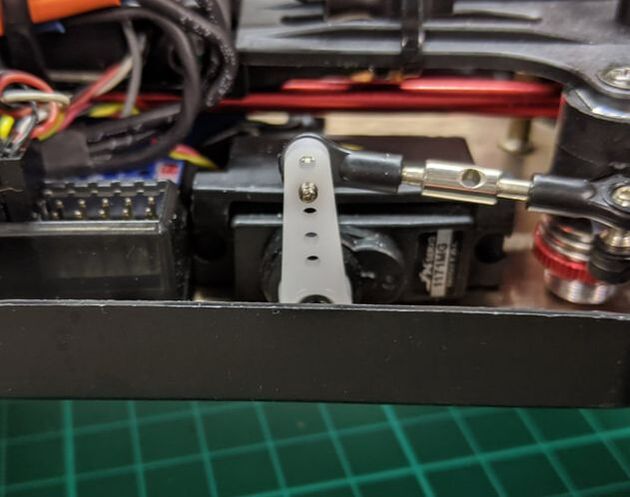
Step 3: Servo and receiver install If you use the PDI-1181MG servo as specified it will not require any modification and install is simple. If this is out of stock then the Emax ES3054 is also a direct fit
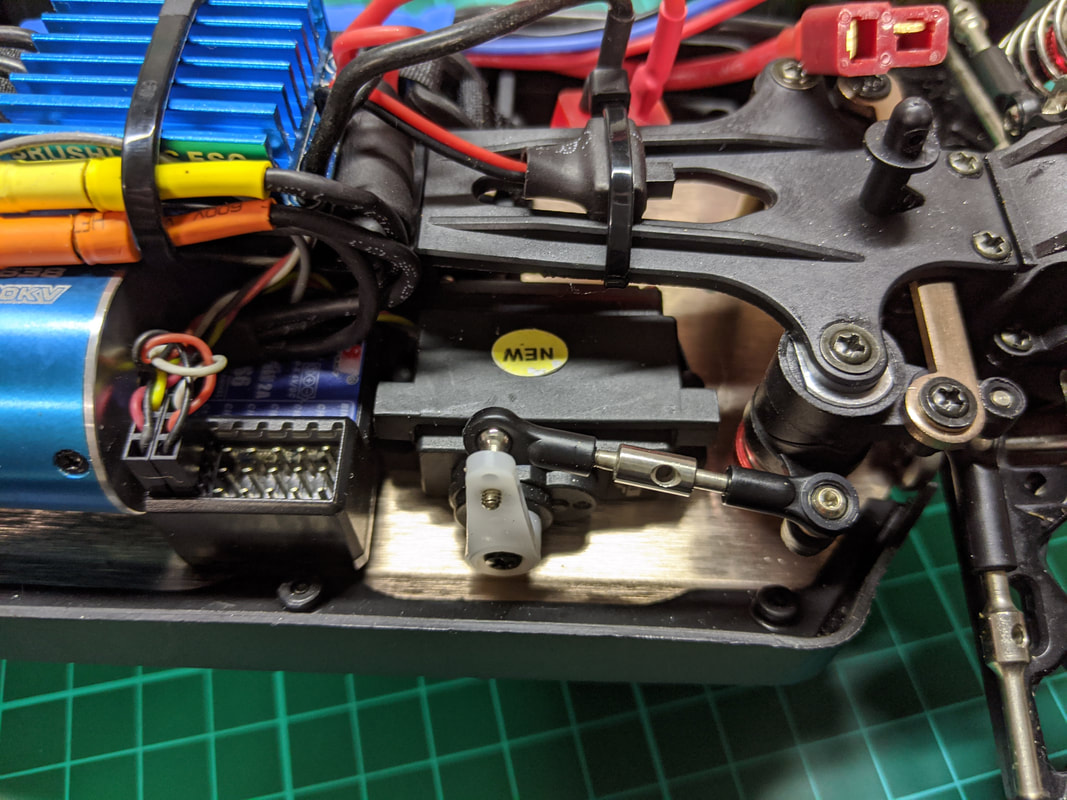
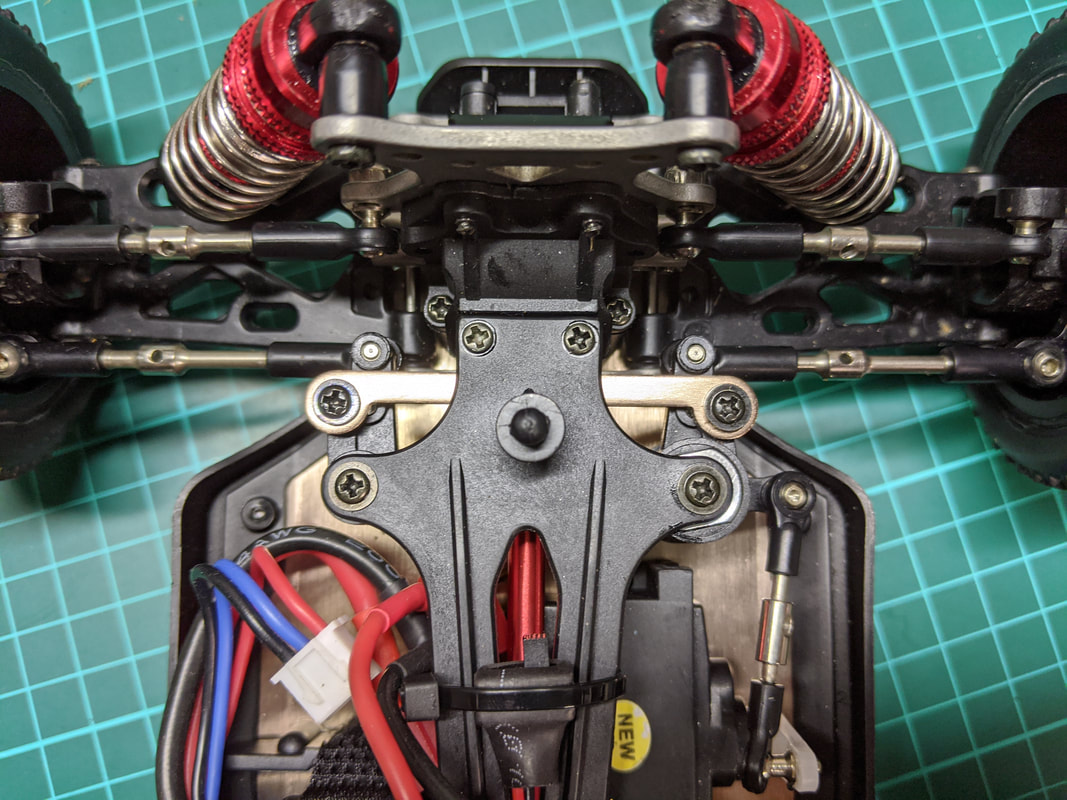
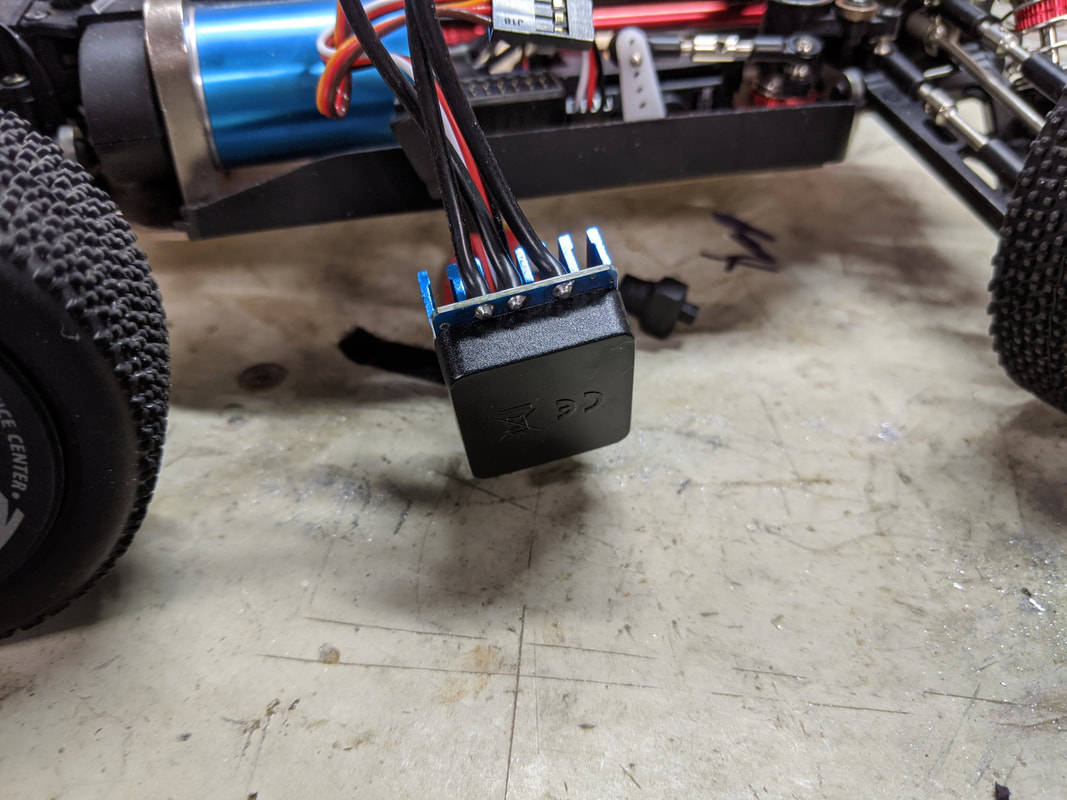
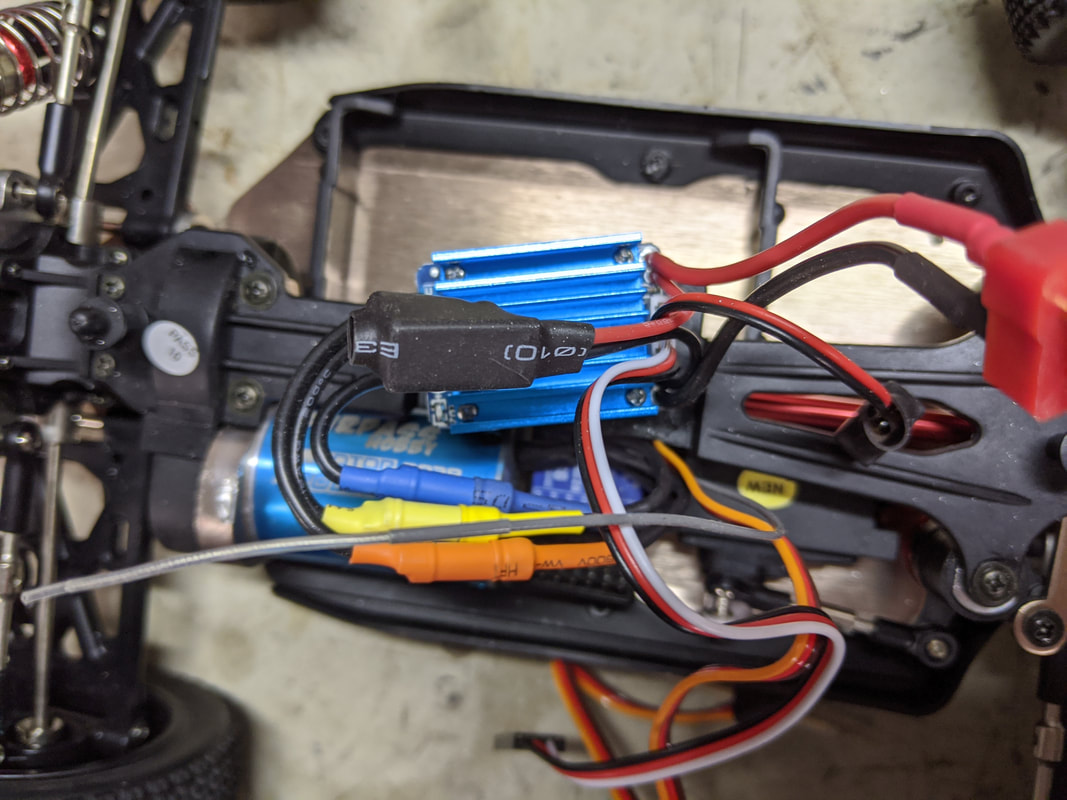
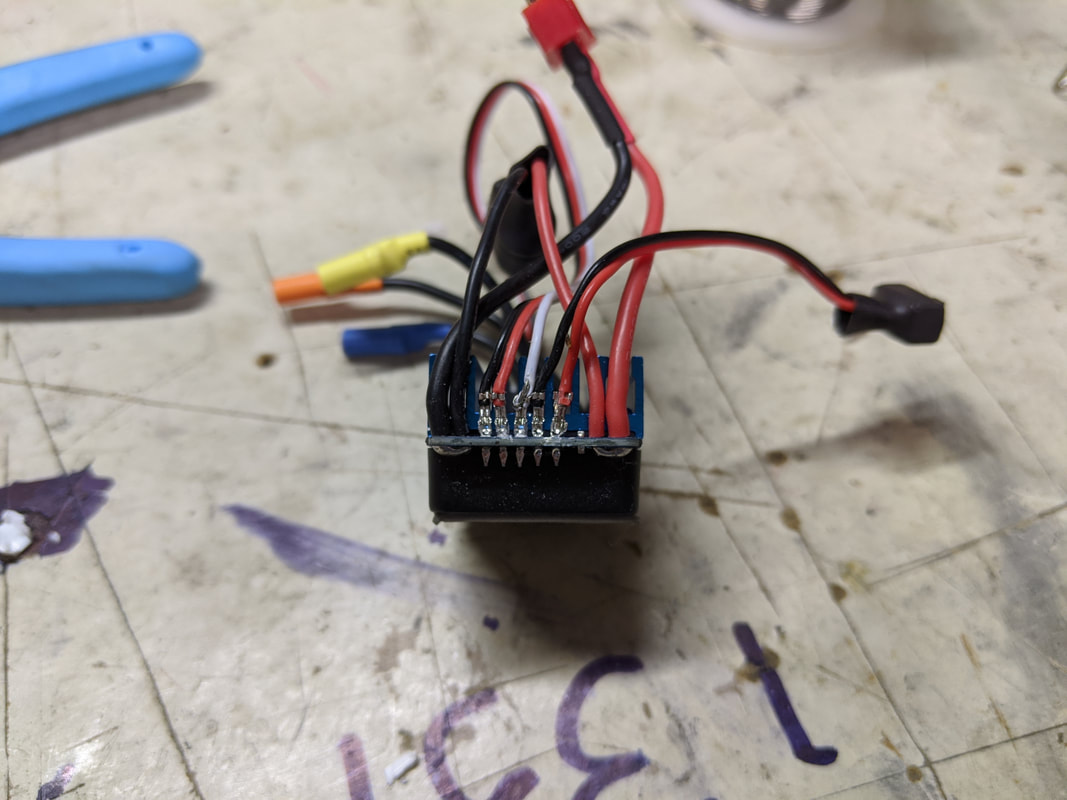
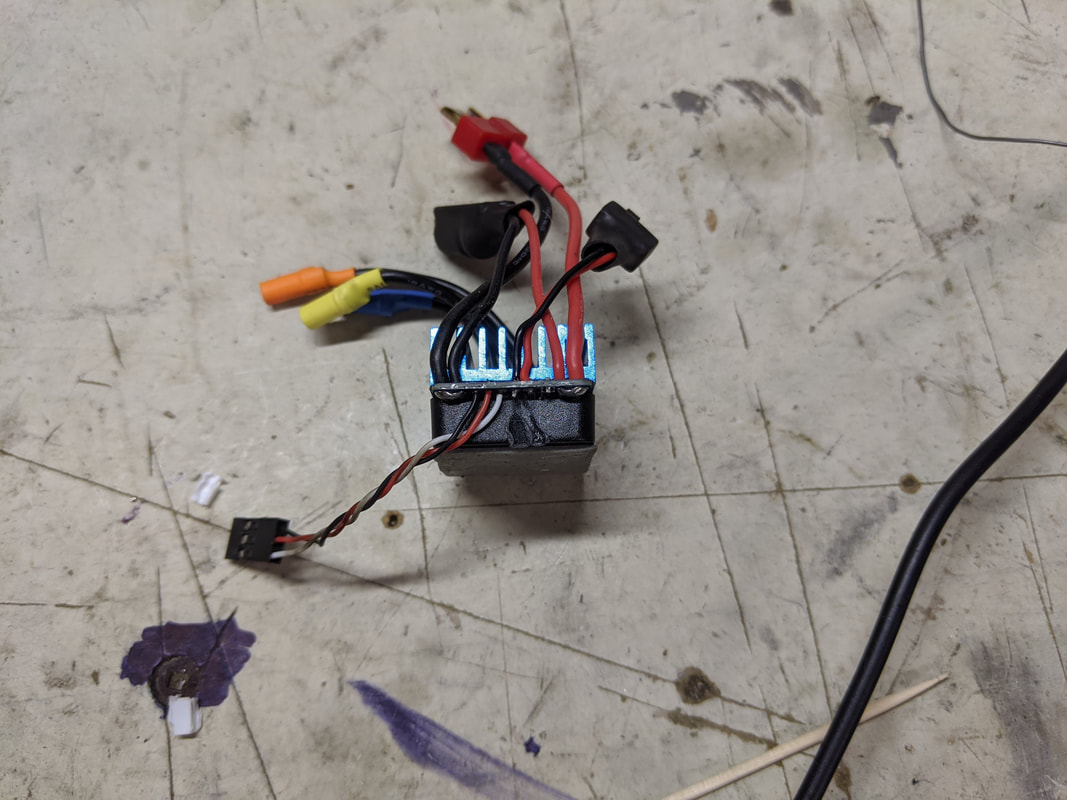
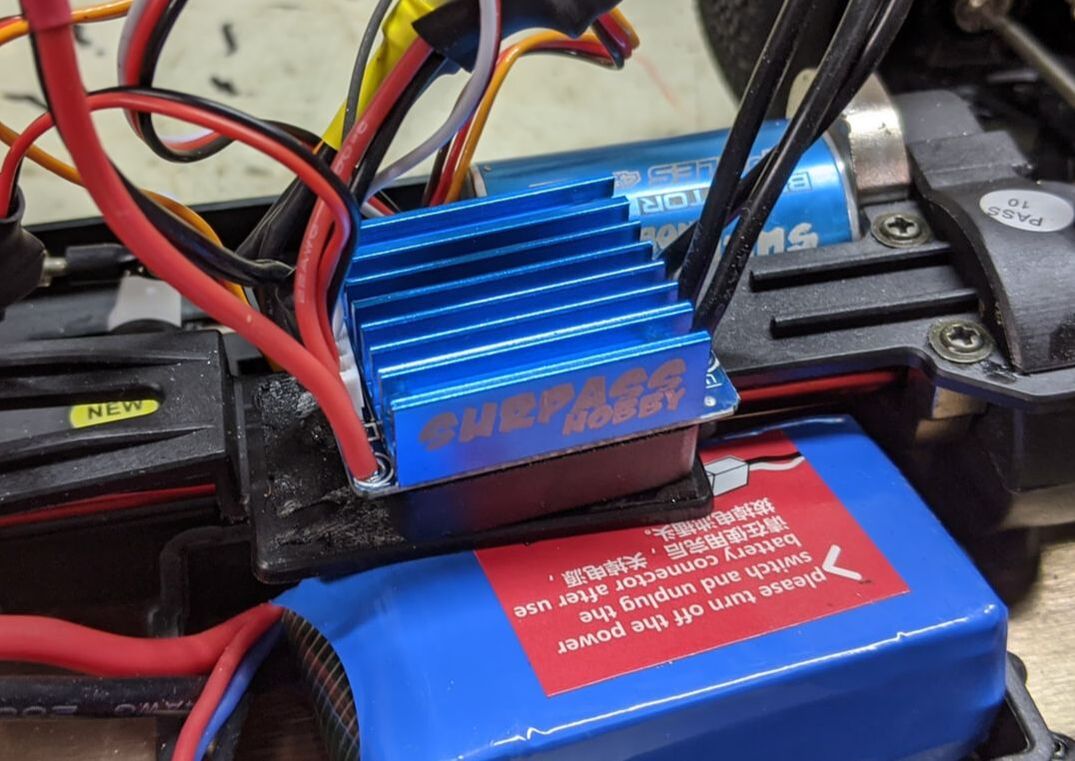
Step 4: ESC install and wiring I'd recommend taking a bit of time here, it is worth fixing everything down securely so things do come loose in action. Move things around and do a lot of test fitting before you fix things in place
Step 5: (optional): Tidy up the wiring As an RC car guy I'd leave the wiring as is and just run it. As a quad guy I know that tidying up wiring is pleasing to my eye and I know it will be better to make sure I don't accidently damage wires or connectors and can fit the body on cleanly every time
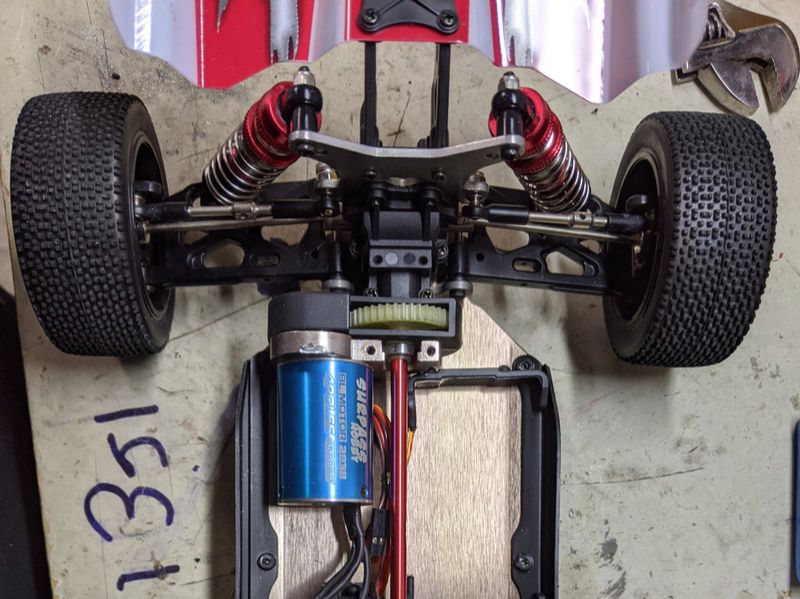
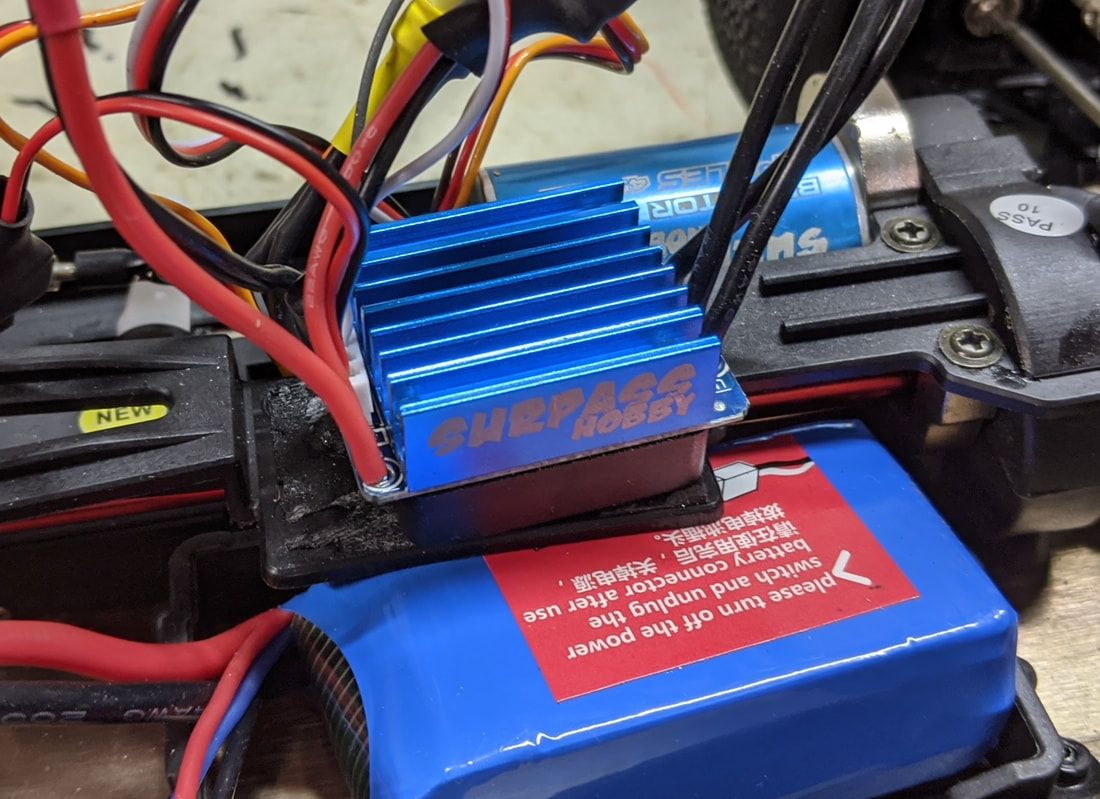
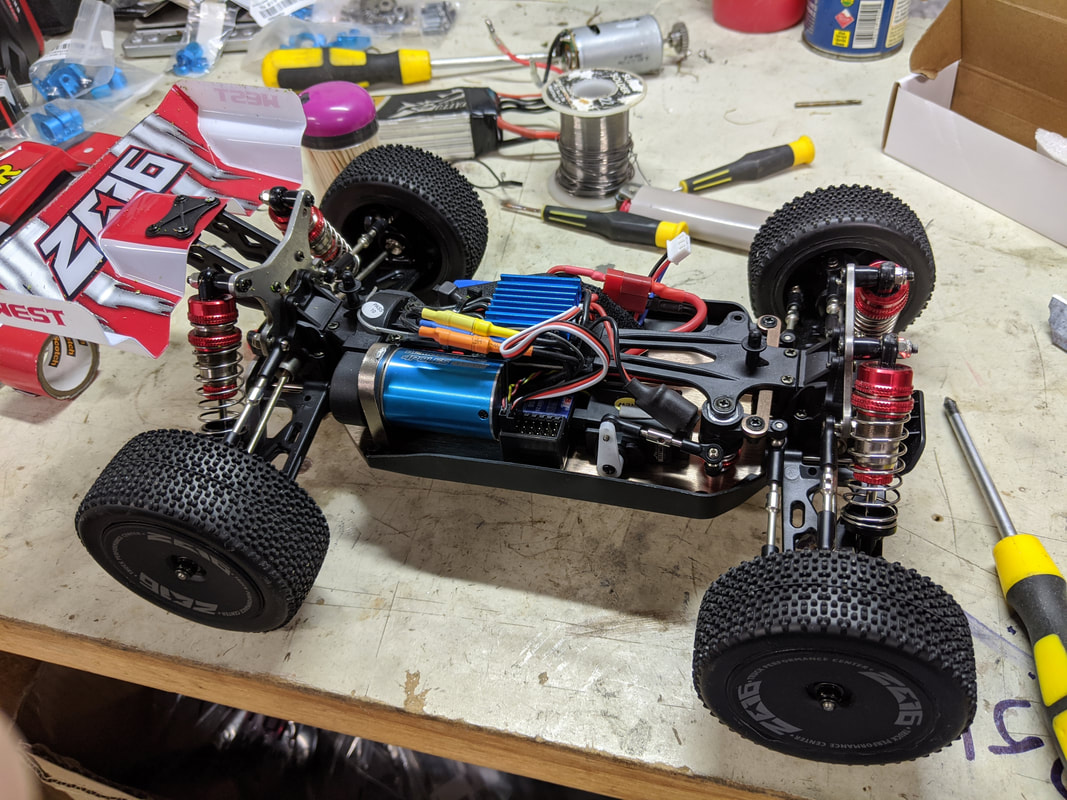
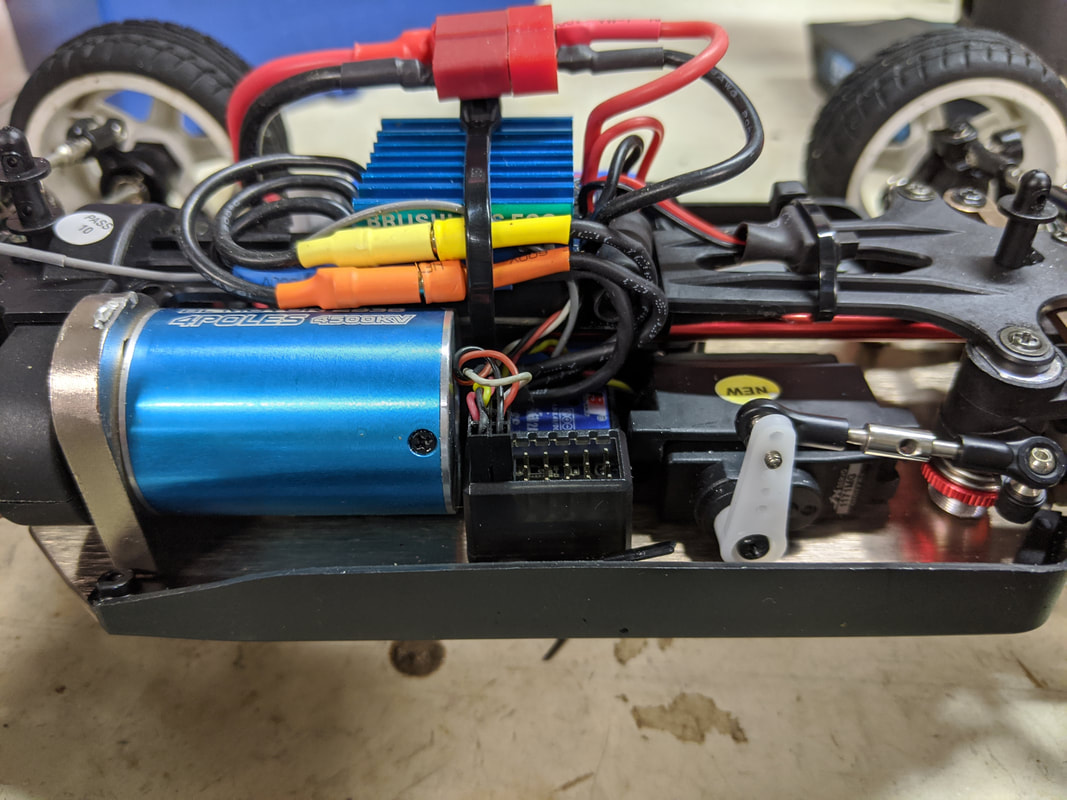
Here are the results. The cable ties make it look a but ugly but everything is very sturdy and will not get in the way of moving parts. I may plan to shorten the battery cable later on and will probably change from a t-plug to XT30 at the same time. Step 6: Get it running Now that everything is in the right place it's time to get it running.
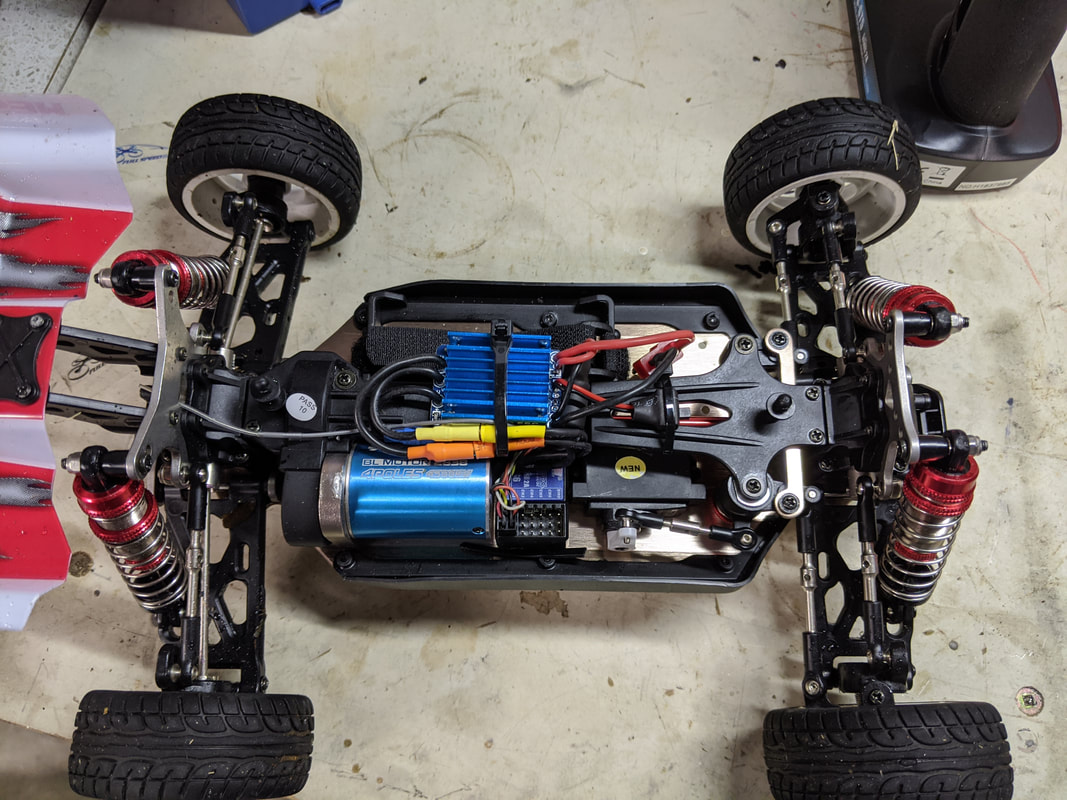
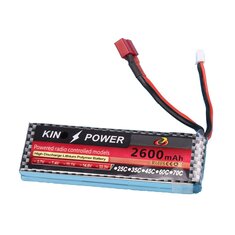
So how does it go? The performance has improved in every single way you can consider performance. Immediately the punch off the line is just incredible and it goes on to a much improved top speed but that is not even the best part. Massively improved efficiency means I get about double to battery life out of even the stock 1500mah 2s pack. Significantly less weight means handling is much more nimble and it jumps way more evenly. Rear suspension is no longer undersprung and under dampened with the decreased weight (ok maybe slightly undersprung and dampened). I've already had a few tumbles and so far as I can tell the lighter weight means I am bending and breaking less. Now that this upgrade article has been out for sometime and has become very popular, this setup has been GPS measured at around 60-64KM/hr on 2s and 96-100km/hr on 3s with stock tyres. That is certainly no slouch! Why not just buy the EMB1? Given all the gear you need to complete this build you are no longer less than half the cost of the LC racing EMB-1, which begs the question - why didn't you buy the EMB-1 in the first place? Well I have both and I'll tell you why I prefer the upgraded 144001 over my EMB 1 - because I love to tinker and I made it. Objectively this makes no sense because the EMB-1 is superior to even an upgraded 144001 but it is the customisation and pride in build (as well as encouragement from the community) that makes this car really special to me, Not that special though, after all this is still a basher that loves to be run! Update: I've done a direct comparison on this upgraded brushless 144001 vs the more expensive LC racing EMB-MT - article is here  Exact Parts used in this build to replicate mine:
What's next? I still have lots planned for the 144001. I'm planning on simplifying the upgrade process as I look for unicorn pinion gears that allow you to use the stock motor mount 380 holes (completed - here). I'm going to look at a number of aluminium parts to see which are worthwhile (completed - here) and which cause more trouble than good and lastly I will build my 3rd 144001 as a road-only speed buggy (completed - here) and see how fast we can go for cheap and minimal modification. Update! I've found some unicorn pinion options that allow you to bypass the slotting of the motor mount and using the stock holes instead, full article here WL TOYS 144001 BRUSHLESS 2838 UPGRADE EASY NO CUT OPTION If you want to stay up do date with my very lastest guides and articles, check out my new facebook group here - QuadifyRC 144001 124018 124019 Modders' group
Other parts worth looking atI'm trying to keep a running list of parts I use and think will be useful. For those parts that come from Banggood please try the code "parts8" for an 8% discount. It works on some products and not others otherwise check my coupons and discounts page as I'll add any 144001 cars and parts there if they get discounted.
|
Categories
All
|


 RSS Feed
Thanks for visiting QuadifyRC.com Follow us on facebook below to get all the latest updates