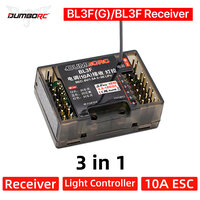
The DumboRC BL3FG is the perfect all in one receiver/ESC to greatly improve your small scale crawler or other brushed vehicle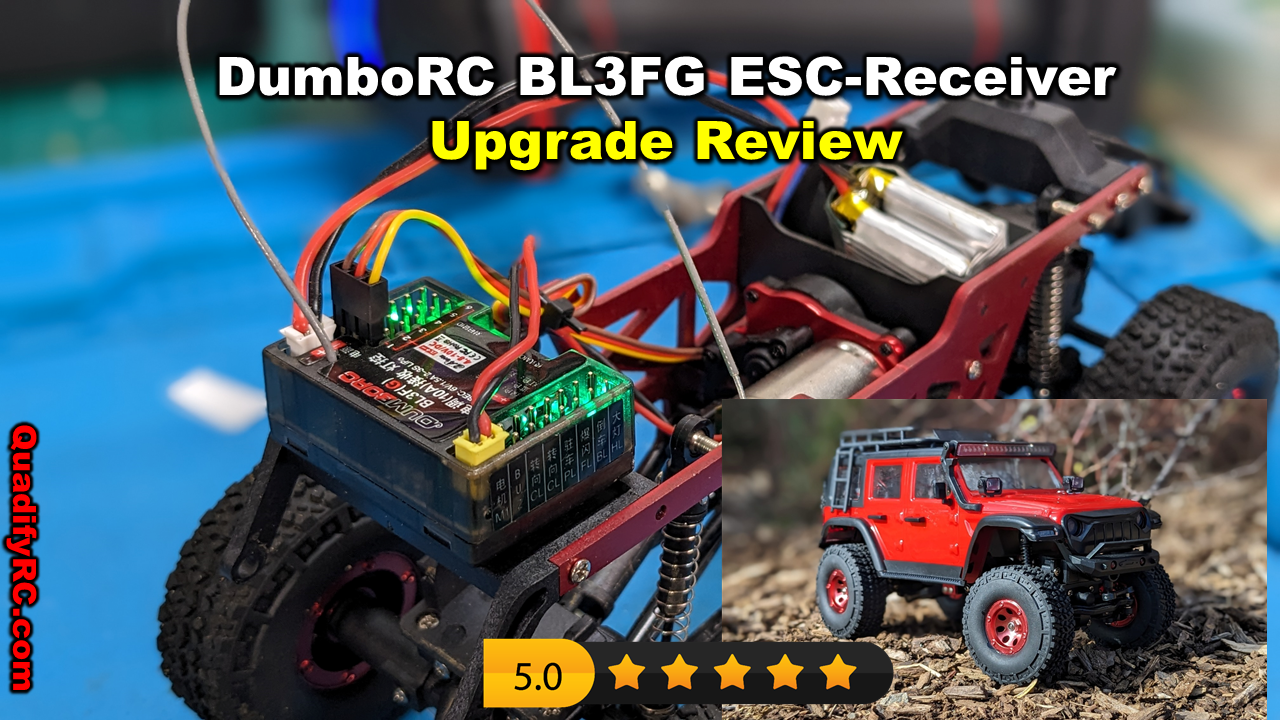
I've recently reviewed theWLToys 2428 mini RC crawler here and although it is a very good truck, its not perfect because it is light on power and could have better throttle resolution at low speeds. In my attempt to fix it I wanted to get a larger motor with more winds (less speed and more torque) but since I had the DumboRC BL3FG receiver-ESC combo lying around I thought I'd try that first. It's worked much better than I'd expected but read on to see how I installed, set it up and how it was so improved.
In this article:
DumboRC make (IMO) the best budget radios you can get with the original X6 series (covered here) and the new X6PM-350 (reviewed here). One weakness however on both models they included a horrible plasticky steering wheel which felt a bit unpleasant in hand. Good thing then that the have released a low cost foam steering wheel upgrade which I have reviewed here and also give feedback on which other models it fits. 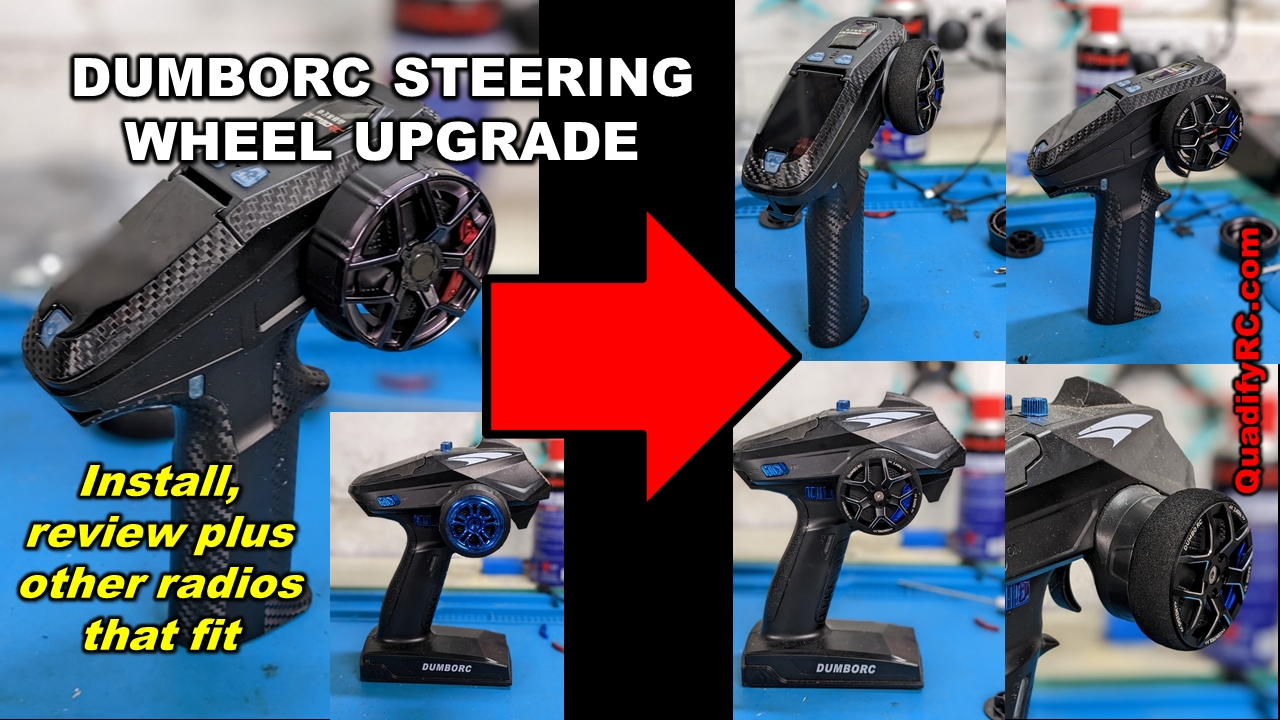 As mentioned above the steering wheel on all the DumboRC radios I've reviewed feel cheap because of the plastic grip. It's a shame they didn't use foam from the outset because it's not like this is an expensive upgrade - even stock WLToys remotes use foam and feel better for it. The newly released DumboRC Controller Metal Handwheel directly addresses this however and at a cost of under $10 it won't break the bank. They are available in black or titanium grey and I went with the latter. I'll be really clear that this is not a metal wheel, it is still moulded plastic so will be recommending to Banggood that they change the description. Anyway, included in the pack is the plastic wheel with foam outer, 2 adaptor pieces shaped like vented brake discs, stick on "calipers" if you like that look, a hex screw for fitting and a DumboRC domed decal to cover over the screw after installation:
The WL toys brushed 104001 and brushless 104002 are true 1/10 scale 4wd buggies and their size and weight add to their handling performance. Sadly though their tyres are overly soft which would be good for a lighter car like the 124019 but on these big heavy cars the tread pattern deflects so provide poor grip and fast wear. In this review I'll be looking at alternative buggy wheels to find a good looking off-road alternative that is easy to find. 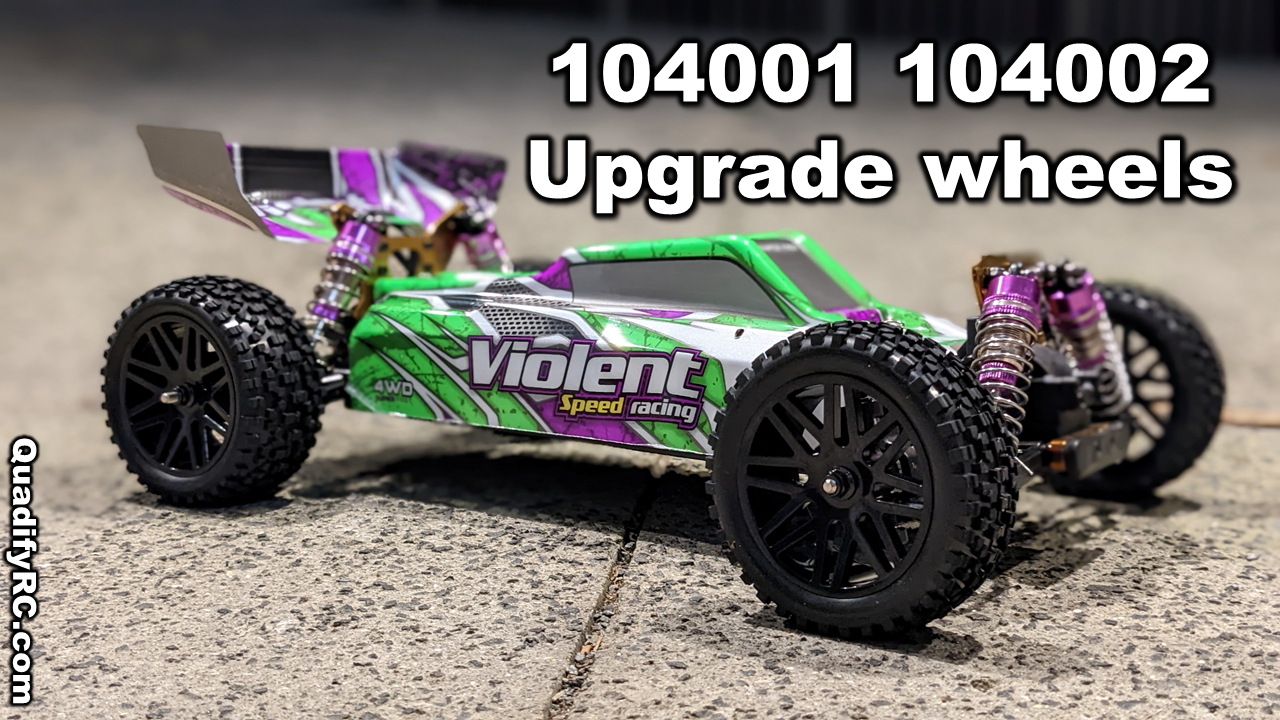 I've reviewed both of these cars and in general find them to be pretty good but if you want more detail check out my full review of the cheaper brushed 104001 and the faster, more efficient brushless 104002. As I mentioned above, both have good wheels and a good tread pattern but have a tyre compound that is just to soft for a car of this weight. In this review I have looked at the this staggered buggy wheel and tyre set that costs less than $20 (actually $14 on flash sale at time of writing. They are available in 5 colour sets as you can see below
The WL Toys 144002 is a fantastic handling 1/14 scale monster truck that I reviewed here in full. It is really let down by the powertrain though - although it has a large brushed motor, the gearing is way to tall with the big wheels and suffers with terrible acceleration, poor torque and poor battery life, none of which is a good match for a monster truck and offroad conditions. In this article I will present an easy to install brushless upgrade which is inexpensive and performs great with double the battery life 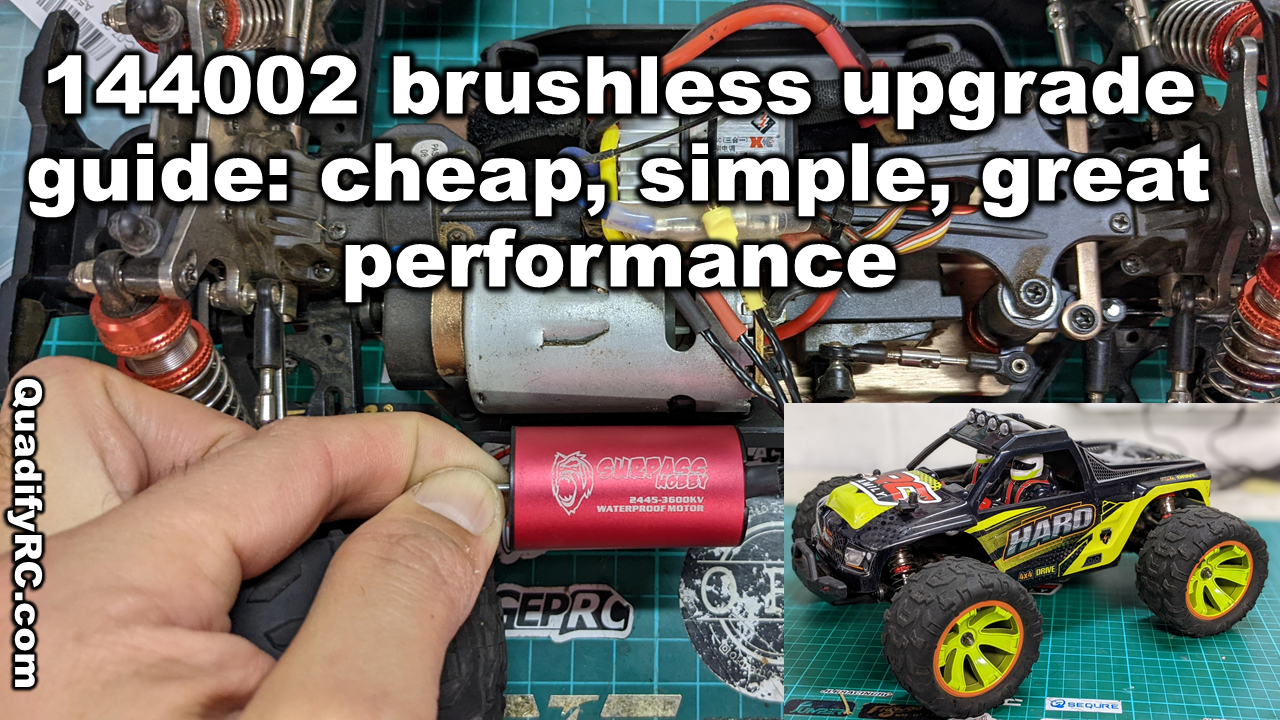 Let's get straight into it: Brushless motors are much more powerful than their brushed counterparts and so simply choosing one with the same dimensions as the stock motor is a poor choice. It will remain heavy and you still have not solved the issue of tall gearing since you are stuck with these same pinion gear on these large motors. Even with a low KV option this will still make for poor acceleration but will now add cogging into the equation similar to what we saw on the Eachine EAT14 (reviewed here)
Below are the components I've chosen for this setup, the whys and alternative options. The HBX 901a 1/12 brushless truck as reviewed here is a brushless 1/12 scale desert buggy and one of my favourite RC cars of 2021. It was light yet very durable with a very efficient power system and drive train. Short gearing ensured very lengthy battery life and ensured motor and ESC temps remained extremely low with the preference of strong acceleration over top speed. In this article I'll show you how to install a larger 14t pinion gear and talk about the performance improvements. 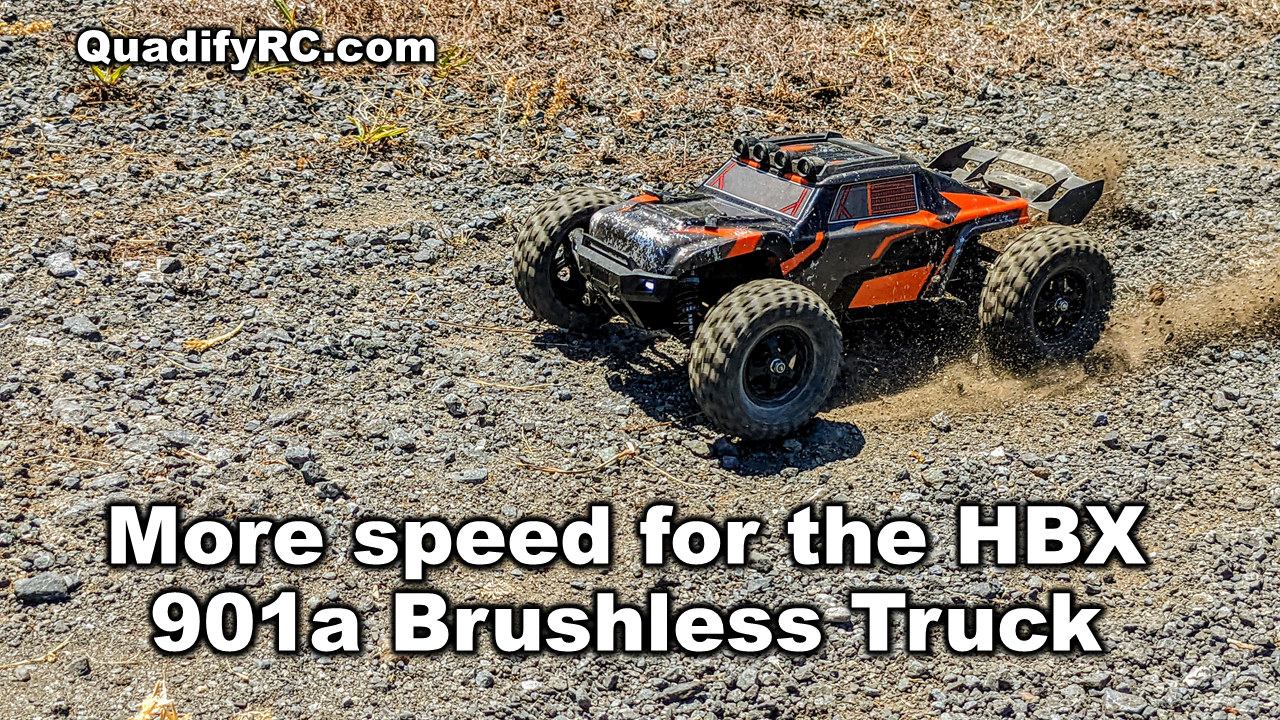 In my original review I mentioned that the motor mount for this car had preset motor holes that should allow the fitment of a 14t pinion and recommended the Surpass Hobby M0.6 13-17t pack. I can now confirm that these do fit as expected - see the images and steps below to do this yourself - it is very easy and takes around 5-10 minutes. 14t Pinion Install Guide
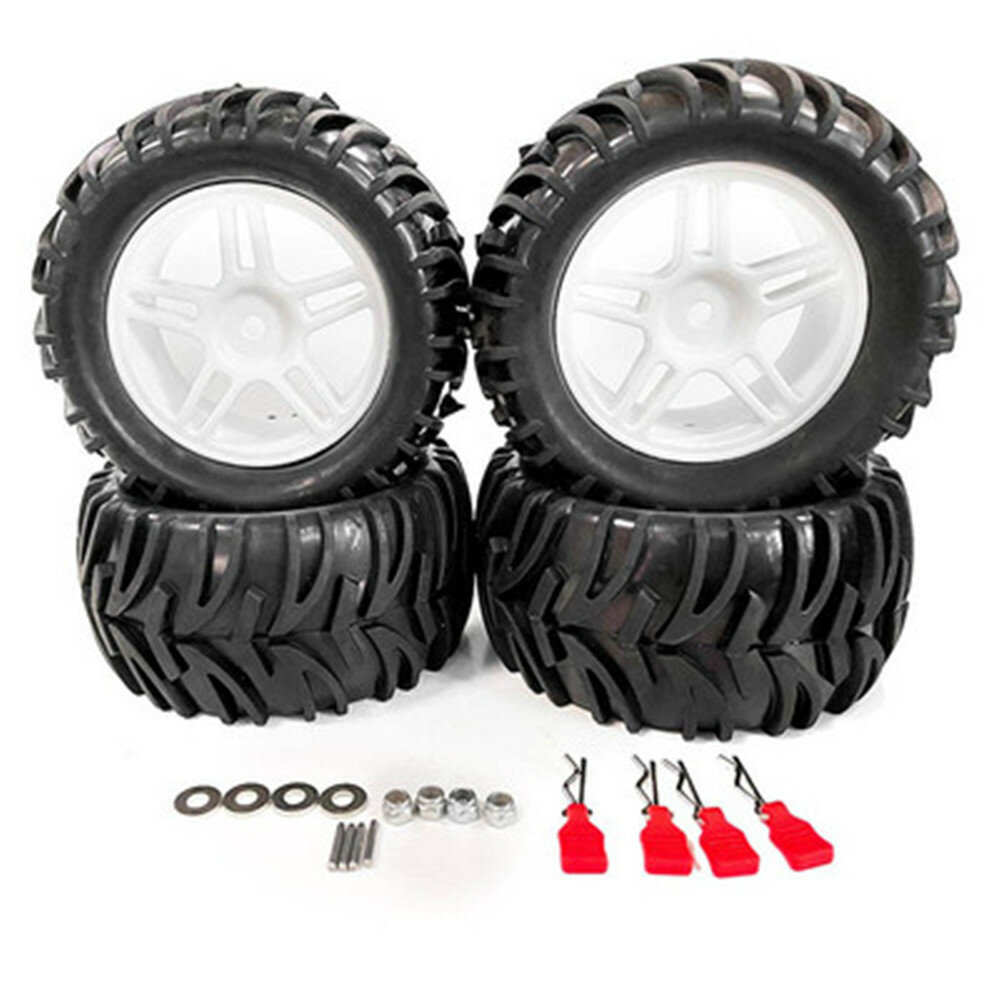
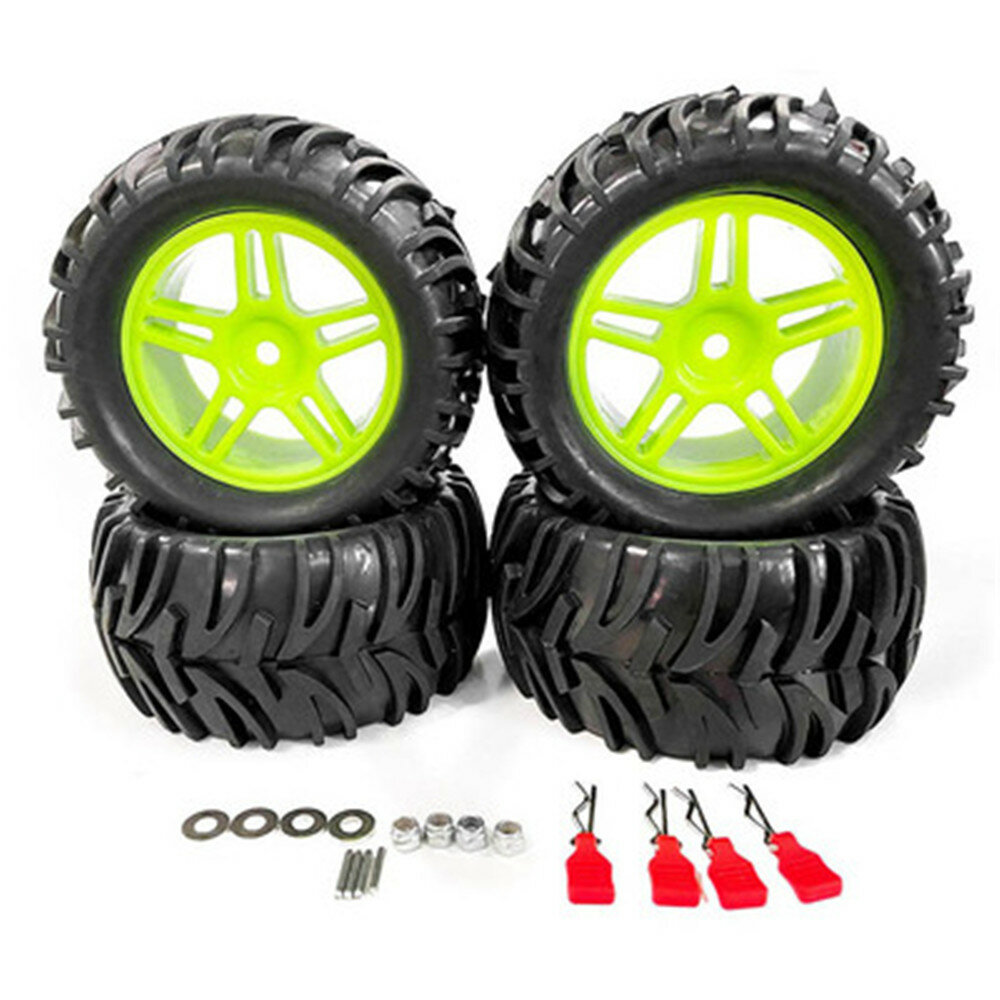
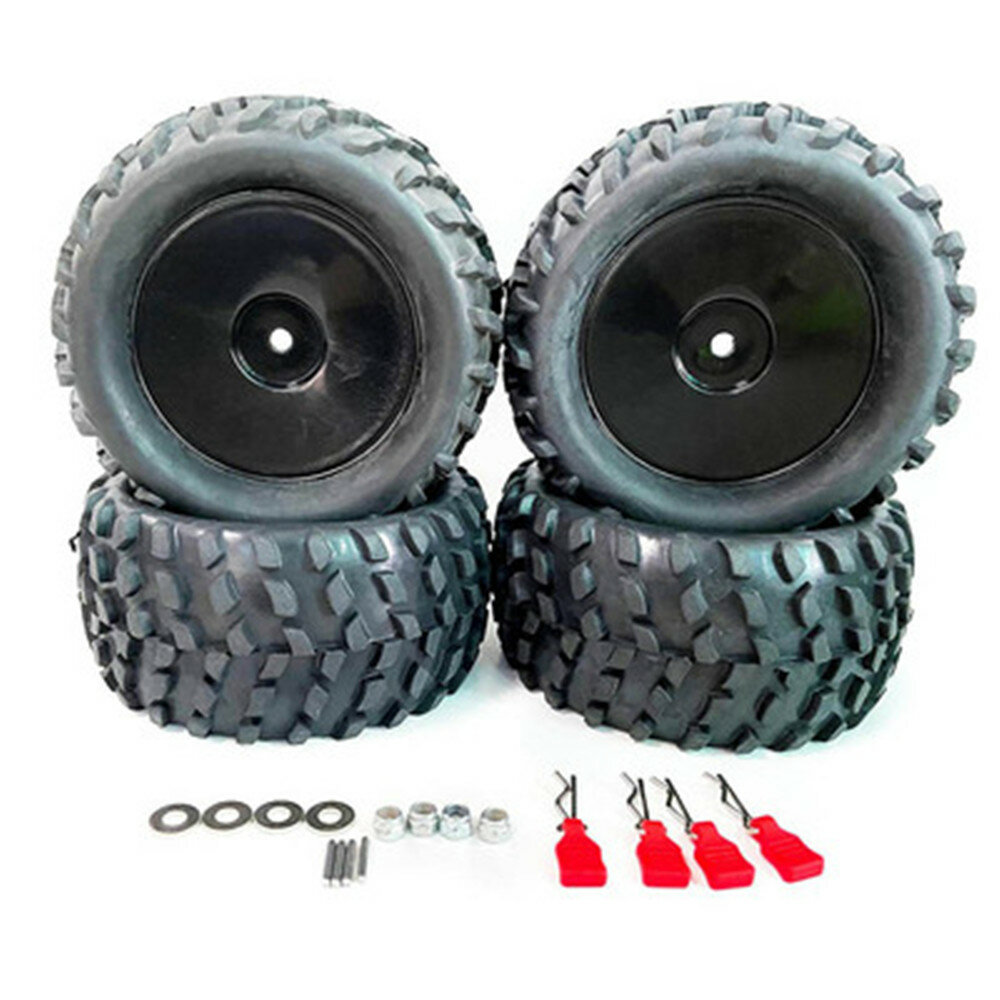
The 1/14 and 1/12 scale WL toys cars (144001, 124018, 124019) are rightly very popular cars due to their competitive price for a platform that is extremely versatile and lends itself well to upgrade - I have over 30 articles here that prove it. Although on road wheel options are easily accessible, this is less the case with off road options other than the Remo P6973 (reviewed here) which have been the gold standard. I've now found a wheel and tyre set I find to be even better offroad so long as specific conditions are met: 4PCS Upgraded Larger Tires Wheels 12mm Hex for Wltoys 144001 124018 124019 RC Car Vehicles Model Parts - 1822G-A. Read on to find more about their good, and bad points to see if they are right for you. 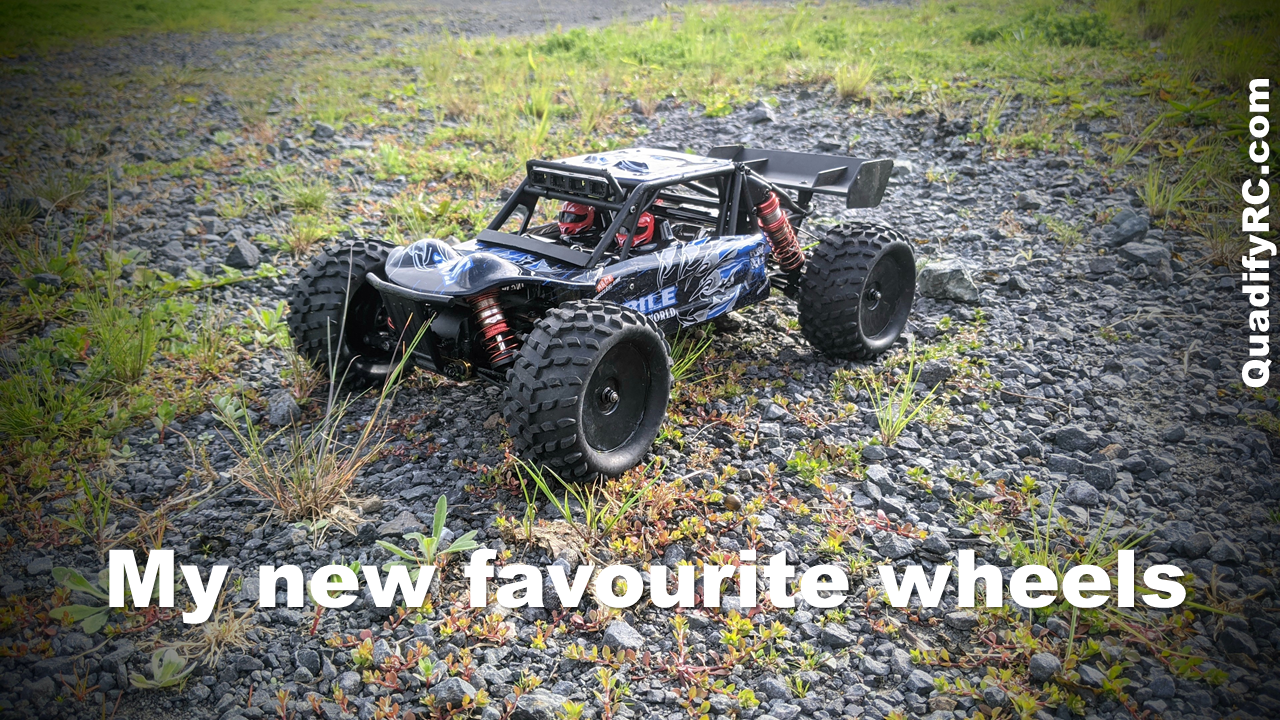 Wheel Style. These new wheels/tyres which I will refer to from here as the 1822 have options for either solid disc or spoked wheels in black, white and neon green. They come in a set of 4 with a set of foam inners and of course the tyres. Tyres come in one of two pattern styles, one I would call a paddle style and the other a knobbly style.
The common platform shared by the WL Toys 144001, 144010, 124016, 124017, 124018 and 124019 is a generally robust one but it does tend to have a common weak point - the front hub carrier AKA front wheel seat. I'm happy to say I've found a cheap, strong and well-made metal alternative and in this article I'll show you why they are only now worth getting and of course how to fit them 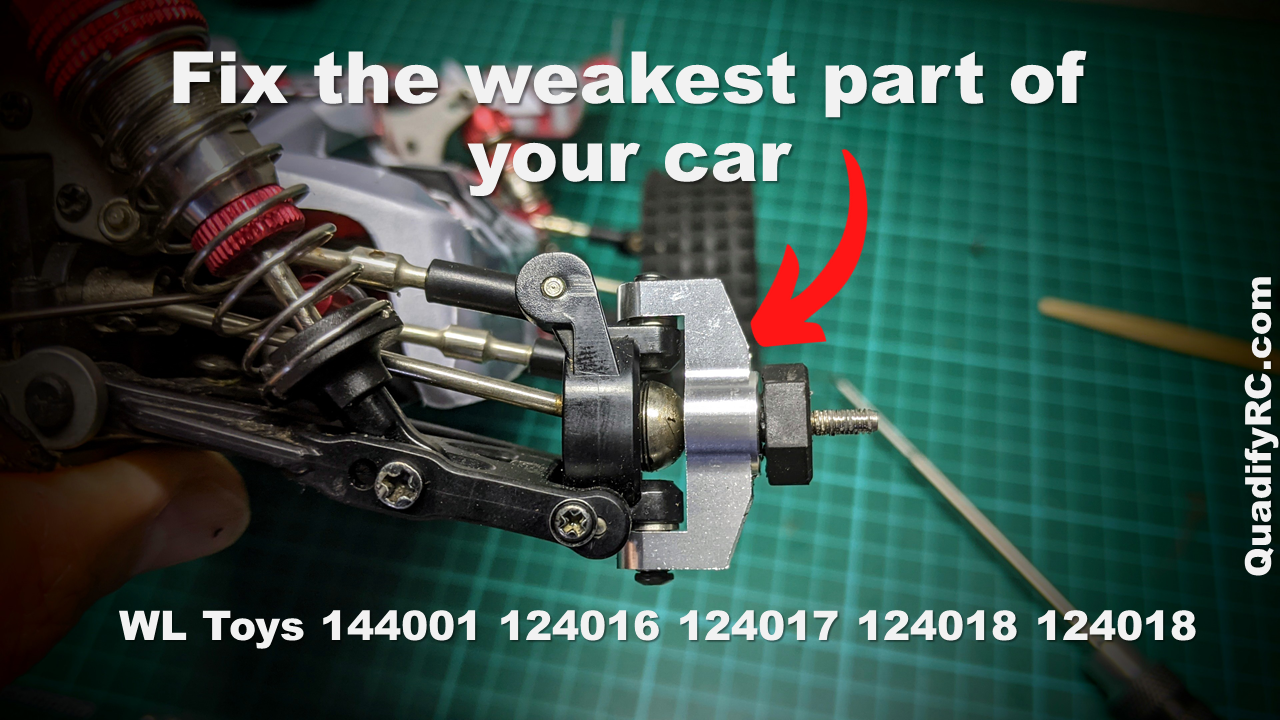 When you have been lurking around in Facebook groups, RC Groups, Reddit and other forums dedicated to the WL toys cars as long as I have you tend to pick up on common threads, especially when users share their disappointment over broken parts. Sure, individuals drive in different ways which can put certain components at more or less risk but a very common breakage I see is of the plastic front hub carriers. Standard replacement are not expensive but often have to come from China meaning you can be without a running car for up to several weeks. Previously I've looked a metal replacement parts by WL Toys however early designs were more "agricultural" in style and meant the wheels like my favourite Remo P6973 (reviewed here) couldn't be fitted.
The WL Toys 104001 is a well designed 1/10 scale 4wd off road RC buggy that I reviewed here It is somewhat lacking in power and is only able to achieve a fairly modest 39km/h which feels slow for a car this size. This is due to the stock brushed motor - this is old but cheap technology which in general are slow and inefficient; they just don't do justice to the otherwise good handling car. Brushless motors and ESCs offer improvements across the board - more speed, better battery life through more efficiency and cooler running. In this upgrade guide I'll show you how to get A LOT more power and battery life on the cheap with a budget ESC and motor combo and give you exact feedback on exactly how it performs including speed runs 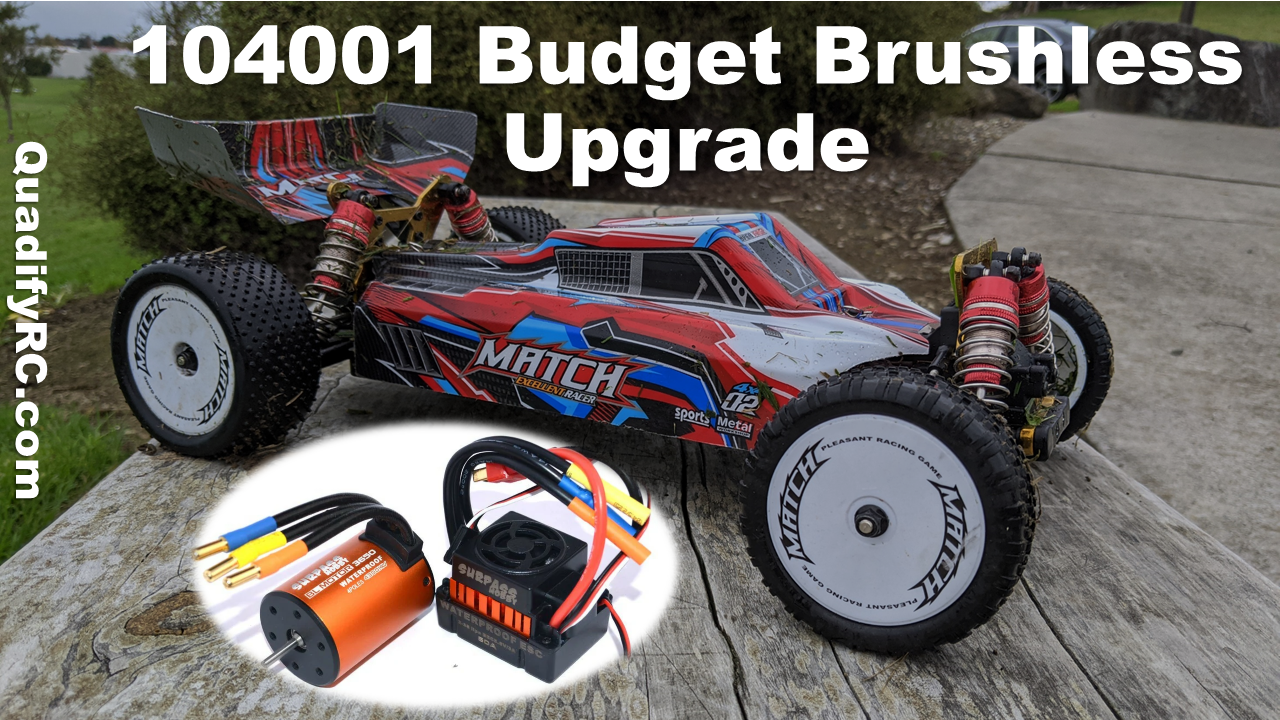 Recently I looked at a more expensive brushless upgrade for the WL toys 104001 in my Big Brushless Upgrade and Installation Guide. This offered a big increase in performance (76km/h top speed) and battery life but was a pretty expensive option owing to the high end Hobbywing Max 10 SCT speed controller I used with a 4s battery. This time around I've put together a cheaper and easily accessible build that is perhaps better suited to this car and is still about 90% as good as the much more expensive option, depending of course on your metrics.
144001/124018/124019 - Every one of my Upgrade guides And Review here plus parts I Would buy2/8/2021 I've now built up quite a library of articles for the WL Toys 144001 (and 124019 / 124018) and thought I would use this page to share them. As of 3 August 2021 I've finally done a bit of an overhaul to make sure all articles are included and have added some new categories plus reviews. Enjoy!  *To be clear my car is still under preorder but I have 3 cars of a very similar spec so do have a good understanding of what makes these tick and how to improve The WL toys 124016 and 124017 are faster and more efficient brushless version of the hugely popular 124018 and 124019. If you want to know more about these new brushless cars then check out the preview article I wrote here: WL TOYS 124016 124017 PREVIEW: FIRST FACTORY BRUSHLESS WL TOYS RC CARS In this article I'll be taking you through my top 5 mods for this car 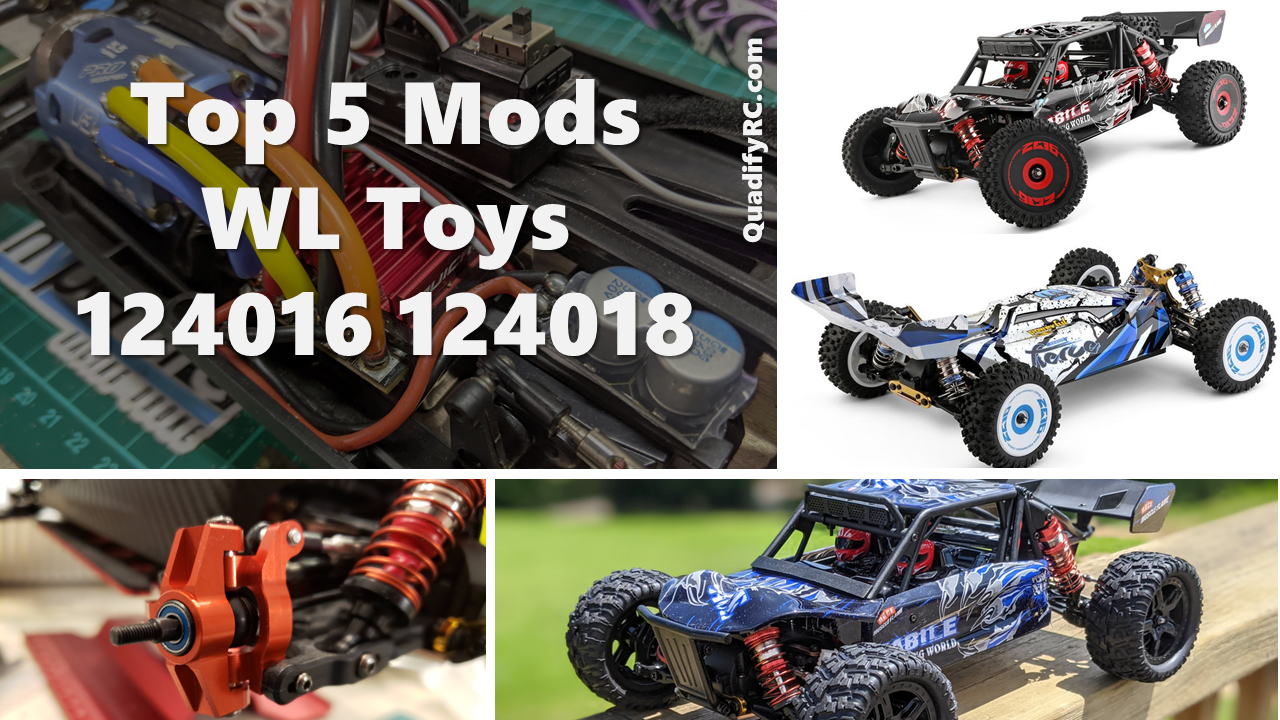 If the stock car is anything to go by, the brushless model will be at least as fast but with much stronger acceleration and better battery life. With the understanding that you will be going faster for longer, there is an increased change of breakages on what is not an especially weak but not an especially strong car either. In addition, the extra speed and acceleration will show up the handling. For these reasons and but one of the 5 best mods below to improve your 124016 or 124017 will focus on DURABILITY and HANDLING and maybe just a little more POWER
|
Categories
All
|
 RSS Feed
Thanks for visiting QuadifyRC.com Follow us on facebook below to get all the latest updates