|
Note, this is not a review. You've probably seen a ton of those already. This is about how to set your car up once you've already bought one. 
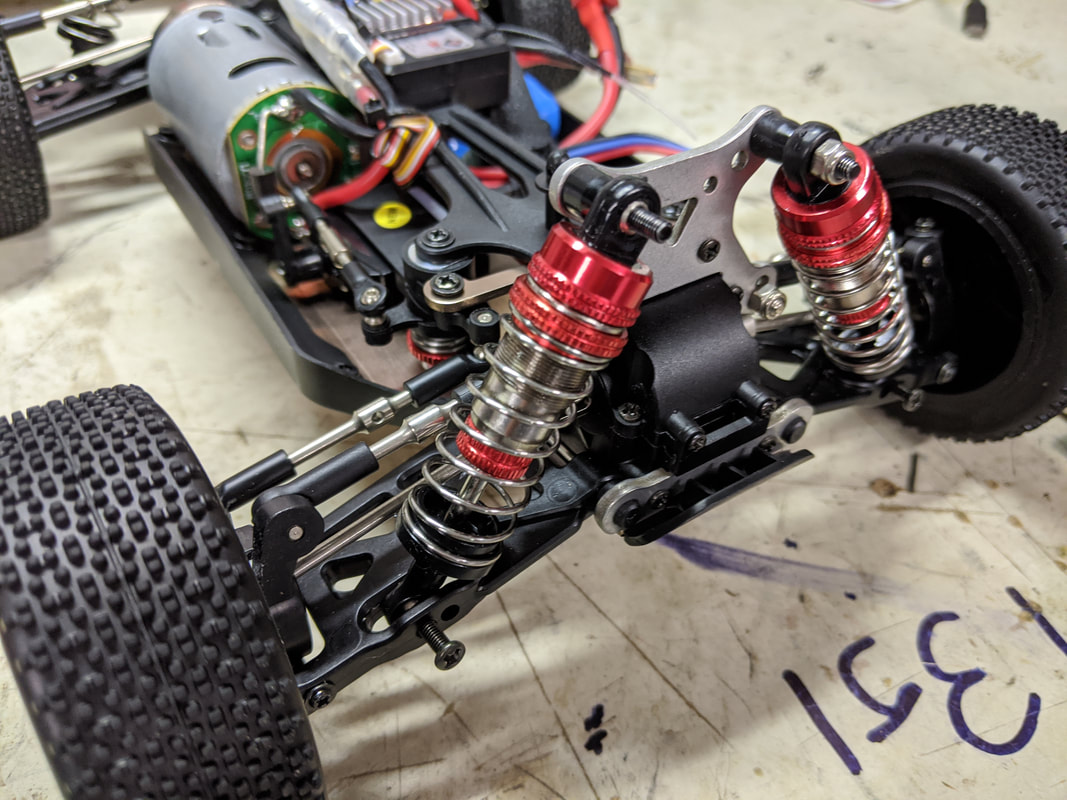
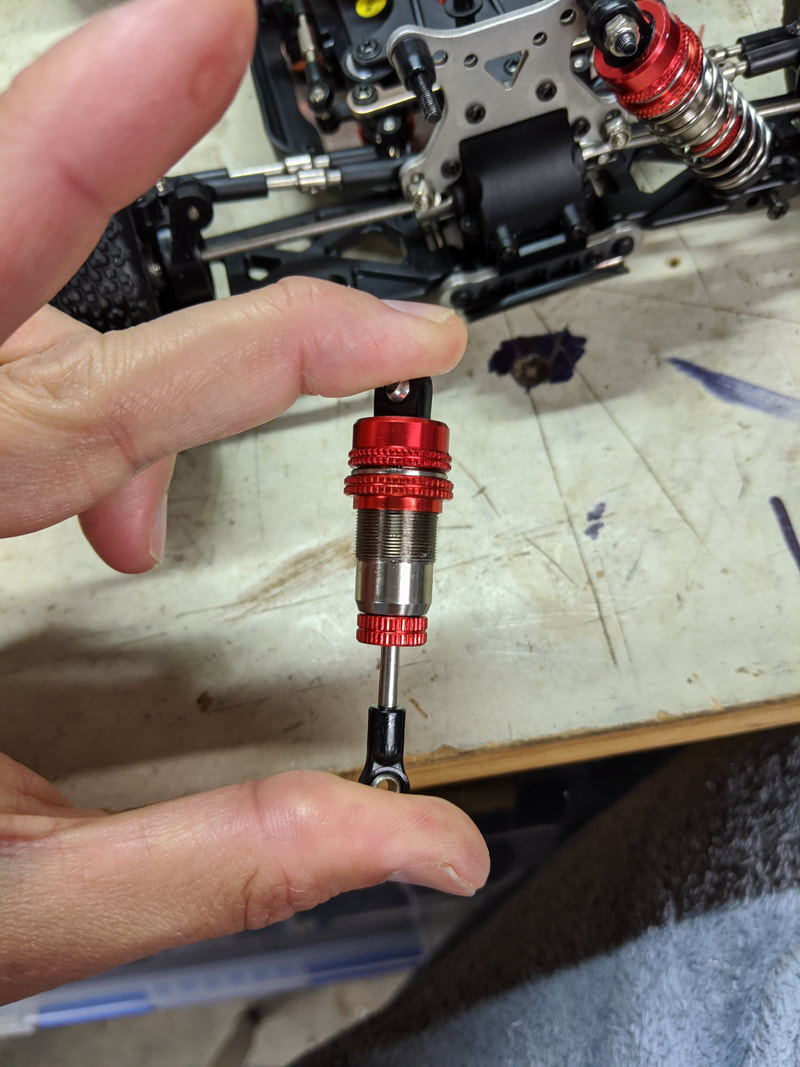
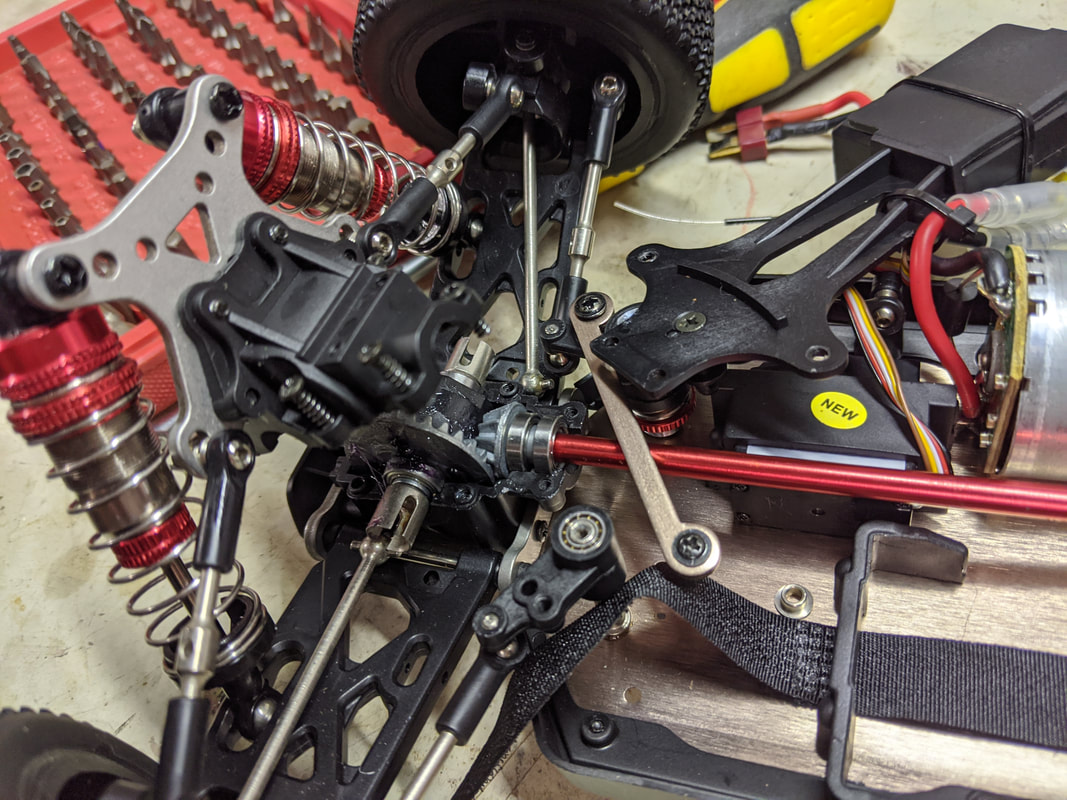
Firstly, "must do" is a bit strong and a bit of a pisstake of the clickbait Youtube videos out there. With that said I do strongly recommend them if you can to get the best performance out of you car and extend it's life. I've arrived at these recommendations by comparing the 144001 directly to the car it was copied off - the excellent LC Racing EMB-1h plus basic fundamentals of rc car operation of which I've been around for years. 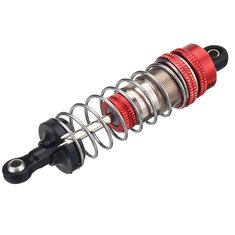 Factory shocks are overfilled Factory shocks are overfilled 1. Fill (or empty) the fluid in the shock absorbers to the correct level After a lot of feedback to the community, WL toys has started filling up the shocks with oil but now isn't too little but too much they are putting in. Too much oil in your shocks means that the shock cannot be fully depressed it will ultimately force the oil past the orings and in doing so damage them. The fix is easy and if you follow the method below you won't need any extra oil to top it up. Remove the shock from the car by unscrewing the lower philips screw and upper lock nut.
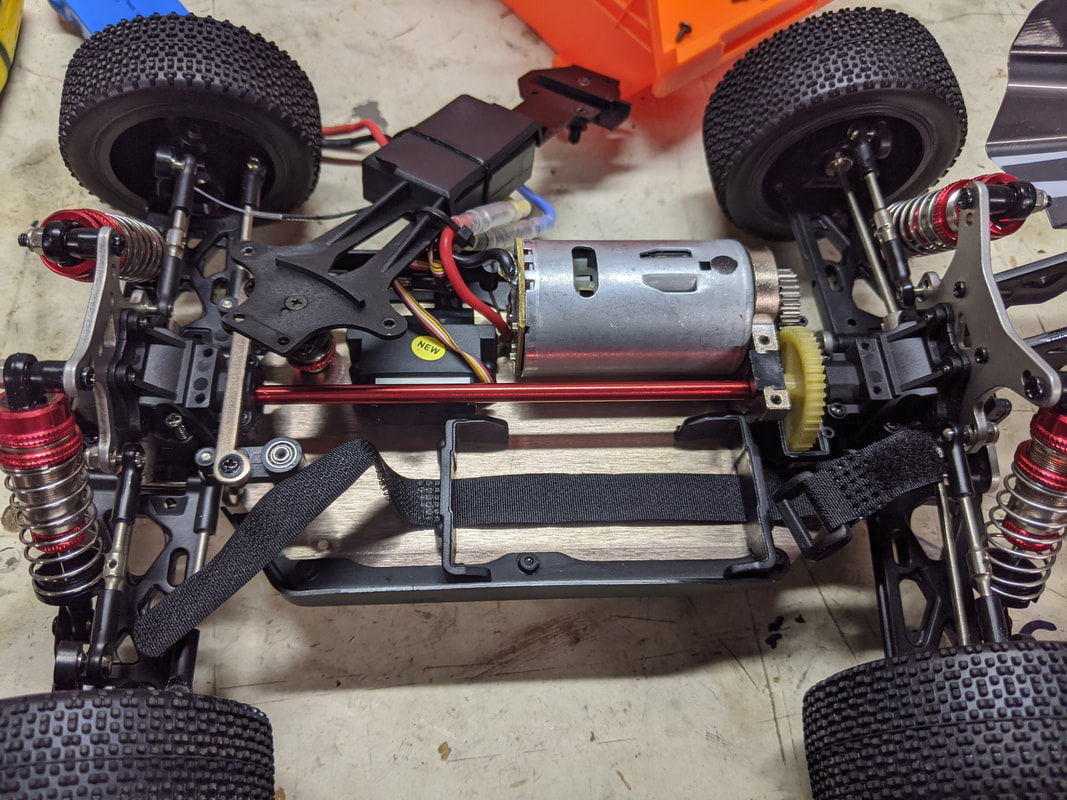
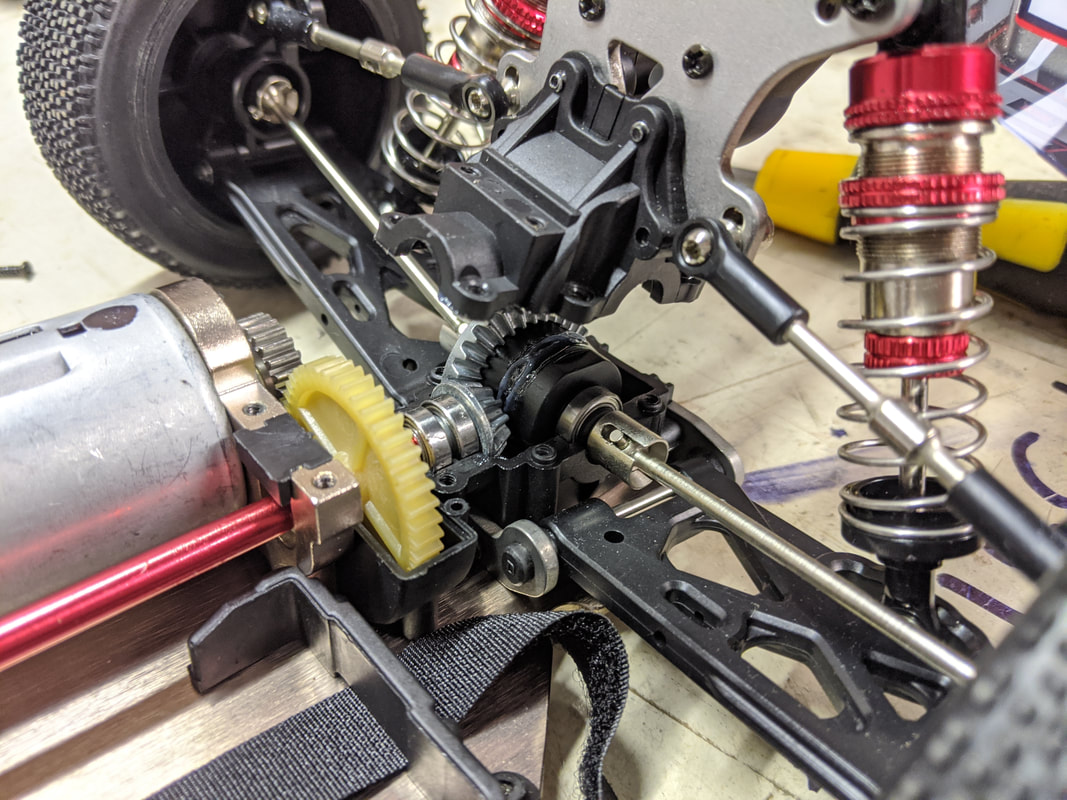
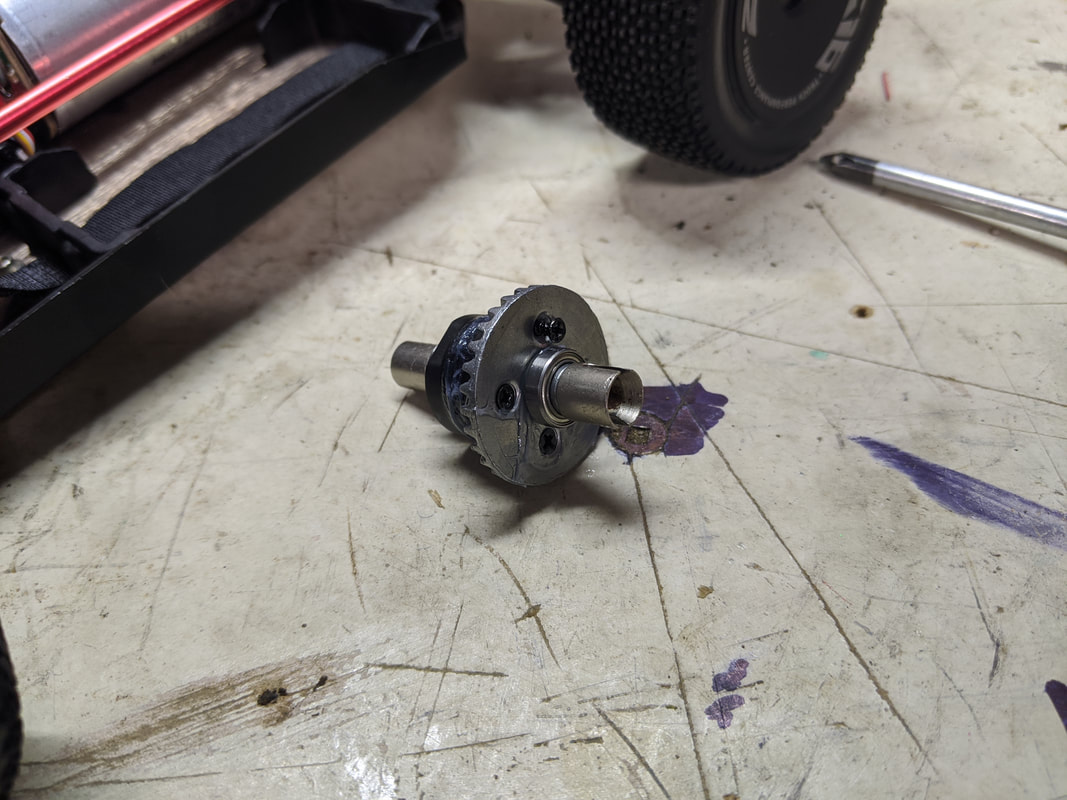
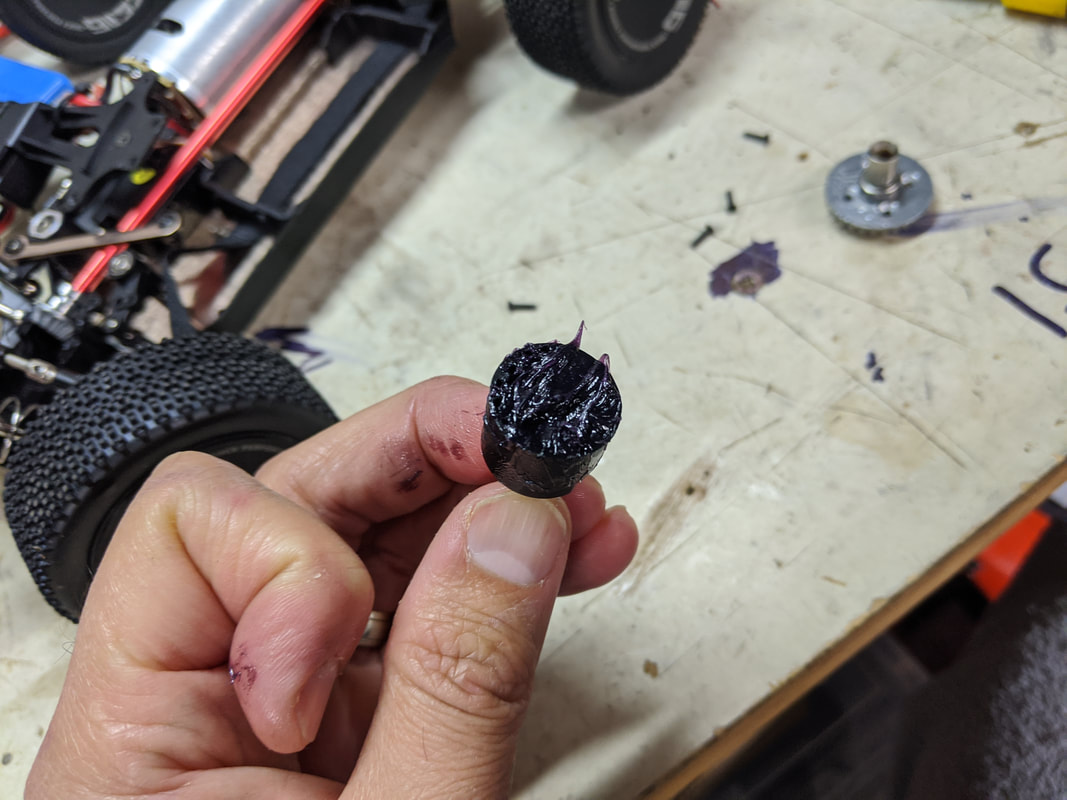
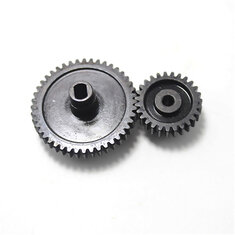
Now that the shocks can fully compress it allows the spring to do their job properly. I found with the stock setup I needed to loosen the spring tensioners right up on the front and about halfway down on the back for the right right height. This is a good starting point and probably the next place you'd consider with the shocks is increasing the oil weight in the back because the dampening is pretty light - probably around 60wt oil would be ideal (see my second tuning guide here for more details on that) 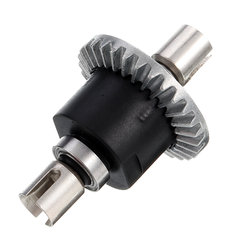 ...And factory diffs are underfilled ...And factory diffs are underfilled 2. Fill the diffs with grease The stock differentials have just enough grease in them to lube the gears but this runs like an open diff which compromises traction on low grip surfaces and runs the risk of overloading a diff too which drastically shortens it's life. In more premium models, diffs are similar in design but are sealed so as to house a high viscosity diff fluid which provides resistance to the diff actuating. This makes for better traction but is not an option on the 144001 due to the lack of diff seals. The best solution then is to fill the diff (and I mean TO THE BRIM) with grease. This will provide the resistance you need as well as lubrication but should be thick enough not to escape the diff case. To get to front and rear diffs you will need to:
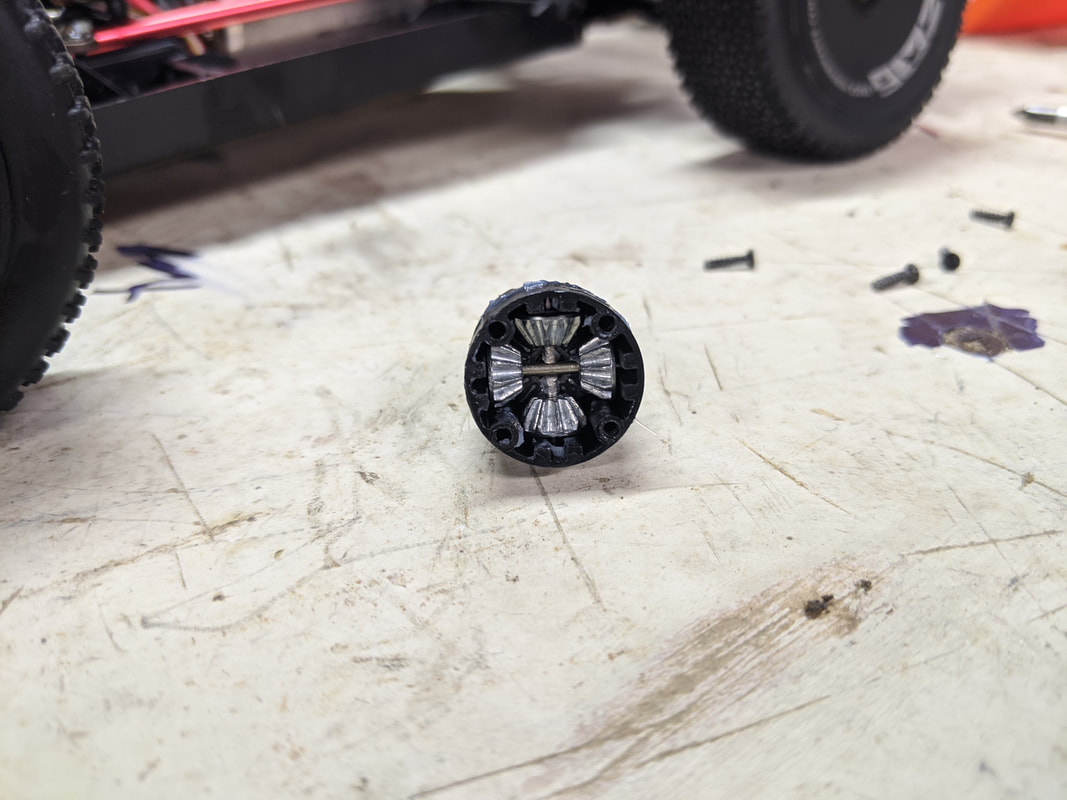
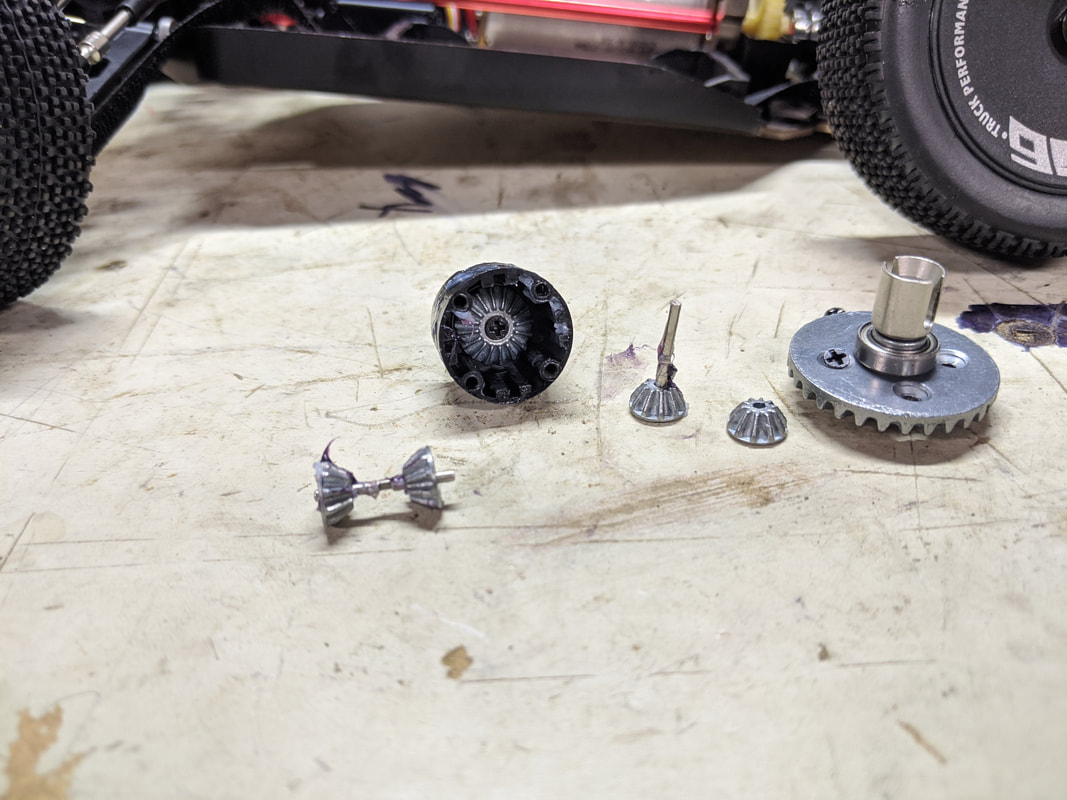
Now you can fill 'em up with grease as below. I used a heavy bearing grease because that what I've had. Practically any grease works well, many also recommend marine grease.
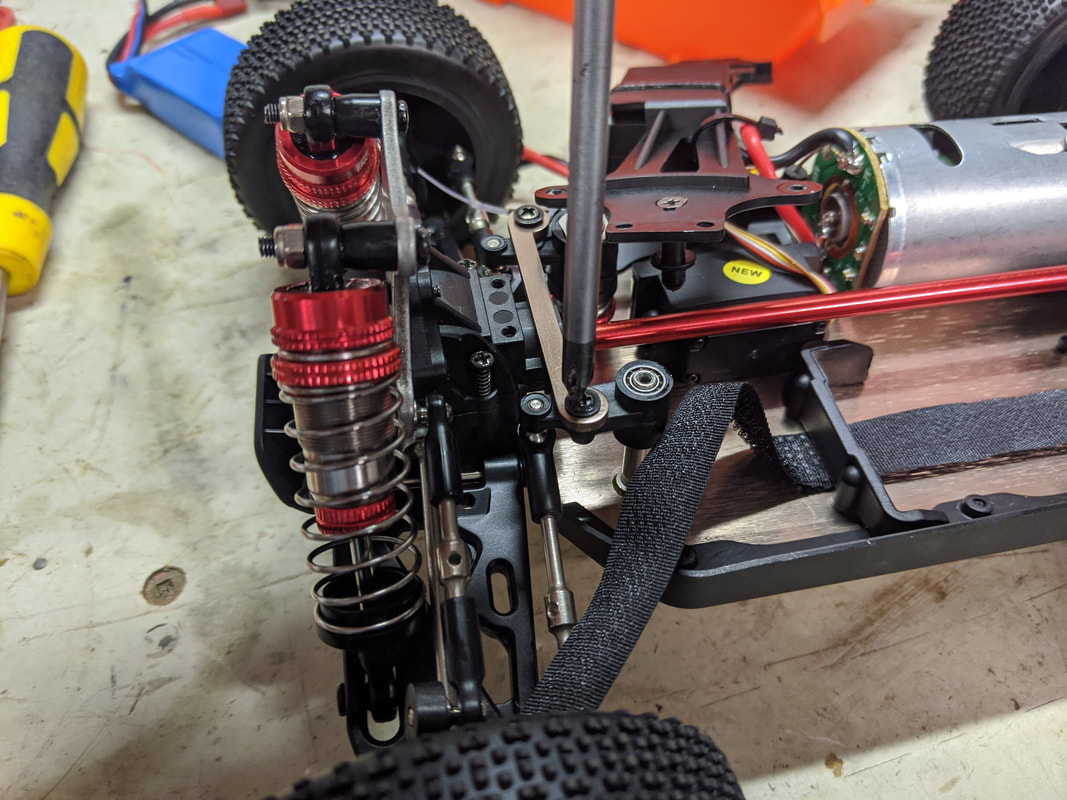
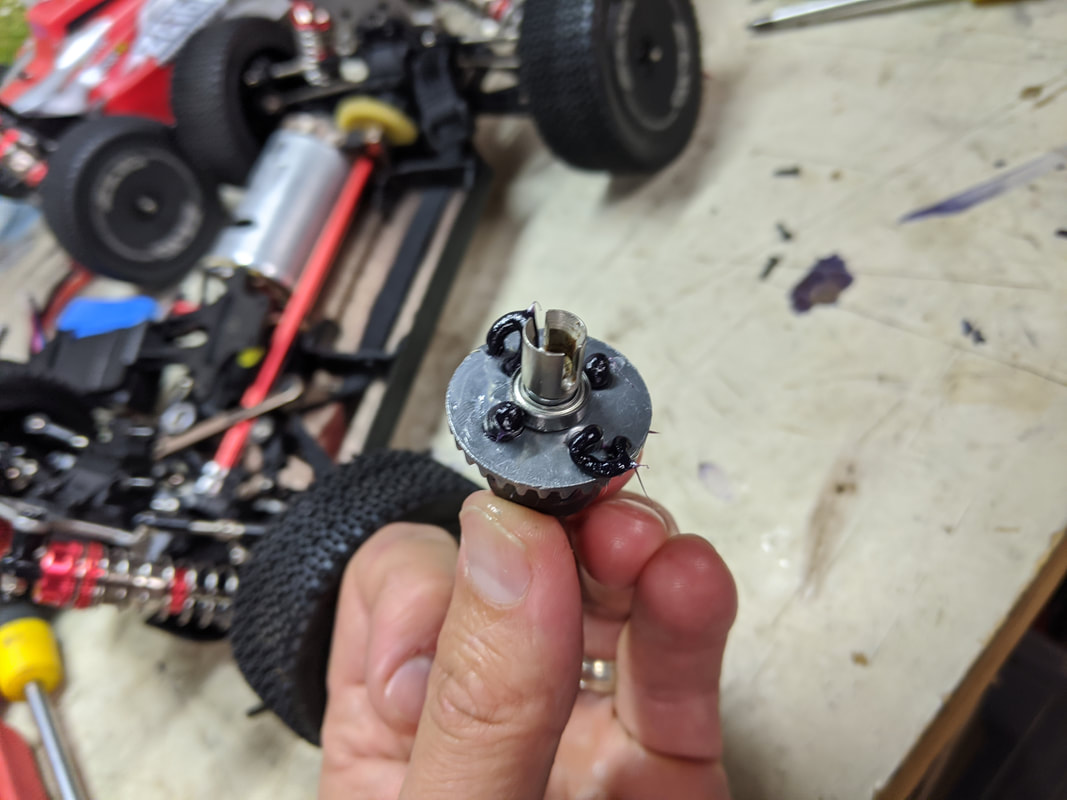
Now pop the diffs back in facing the correct way (look at my pics if you aren't sure, I can confirm mine definitely goes forward when it is meant to!) and pop some more grease on the diff crown gear and diff drive pinion. Then reinstall as the reverse of the above. Once everything is back together you'l find it runs very smooth and quiet. You'll feel more resistance in the diffs but it will be a smooth resistance. As well as improving tractions you will also get more life out of you diffs. Win win! 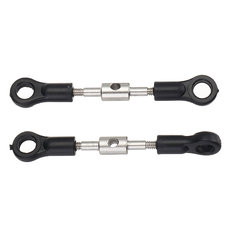 Tierods need a bit of adjustment Tierods need a bit of adjustment 3. Get the camber and toe (roughly) corrected With you ride height correctly adjusted as part of fixing the shocks you can now correct the camber and toe front and rear. Toe is the amount your wheels point inwards or outwards looking at your car from above and camber is the amount they slope inwards out outwards looking at you car from the front or rear. Mine have been adjusted by eye only but a square object will be more accurate. Note: This car uses adjustable tie rods. This means the plastic cups that ultimately bolt to the car have opposite threads - one regular one reverse so that if you twist the shaft with both cup straight the both loosen (get longer) or tighten (get shorter at the same time), the idea being you can lengthen or shorten without moving from the car. Good in through but poor in execution here - cups are threaded so tightly they pop off the ball mount on the car when you try to rotate the shaft. Regardless here we go...
Camber is adjustable front and rear using the uppermost tierods front and rear left and right. Adjust these first. I like a tiny bit of negative camber on the rear (wheels leaning in at top) and none on the front because the caster acts as dynamic camber. Once this is set look at the toe in. For the purpose of this article the toe is set correctly in the rear and is fixed for best stability during cornering. For front to get the steering it its most neutral position where servo horn and steering rack is in its centre-most position. This is important to have even steering. Then adjust the tie rods as above to get the toe in/out you want. For me I like this to be neutral i.e. parallel - pointing directly ahead. 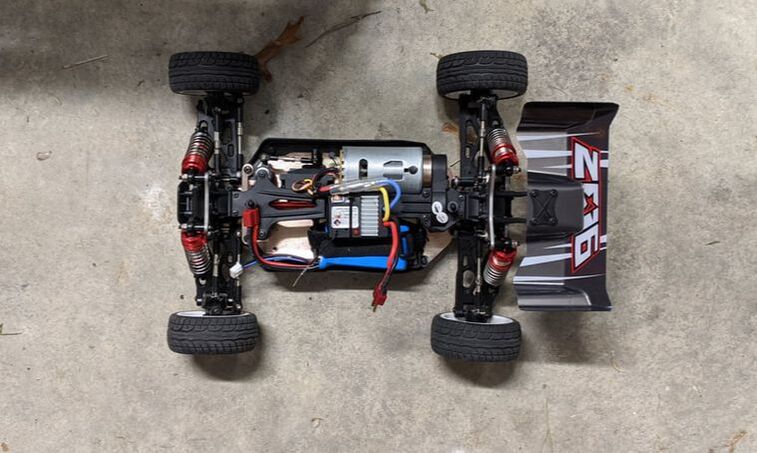 Back to some fairly neutral camber and toe Correctly adjusted toe and camber will make you more accurate in a straight line and more predictable when cornering and going over obstacles. Like when you get an alignment on your car you'll also get more even and consistent wear on your tyres (especially if running onroad). Results I'll be honest, I didn't even want to run the car before this was done - If I ran as setup from the factory the shocks would leak in no time and handle obstacles poorly, the loose diffs would make for poor traction and wear out quickly and the car would not have tracked well in a straight line or cornering with tyres wearing out quickly. With these free mods (tuning really) done the suspension is much better and more accurate, the driveline is smooth and the diff offers decent traction and the car tracks really well. Recommendations If you do nothing else to your car I STRONGLY recommend this tuning. Assuming you have the tools, the only disposable item you need is grease and that is available at any hardware store for very little money. Your car will run fine without it but it will run so much better with it and give you better durability and more enjoyment over time. What next? I've got lots planned for the two 144001 cars I have. The first will be set up as a track beast with a focus on handling and efficiency as well as speed and this will be modelled after the LC racing EMB-1h I also own. The second setup will be as a more durable high speed road car with a larger brushless motor ESC setup - probably the surpass hobby 3650/60a combo I reviewed here which has proved reliable on a much bigger truck. My son will have a third to keep strictly as a basher and for that one we will see what parts break and how they can be upgraded/improved. Part 2 of free and budgets uprades has now been completed here:
https://www.quadifyrc.com/rccarreviews/wl-toys-144001-free-or-budget-upgrades-part-2 And Brushless 2838 upgrade article is now completed here: https://www.quadifyrc.com/rccarreviews/wl-toys-144001-ultimate-brushless-upgrade-guide 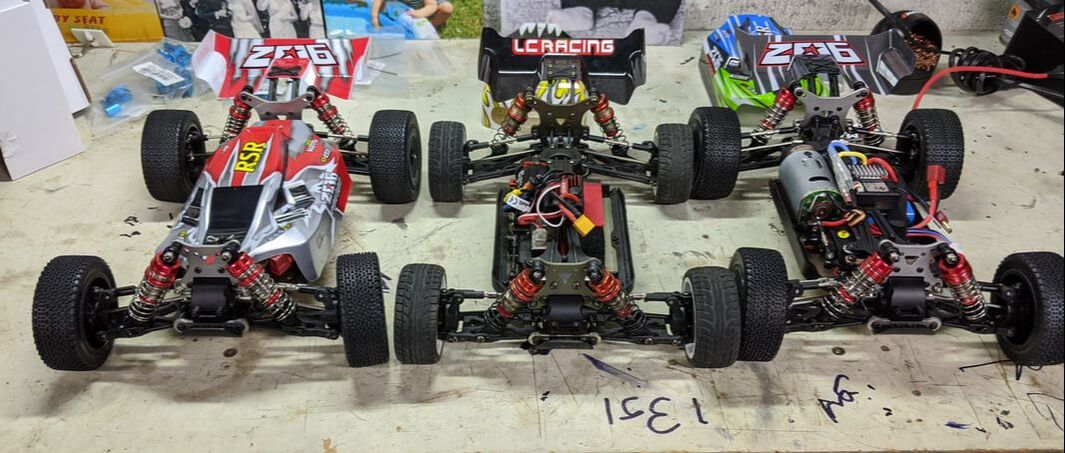 Two brand new 144001s flanking a nearly new LC Racing EMB 1 Thanks for reading, if you found this article useful please feel free to like or share, the facebook links below directly link/like this article. Links are affiliated and help me buy the bits I need to produce this type of content. If you are looking for cars, quads or parts check out my coupons and discounts page which I keep updated with only the parts and quads I like at a proper discount
Thanks for checking out my article and please let me know on my facebook page or in the 144001 group if it worked out for you. I've created a reference page below for all of the 144001 articles I've published here: 144001 UPGRADES - EVERY ONE OF MY GUIDES HERE. All available spare parts are here otherwise see key parts below:
|
Categories
All
|
 RSS Feed
Thanks for visiting QuadifyRC.com Follow us on facebook below to get all the latest updates