|
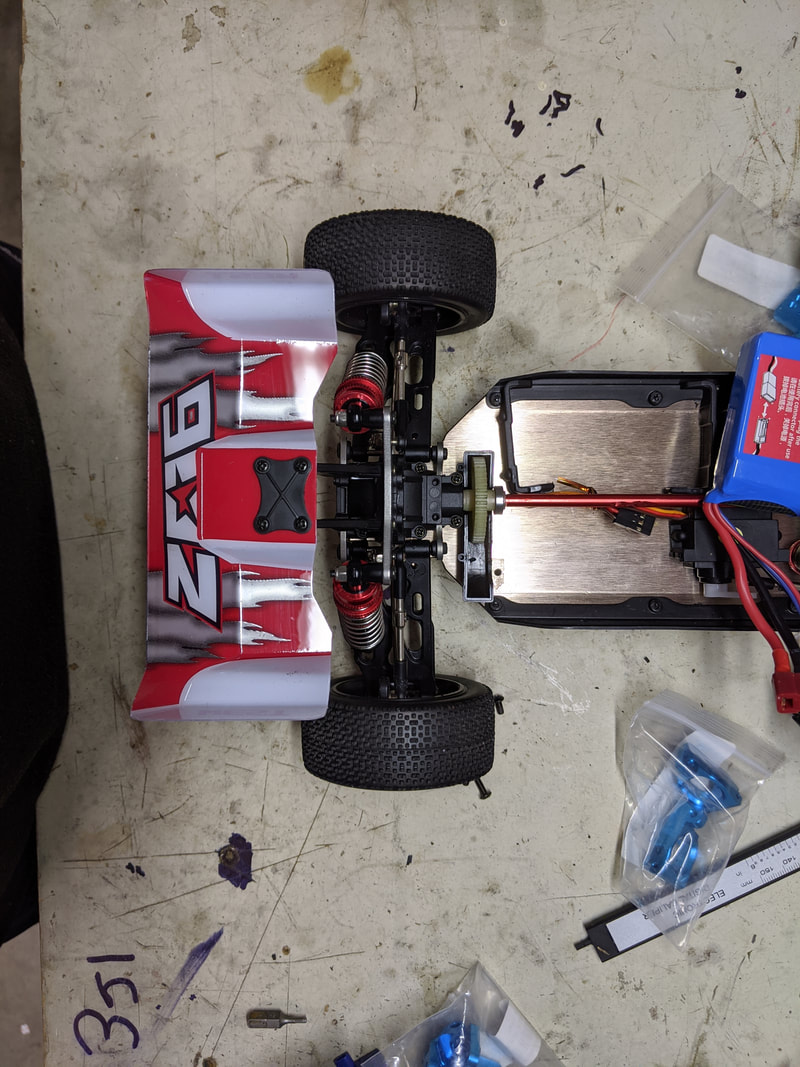
This is the second part of my free and budget upgrade walkthrough for the WL Toys 144001. The first part can be found here. These are also completely relevant for the 124019 and 124018 as well  The first series of upgrades I made to the WL toys 144001 was to improve longevity and handling by getting the shock absorber fluid level right, the diffs lubed properly and camber and toe in set correctly. This articles expands on that by further improving the handling through minor tweaks the are either free or cost very little. It is really important you get the handling right to make the car more predictable, especially if you plan on power upgrades further down the line. The upgrades I'll detail in this article are:
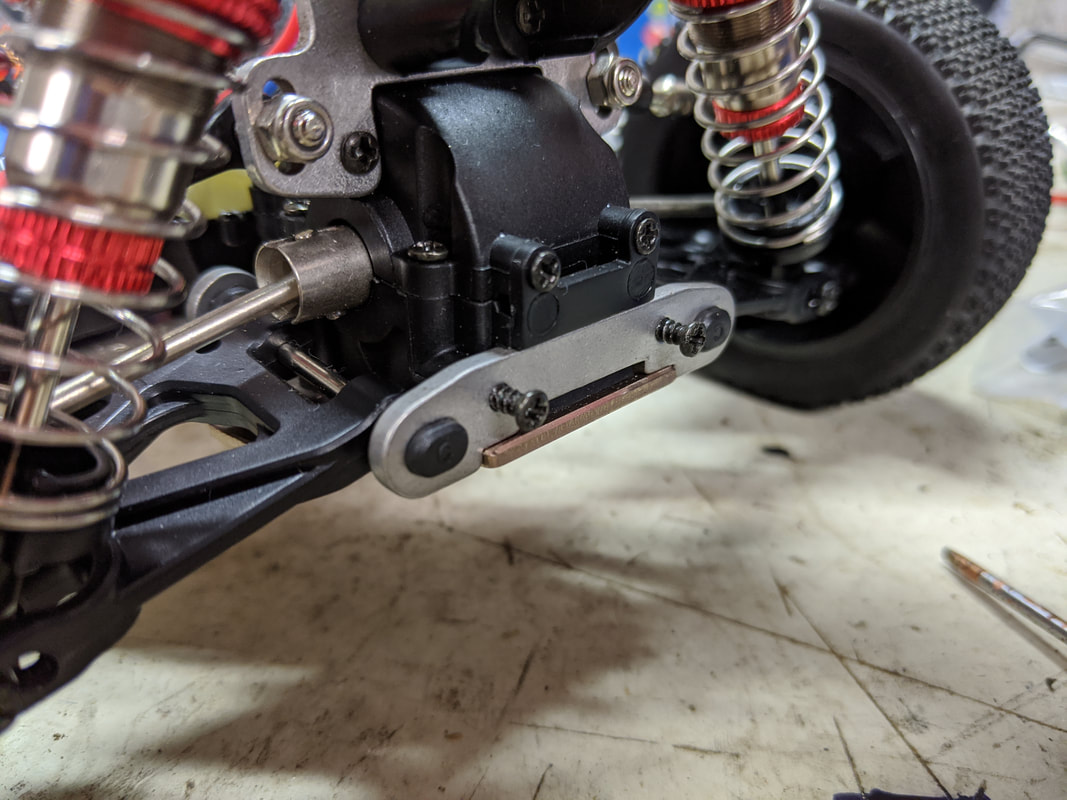
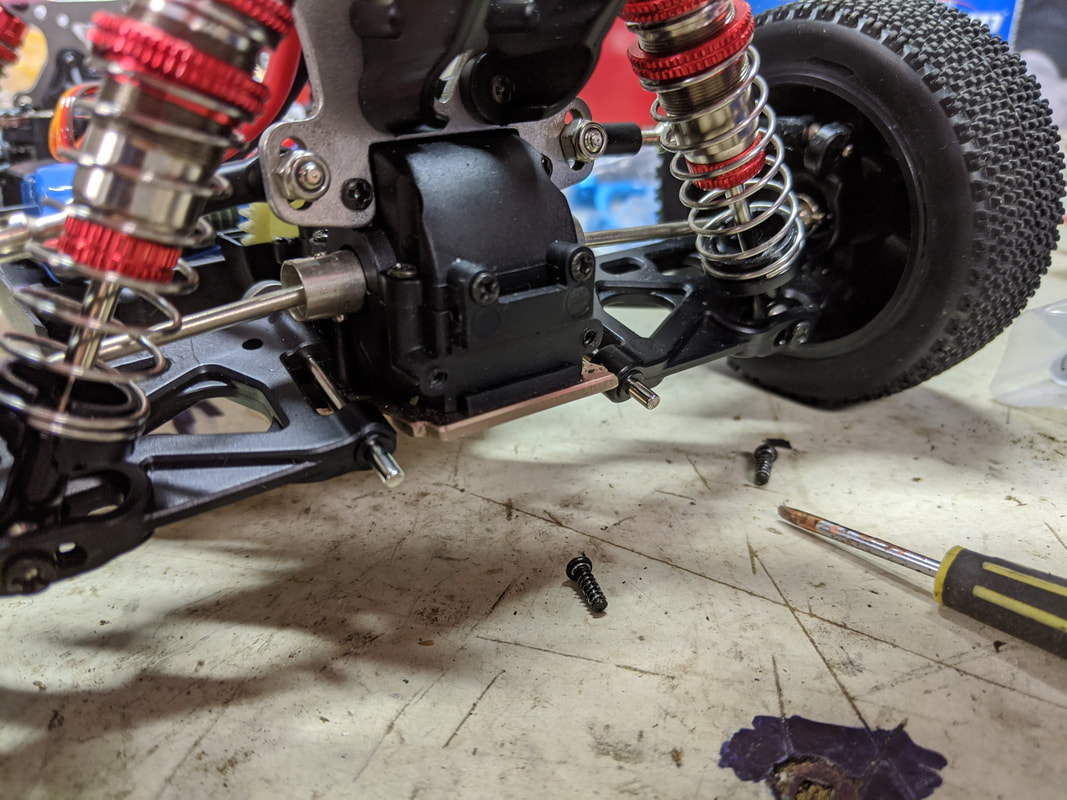
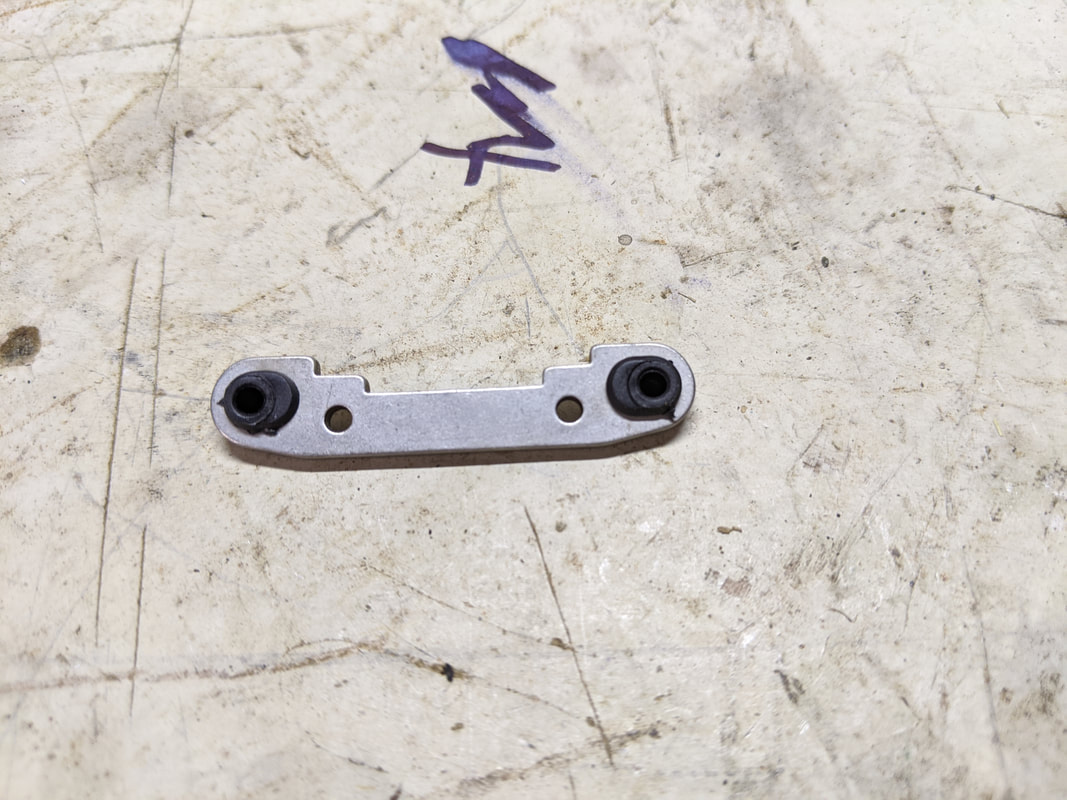
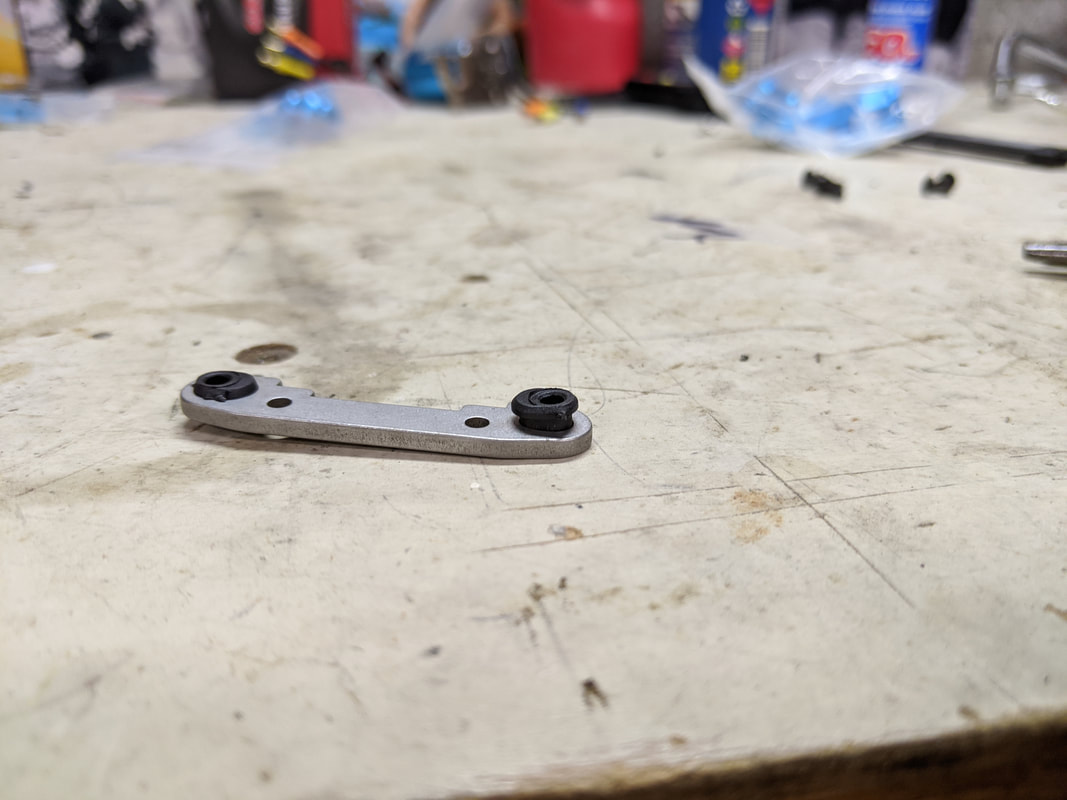
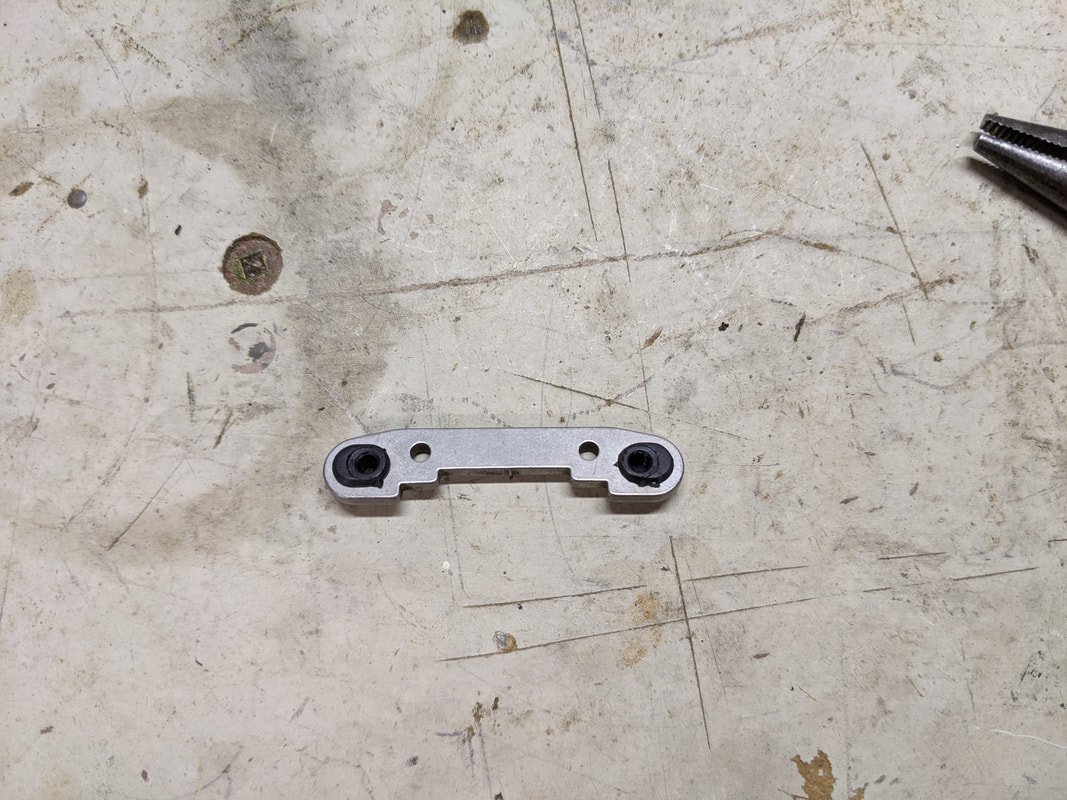
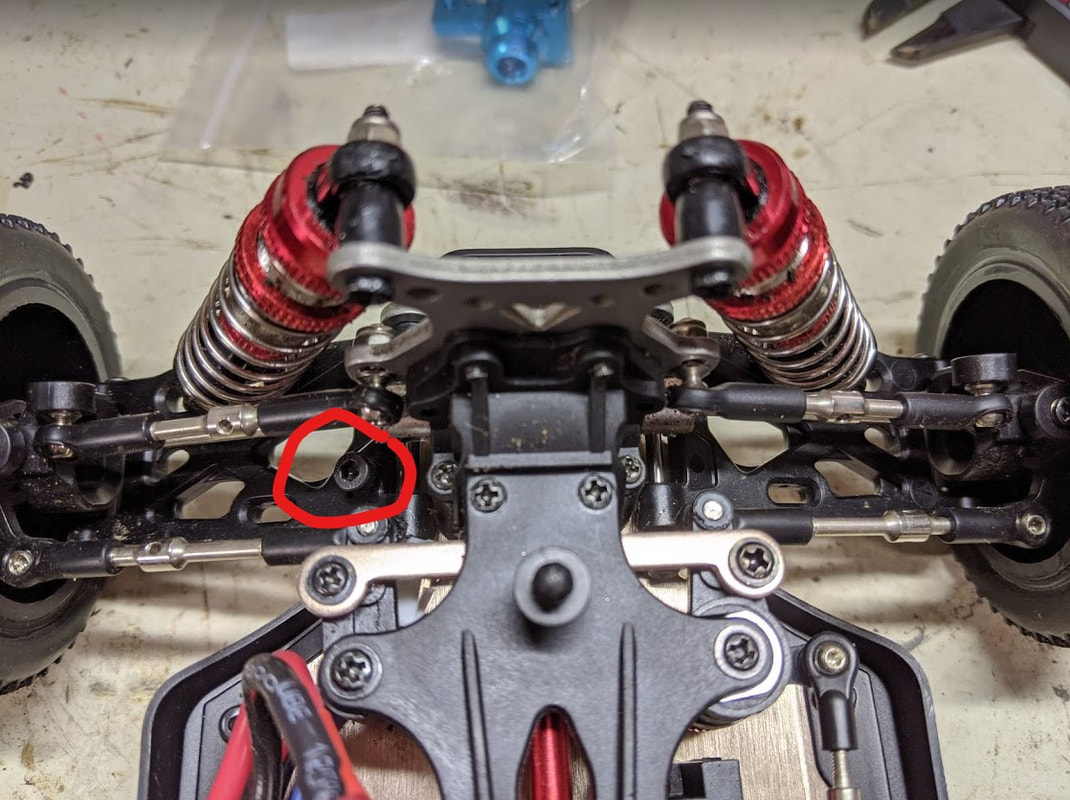
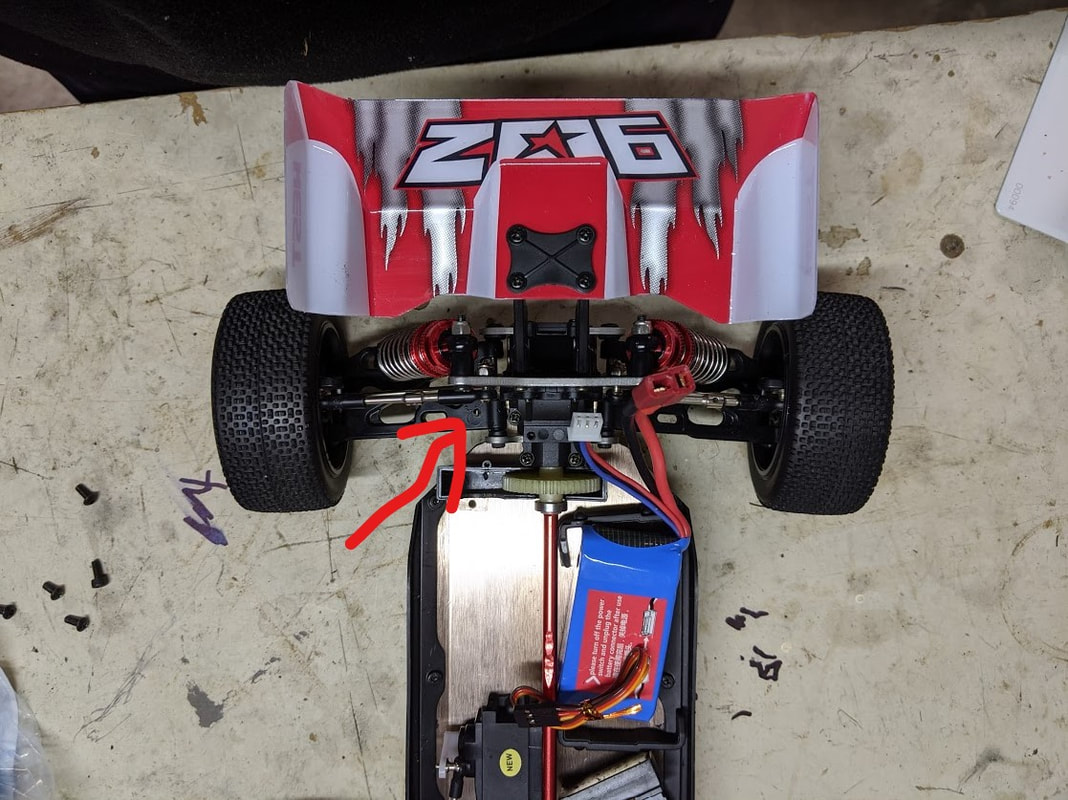
1. Decreasing the rear toe in The WL toys 144001 comes set with a LOT of rear toe in (which is the amount the rear wheels point in towards the car when looking from above). Rear toe in does help with cornering stability by decreasing useful steering when powering on in the corner but comes at the cost of straight line speed, especially in high grip situations. In simple terms rear toe in does help make the car feel more stable through corners however I feel the 144001 has much too much and this is easily remedied for free as below:
After completing this mod we've gone from a LOT of rear toe in to just a little which is ideal and a really good improvement for most drivers. Sorry I cannot quantify but see below for the pictures of before and after. This change takes 5 minutes to do, costs nothing and is easy to reverse if you really want to
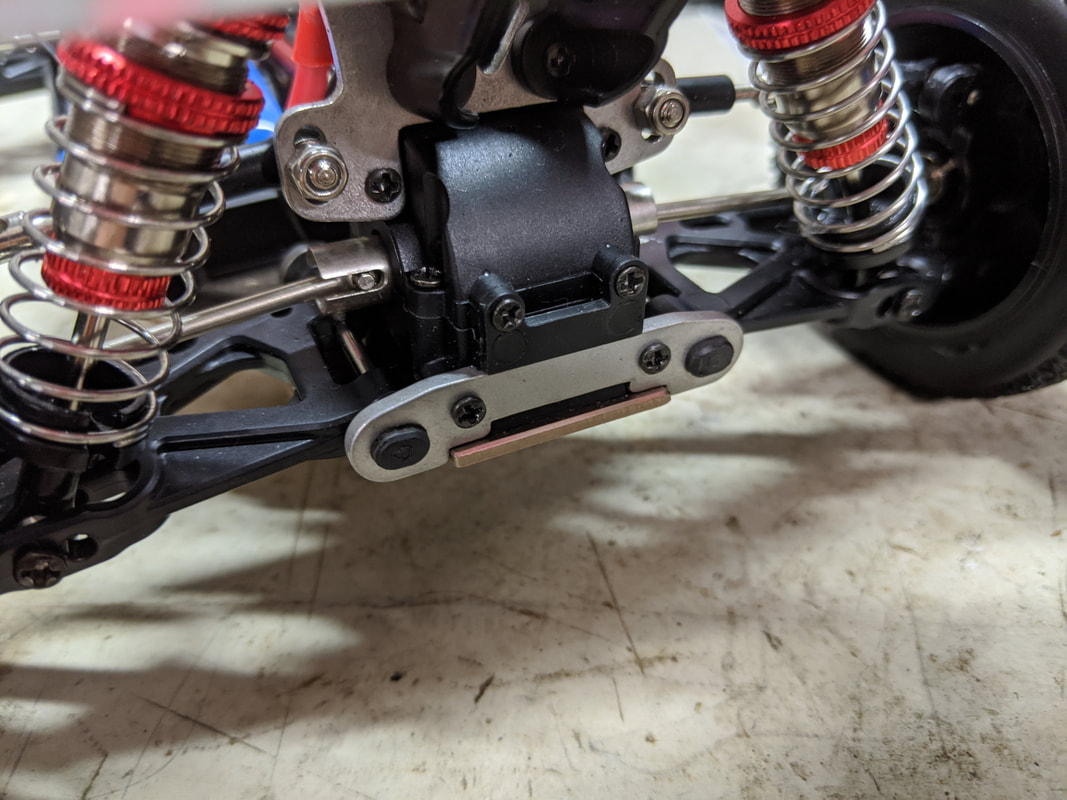
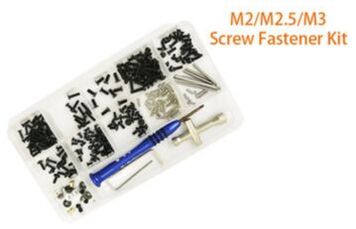
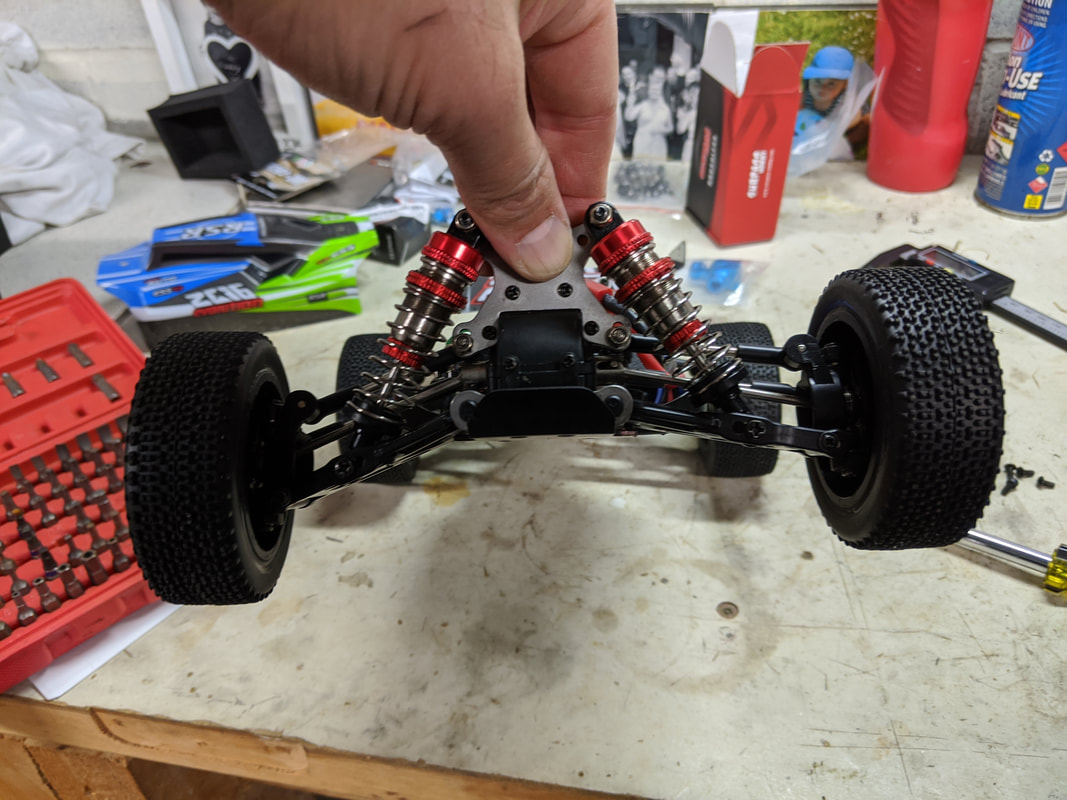
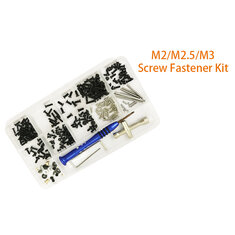
2 Setting the droop on the suspension arms. Firstly the term "droop" refers to the amount of angle the suspension lower arms sag down (droop) when there is no weight on the wheels like when you are holding the car up off the ground. The reason you want to reduce the droop over stock is because when fully extended the suspension arms droop down past their working limit meaning drive shaft and steering components can foul and rub and can become damaged. Reducing this droop is simple and cheap - all you need is 4 x m3 grubs screws. You can buy a grub screw pack like this one but I'd actually recommend the WL toys specific kit here: This has only 5 grub screws but the other screws will obviously be a lot more useful as spares.
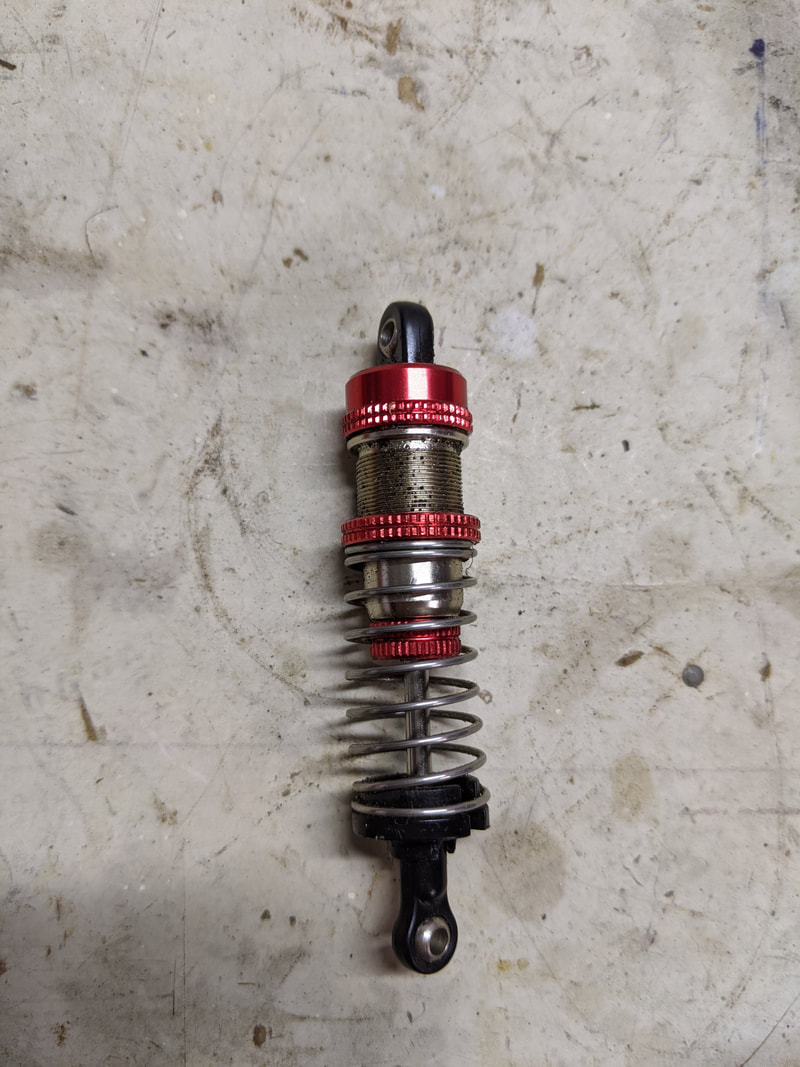
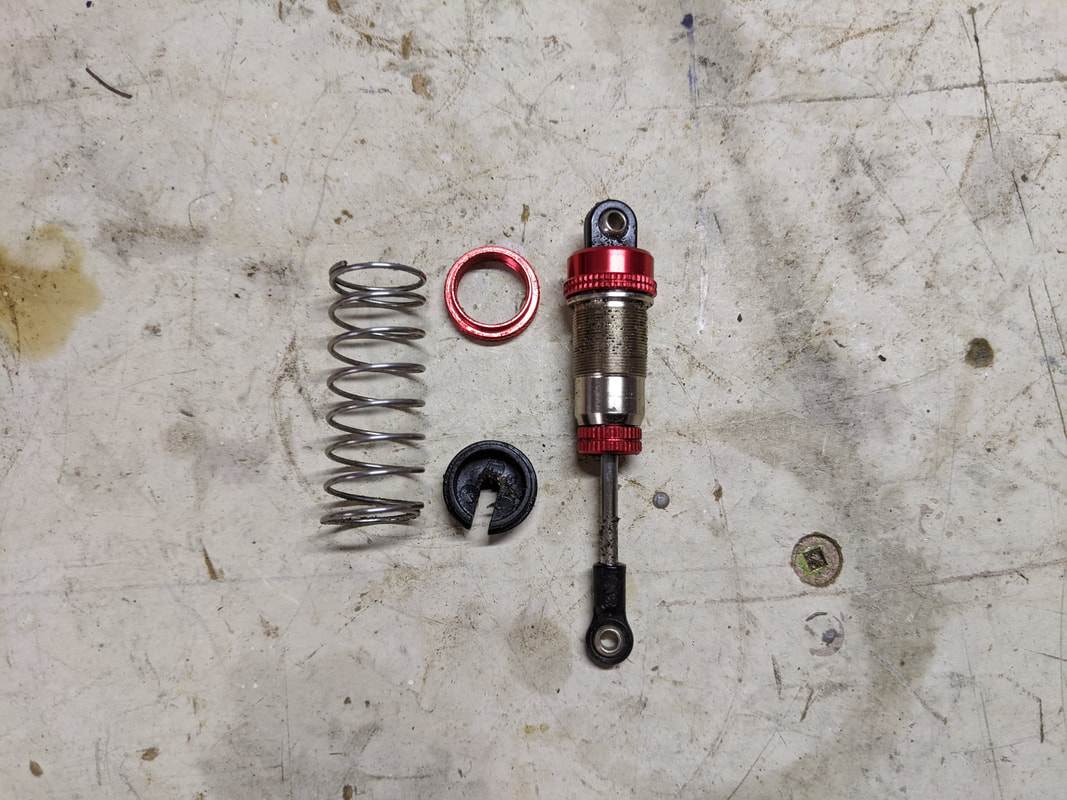
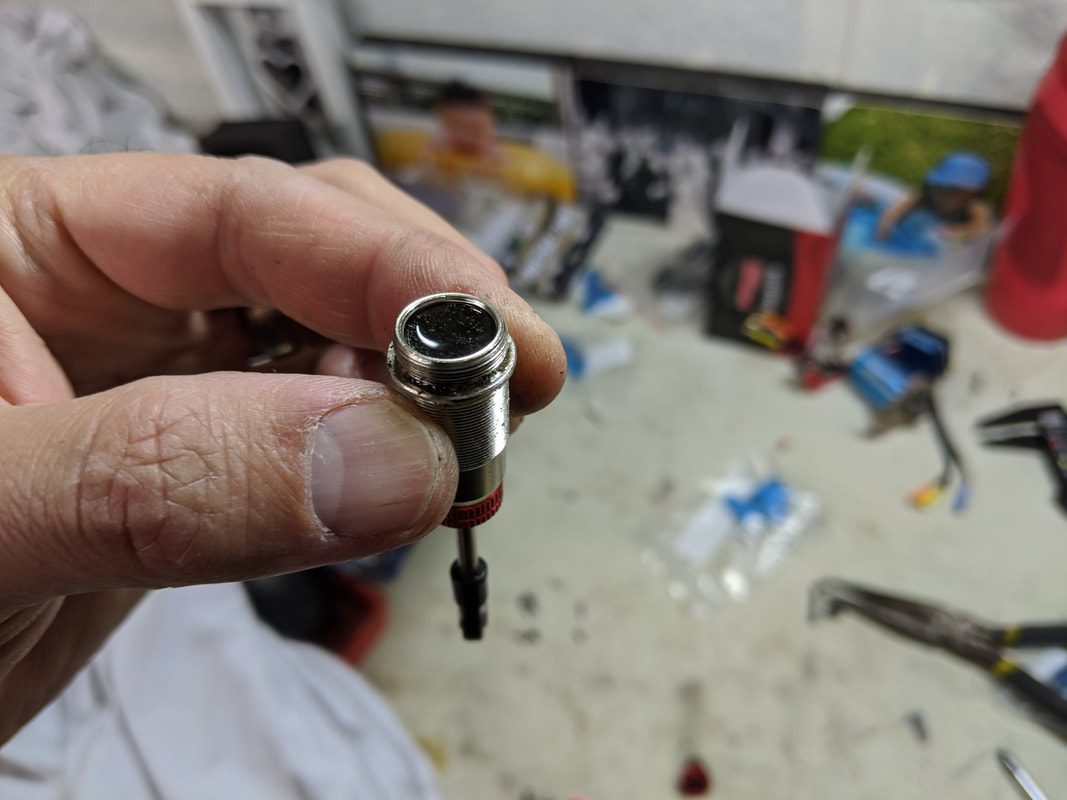
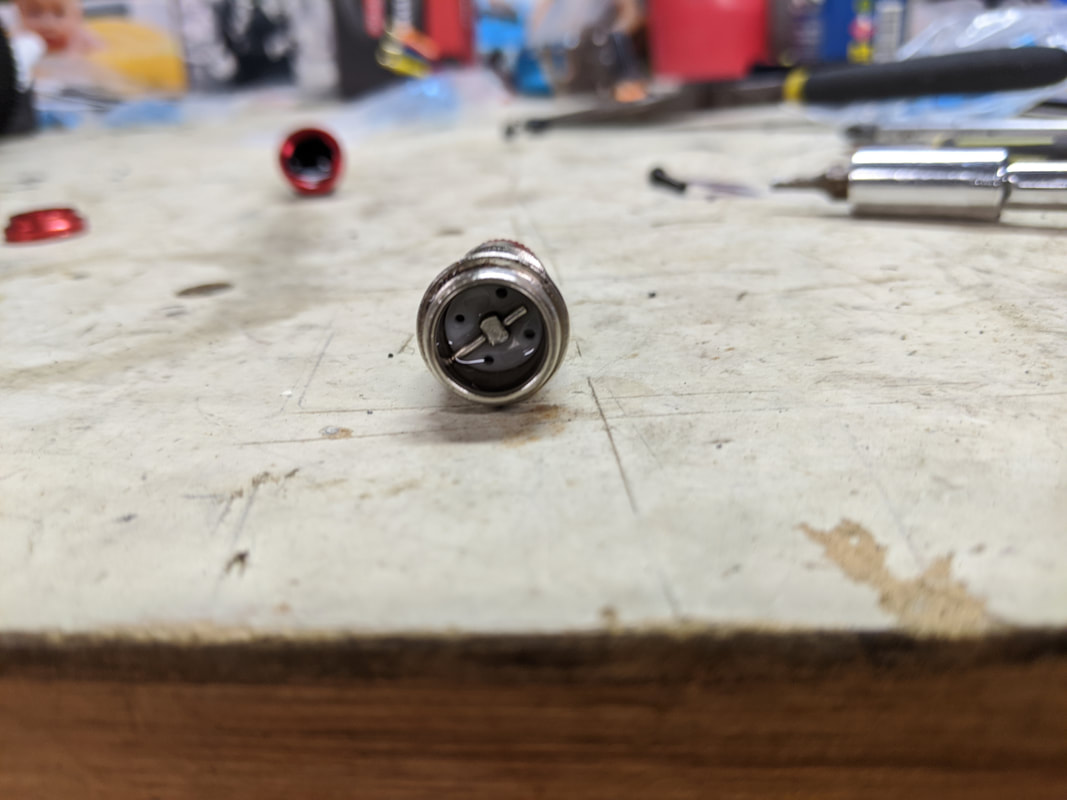
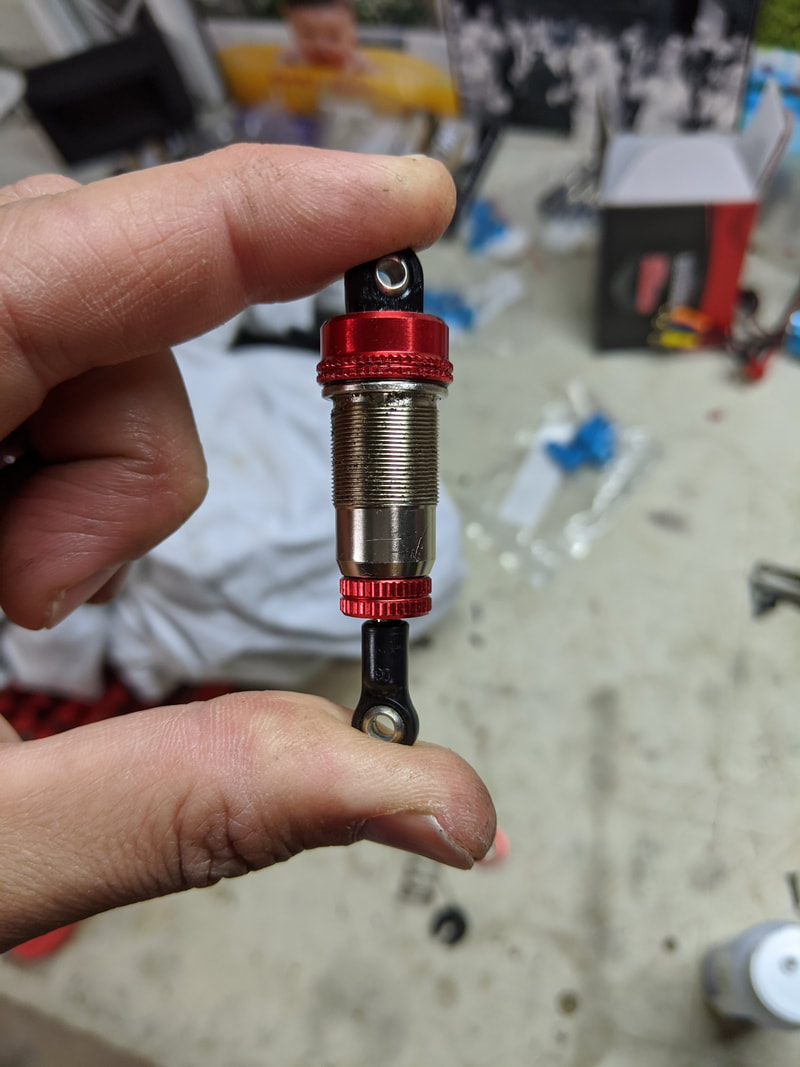
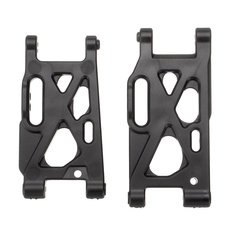
So that was pretty easy. I'd suggest that once you first set your droop you should need to adjust again - it has no impact on suspension performance or ride height, it simply stops your drive shafts and steering getting damaged when your wheels are turning with no weight on them (e.g. jumping or being held off the ground). Adjust the droop so that arms are not quite extended to the maximum but no more. Please note the metal arms do not have these holes in them - if you want to set droop you will need to use the stock arms. 3. Improve the dampening in the rear shocks The dampening in the rear shocks in this car is too light. This is because they are modelled after the LC racing EMB-1 which has a smaller 2838 motor making it much lighter in the rear than the brushed 550-equipped 144001. As a result the 144001 needs more bound and rebound (dampening) to stop it from bottoming out over jumps and obstacles. This can easily be done but you will need to by a heavier shock oil - I recommend 60wt oil as below. See pictures and captions for full walkthough
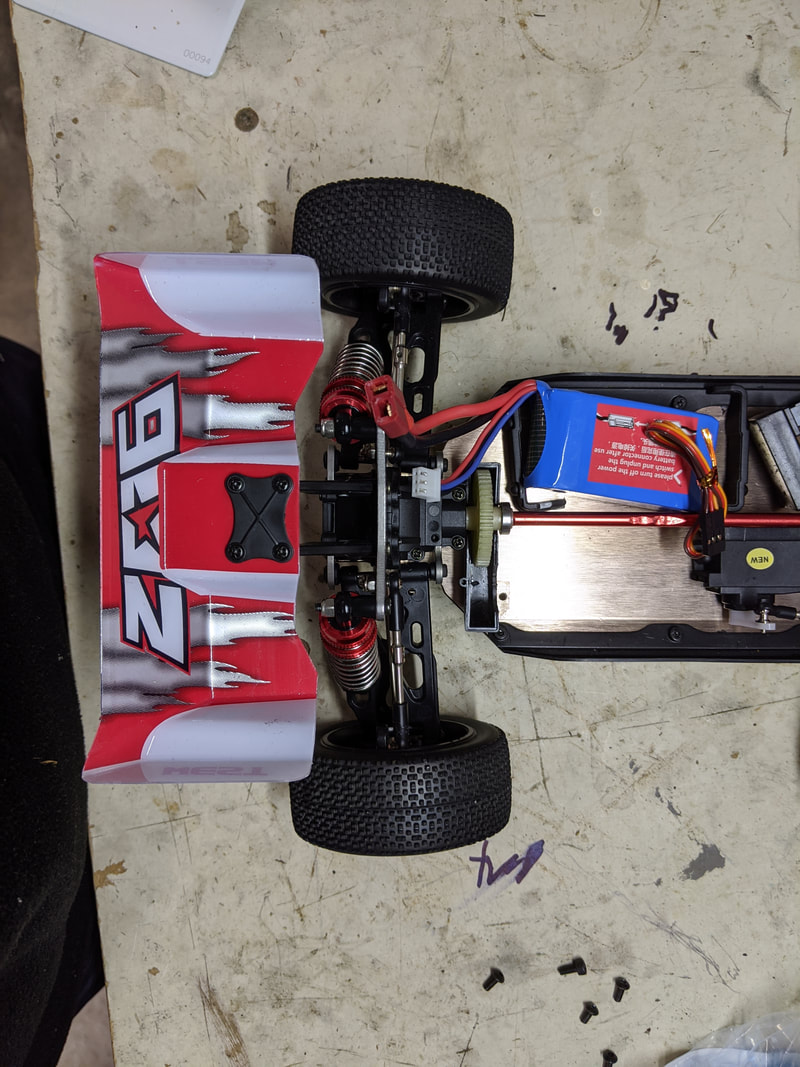
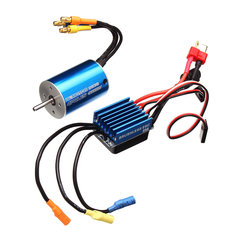
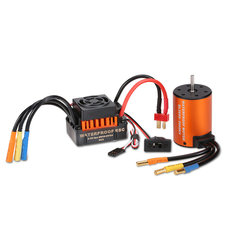
60 Wt oil feels about right, my guess is the stock oil was somewhere in the 30-40 range. Now when you drop the car the front and rear shocks compress about the same amount which is the goal and can be seen in the video below. This will make for a lot more consistent performance over jumps and bumps in general and will go some way to making up for the heavy weight of the massive 550 motor towards the rear of the car. It's worth noting that the suspension would also likely benefit from some stiffer springs in the rear for the same reason but for not I'm ok with the stock springs being would right down. Final words Well that's it for round 2 of upgrades to the WL Toys 144001 where I have aimed to improve handling at a minimum of cost, I congratulate you for getting this far and I hope you've enjoyed it. Again, if you haven't already seen my first upgrade guide, please make sure you check it out here and make these changes before you even start running this car. For my next article I'll start spending money and recommending which parts from the ever-increasing catalogue of parts for the 144001 I'd recommend, for what purpose and why. Later in down the track I'll start looking a the big overhaul - ESCs, receivers, servos and brushless power. Thanks for reading, if you found this article useful please feel free to like or share, the facebook links below directly link/like this article. Links are affiliated and help me buy the bits I need to produce this type of content. If you are looking for cars, quads or parts check out my coupons and discounts page which I keep updated with only the parts and quads I like at a proper discount
Useful parts and upgrades - click image to Banggood product pageThanks for checking out my article and please let me know on my facebook page or in the 144001 group if it worked out for you. I've created a reference page below for all of the 144001 articles I've published here: 144001 UPGRADES - EVERY ONE OF MY GUIDES HERE.
|
Categories
All
|


 RSS Feed
Thanks for visiting QuadifyRC.com Follow us on facebook below to get all the latest updates