QUADIFYRC MODS AND REVIEWS
  • RC Cars
  • Car of the Month
  • Quad Reviews
  • Quad Mods
  • COUPONS AND DISCOUNTS
  • Long Range
  • About & Contact

QUADIFYRC RC Car Review and Upgrade Guides

WL Toys 144001/124018/124019 Upgrade: Brushless Speed Run Build and setup full Guide

6/10/2020

14 Comments

 
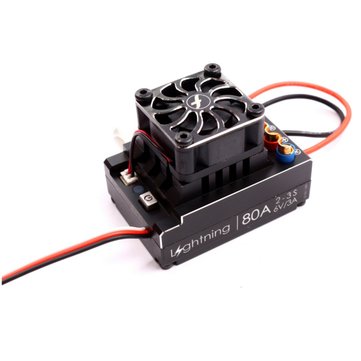
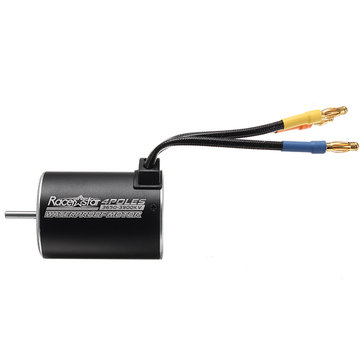
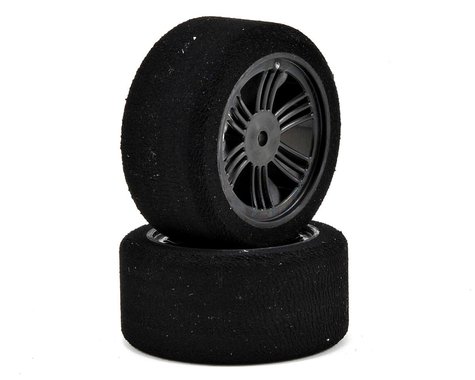
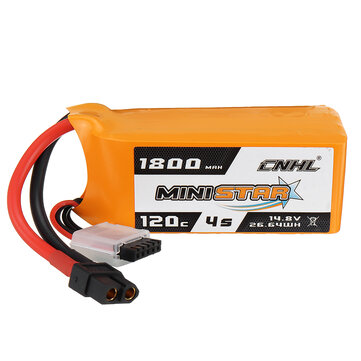
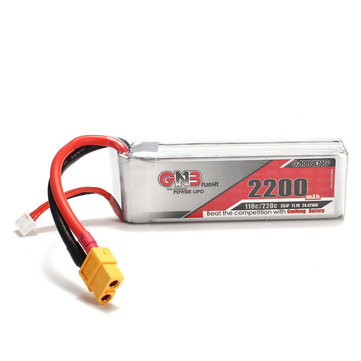
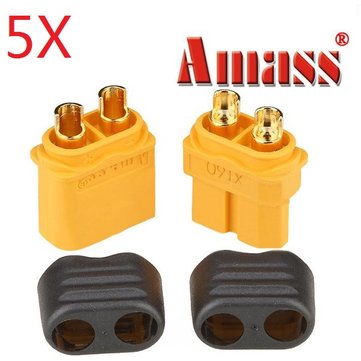
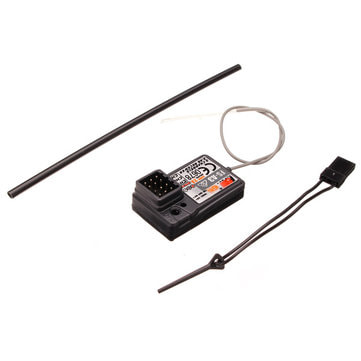
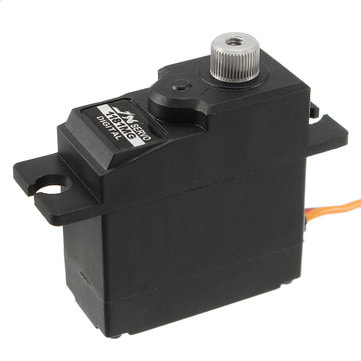
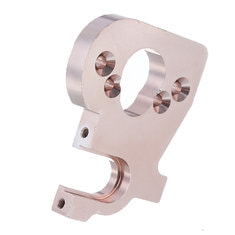
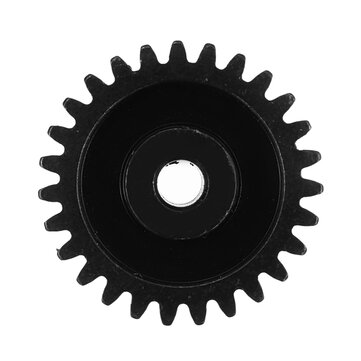
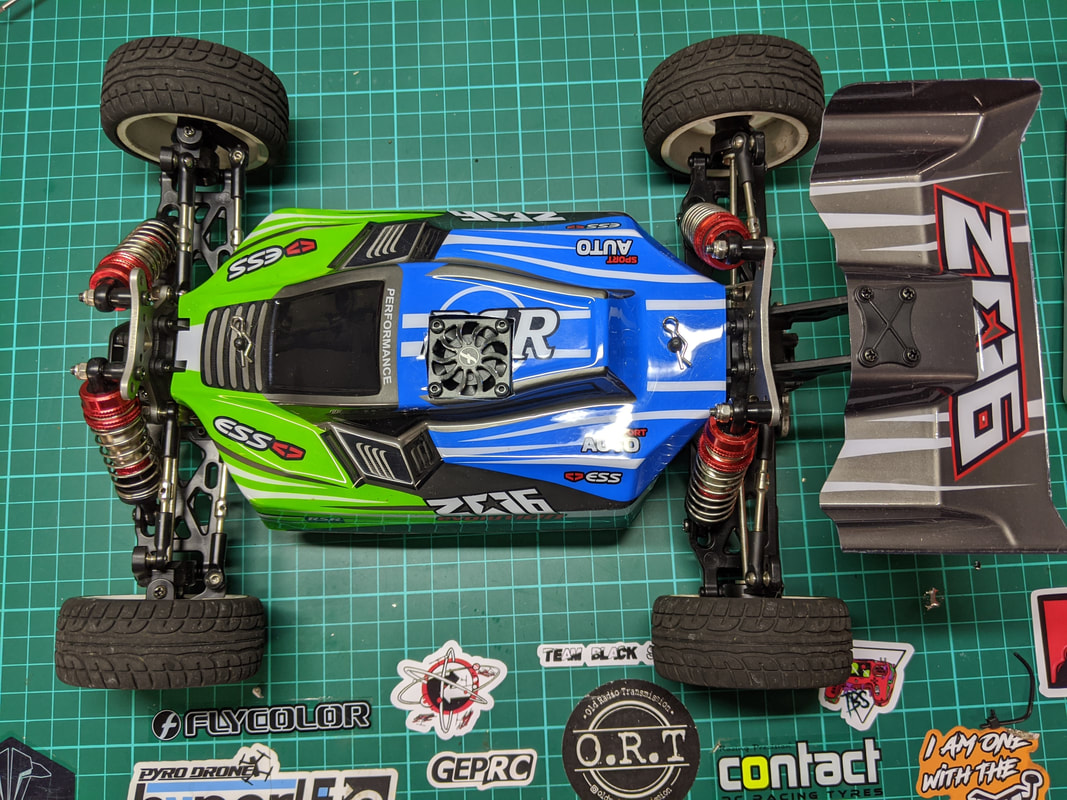
The WL Toys 144001 is a small 1/14 scale 4wd buggy with a massively oversized brushed motor that can reach well over 30mph. When this massive brushed motor is replaced with a massive brushless motor the top speed can become over triple that with the right setup. The below guide goes into detail the build components I used for such a build, the build process and setup to optimise handling.
Picture
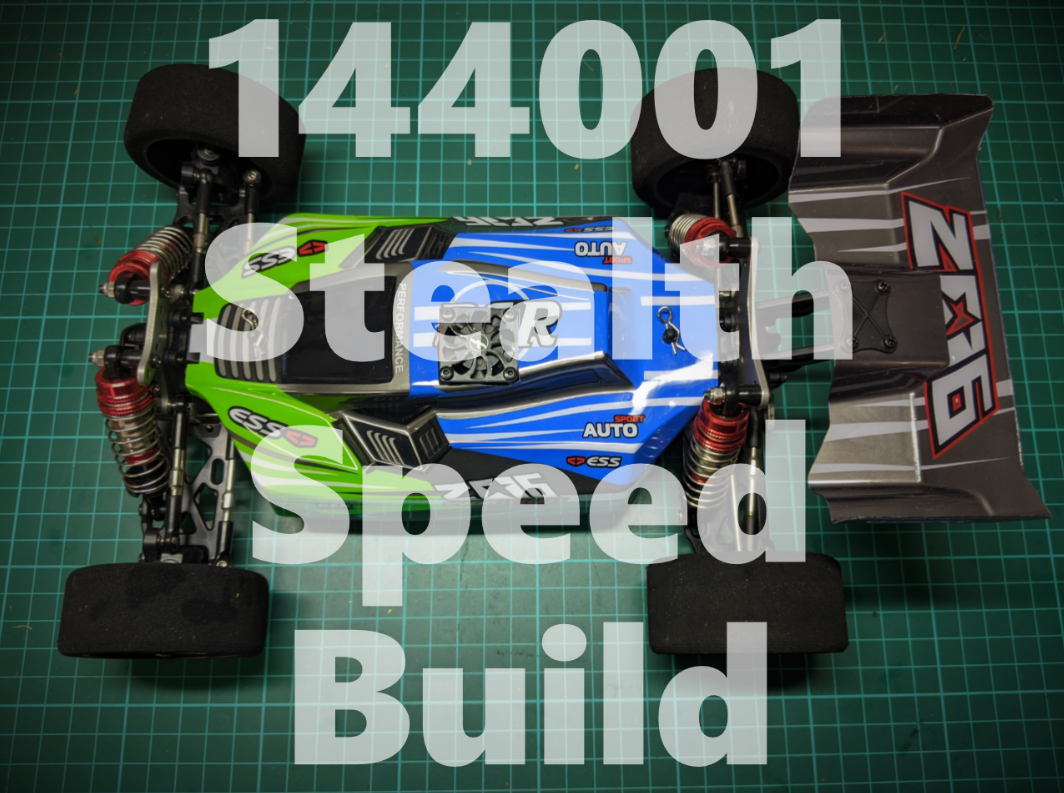
By now you've probably seen some wild speed run builds based on the WL toys 144001 of up to and over 100mph. At the top end of the scale these are highly customised with expensive race-oriented gear and outboard twin-battery power supply. The objective of my build was stealth: to retain the stock look, making everything fit (somewhat tightly) under the stock bodyshell and be bolt-on without the need for machining or fabrication i.e. as simple to replicate as possible. For this reason I have specifically chosen to run my car with stock gearing on 2-3s only. To that end here are the parts I chose and why,
Parts used for build:
I've separated this into power system for the key components...
Picture
Flycolor Lightning 80A Partial Waterproof Brushless ESC For 1/10 RC Car This was my favourite component. For those unaware Flycolor is an ESC brand with a strong heritage in quadcopter ESCs and I trust them. This ESC is very reasonably priced at $40-45 and had excellent build quality with support for sensored or sensorless motors and full programming by way of the power key. It supports 2-3s @ 80A continuous which is ideal for my build. You will need to solder power and motor wires (included) which allows you to keep short wire runs - crucial in this build
Sadly this ESC is no longer available, I recommend the Hobbywing 10BL120 ESC instead which is very similar with a little more currentt (120A)
Picture
Racerstar 3650 Motor Brushless Waterproof Sensorless 1/10 RC Car. For me the ESCs are more important than motors so I wanted something fairly low priced with the right kV in 3650 size (540). This $15-$20 motor is available in many kV options: 2050, 2300, 3100, 3900, 4300, 5200, 5900 but since I am running 2s and 3s only I believe 5200kV should be good for long runs on 2s with stock gearing and short burst on 3s. These motors are made by the same people that make the GoolRC/Surpass motors
Picture
Contact 26mm 1/10 Nitro Sedan Foam Front Tires (2) (37 Shore) AND Contact 30mm 1/10 Nitro Sedan Foam Rear Tires (2) (37 Shore) These are very light, grippy and will not balloon at high speed. They're also supplied, true, preglued and are cheap. The online documentation is rubbish but these are the ones to get. "Shore" is a softness/grip rating, the lower the number the softer. To me, 37 feels about right.
Picture
China Hobbyline CNHL 4S 1800mah 100C cut down to 2s 1800mah 100C. I don't like any 2s batteries currently available that fit the 144001 because of their low c ratings. For this reason I took a 4s 1800mah 100C battery from CNHL that is capable of 180A continuous current and split into 2 x 2s 1800mah 100c batteries. I have seen this battery do those high current pulls for punch outs on my 4s quads so know they are legit. I do not recommend splitting down packs unless you are VERY familiar with lipo batteries but I am working with CNHL to bring something to market.
Picture
​GAONENG GNB 11.1V 2200mAh 3S 110/220C Lipo Battery. There are more options available in high C 3s batteries with the foot print to fit the 144001 and this is the one I would recommend - It will offer over 200A continuous from the cells but in practicality the connector will desolder itself at sustained current this high. Your car (specifically the top deck) will need modding to make this fit though
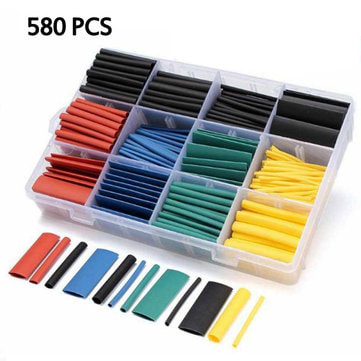
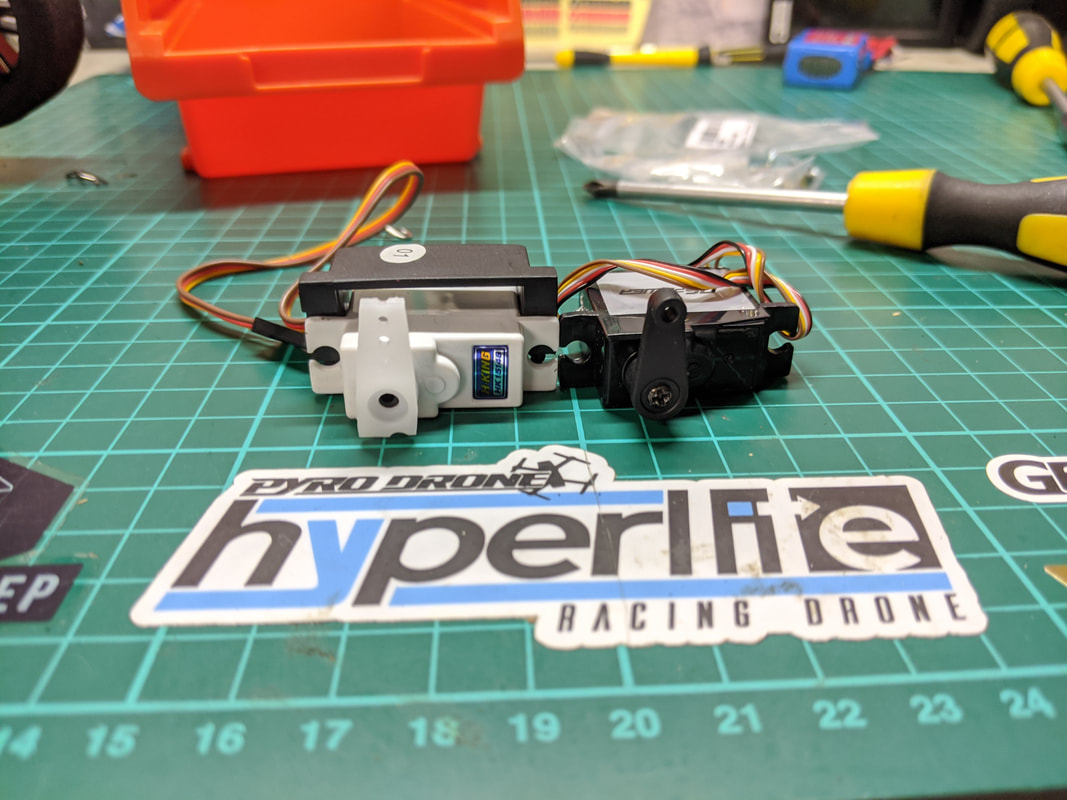
 ....and the boring but necessary parts
Picture
5 Pairs Amass XT60+. XT60 connectors are the best size and consistent performance for current pulls expected here. These ones are easy to solder and don't require heatshrink
Picture
​Flysky FS-A3 Receiver This little $6 receiver binds flawlessly to my Flysky GT5 transmitter. The gyro version is available at about $20 FS-B6
Picture
​JX Digital Servo 17g Metal Gear PDI-1181MG. I initially tried this super cheap servo from hobbyking but instantly regretted it and went back to the 1181MG
Picture
​​WL Toys 144001 spare motor mount. Please trust me and buy this part rather than trying to reuse the one in your car. They are almost impossible to remove without damaging something
Picture
Motor Pinion 27t For Wltoys 1/14 144001. If you think the motor mount is hard to remove, wait till you try the pinion. For $3 just order one!
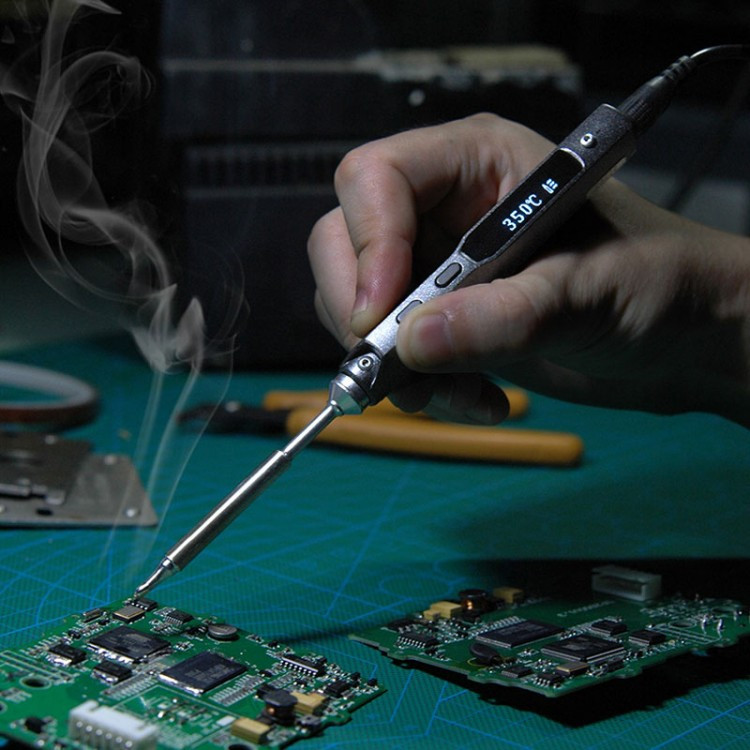
...And the tools I recommend if you don't already have them.
Picture
TS100 65W Mini Electric Soldering Iron Station. This is the one tool that I didn't opt for the cheapest on and it makes soldering an absolute pleasure. I've had it 3 years now and the (replaceable) tip is finally starting to let go.
Picture
​580pcs Set Heat Shrink Tube Assorted Insulation Shrinkable PVC Tube 2:1 Wire Cable Sleeve Kit Heatshrink is the key to keeping soldered joins safe and looking tidy. All the colours you need in here.
Picture
​DANIU Electrical Cutting Plier Wire Cable Cutter These are cheap but small and precise so work well. Make clean cutting and insulation removal much easier.
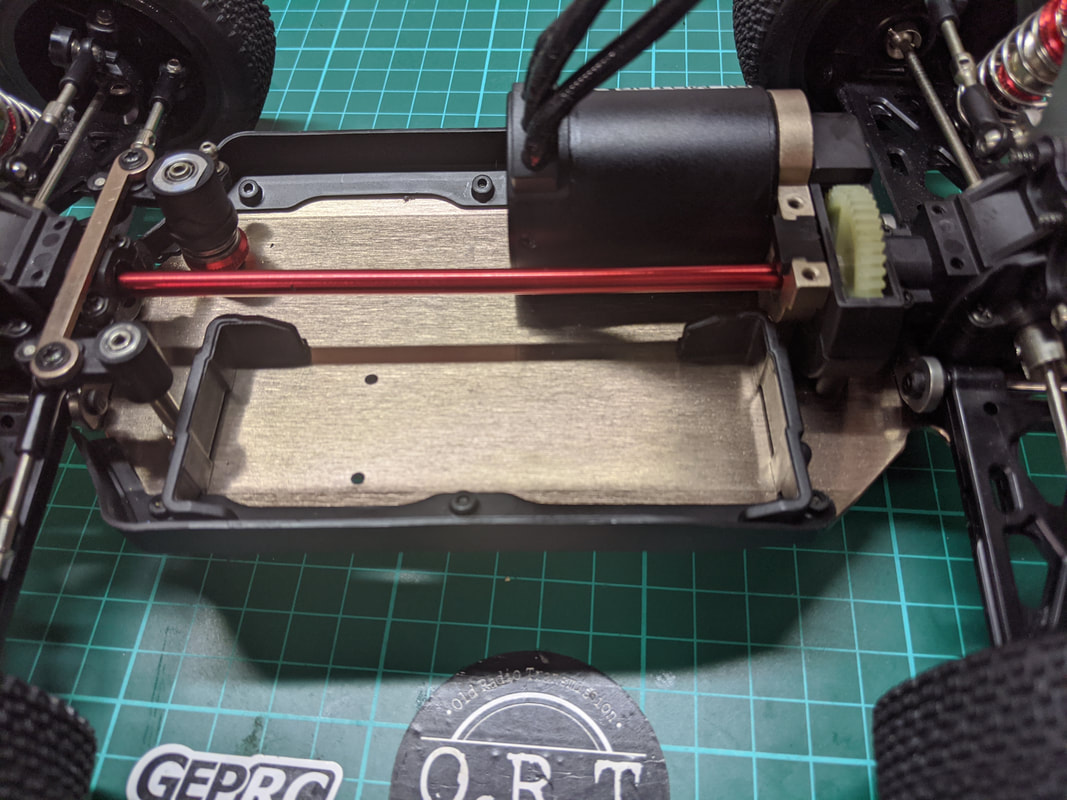
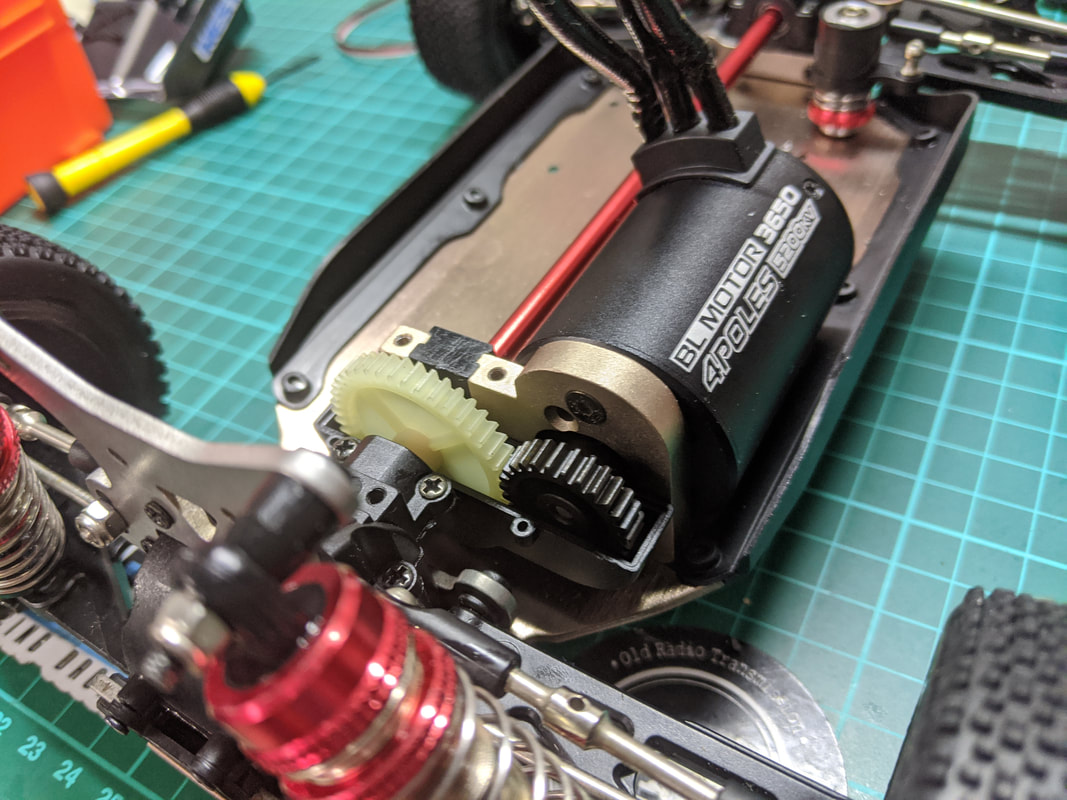
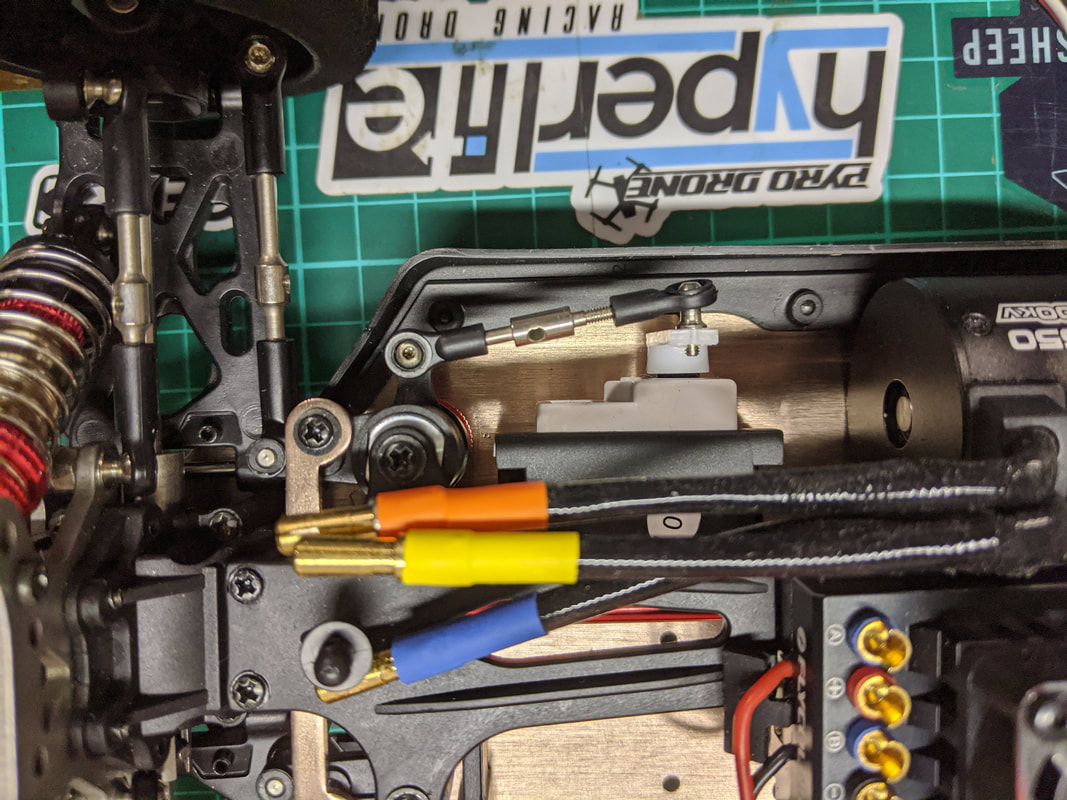
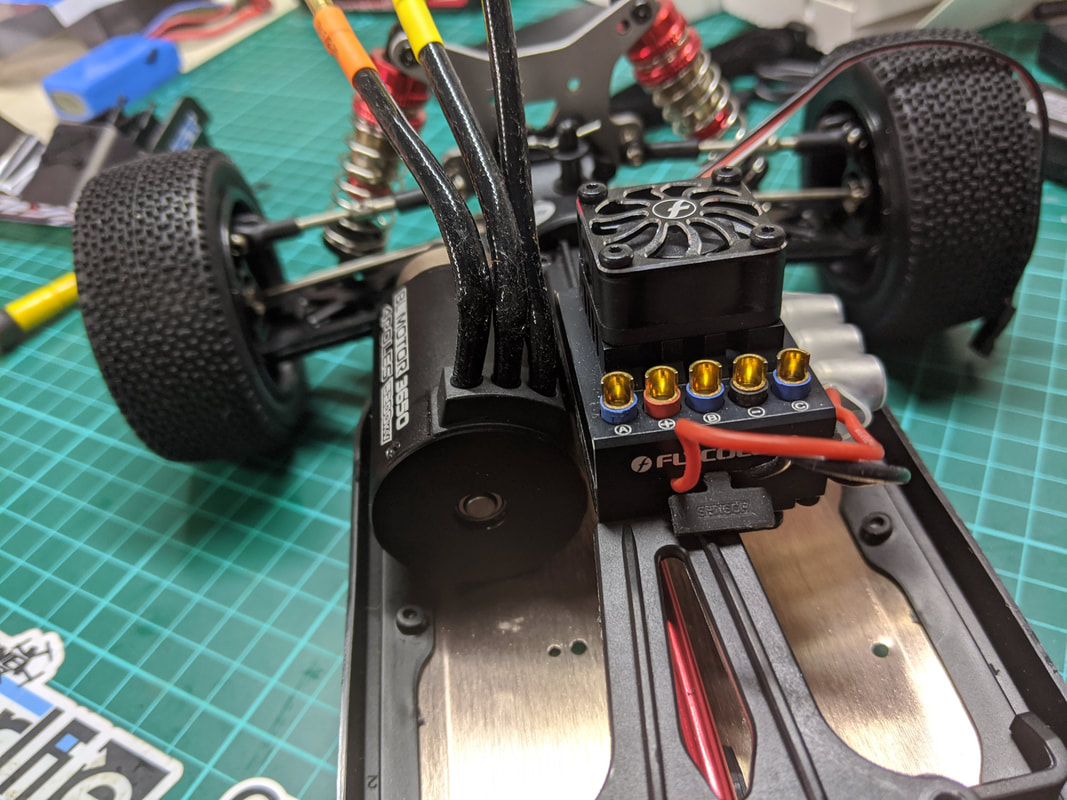
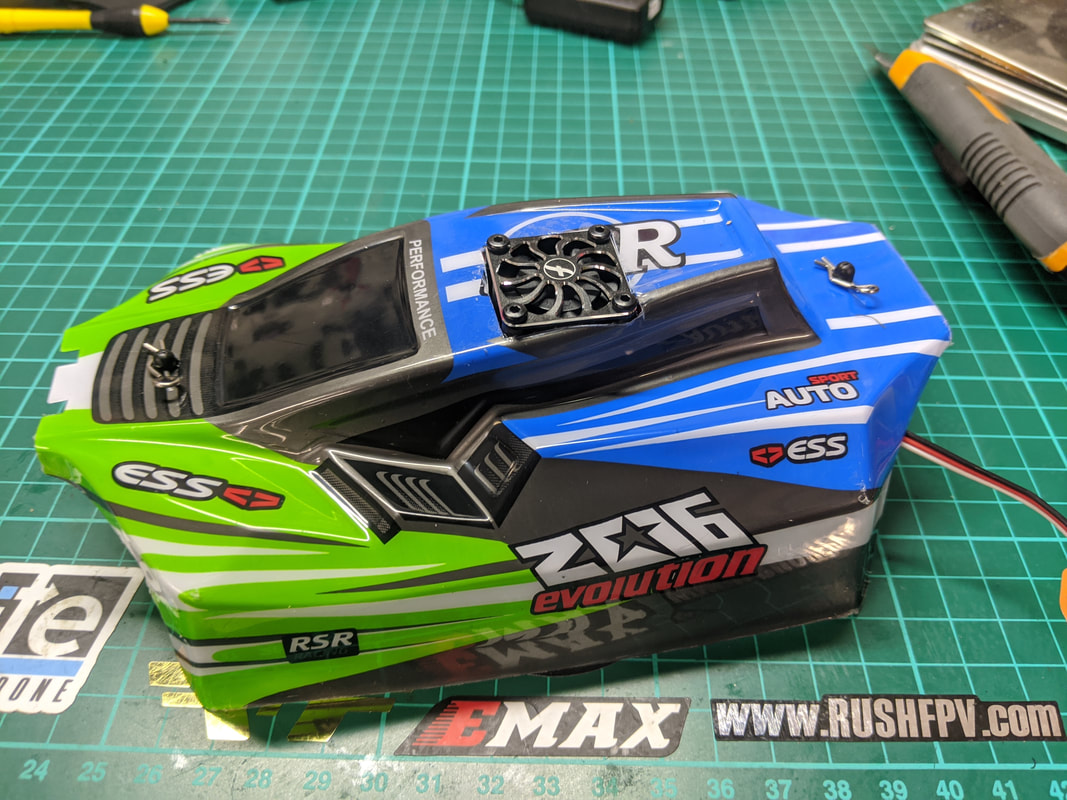
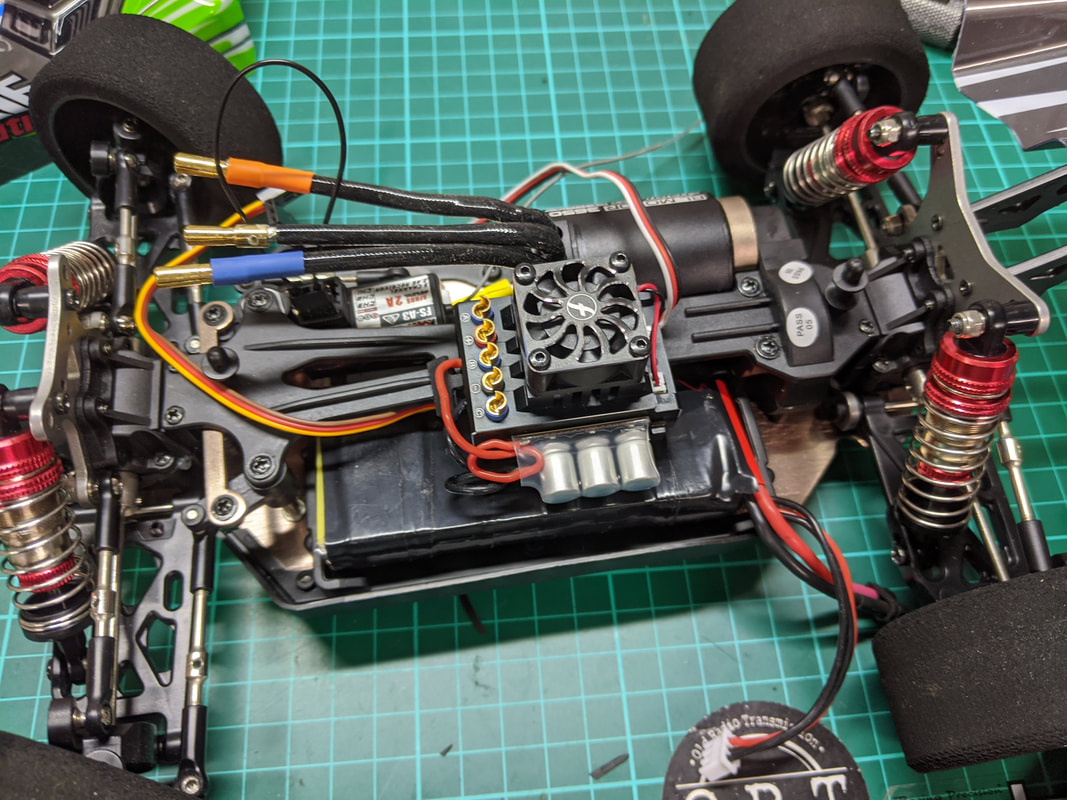
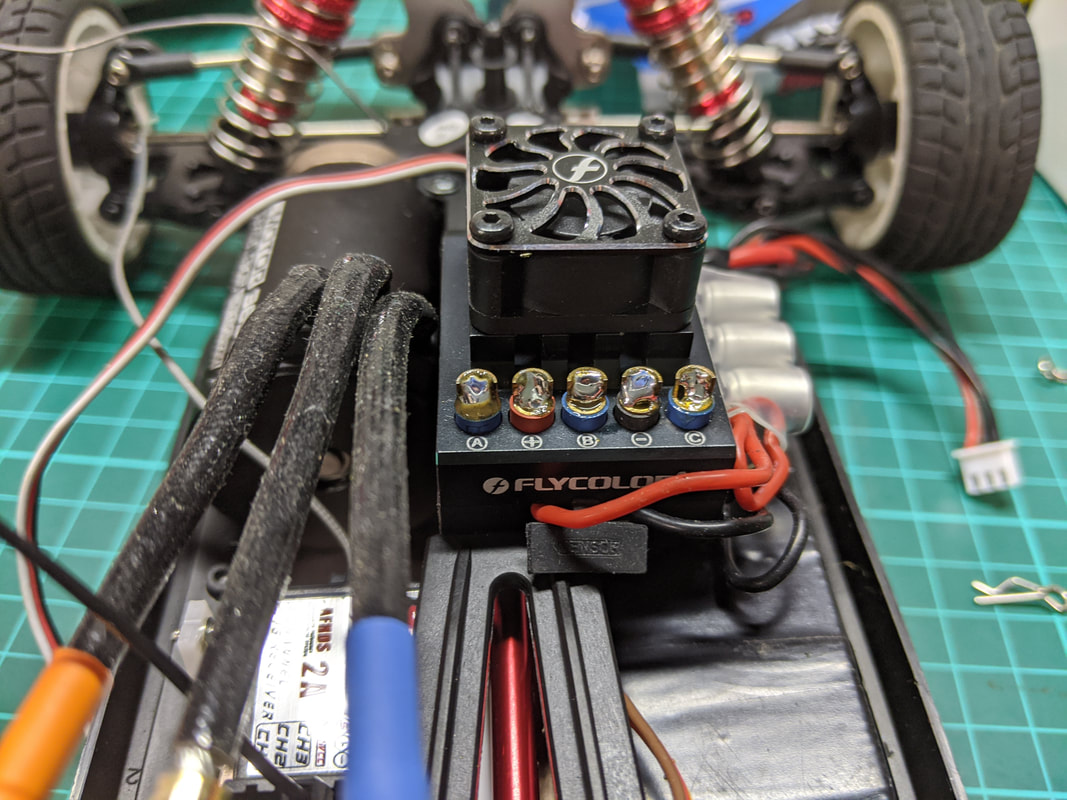
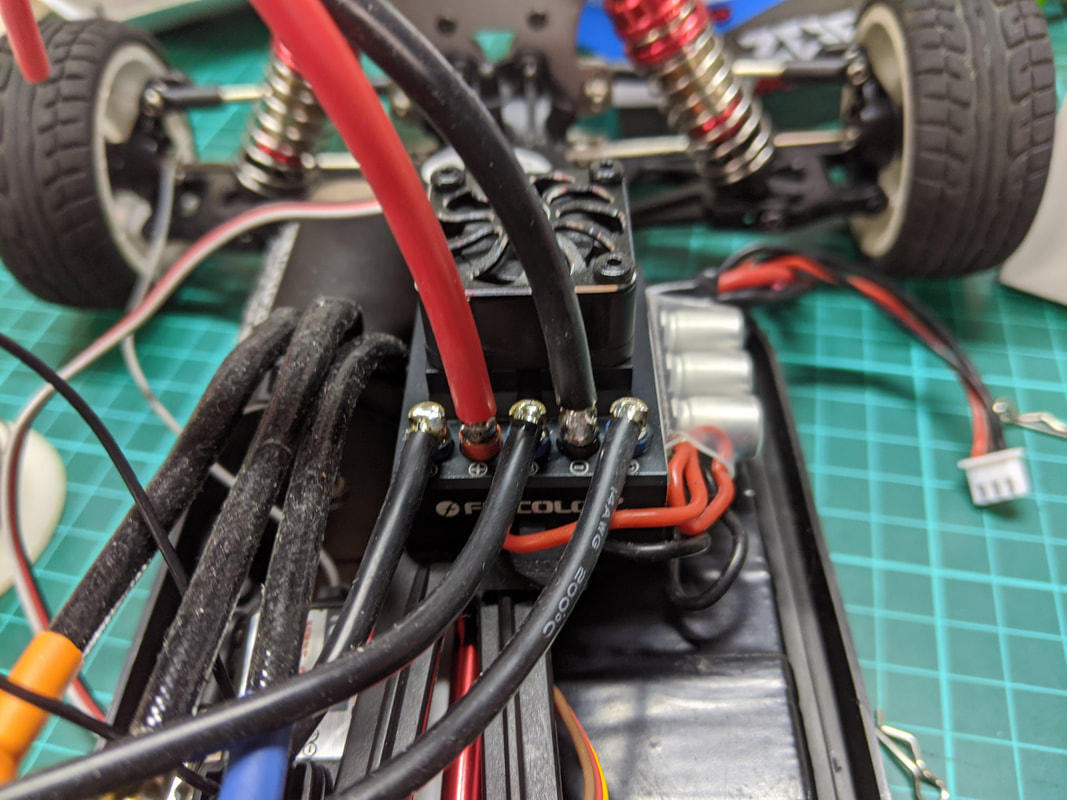
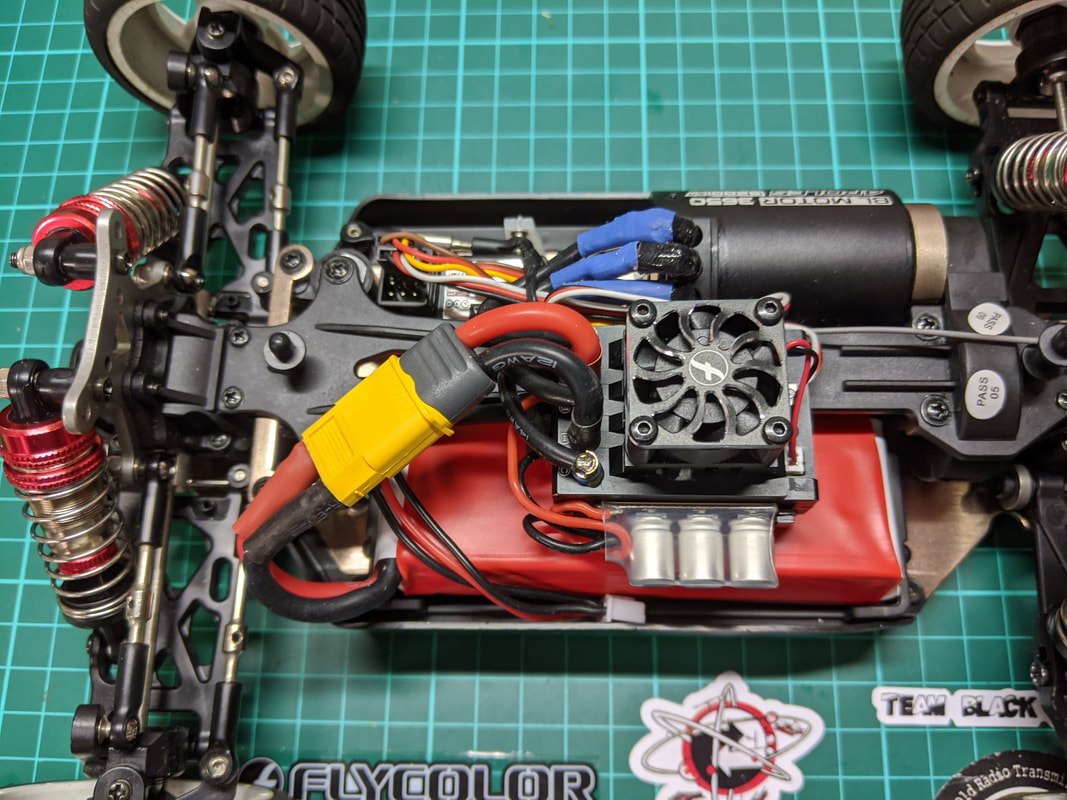
Build process
Please see images below with description to take you through the build process. There is no cutting in this process.
Picture
First remove the top deck and set aside. Consider replacing with the metal top deck which offer greater rigidity. One of the few worthwhile metal parts.
Picture
Install the new motor with the new motor plate and pinion gear. You can get the metal spur gear if you want but I think it is heavy and unnecessary
Picture
Remove the stock 5-wire servo and replace with a 3-wire equivalent. Shown here is this cheap model from Hobbyking but I prefer the PDI-1181mg which is faster and stronger with metal gears
Picture
I didn't like this servo ball link in the stock location as it gave asymmetrical steering
Picture
This location was better but less clearance for wires.
Picture
The Flycolor lightning 80A ESC fits perfectly but you need to flip up the sensored wire cap to fit (sensor wire not used here). Link to Hobbywing ESC equivalent: 120a 10BL120
Picture
Before refixing the topdeck, use as a template to trim the body to allow it to fit better and allow more airflow as per this article
Picture
Before you cut or solder ANYTHING you must be super clear about your wire routing. It is absolutely crucial if you want to fit under the stock body
Picture
This ESC requires soldering but has these beautiful posts with which to do so
Picture
Wires sticking up are for the battery and 12AWG from memory. Those lying flat are for the motor and were 14 or 16AWG. All were included with the ESC
Picture
See here where the motor wires have been trimmed with connectors removed and soldered directly to the ESC wires then heatshrinked (heatshrunk?) Battery wires are short with AMASS Xt60 used. Use minimum wires necessary to reduce space and reduce voltage drop.
Picture
The final article, Everything fits neatly beneath the shell on stock mounting posts. Stealth! Note I was just using these cheap wheels and tyres for mockup. Foams to be used for proper runs as these would balloon out.
Setup
When the car is running at this kind of speed you want to be very sure that all of the settings are dialled in straight and all of the stock items are performing at their peak. In order to do this, please follow the below articles to set up the following:
Picture
WL TOYS 144001 SETUP: 3 THINGS YOU MUST DO BEFORE YOU EVEN TURN IT ON
Front toe in needs to be dead straight as well as camber Fill your diffs to the brim with grease to give them the best chance of survival (and improve traction) and get your shock oil at the right level
Picture
WL TOYS 144001: FREE OR BUDGET UPGRADES (PART 2)
Go with a thick shock oil front and rear, 60wt is my recommendation. Fix up the rear to in and add the droop screws.
Picture
WL TOYS 144001 UPGRADE: WHEELBASE EXTENSION FOR HIGH SPEED STABILITY
This one is optional but recommended to improve high speed stability. You will lose the ability to run droop screws in the rear
Get some proper lock m3 nuts for the wheels because the stock ones are horrid. These ones from diatone work well or your local hardware store should have something. 
Picture
Adjust the suspension collars to that drive shafts are parallel with the ground front and rear for maximum efficiency. Once this is set, adjust the droop crews (if used) so that they allow the suspension the wheels to drop another 5mm or so when lifted so you are not sitting on the droop screws as this can mess with suspension feel.
Picture
The SKYRC GSM-015 appears to be the most reliable GPS for logging speed runs
Lastly if you are going to run speed running you will need a GPS unit. I've seen all sorts of options from bicycle computers that are limited to 99mph, gopros that will affect your aero, bluetooth modules that have poor refresh rates but the best, most reliable option I've seen is the SKYRC GSM-015. At $50-60 it's pricey for a standalone unit but appears reliable and can be mounted in a away that doesn't impact your aero.
That's it??!!
Unfortunately this is where the journey for this car ended. In September 2020 all of my RC cars were stolen from my garage so I sadly never got a run on this car, even a quick shakedown. My primary goal was to hit around 60mph or 100kph on 2s and perhaps a little faster on 3s but it was more about the build than the top speed as I never had the desire (or deep pockets) to compete with the guys out of Aussie (The RC Master and Sel Gules from the 144001 Facebook group in particular).

I will say that speed runs are hugely specific and although they look rewarding I feel I'm more about the bashing (on and off-road) which is why when the insurance money comes through I will likely repeat my brushless build with the smaller 2838 brushless combo as I wrote about in this article. Thanks for reading, I hope if nothing else this gives you some ideas for your own build.
Thanks for reading, if you found this article useful please feel free to like or share, the facebook links below directly link/like this article. Links are affiliated and help me buy the bits I need to produce this type of content. If you are looking for RC ​cars, quads or parts check out my coupons and discounts page which I keep updated with only the RC cars, parts and quads I like at a proper discount
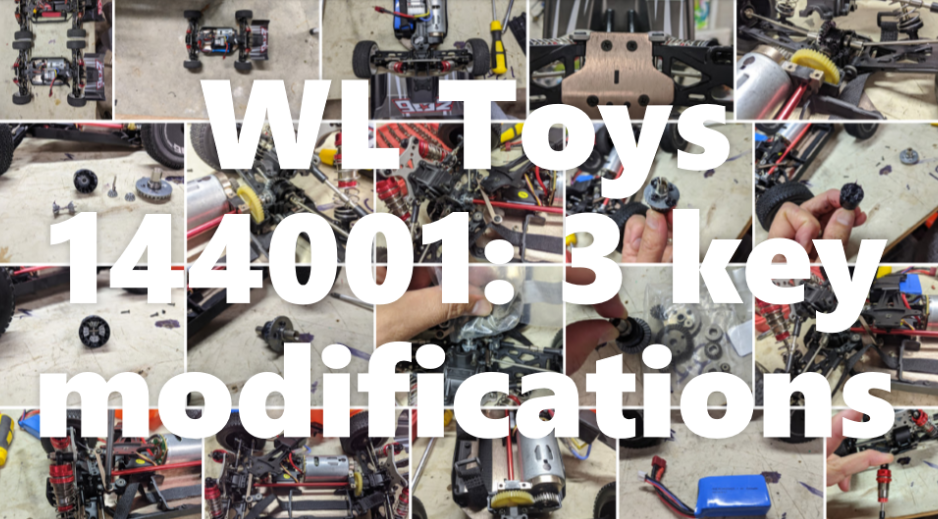
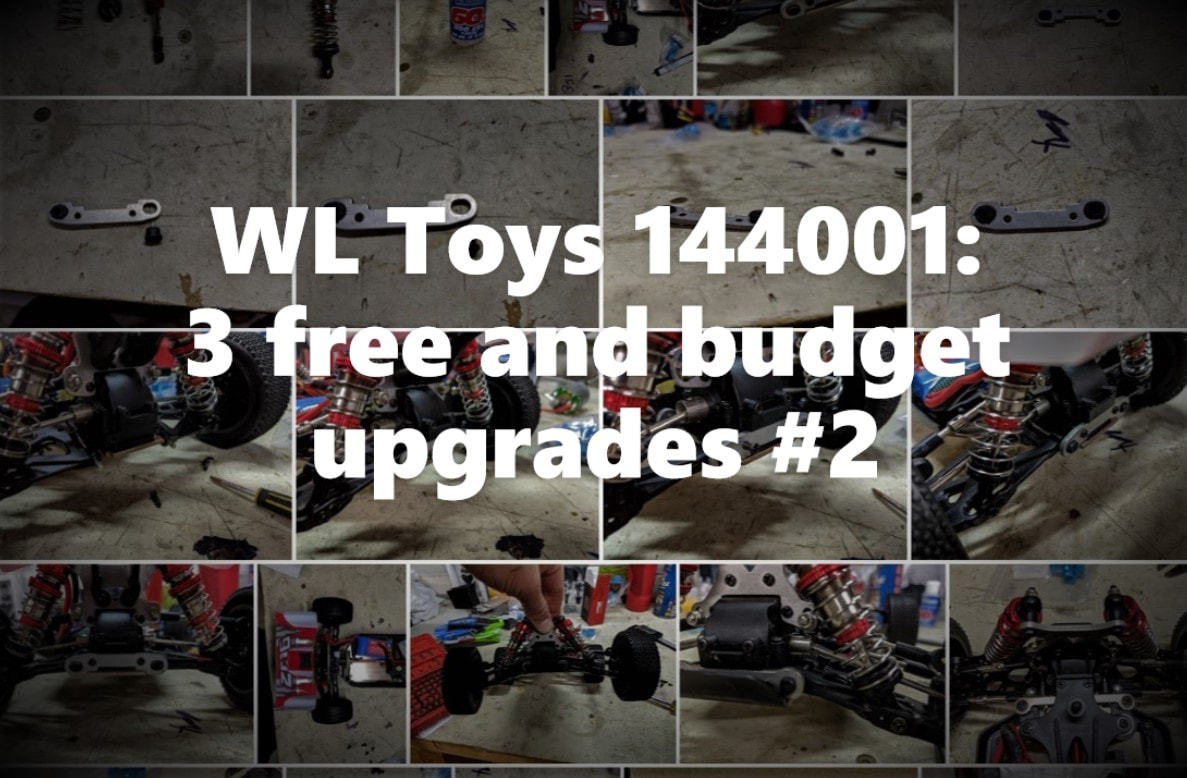
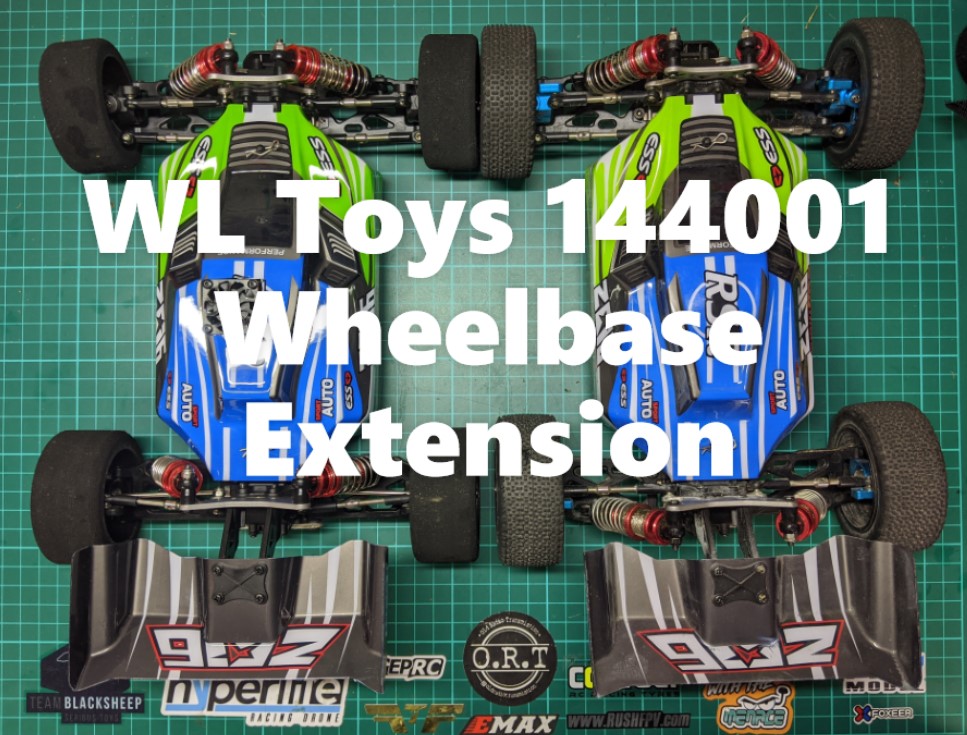
Thanks for checking out my article and please let me know on my facebook page or in the 144001 group if it worked out for you. I've created a reference page below for all of the 144001 articles I've published here:
144001 UPGRADES - EVERY ONE OF MY GUIDES HERE.
14 Comments
Sander Bleijenbergh
15/12/2020 08:38:31 pm

Hi, in regards to the 3s battery I have the problem that most lipo's are around 25mm high and don't fit underneath the top deck. From the specs of the 3s lipo that you recommend that will also be the case. Have you perhaps found a 3s lipo that is only 20mm high?

Reply
Jonathan Ruhe
12/2/2021 06:59:46 pm

Are you still publishing, or has the theft shut you down for good?

Reply
QuadifyRC
1/3/2021 09:37:51 am

Sorry for the late response, notification issues. Yes back up and going, stronger than ever!

Reply
Wanja Schonecke
25/8/2021 02:34:02 am

I builded this and it is awesome... can't even accelerate full throttle or it will land on its roof :D

But i had to flip two wires, as it had forward and backward switched.

And it is so hard to solder on the wires of that motor. Not sure why, it looks like proper copper, but it wouldn't suck the solder in, even at 400 degree.

Thanks for this guide, it was so much fun to build.

Reply
QuadifyRC
25/8/2021 10:38:33 pm

Hi Wanja, glad you like it. Go easy on that throttle haha! The motor wires are an extension of the windings and have an insulating enamel on them. Good for the windings but awful for soldering. Next time try scrape some off with a blade.

Reply
Hifihedgehog
18/11/2021 09:49:13 am

You mentioned that "Your car (specifically the top deck) will need modding to make this fit though" for the GNB batteries. I just bought a couple since I am modding myself up a maxed out 144001. What mods are referring to?

Reply
Hifihedgehog
18/11/2021 09:58:04 am

Hello there,

I have been one of countless people who have benefitted tremendously from your RC articles for the Wltoys 144001 on your website. Question: Where you mention in your article "WL TOYS 144001/124018/124019 UPGRADE: BRUSHLESS SPEED RUN BUILD AND SETUP FULL GUIDE", how would I modify my 144001 to fit that GNB 2200 mAh battery? I bought two batteries already and was able to run my stock 144001 with one inside with the battery floating which is of course totally discouraged and downright reckless. What modifications would you be suggesting that I take to fit that battery securely? Thank you!

Reply
Jonathan
20/3/2022 06:25:26 pm

Hi,

Thank you so much for providing detailed information on how to upgrade 144001. I've benefited greatly from your website.

I would like to ask whether it is a must to lock the screws for a new motor pinion and a new motor mount of 144001 with loctite.

I would appreciate if you could advise me, a RC beginner.

Thank you.

Reply
Wanja Schonecke
20/3/2022 10:32:31 pm

It came loose for me, so better tighten it up properly and use some loctite. It wont fly away, but it will start to move on the axle if the screw gets loose, then it rubs against the housing. You dont want that to happen.

Have fun with your car :)

Reply
Andrew Naylor
27/7/2022 04:47:53 pm

what modifications would you make to this build to maximize battery life on 2s and 3s( while still having a higher top speed then stock, on the same pinion and spur gear?

Reply
QuadifyRC
29/7/2022 01:16:09 pm

This build is made for speed rather than battery life. A smaller brushless motor would is faster than stock with almost double the battery life. Check out this guide instead https://www.quadifyrc.com/rccarreviews/drop-in-brushless-upgrade-guide-for-wl-toys-144001-124018-and-124019-quadifyrc

Reply
Enrico
8/11/2022 06:19:20 am

Dear sir,
I have a problem with an update of wltoy upgrades brushless 144001
I ask you the manual for setup the motor and brake
Make you help me
Best regards
Enrico

Reply
Ian
17/1/2023 12:25:36 pm

I assume it is ok to run a 5200kv motor on a 3s Lipo? I am very new to this and want to be safe. Many thanks

Reply
QuadifyRC
6/2/2023 10:44:09 pm

Only for speed runs, this setup is not suitable for offroad as it would overheat easily.

Reply


Leave a Reply.

    Archives

    November 2022
    October 2022
    September 2022
    August 2022
    July 2022
    June 2022
    May 2022
    April 2022
    March 2022
    February 2022
    January 2022
    December 2021
    November 2021
    October 2021
    September 2021
    August 2021
    July 2021
    June 2021
    May 2021
    April 2021
    March 2021
    February 2021
    January 2021
    December 2020
    November 2020
    October 2020
    September 2020
    August 2020
    July 2020
    June 2020
    May 2020
    April 2020
    March 2020
    February 2020

    Categories

    All
    104001
    104002
    104009
    104072
    1/10
    124016
    124017
    124018
    124019
    144001
    144002
    144010
    16886
    16889a Pro
    184016
    284131
    4s
    4 Things
    Anti Roll Bars
    Balance
    Basher
    Battery
    Brushless
    C24
    Charging
    Cogging
    Crawler
    D22
    D32
    Diatone
    Diatone Q25
    Drift
    Drop In
    Dumborc
    Eachine EAT14
    Eachine EC30
    Eachine EC30B
    EMB-MT
    Ex07
    Ex16
    Flyhal
    Flysky FS-G7P
    Flysky Noble Pro
    FMS
    FPV Car
    Goolrc
    Guide
    Gyro
    HBX
    Hbx 901a
    HS10422
    K989
    LC12B1
    LC Racing
    Lipo
    Metal Parts
    Micro
    MJX Hyper Go
    Monster Truck
    Mx-07
    Pinion
    Preview
    Program Card
    Project WLCRacing
    Q33
    Racerstar
    Radiolink RC6GS V3
    RC Boat
    Review
    ROCHobby
    Setup
    Sg 1602
    SG 1603
    SG 1604
    Soldering
    Spectre
    Speed Run
    Stance
    Surpass Hobby
    Timing
    Transmitter
    Tuning
    Tyres
    Upgrade
    Vinyl
    Wheels
    WL916
    Wltoys
    WL Toys
    Wpl
    Zd Racing

    RSS Feed

Thanks for visiting QuadifyRC.com Follow us on facebook below to get all the latest updates
  • RC Cars
  • Car of the Month
  • Quad Reviews
  • Quad Mods
  • COUPONS AND DISCOUNTS
  • Long Range
  • About & Contact