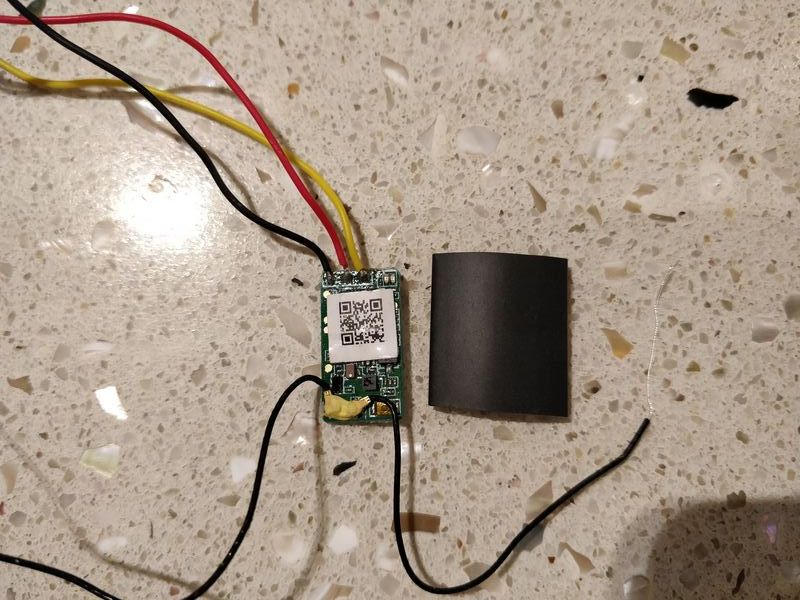
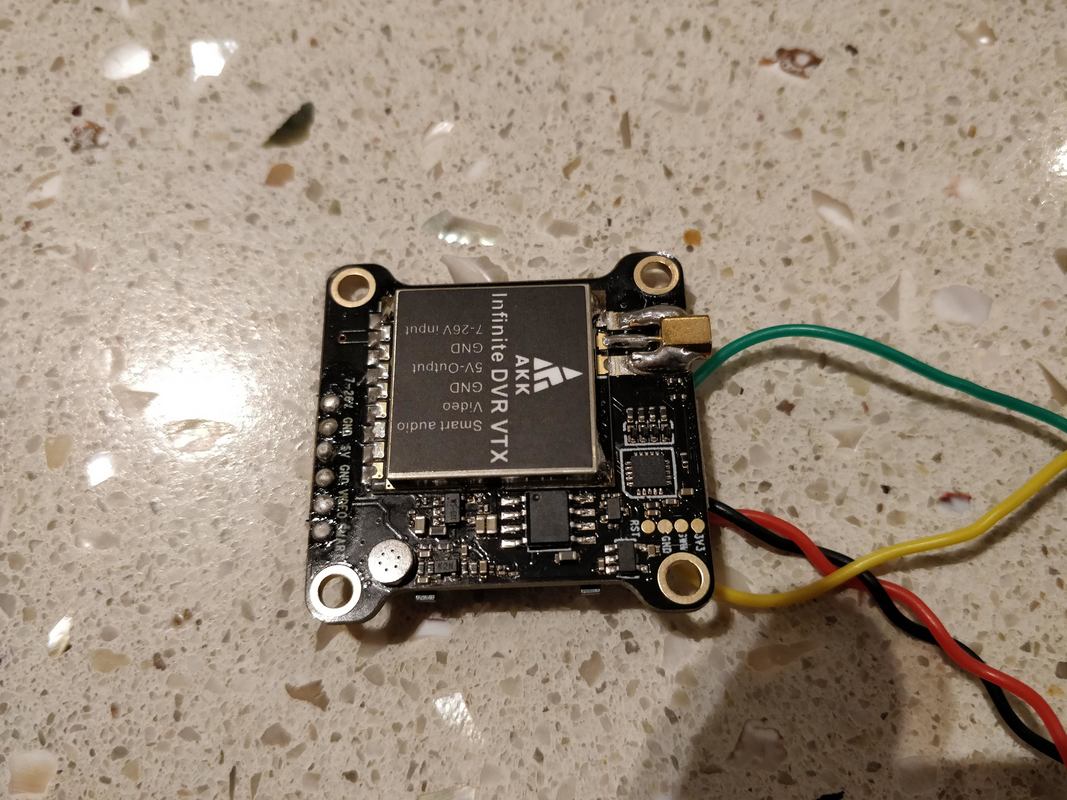
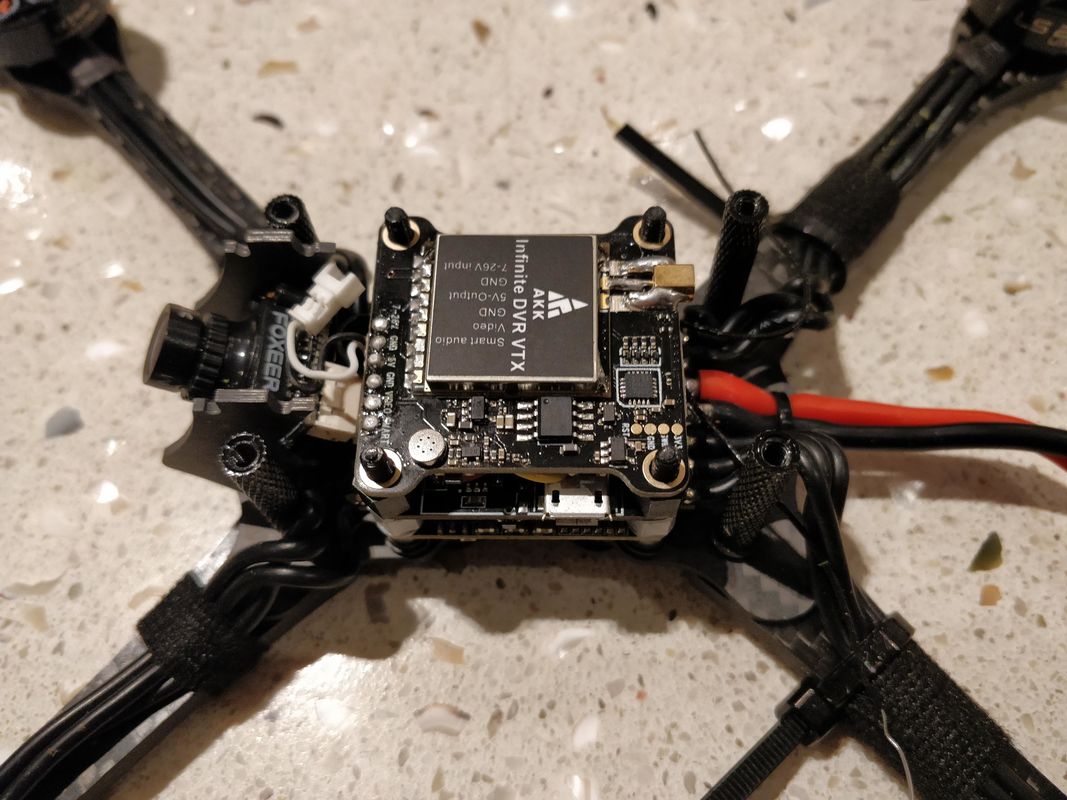
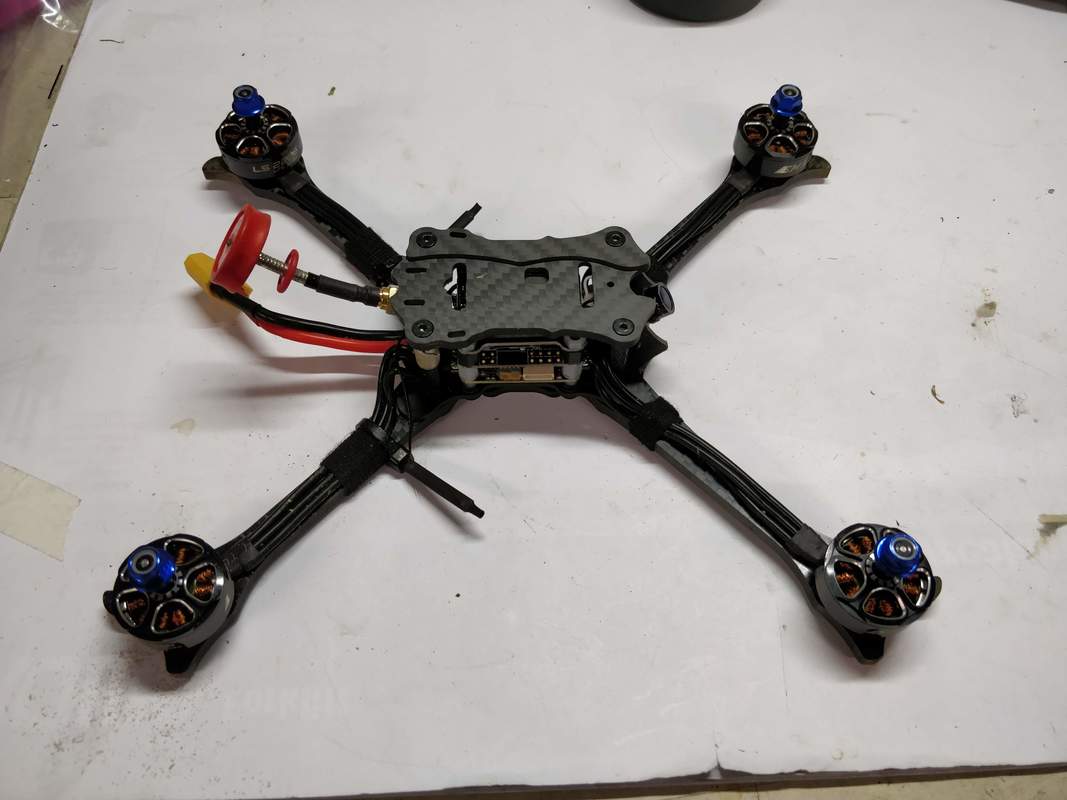
 Sneak peak of the finished product Sneak peak of the finished product The Emax Hawk 5 is arguably the best bind and fly quadcopter going as I found in my initial review but can also be greatly improved with a few budget modifications as I wrote about in my blog on bang for buck improvements. I do however see a number of people complain about the stock Emax Hawk 5 vtx however mine has been functioning well. That being said, you cannot adjust setting in betaflight OSD via smart audio or tramp telemetry which is a let down on a 2018 quad. In the interest of sharing I've removed the stock VTX and replaced with one of the larger VTXs currently available (the AKK Infinite VTX/DVR) to prove it can be done. 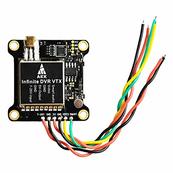 The VTX I chose for this project is the AKK Infinite which incorportates a DVR into the VTX The VTX I chose for this project is the AKK Infinite which incorportates a DVR into the VTX The VTX The VTX I chose is the AKK Infinity DVR VTX. This is very similar to the HGLRC VTX/DVR that was reviewed here. As the name suggests this is a smart audio VTX in 30.5mm VTX with a built in DVR. I chose those for 2 reasons: First it's big. If I can fit this in you can fit anything! Secondly I like the DVR for recording breakup-free footage. For me I like the nimbleness of the Hawk 5 and don't want to weigh it down with a HD Cam. Other key features of the VTX/DVR:
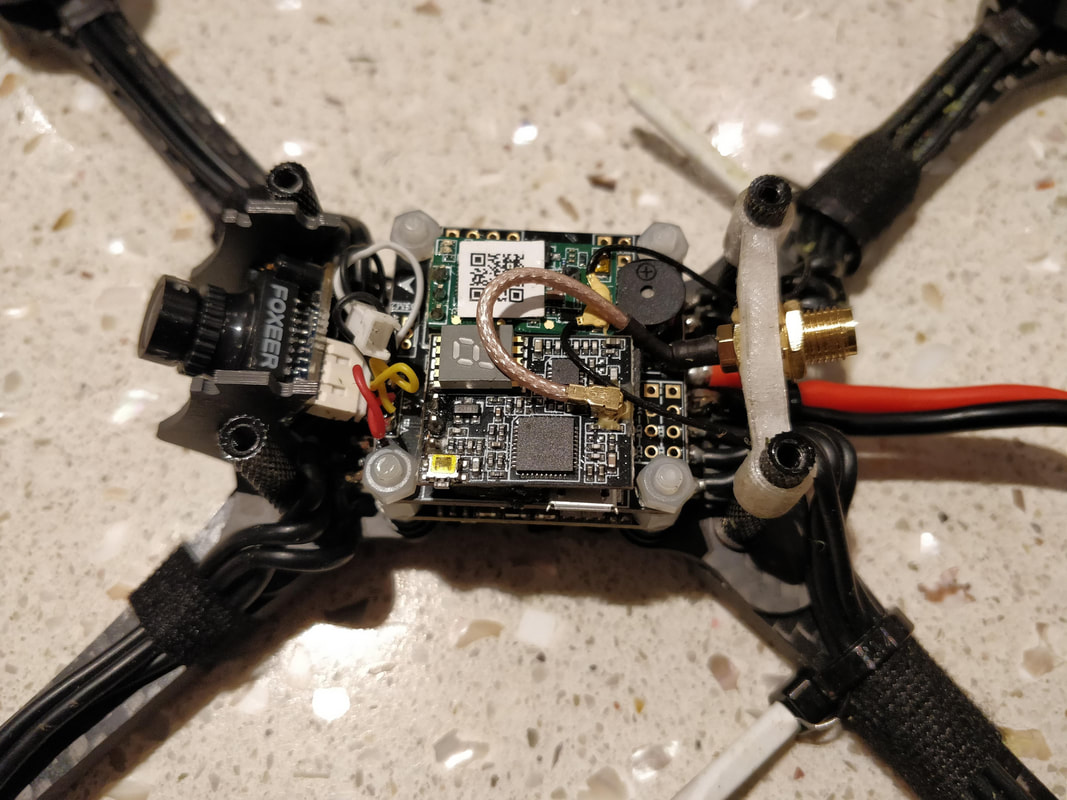
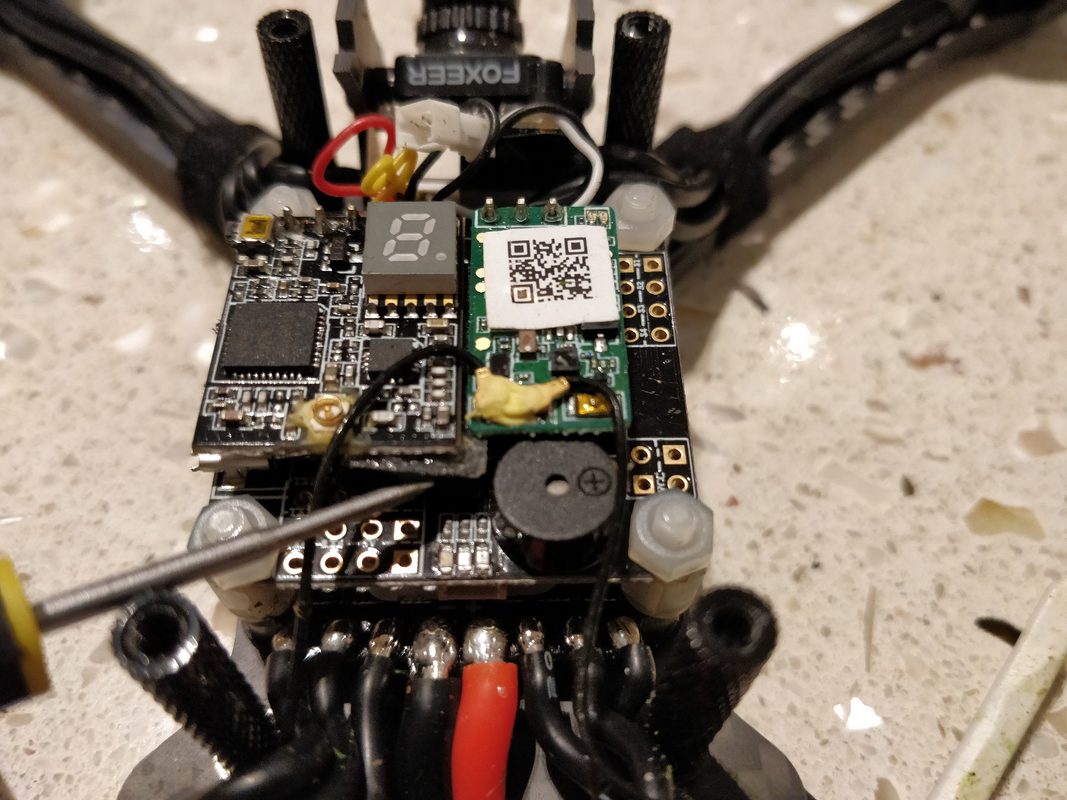
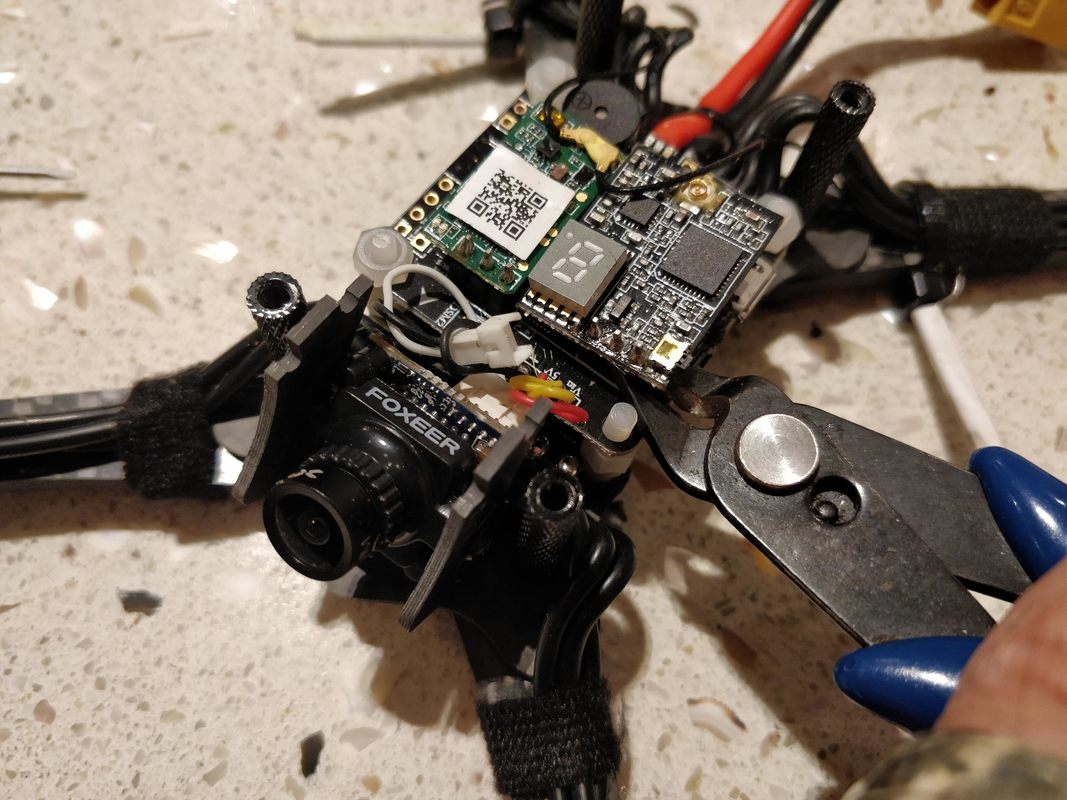
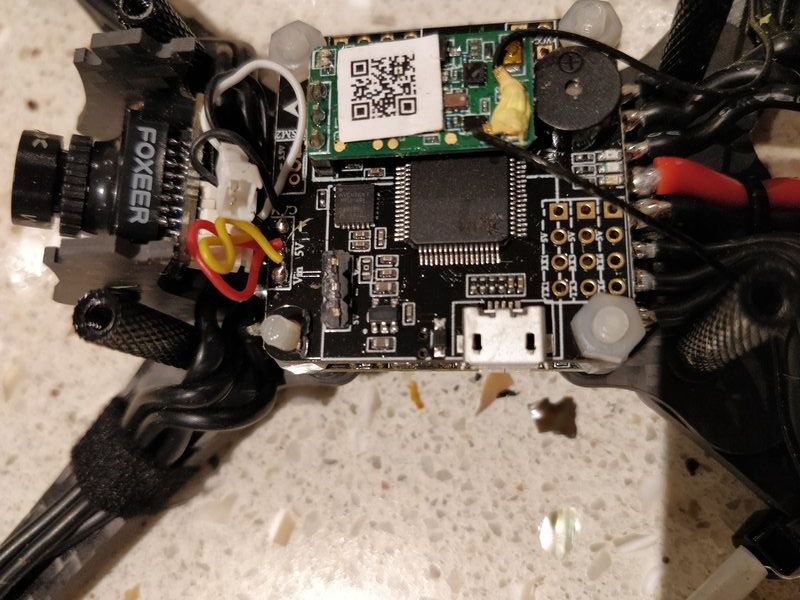
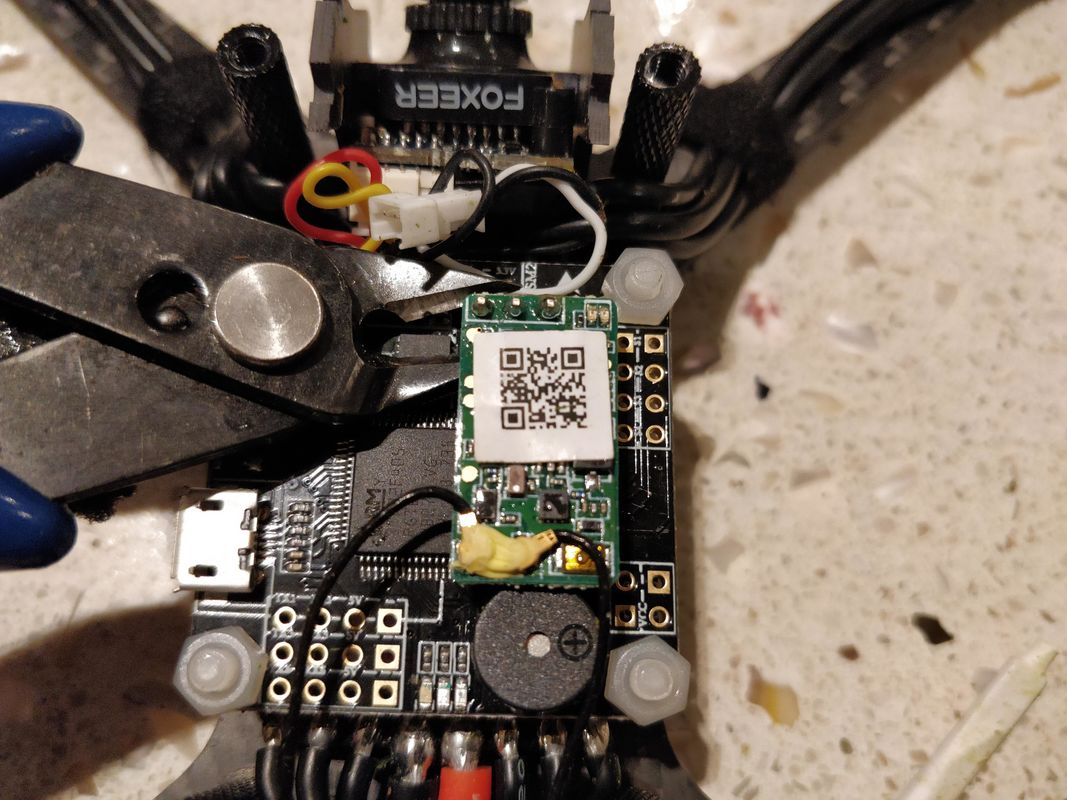
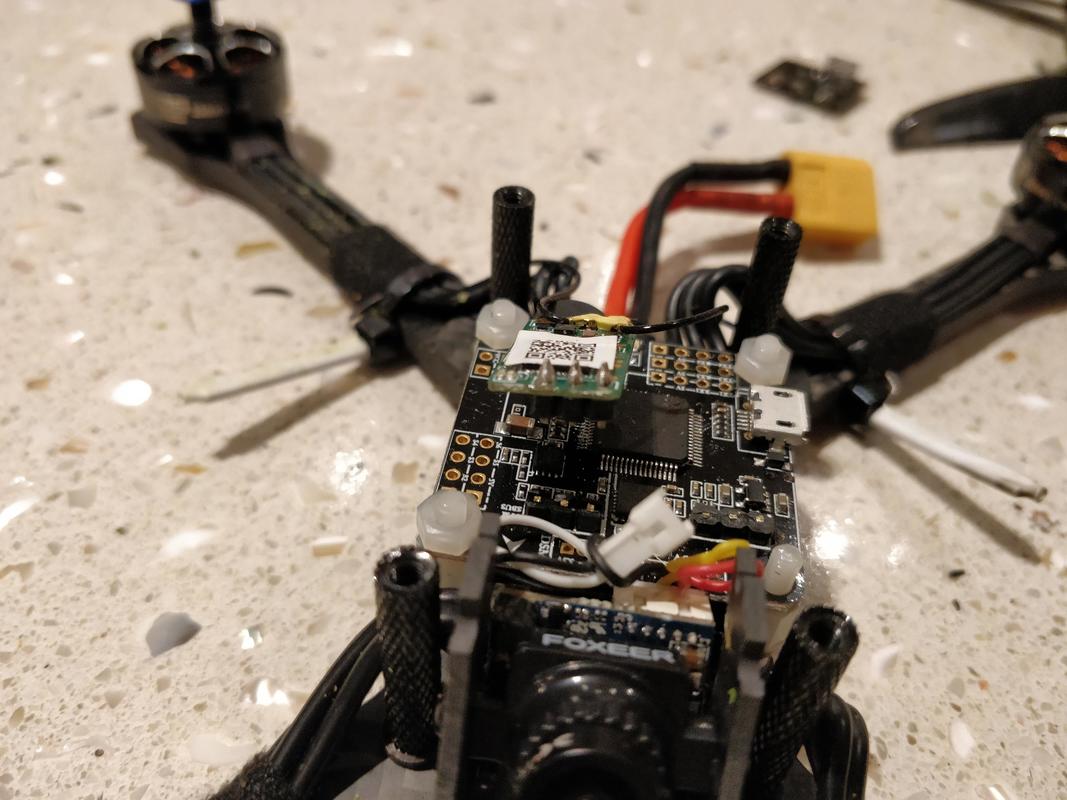
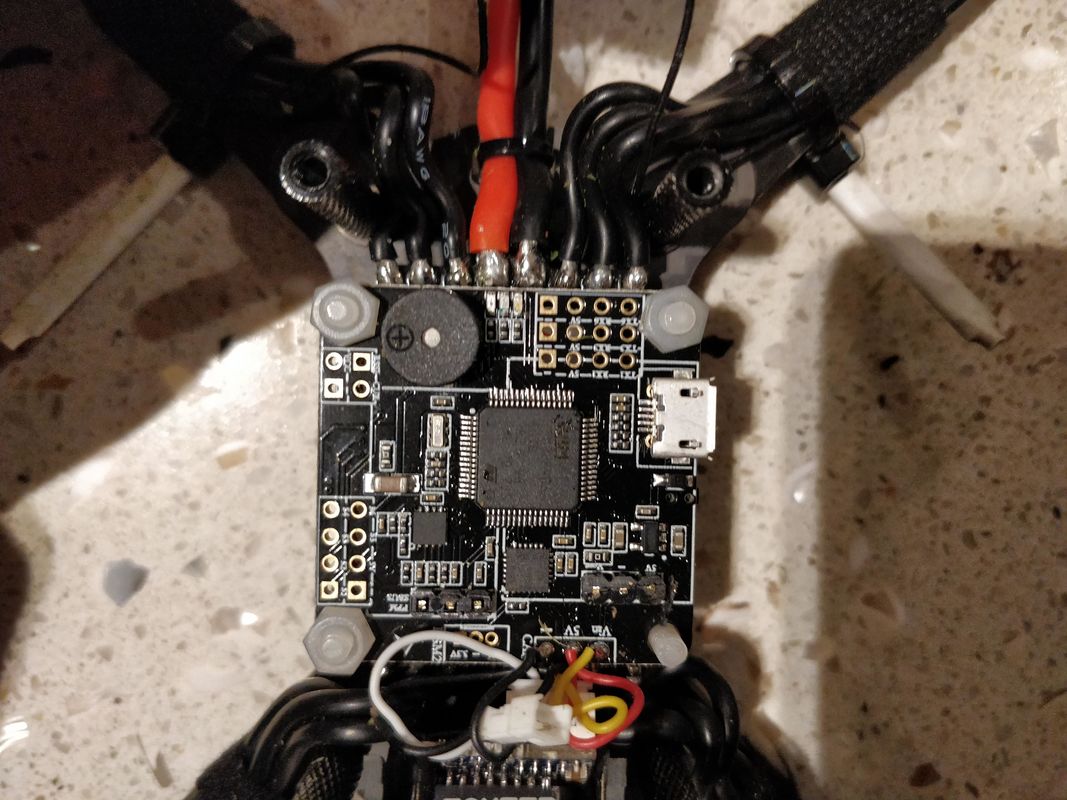
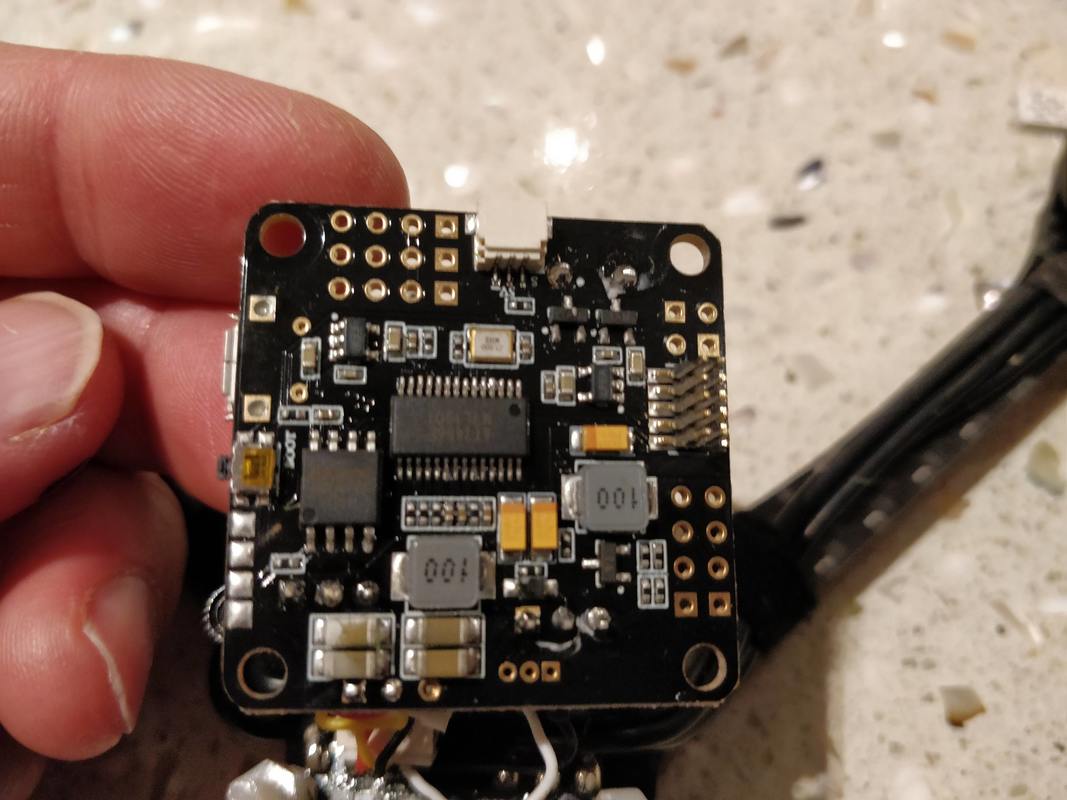
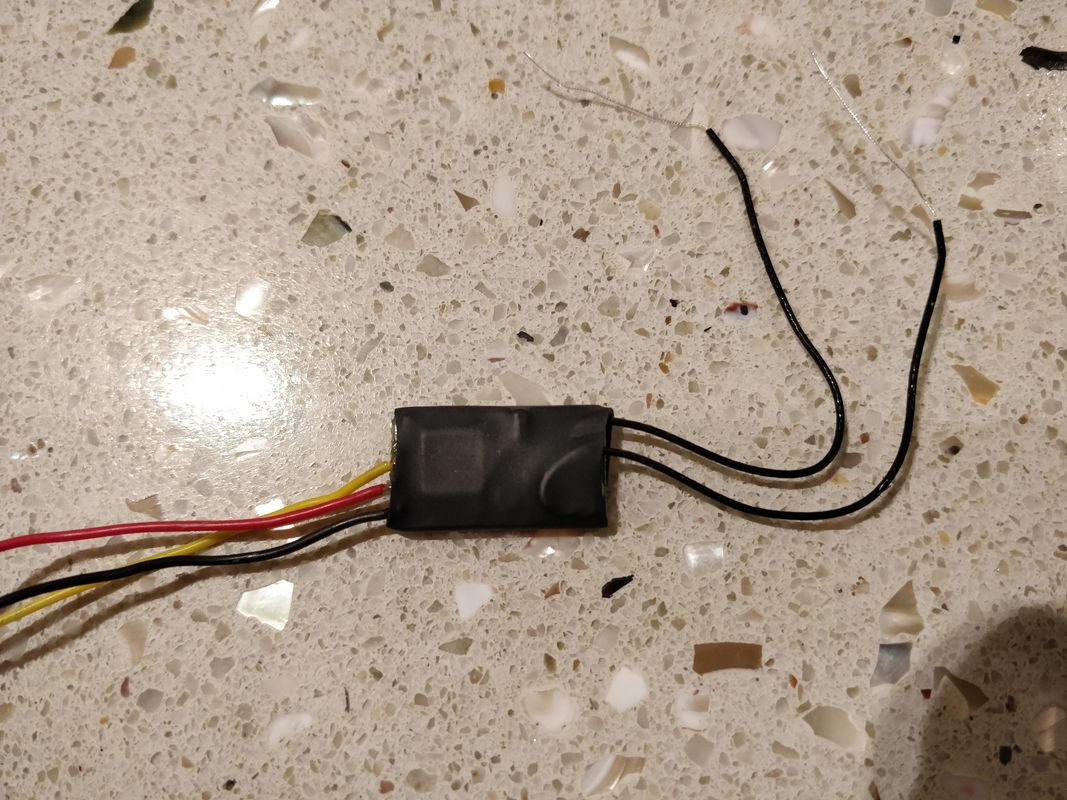
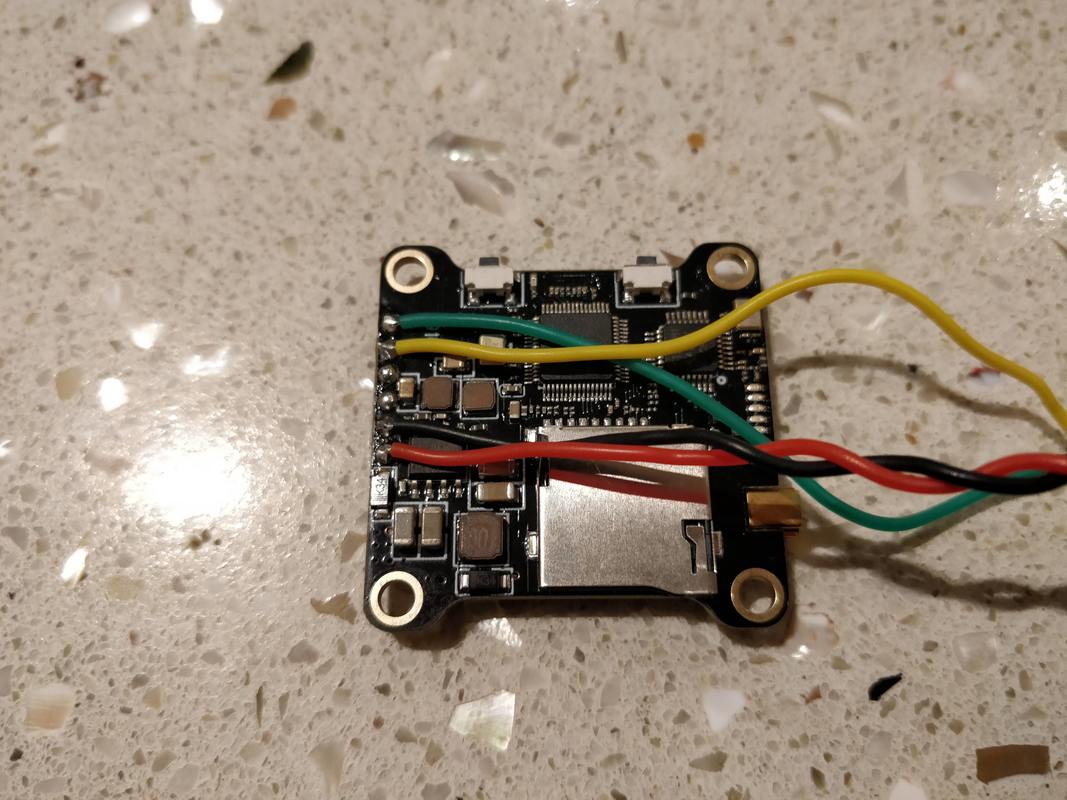
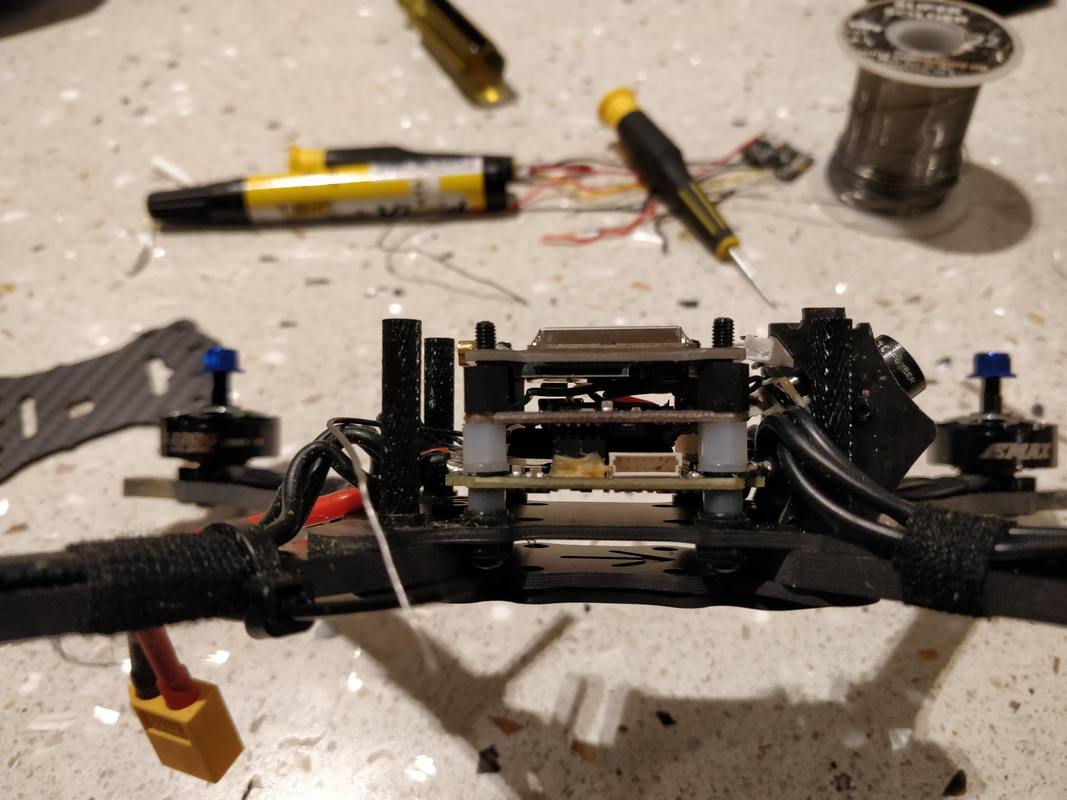
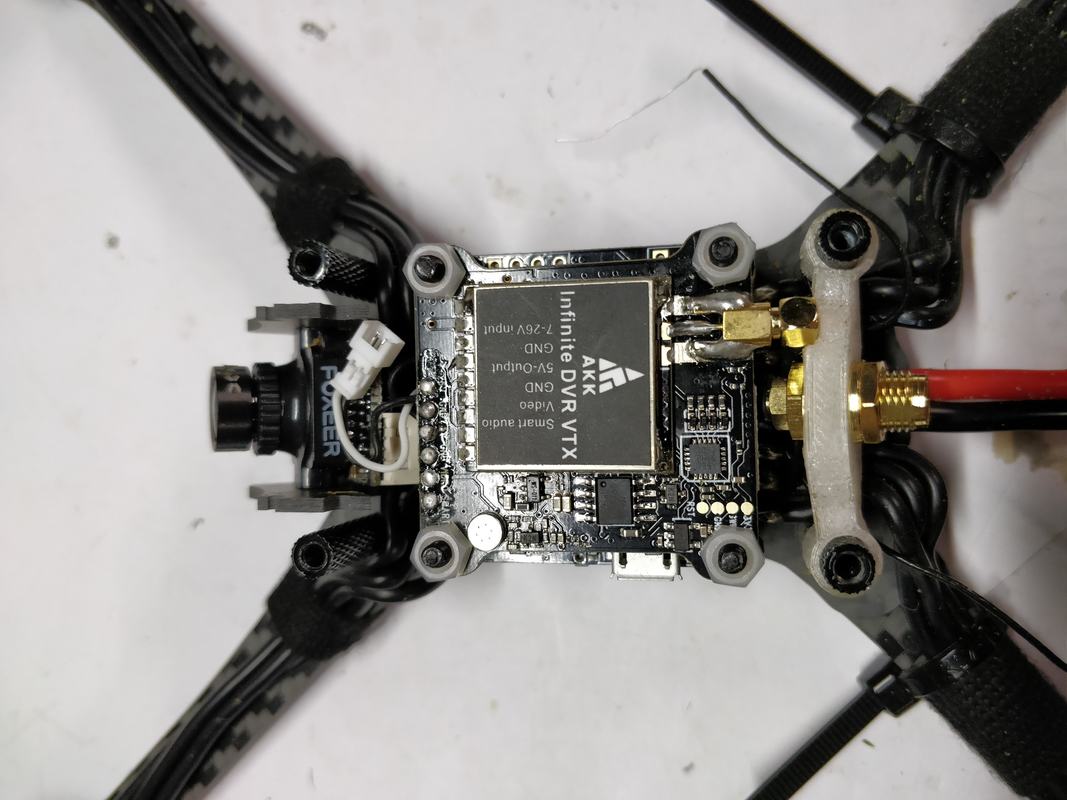
Other parts Just quickly I used the following tools and parts in the instructions below: The install Please note all the pictures below relate to the install of the AKK Infinite but install should be identical or at least nearly the same for others. I had to remove the buzzer and relocate the receiver for this VTX but depending on the size of the VTX you install you may need to do only one or neither. Follow picture left to right then down. All pictures will enlarge if you click on them.
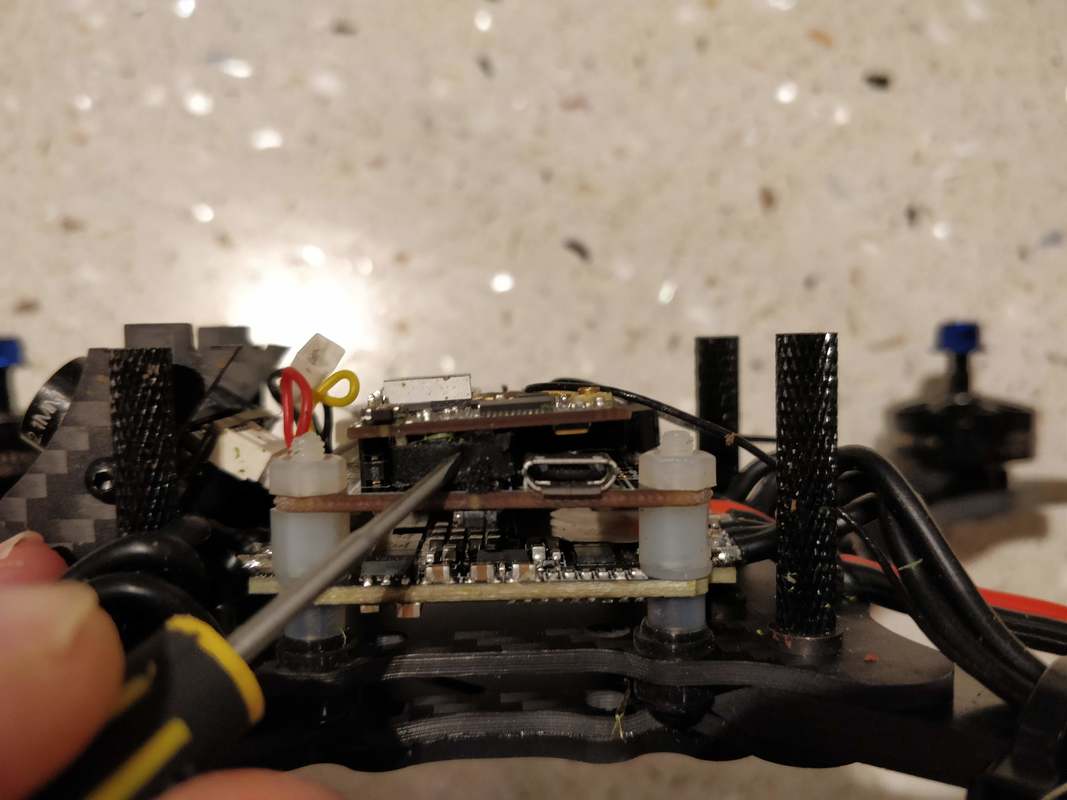
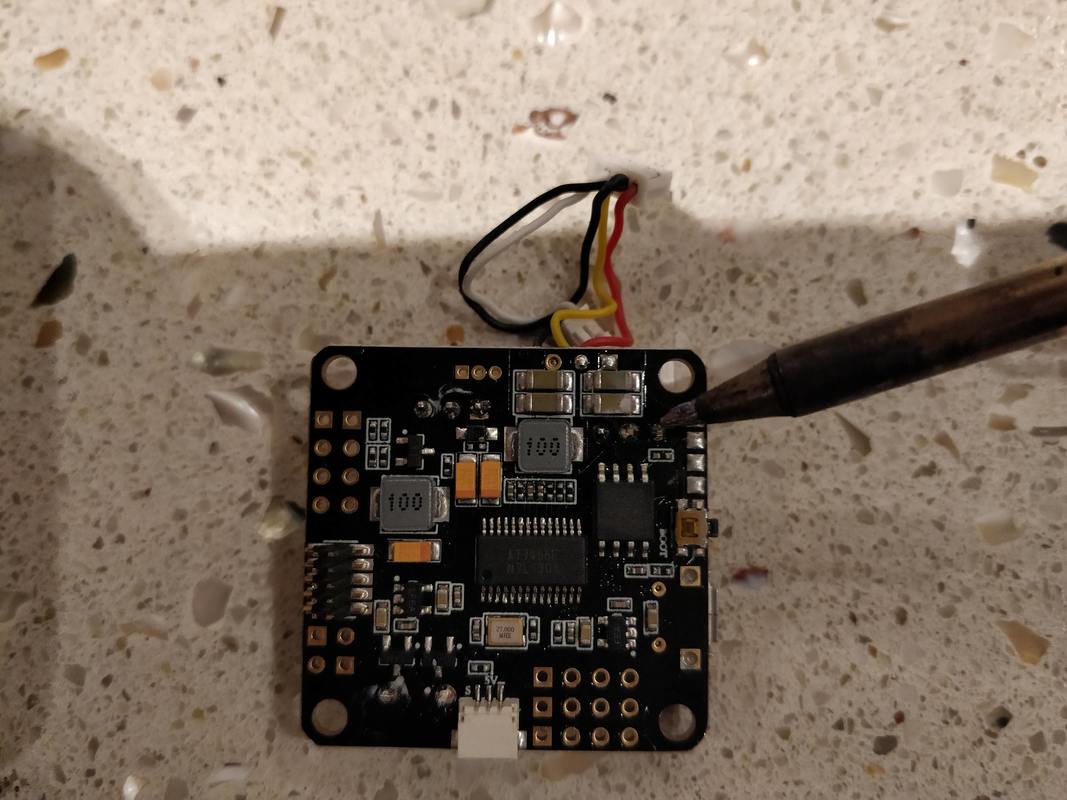
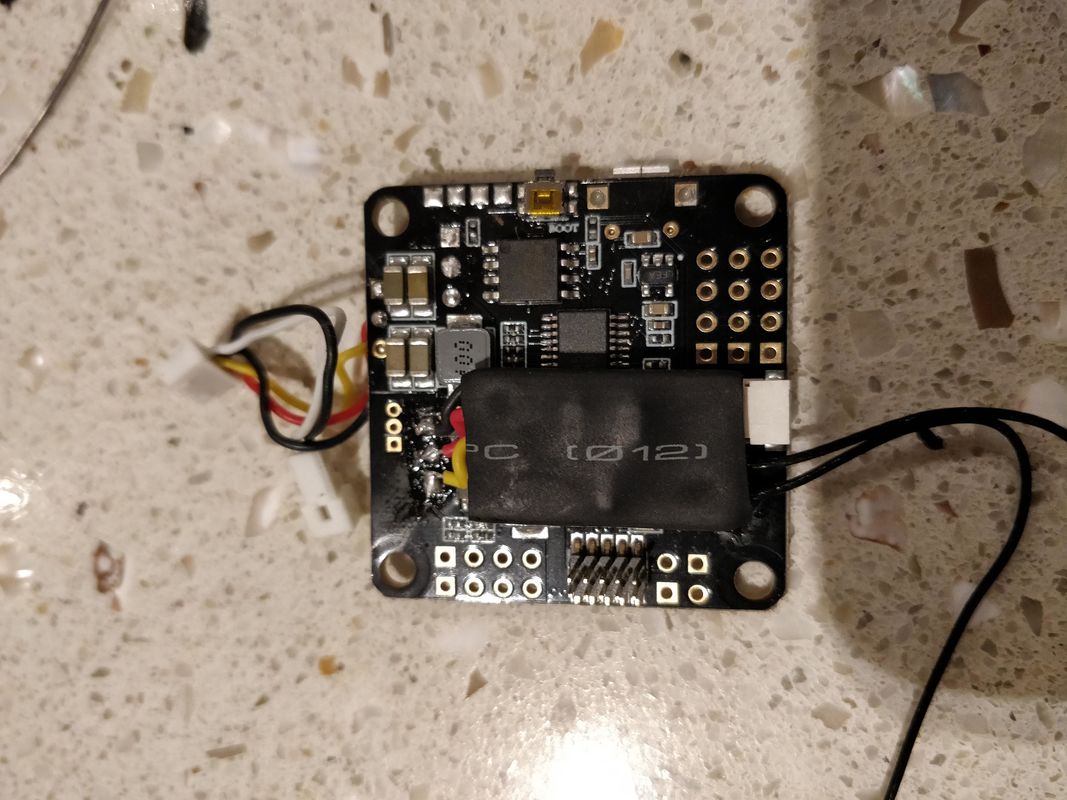
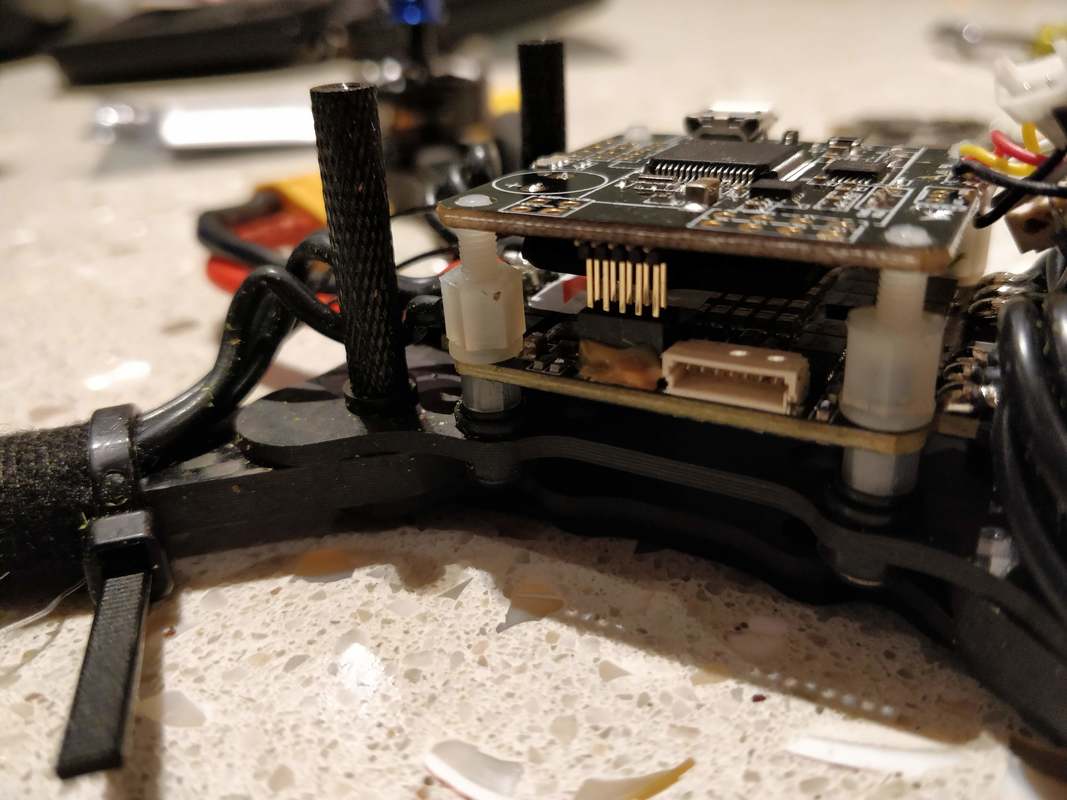
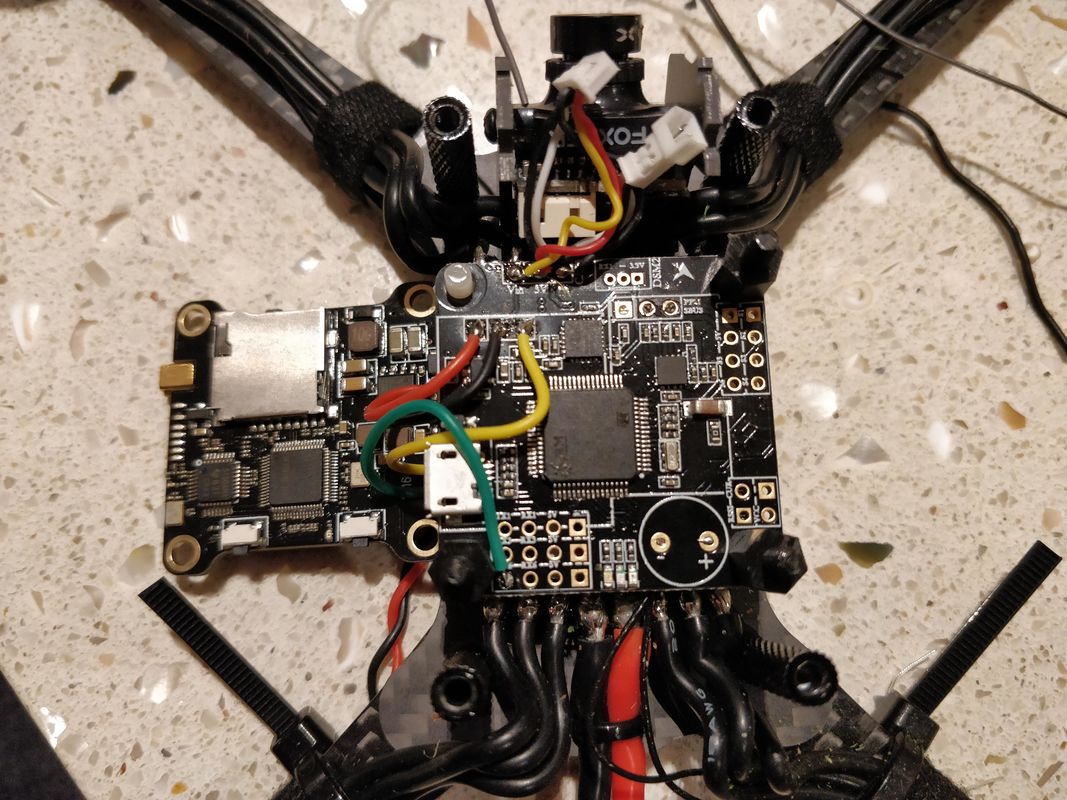
What did I learnt from the install? Firstly I can appreciate how Emax has made the most of the space with compact components. If I were to do this again I'd consider a smaller vtx to see if I could get away with removing less components, possibly an AKK FX2 ultimate mini half board or even an AKK nano 2, nano 3 or Oscar's backpack which may allow you to keep the buzzer AND receiver in place. That being said I'm really pleased I installed the DVR unit for extra functionality and did manage to retain a proper SMA antenna mount. Set up and flight performance I'm pleased to say that on the very first power up it functioned as expected. All Ineeded to do was to allow smart audio as a peripheral funtion on UART 6 in betaflight and smartaudio (VTX channel and power control through OSD) was fully funtional. For video signal performance please see below for goggle DVR recording comparing the stock VTX on 25mW and 100mW compared to the AKK Infinite VTX running 25mW, 200mW, 600mW, 1000mW. A quick spoiler: 1000mW was unstable. This is likely because of the load the VTX and DVR units place on the 5v flight controller BEC (which also supplies the camera). 2 solutions here - run at 600mW or below or power the VTX from the VCC pad (picture below) instead of the 5V supply used by the stock VTX. This gives the VTX full access to battery power which is fine since it is rated up to 26v. For me I'll run 200mW maximum since I don't like to overload BEC circuits since it can make weird things happen - FC brown out, flickering OSD etc. Update December 2018: I now recommend using vbat/vcc to power the vtx as covered here. Overall for me video performance was comparable. The AKK VTX does however offer greatly improved functionality:
In Conclusion... I'd definitely recommend changing the VTX for a different unit that supports Smart Audio if your VTX is not working as well as you'd like, but as you can see above it does take some planning and work. Even if it is working well some of the extra features that can be had on more modern VTXs may be worth the jump especially if you are confident with this type of work. Even if you aren't confident this guide should hopefully help you. AKK tend to make a good budget VTX with a lot of features but you can subsitute your favourite model here easily enough. If you liked this article please click on the 'like'or 'share' buttons below. Thanks! 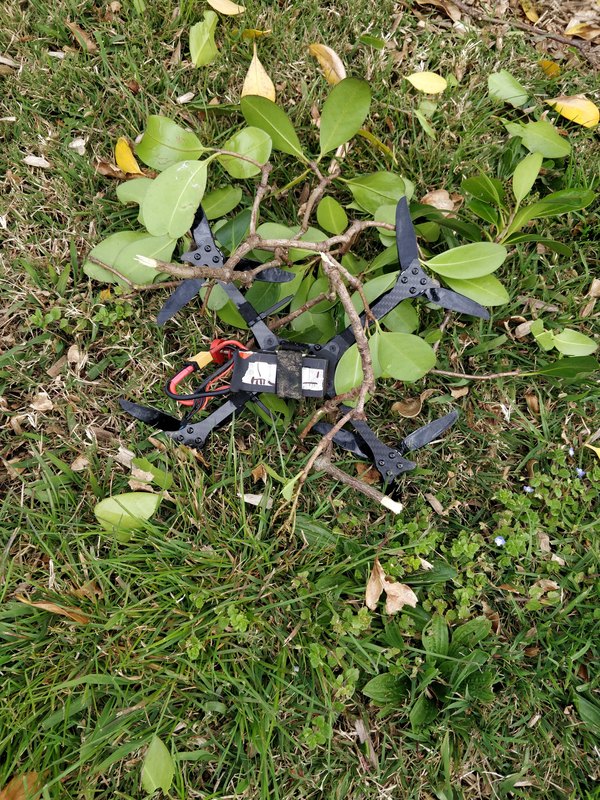 This was last pack of the day and I'm pleased to say Hawk5: 1, Tree: 0
10 Comments
Matthew White
12/9/2018 12:26:27 am
Thanks for doing this guide. The stock vtx in my hawk has been bad since purchase but im not confident enough to swap it for something better. I feel more confident in doing it after reading this guide.
QuadifyRC
12/9/2018 10:18:00 am
Hi Matt
Seth
18/9/2018 12:10:48 pm
In picture 13, should it say Solder signal + and - wires to Receiver? Not VTX, plus what are those wires from? or they just spare wire you used at a long length?
QuadifyRC
18/9/2018 05:06:44 pm
Yep you are dead right - should be receiver wires not VTX. Yes it was just some spare signal wire I had kicking about. Will update the caption to reflect this, thanks :)
Seth
19/9/2018 01:36:52 pm
Just wondering if you could clarify about removing the buzzer? I haven't dissembled my quad yet, so maybe im just not seeing it right yet, But what was it doing? did you relocate it or just leave it off of your quad?
Andrew
28/1/2019 08:42:28 am
Hi man, thanks for your help my vtx is working now, thumbs up for that, but I soldered my receiver wires exactly like you said but my receiver doesnt seem to power on, any help would be much appreciated on resolving this
QuadifyRC
28/1/2019 11:05:46 pm
Hi Andrew
QuadifyRC
20/9/2018 10:37:21 am
In response to the buzzer I got rid of it altogether because DSHOT beacon is a much tidier way of doing it but it would be easy to solder extra wires to it and mount it remotely if you wanted to keep it
Dnard
4/6/2021 09:32:41 am
Thanks for the instructions and the updated ones as well. Just installed the one that goes to 1k, Ultimate AKK. Working great so far, need to print a different 3d part to hold antenna, since mine sticks out the back farther.
QuadifyRC
4/6/2021 12:34:52 pm
No problems man, glad to see this article is still useful. Leave a Reply. |
Archives
November 2020
Categories
All
 |


 RSS Feed
Thanks for visiting QuadifyRC.com Follow us on facebook below to get all the latest updates