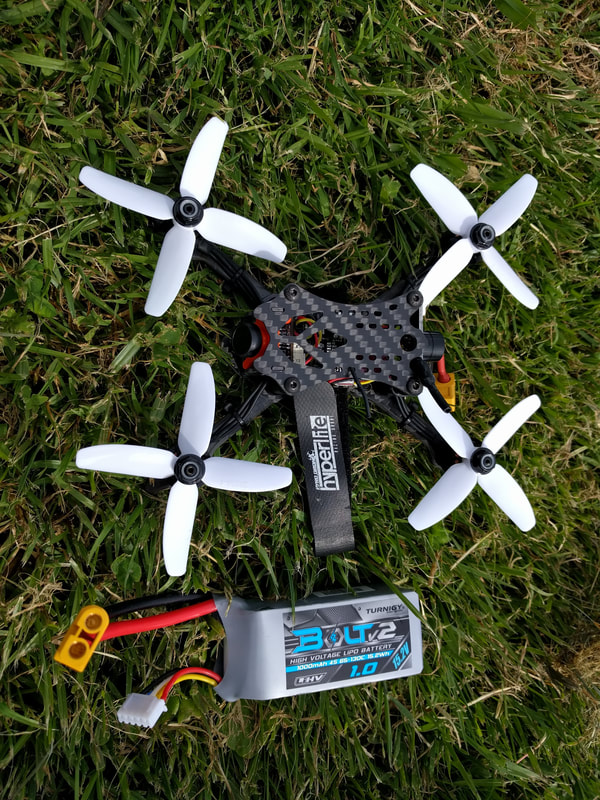
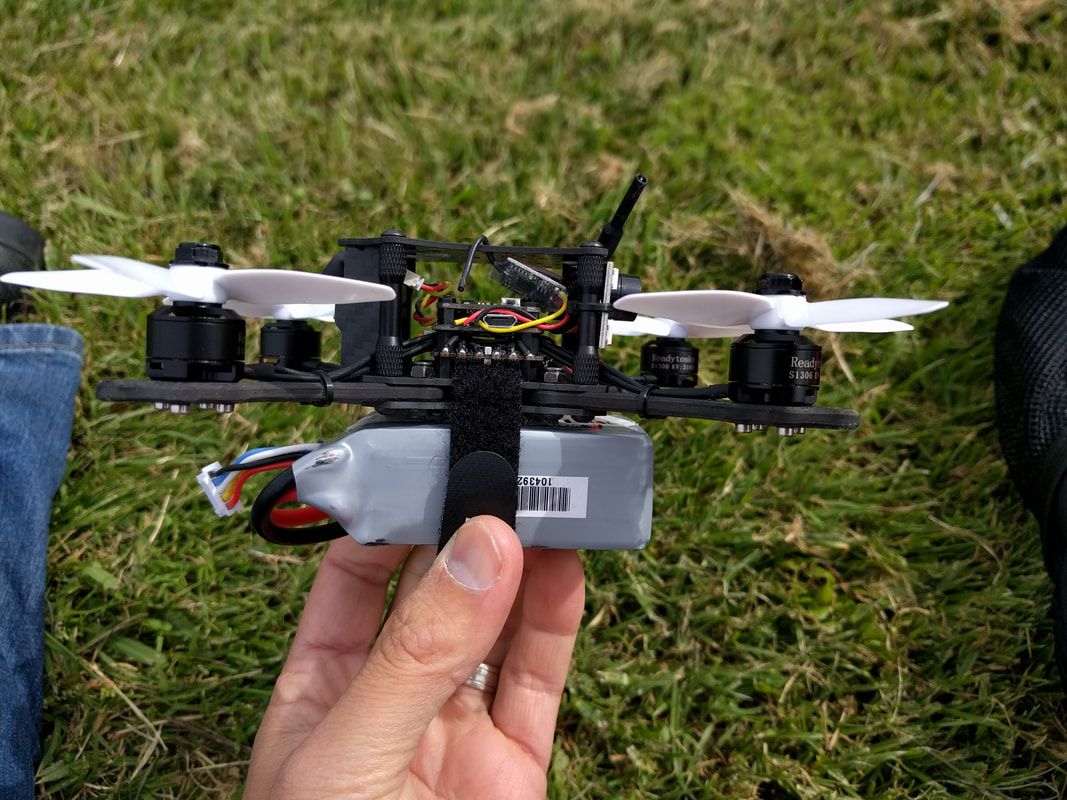
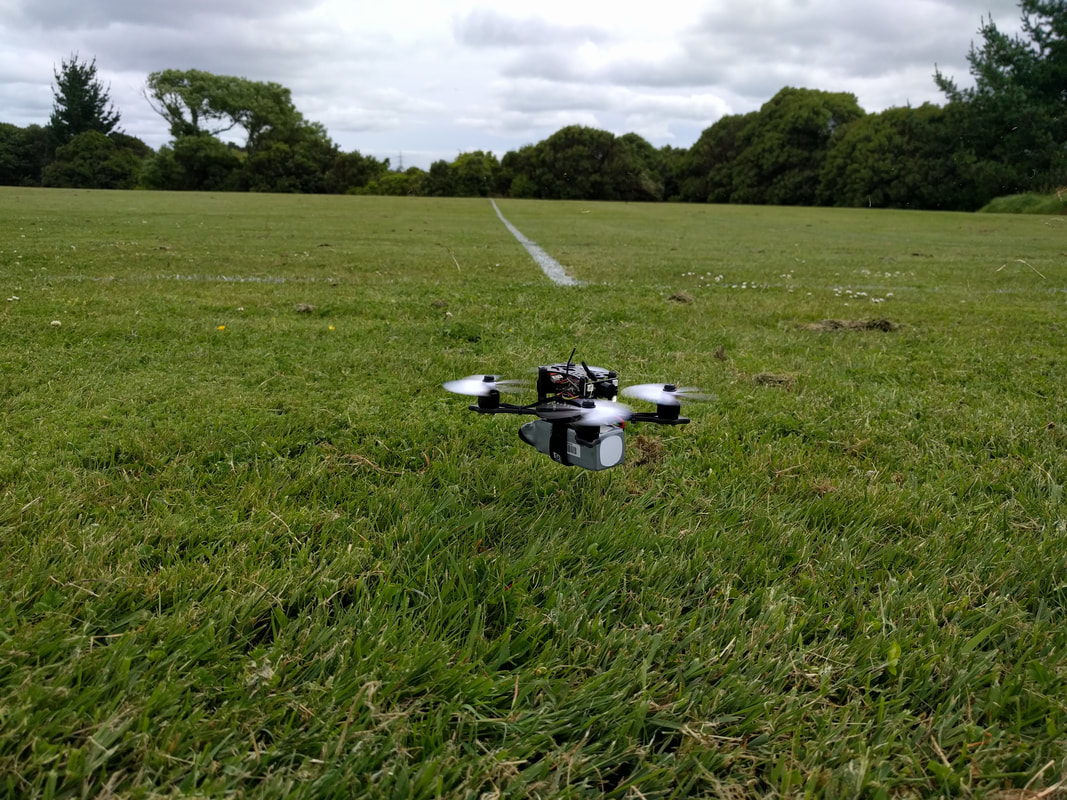
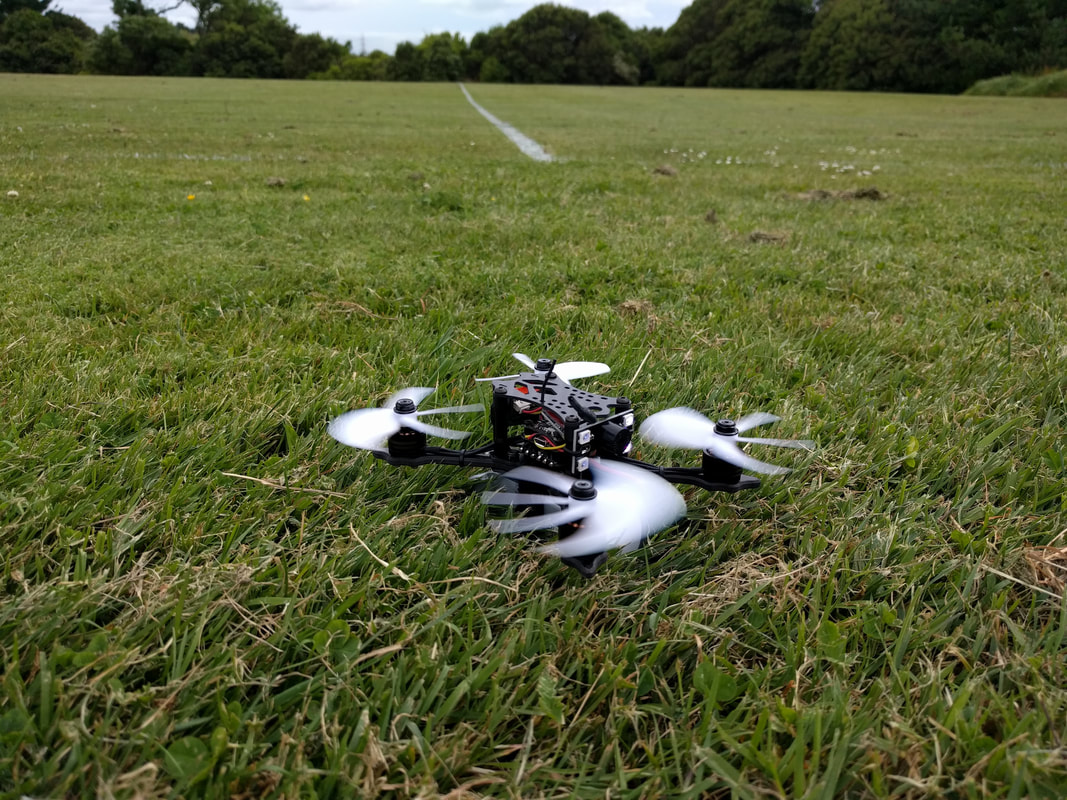
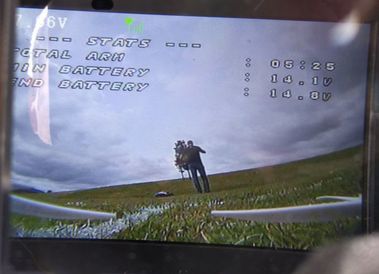
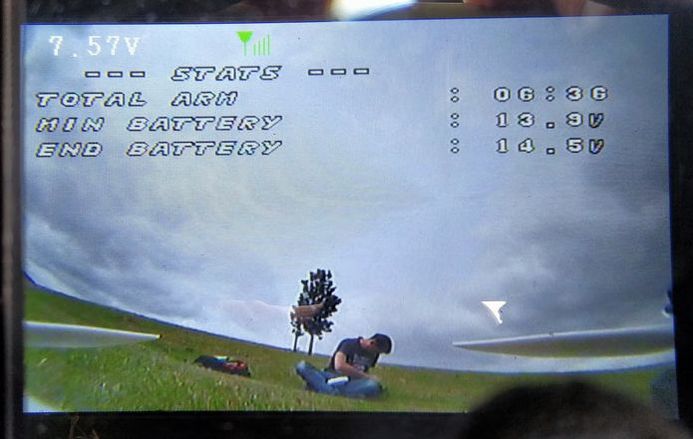
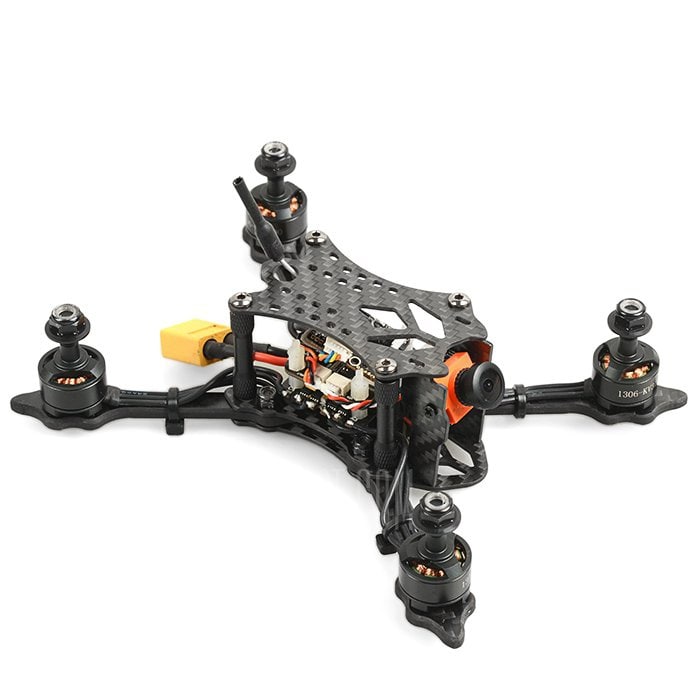
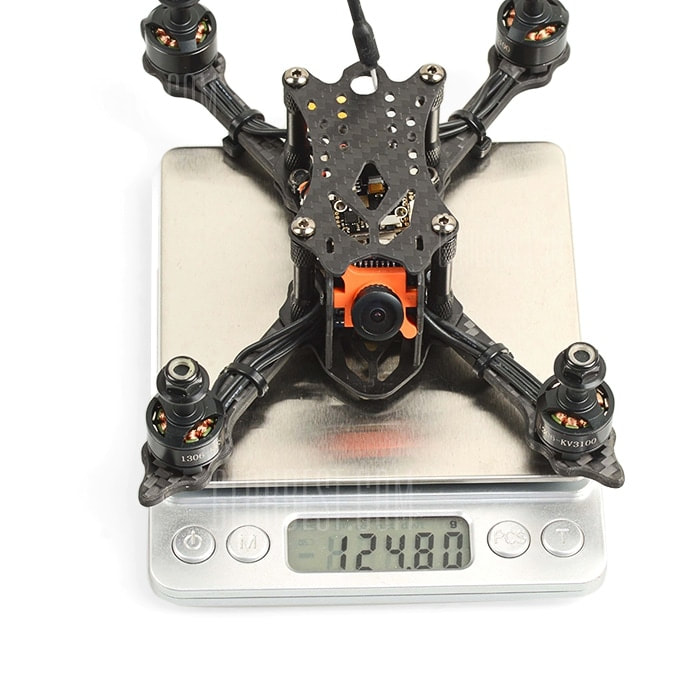
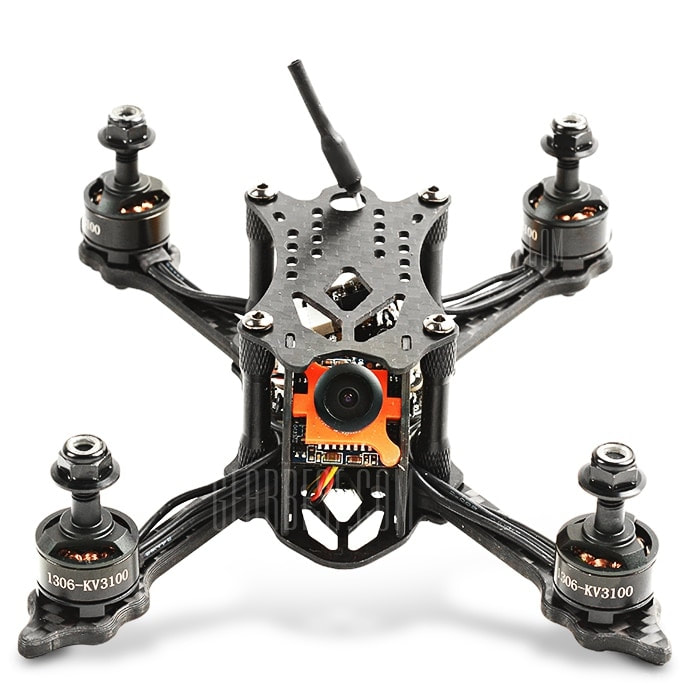
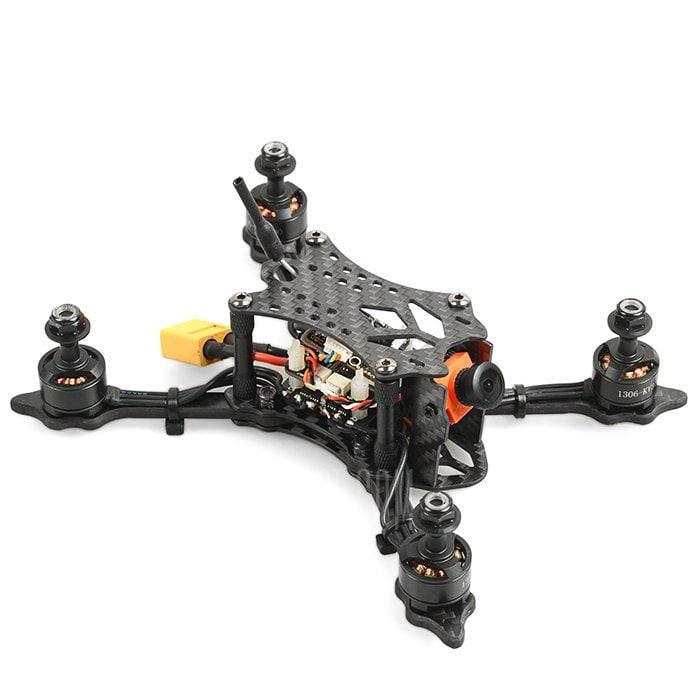
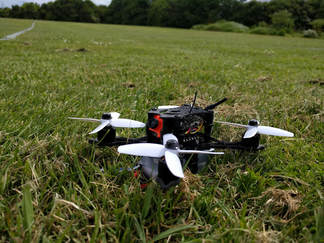
 In part 1 of this review we looked at the specs of this quad and setup with betaflight 3.2.0. In this part I'll review the flight performance and any quirks. Setting up the VTX Before I get into the flight, just a word of warning that the VTX is set to 150mW to start. This may be fine for you but I like to start on 25mW as a baseline and if there are any antenna issues I know there will be less chance of cooking the VTX. Changing the channel and power is probably the most difficult I've found so far although the roomy frame at least makes access easy. I've put the original instructions below for reference but will also put my own notes as a native English speaker: 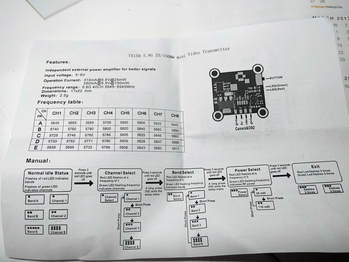 ,When you power up the number of flashes of the green led indicates the channel and number of flashes of the red LED indicates the channel according to the designations to the left. Now, forget what the red and green leds mean. Hold down the button for 3 seconds only till the red light goes off. The red light will flash once periodically meaning you are in 'channel' mode. Each short press of the button will change the channel as indicated by the number of flashes from the green LED. Next hold the button again for 3 seconds as above. The red light will now flash twice periodically meaning you're in band mode. Now, each short press of the button will change band as indicated by the number of flashes by the green LED Lastly, hold down the button for 3 seconds again. 3 flashes of the red LED now means you are in power set mode. Short pressing the button will cycle you between 25mW (1 green flash) or 150mW (2 green flashes). Finally holding down the button for 3 seconds again will take you out of setting mode indicated by both green and red LEDS blinking 3 times in unison. So confuse. Just set and never adjust again! 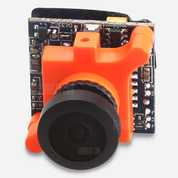 Replacement Furibee MS1672 camera Replacement Furibee MS1672 camera Setting up the camera - just use the stock settings Good news: The CCD camera is actually a CCD camera and is fully adjustable via OSD. Bad news: no remote included. A compatible remote is only only about $3 from Banggood. You can argue that it should have been included but in reality the stock settings will satisfactory for 95% of the people that are likely to buy this quad. Chances are if this is not your first quad you'll have one or more floating around anyway. Performance on 3s Starting out using a 3s 450mah battery that I typically use on my Leader 120 (review here), I found performance to be fairly docile which is not surprising considering the low 3100kV rating of these motors. However, motors were quiet and smooth and flight performance was responsive and predicable - even with the mostly stock settings as covered in part 1. The LEDs on the back are nice and bright and certainly make it more interesting for spectators, particularly in the evenings. Flight time was very good given the battery capacity making this combination pretty usefully for someone new to FPV. However the combination of low motor kV and a fairly gently 3030 4-bladed prop felt me looking for more as an inermediate-ish pilot. I have some new props on order (3052 Gemfan flash) and I think these will make the 3s option more viable for me but I needed more instant gratification and went to 4s. Performance on 4s Unlike the small 3s batteries I don't have a small 4s. The smallest I currently have available is a 4s 1000mah turnigy graphene which weighs in at approx 140g. Ideally a 600-800mah battery at around 70-80g would be a better choice here - such as the 75g 4s Tattu 650mah. Moving on though flight performance was much improved however the extra 75g weight penalty was noticeable, especially when pulling out of freestyle moves etc. To be fair though I have been flying the Leader 120 a lot recently which is a very 'floaty' quad. Much like on 3s performance was smooth and predictable but with better top end. Like on the 3s though I think there motors would benefit from a more agressive prop. The stock 3030 4-bladed props are better suited to a high-kV motor that needs additional grip from the extra bladed. With the right battery weight I think the Gemfan 3052 props I have on the way will offer the aggressive pitch along with a more modern design and greater efficiency but dropping 1 blade. The good think is though that here we are talking about changing props which are a disposable item rather than anything flawed with the frame, motors, esc, flight controller etc. They are the good kind of boring in that they all just do their job without fuss. Flight time was pretty epic on these batteries. Check out the summary shots from my batteries below. When I got home the batteries will still measuring 3.75v per cell after resting! Frame durability On first impression, this frame is tough . I had a few crashes on some fairly hard-packed earth without any sign of issue although I'll really need more time to make a definitive conclusion. All of the components seem to be well enclosed and protected, no drama there. Early Conclustions This is a very well priced quad with a good performance range for a beginner stock. Although the realtively low kV motors will limit top speed, they give excellent efficiency which will translate as extended flight time and/or the ability to run a lighter/lower capabity battery with more nimble flight performance. For a more intermediate user some basic changes like a shift to more aggressive props will reward you with a solid flight experience. The equipment on board is well thought out and balanced. This means it is able to do that job that is expected of it at a very impressive price point. The frame appears to be exceptionally durable especially given the compact size and I am hopeful that this will withstand a lot of abuse. Looking for a negative though the tradeoff of a durable frame in this case is weight. Combined the stock props performance is ok but certainly not face melting. I do have some ideas to improve on that though... What next? I think if you were looking to tinker, a lighter frame and the props as above would make this truly exceptional. I have some of the Gemfan Flash 3052 props on the way and think this will really improve things. Keep an eye out in my tips and tricks section as I'll review these more agressive props when they arrive. The Furibee X140 is exclusive to Gearbest and at the time of writing is exceptionally good value at $105 for the model without the receiver or $113 with a frsky/flysky receiver:
3 Comments
Matthias
21/1/2018 05:44:45 am
Hi, nice review. I would like to flash 3.2 on my x140 too. Which target did you use? How did you enable boot-mode on the FC, I do not find a button...
Reply
QuadifyRC
25/1/2018 11:14:00 pm
Hey Matthias sorry for the delayed response, have been on holiday! Thanks for the kind words. To flash I use the "omnibus" target. A hint for future if you type "version" into CLI screen it will display both beta flight version and target.
Reply
Matthias Schmitz
15/3/2018 10:00:50 pm
Thanks, I looked again and now found the boot solder bridge. It is very small near the MCU on the top side. Had no problems updating to BF 3.2 Leave a Reply. |
Quick Access Menu
All
|
Thanks for visiting QuadifyRC.com Follow us on facebook below to get all the latest updates

