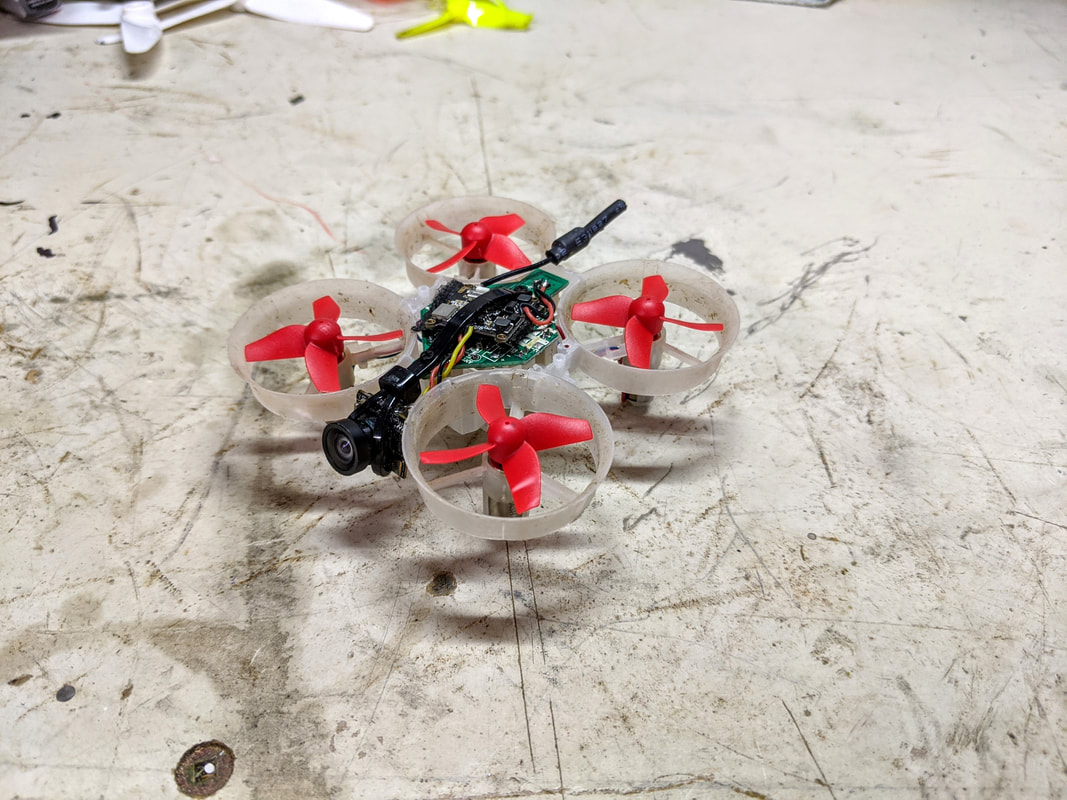
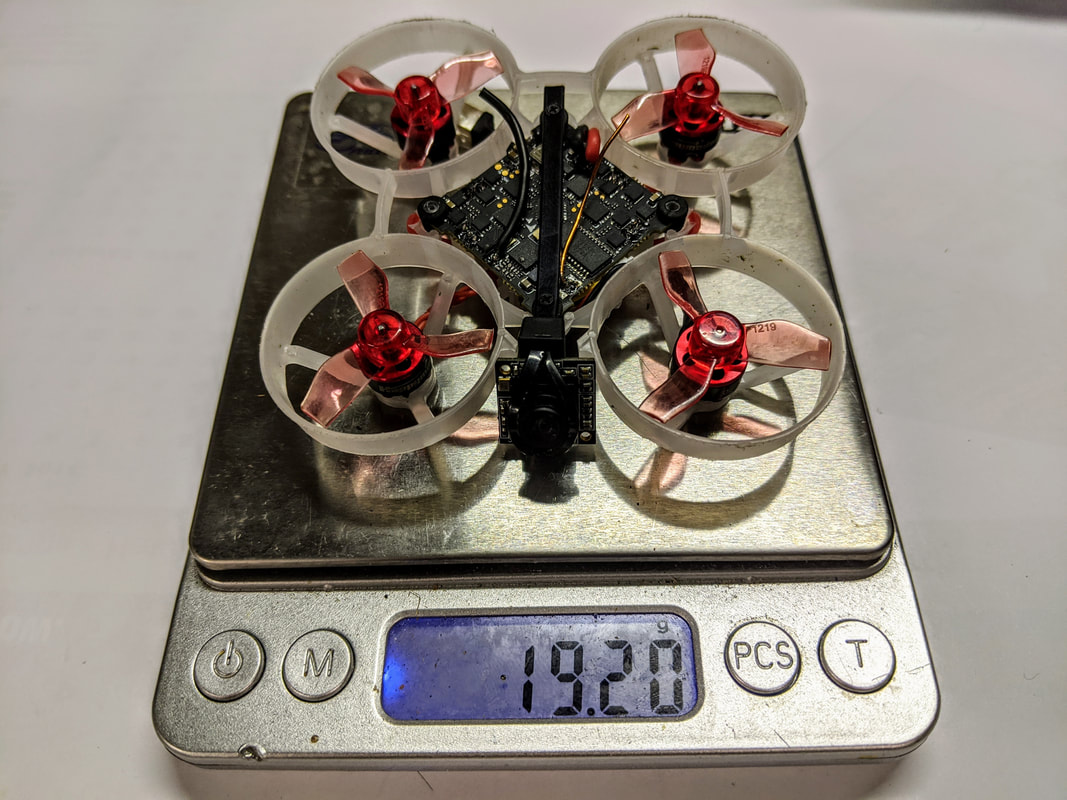
 The Happymodel Mobula 6 is proving to be one of the most popular drones of early 2020 just like the mobula 7 in 2019. What makes it so successful? It is small, light and agile and fast enough given the power source. And, with the introduction of esc firmware capable of running at 48khz, it seems to offer the flight time. Even though it’s a great quad as is, I always like to tinker to see what can be squeezed out. In my opinion it is the super light weight of the Mobula6 that makes it so good in all the parameters above, so how to make it better? Make it EVEN lighter.
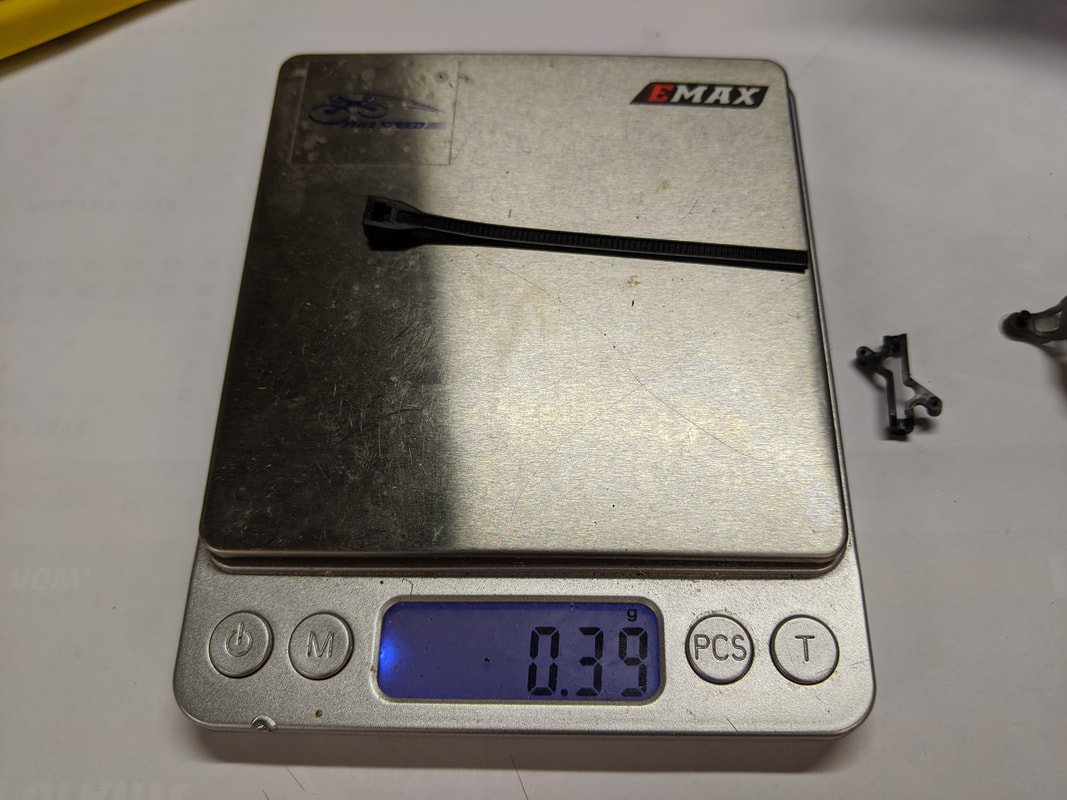
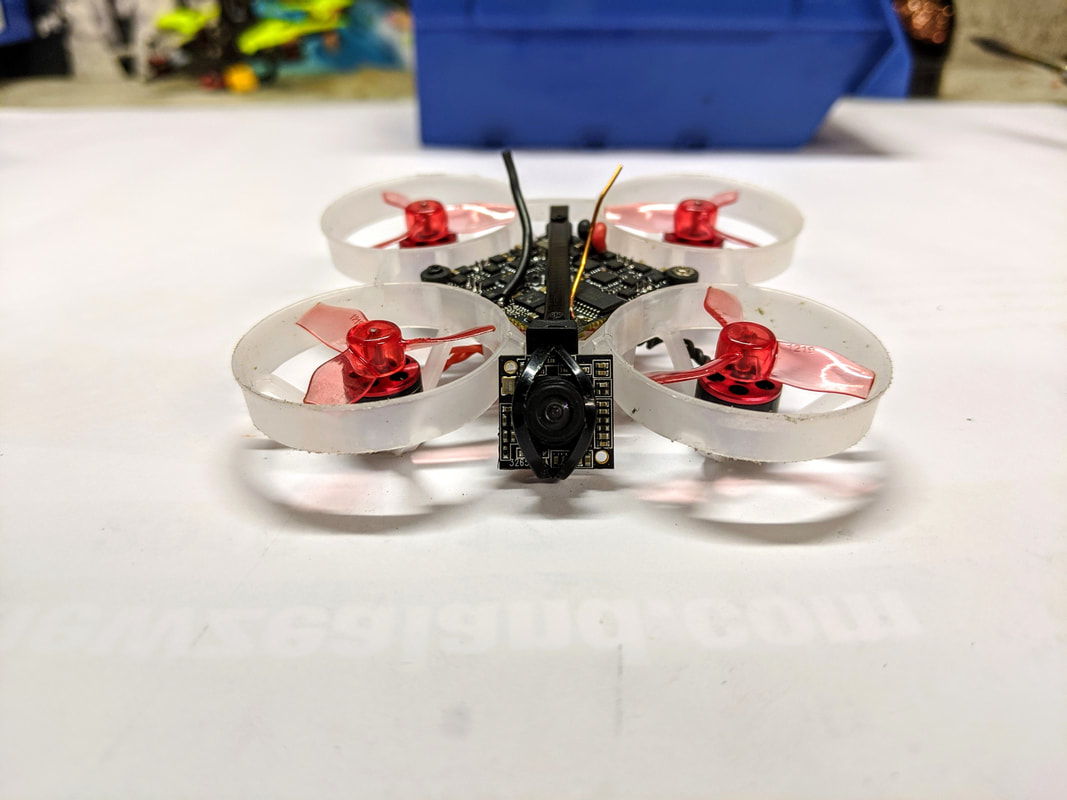
So how is it done? Get a pack of zip ties (like these) that are at least 80mm long and 4mm wide. The smaller the zip mechanism the better. Use a new blade on a hobby knife to cut a slit along the length as below. The lens of the camera will be wedged in this slit and tightened at an angle that suits your flying.
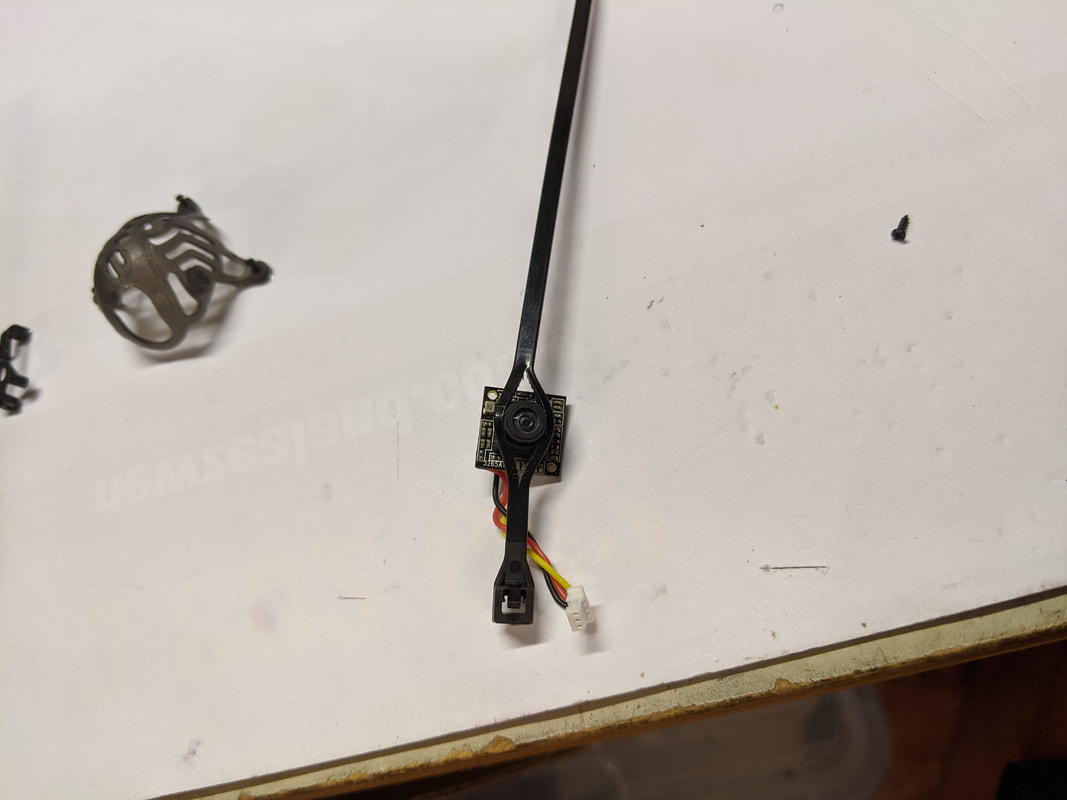
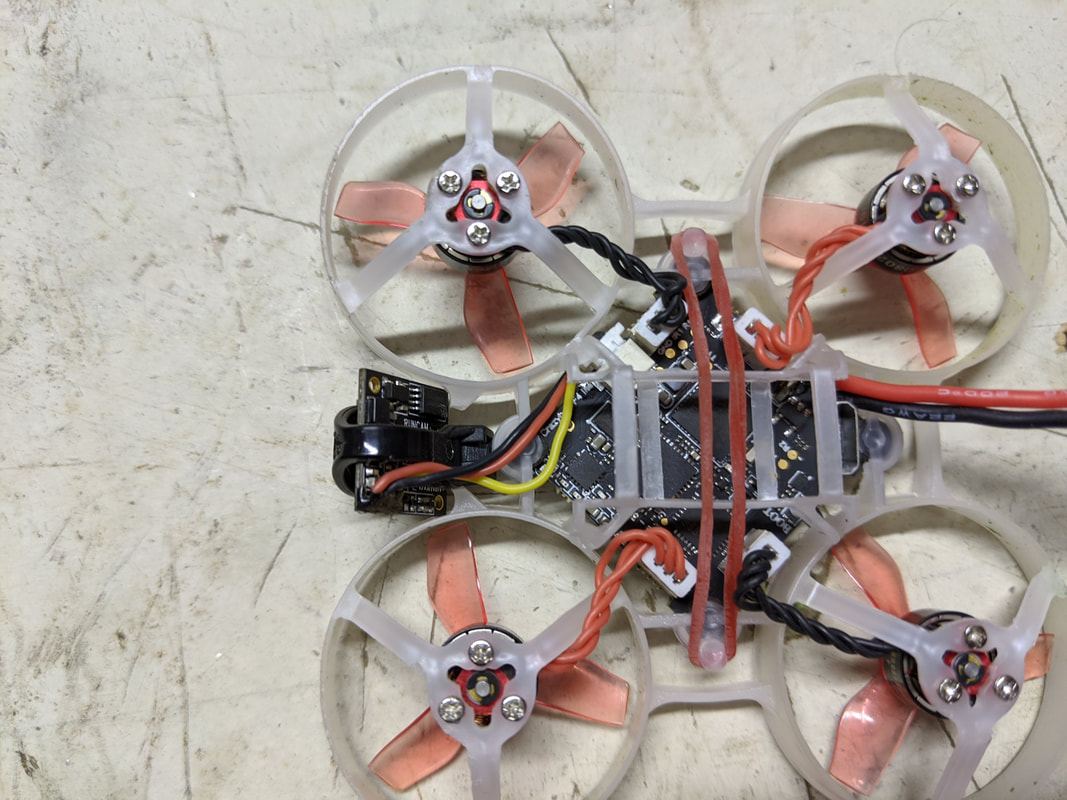
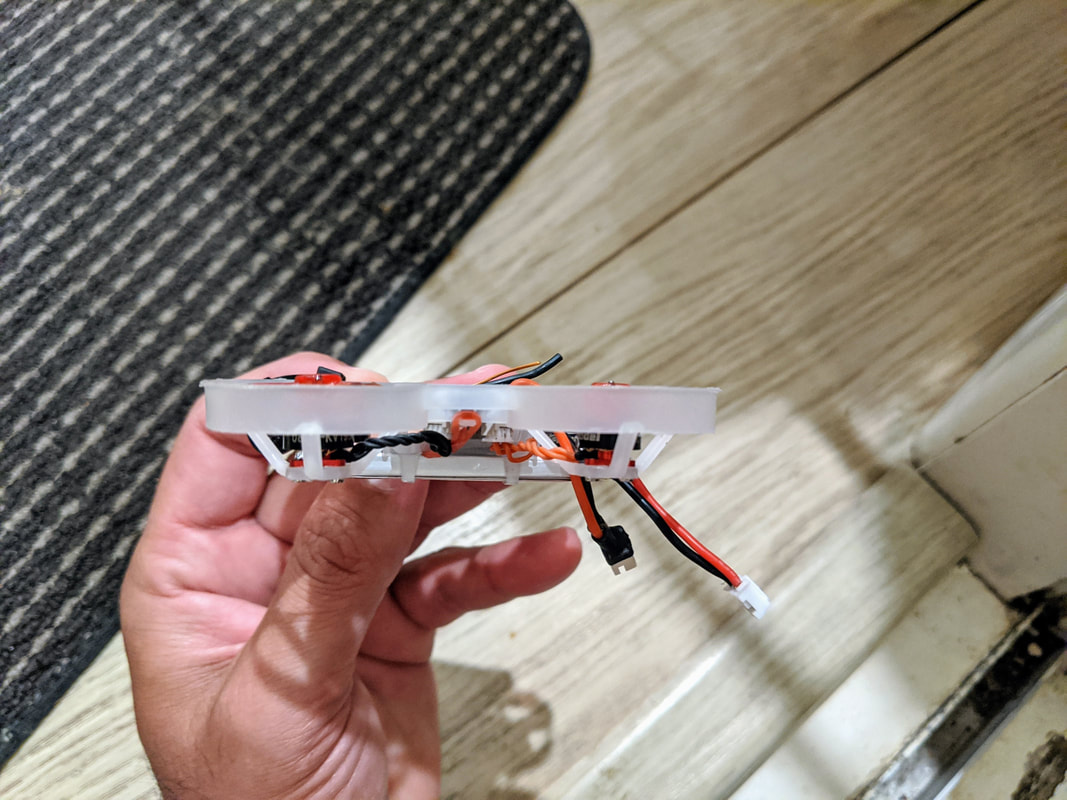
After completing the steps above feed the tail of the zip tie through the locking mechanism to hold the camera securely in place. You make need to experiment a bit hear with where to place the slit to get the right camera angle. See pics further down for more detail. To fit the mobula 6 frame you will then need to either cut the supporting brace at the front between the 2 ducts as I’ve done below but if you are less lazy than me I’d recommend placing the camera at the other end where the brace is less pronounced and rotating board orientation in betaflight. Once you have the camera mounted in the zip tie at the angle you want as below with room for the camera between the ducts, line the cable tie up with the front and rear mounting holes for the flight controller along which is the centre line of the quad. Trim the cable tie to allow at least 5mm overhang from the rear hole. Then you will need to make a very small hole in the cable tie directly above where the front mounting hole it. Mark this up against the quad but make the hole on the bench so as not to damage the quad. I found the stock tip on the TS100 soldering iron at about 360 degrees made a perfect indent for me to the drive the stock canopy screw in with the screwdriver. Do the same with the rear hole too. If want you can use e6000 glue (reviewed here in a very boring article) to secure the camera more but I found this unnecessary for mine. Replace the remaining screws and you are ready to fly!
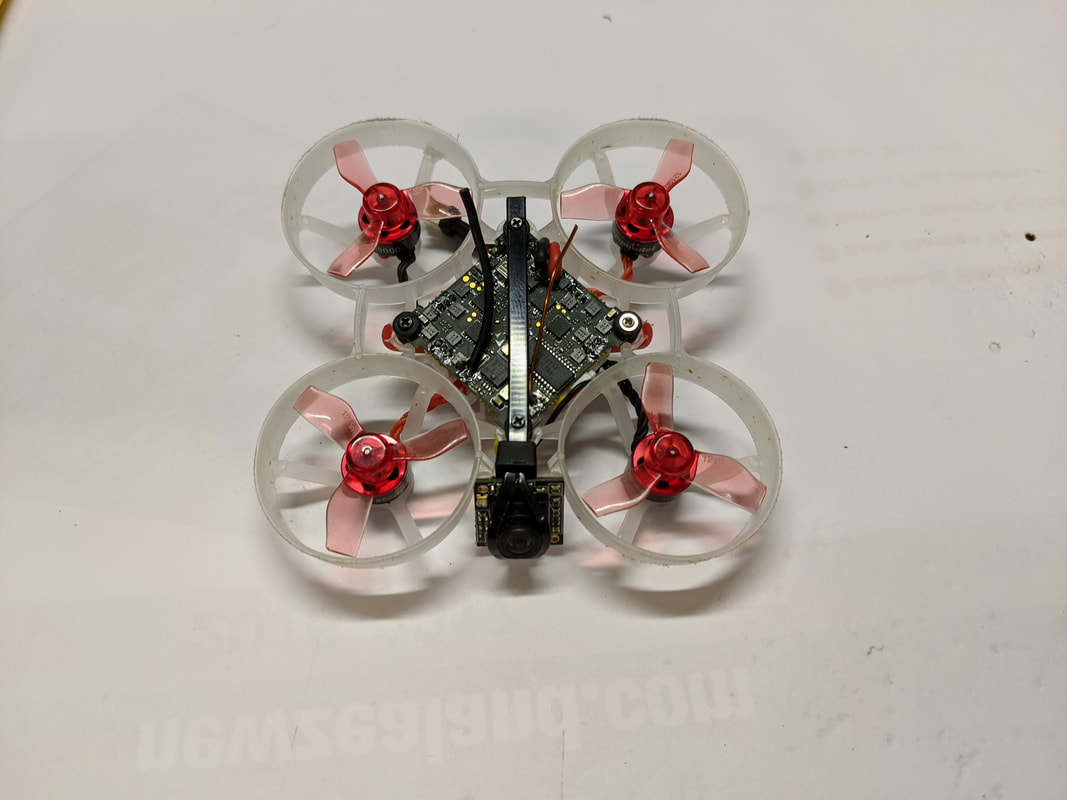
Summary of findings In retrospect this mod changed the quad more than I’d expected, here are the advantages and disadvantages I picked up in rough order. For me you can see the advantages outweighed the disadvantages fairly heavily.
I’m really pleased with this as a mod but in no way am I bad-mouthing the stock canopy. Although I never liked the rounded look of the stock canopy, it is very functional – surprisingly light and certainly strong enough to take the hits given the weight of this quad. The camera mounting and adjustment is really good too. As you can tell though I do like this mod and will be keep it this way for myself. Thanks for reading, if you found this article useful please feel free to like or share, the facebook links below directly link/like this article. Links are affiliated and help me buy the bits I need to produce this type of content. If you are looking for quads or parts check out my coupons and discounts page which I keep updated with only the parts and quads I like at a proper discount.
6 Comments
STEVE FLEMINGTON
31/3/2020 11:38:42 am
Great tutorial and thanks for crediting me :)
Quadify RC
9/4/2020 11:35:47 am
Cheers Steve, everything old is new again :)
Vincent Fischer
25/5/2021 10:32:27 pm
Great write up and kudos for mentioning the original author mentioning the guy that came up with this ingenious cable tie mod. One additional thing I would add is shorten the powerlead. Imho it's unnecessary long and the cause for many times I had to climb trees, The batteries already have plenty of length
QuadifyRC
26/5/2021 01:45:57 pm
Thanks man, Steve (who commented above) did a lot of work in the early community so more than happy to credit him. Yes, depending on surface the anti-turtle mode may be a casualty. Just don't crash ;)
Vincent Fischer
25/5/2021 10:41:31 pm
Also worth mentioning as a major downside is that turtle mode no longer works with the canopy (for me atleast with 19000 kv even on full battery)
Vincent Fischer
25/5/2021 10:42:27 pm
*without the canopy Leave a Reply. |
Archives
November 2020
Categories
All
 |

 RSS Feed
Thanks for visiting QuadifyRC.com Follow us on facebook below to get all the latest updates