QUADIFYRC MODS AND REVIEWS
  • RC Cars
  • Car of the Month
  • Quad Reviews
  • Quad Mods
  • COUPONS AND DISCOUNTS
  • Long Range
  • About & Contact

TIPS and TRICKS

Balance charging for the Fatshark battery case: Mod Tutorial

16/8/2019

4 Comments

 
Picture
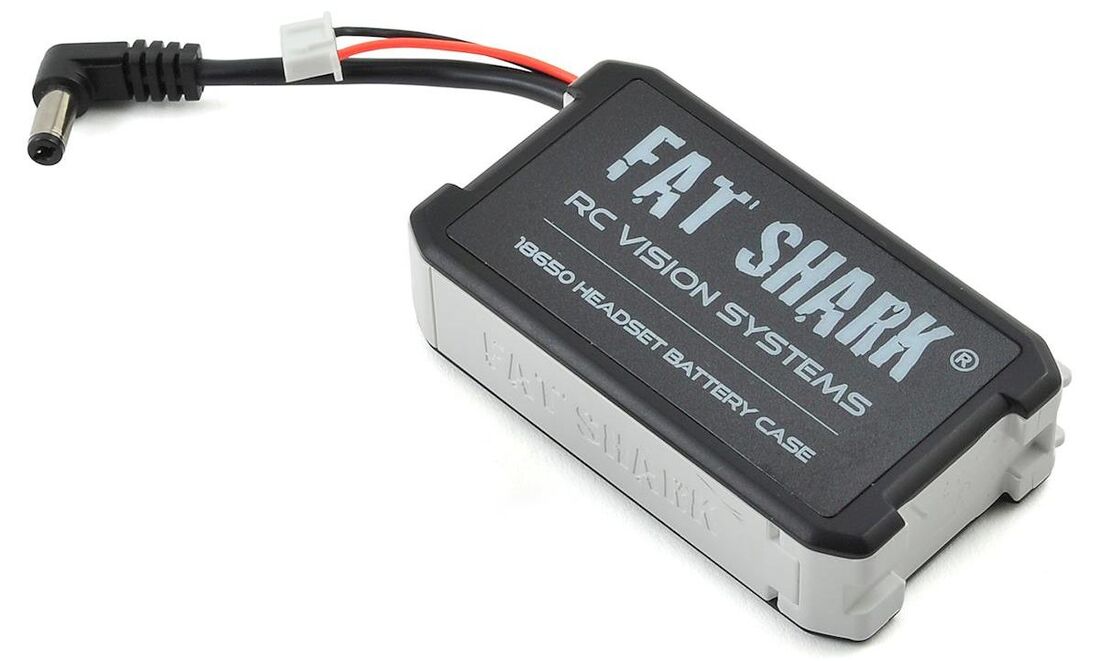
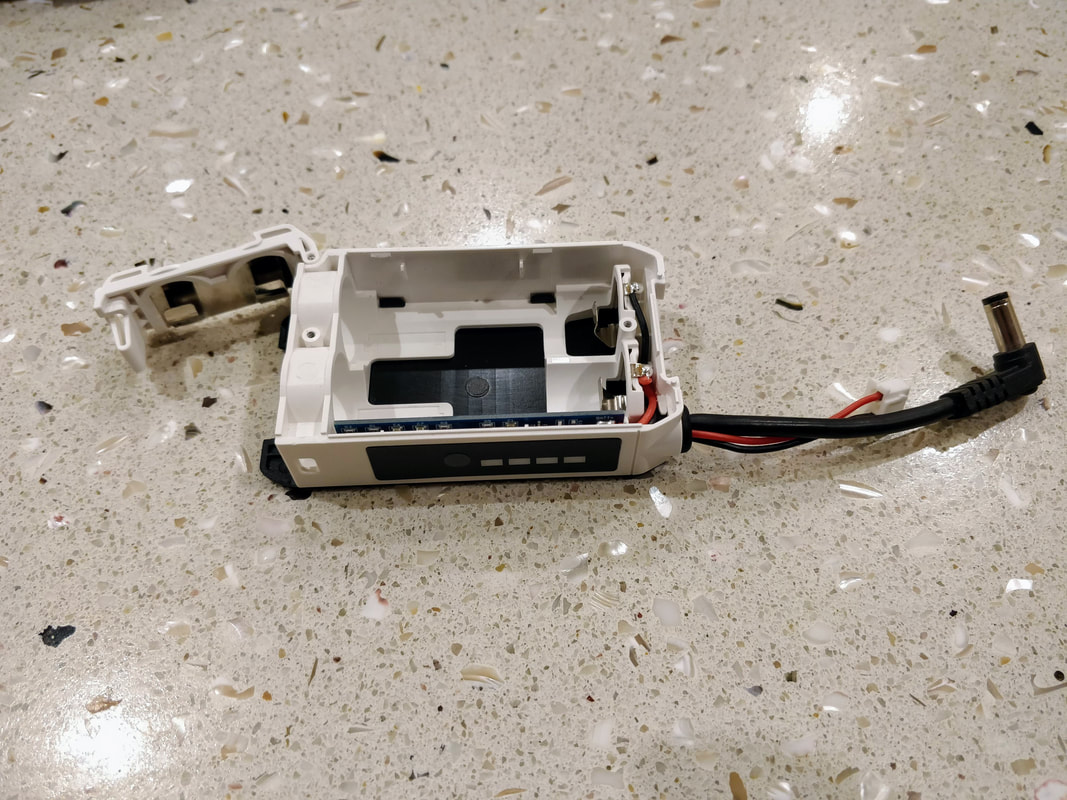
Recently I made my biggest ever FPV purchase - the Fatshark attitude V5 FPV goggles with the new 30 degree FOV OLED screens. I'm still field testing these for a review which will follow but first I wanted to look at the battery case, more to the point, how to fix the shortcomings.
Picture
Picture
The Fatshark 18650 battery holder comes with the Attitude V5 or can be bought separately
I love that you can use 18650 cells to power the goggles because lithium ion cells are much better suited to the task given their big capacity. The problem is that the battery holder has an incomplete balance connect meaning you cannot charge them. Since I don't have a dedicated 18650 charged I've modded my case so it can be charged safely using a regular balance charger. Note, the Fatshark 18650 battery holder can be bought separately here and can be used with any goggle.
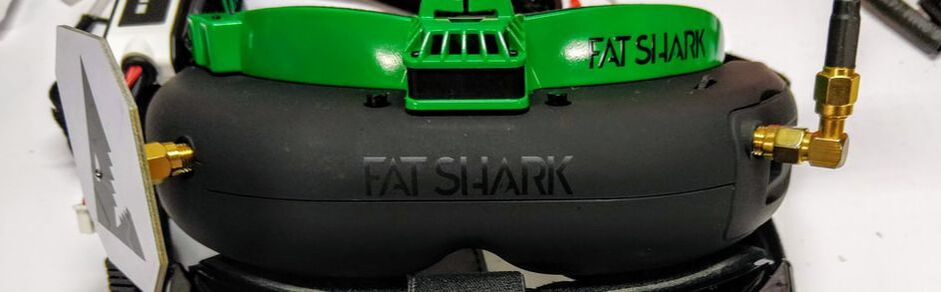
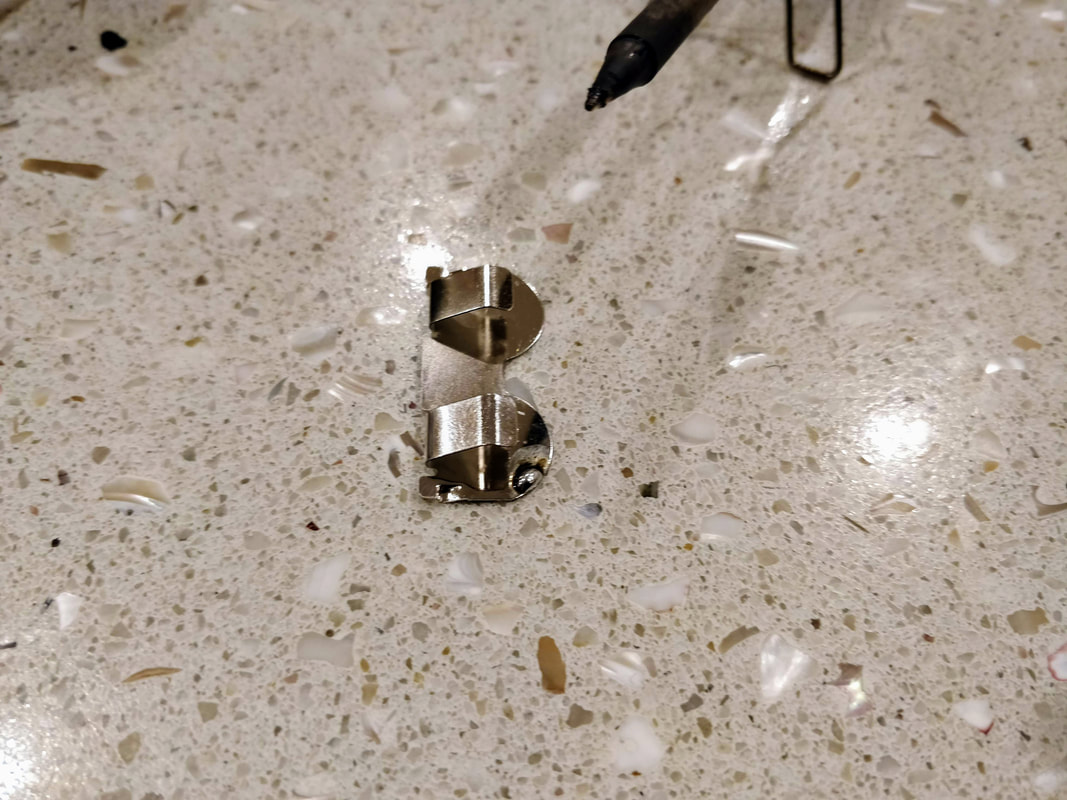
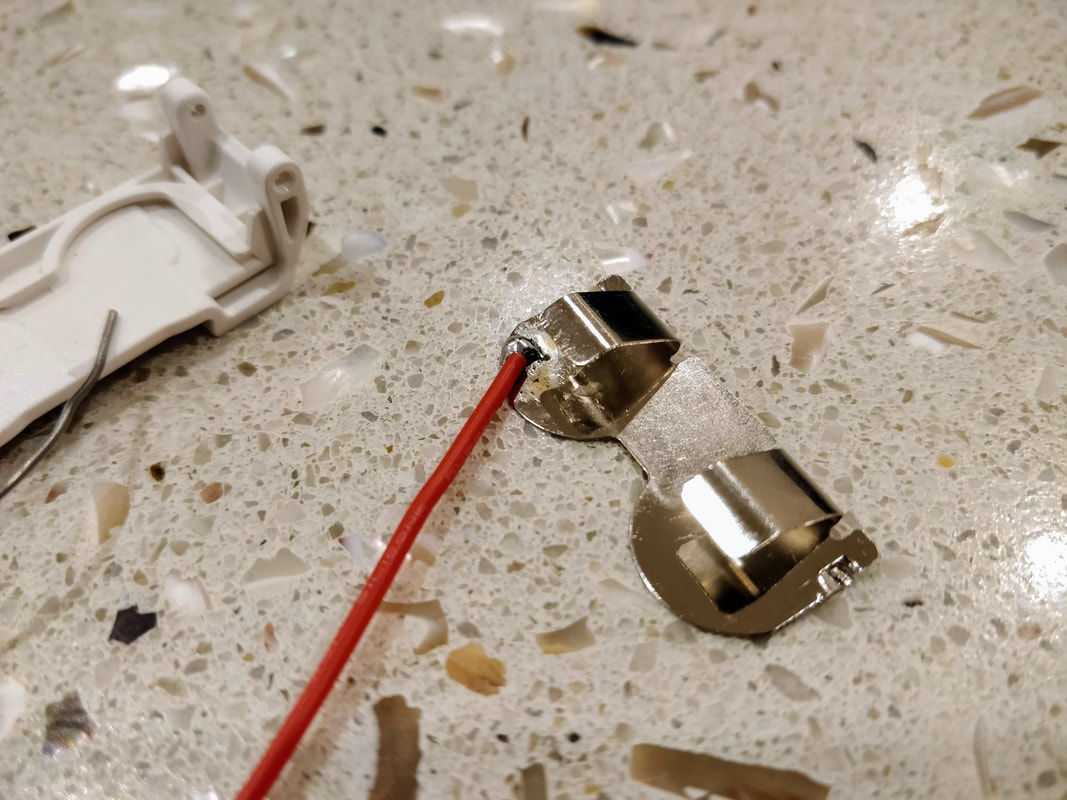
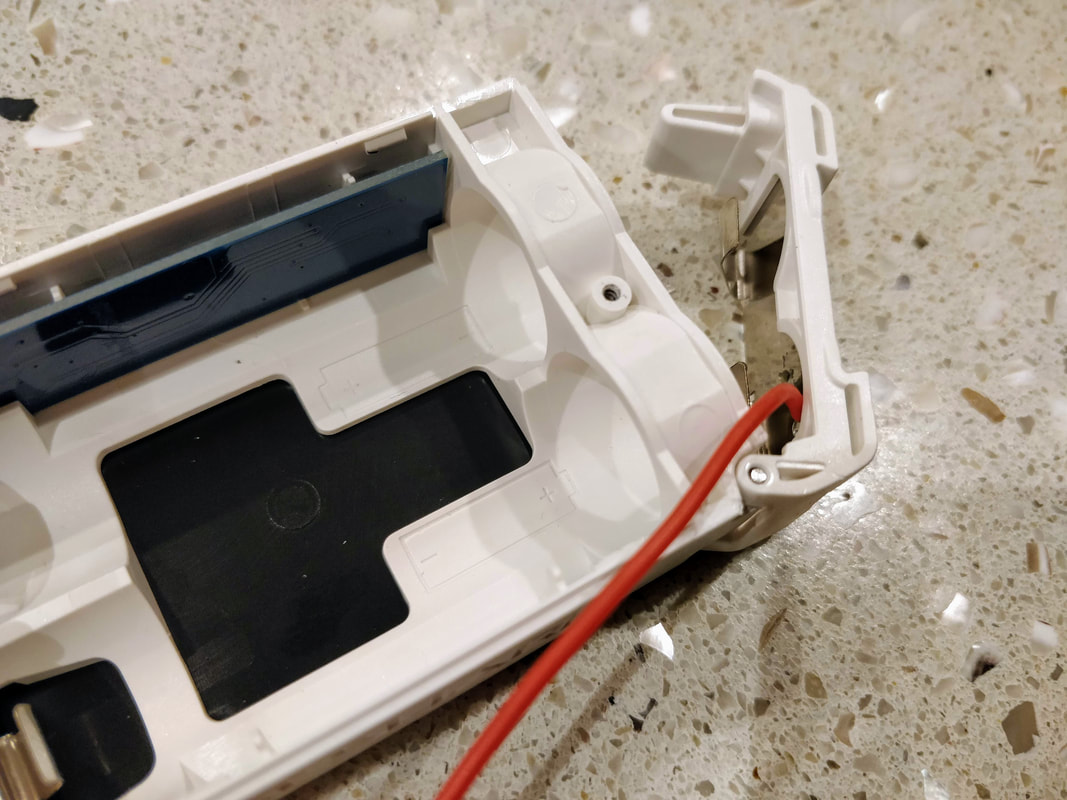
In this tutorial I rectify this issue by showing you how to safely open the case and mod it to allow for real balance charging whilst losing noe of the rest of the functionality. With this mode you do not need a special charger for 18650 cells, you can use your regular balance charger and charge your pack safely and efficiently. If you need batteries a local vape shop will probably have the best prices but if not then I used these 3000mah ones that have been rebranded.
Tools needed
  • Craft knife
  • Small Philip-head screwdriver. This set looks good if you don't have one.
  • Soldering iron. I use the excellent TS100
  • Solder. This is fine
  • Flux (optional but recommended). I use this cheap stuff
  • An old battery-end balance lead. Or if you buy this one you won't need the extra wire below
  • Some extra 20-26 guage wire. This is cheap in 22AWG
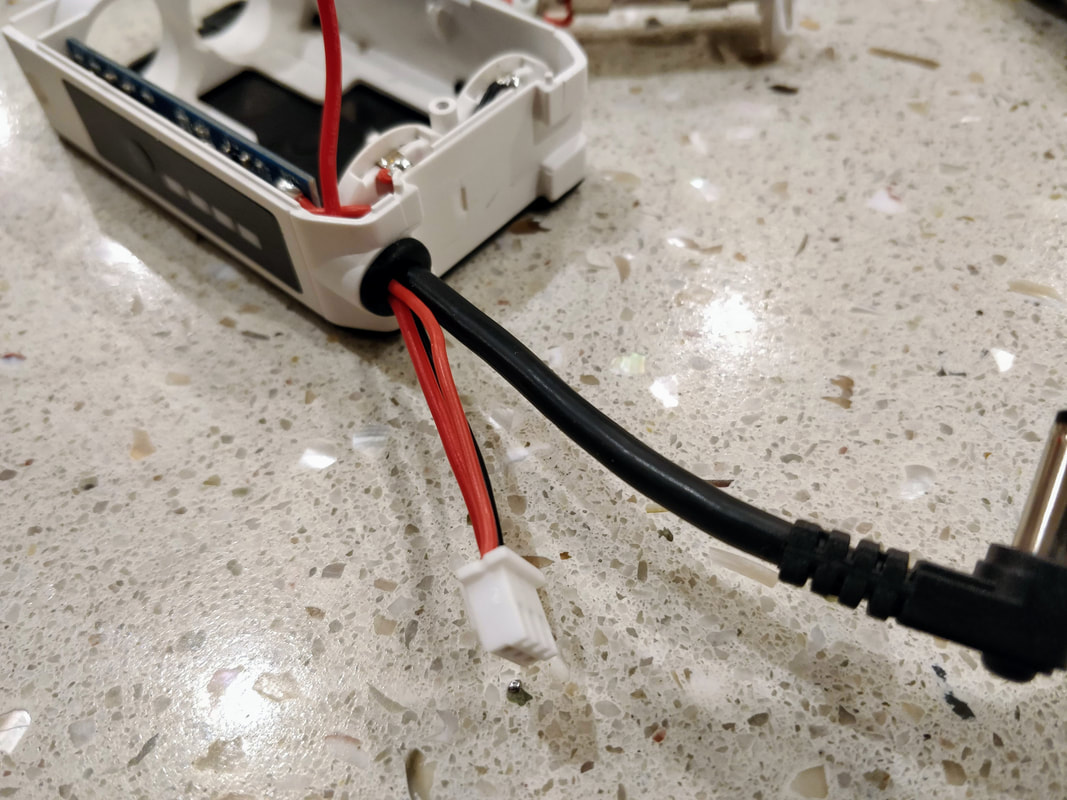
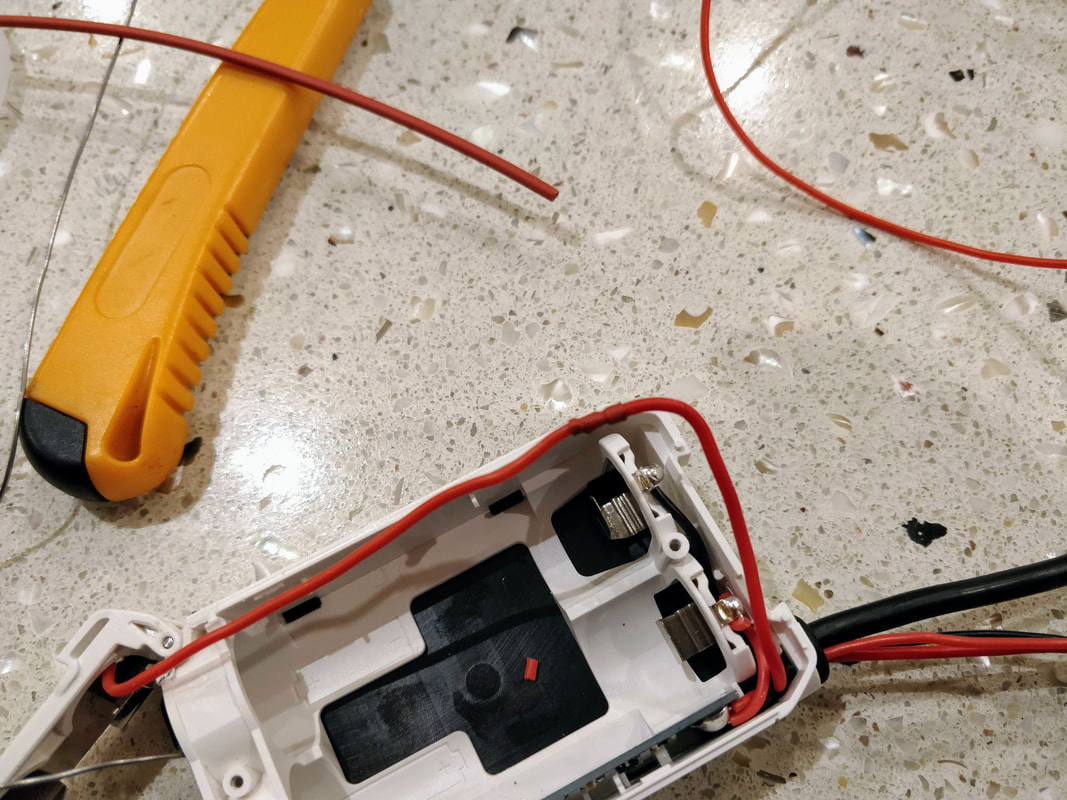
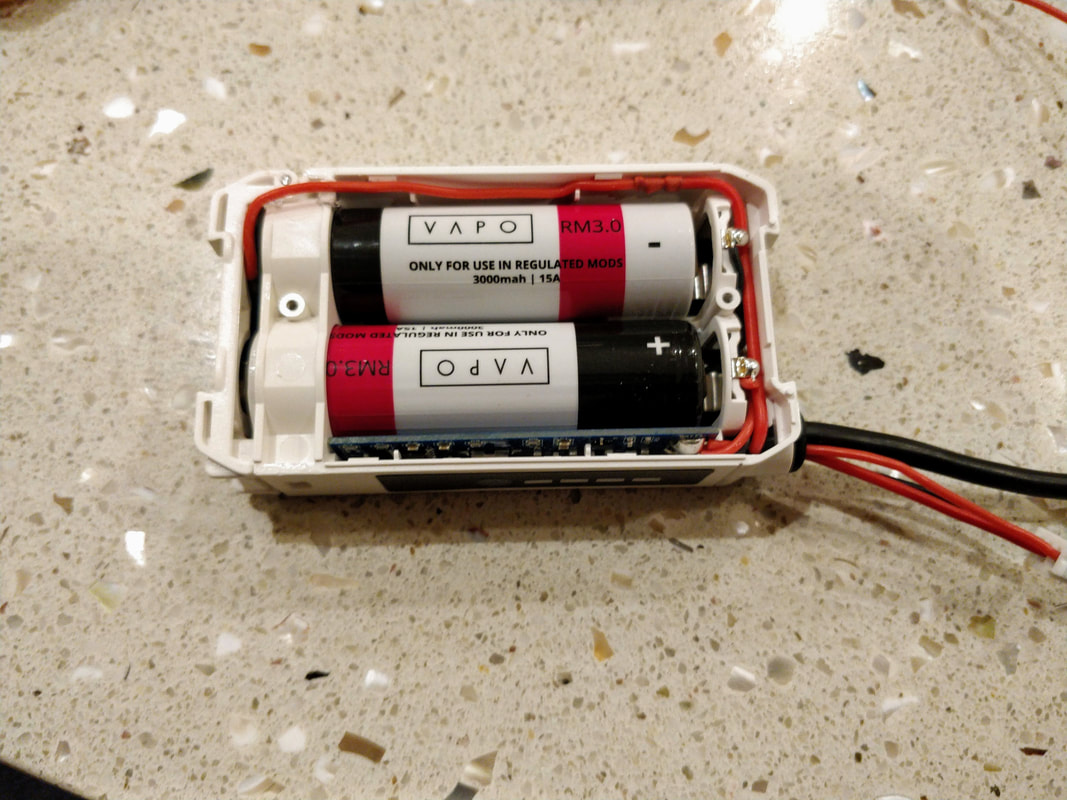
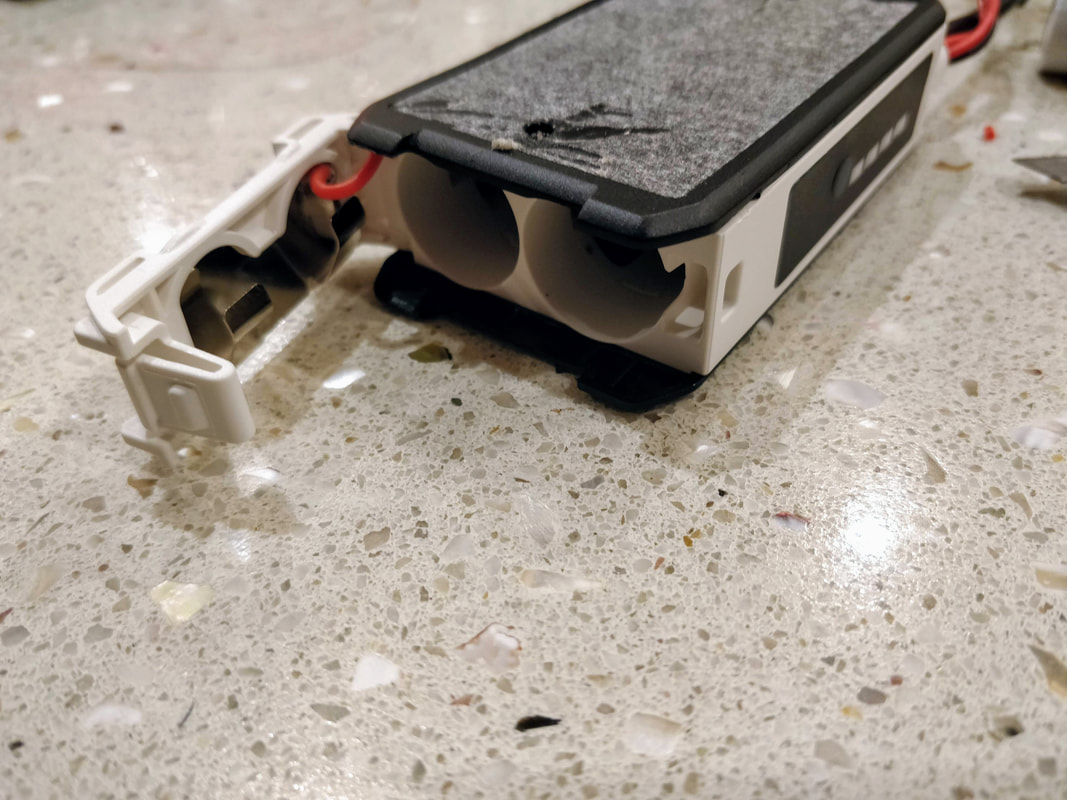
See below how to complete the work. This took me about 30 minutes. Most of the time was to figure out the best path for the wire and make the path for it accordingly. As always, pictures can be embiggened
Picture
1. Remove the read sticker and then remove the 2 screws that were hidden behing  the sticker. Gentle pry the clips off to remove the cover as above
Picture
2. Slide out the battery connecting plate as above
Picture
3. Tin the battery connecting plate as above. Scrape where you wish to solder, use high heat and flux to make it easier
Picture
4. Solder on a 20-26AWG wire that is at least 10cm in length
Picture
5. Reinsert the battery connetor plate as above. The wire should be attached by the hinge
Picture
6. Using a small flat head screwdriver pry off the plastic plate that locks the rubber grommet in place
Picture
7. Using an old battery-end balance connector, pry out one pin and wire and then feed it into the middle of the fatshark balance connector. Feed the wire through the grommet and into the case.
Picture
8. Gently replace the plastic plate that locks the grommet in place.
Picture
9. Join the wire from the battery connector plate to the one you fed through the grommet from the balance plug. Use solder and heatshrink as above. Please test the balance and power lead in your charger now - it should show as 2 cells
Picture
10. Route the wires above. You will need to make a path for the wire to pass through compartments by using the soldering iron to melt or knife to cuth the plastic before you can put the cover back on. Make sure the door opens and closes freely.
Picture
11. Reinstall the cover. You can see some slack in the wire here that allows the door to be opened and closed easily.
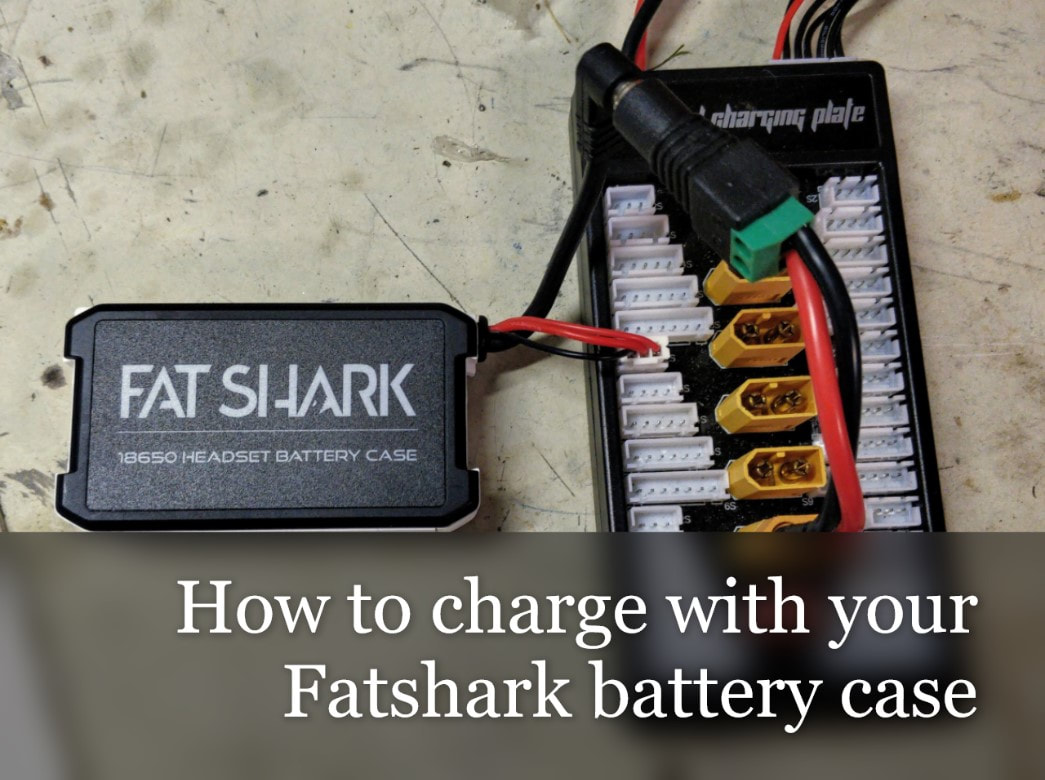
Charging
Now for the easy part - charging. Since you will already have a balance charger for your lipos, this is the ideal charging unit for it. Just make sure you select Li Ion as the cell type for charging which means charging is typically limited to 4.1v per cell. Unlike LiPo batteries you should charge at a maximum of 0.5C e.g. 1.5A for 3000mah batteries or 1A for 2000mah batteries etc.
Did it work?
Yep! Beautifully - just as I'd hoped. Charging went flawlessly - my 3000mah calls took 2600mah charging from 3.4v which sound about right. The battery indicator works perfectly too. Given the capacity of these batteries they will probably never come out of the case - I will just charge them up in the case as they get low. I honestly don't know why Fatshark don't do this from the factory but then again there are a number of curious design decisions which I'll comment on more in my goggle review.
​Thanks for reading, if you found this article useful please feel free to like or share, the facebook links below directly link/like this article. Links are affiliated and help me buy the bits I need to produce this type of content.

Coming soon: Fatshark Attitude v5 review and comparison to the Aomway Commanders
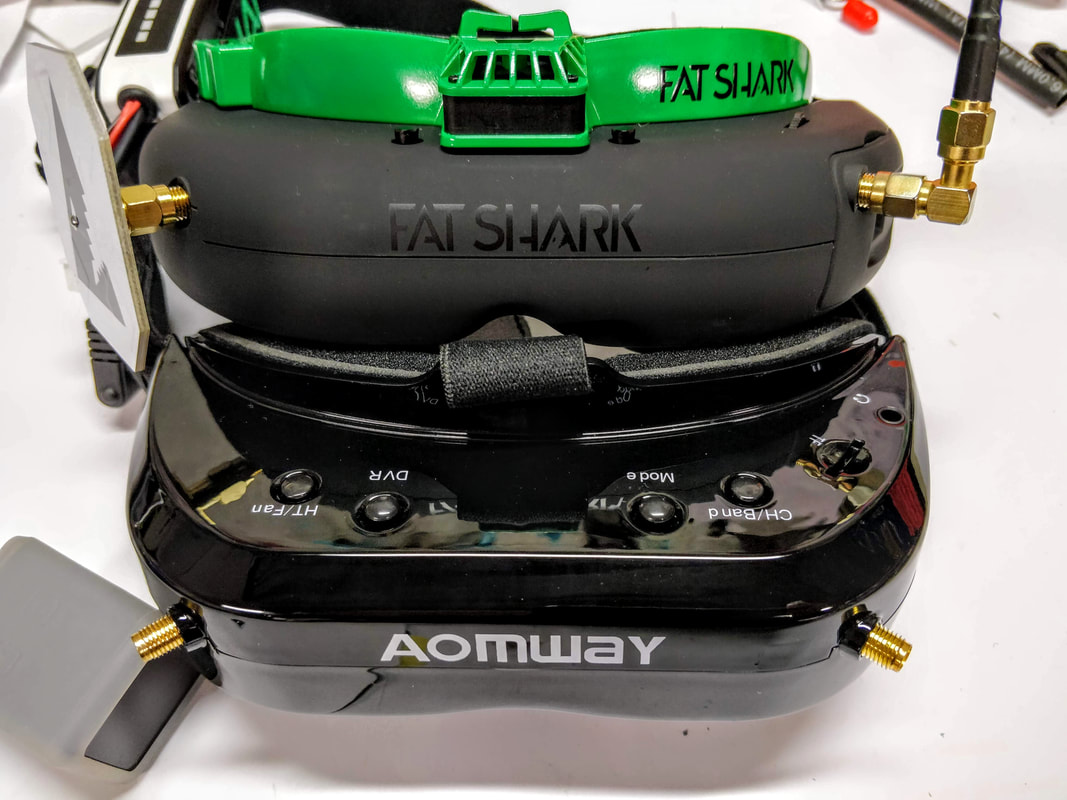
Picture
4 Comments
nikotttin
28/8/2019 03:12:24 am

Neat thanks for this clean write up. I have been looking throughout all my spares for a balance plug! Though luck... None found 😒
Looking forward to reading your review of the new Attitude!

Reply
Quadify RC
28/8/2019 09:22:14 am

My pleasure! I was lucky I had a spare. They're not expensive from Banggood but they do of course take a while to arrive...

I'm just about to start wirting up the Attitude review now.

Reply
Thijs Dekker
10/6/2020 03:34:39 am

Nice mod!

Can I still use the fan after I done this? Because the balance lead is different then the original.

Reply
Quadify RC
10/6/2020 09:03:28 am

Thanks! Yes you can absolutely use the fan. The extra pin that you are now using for balancing has no impact on fan usage.

Reply


Leave a Reply.

    Archives

    November 2020
    July 2020
    January 2020
    December 2019
    October 2019
    September 2019
    August 2019
    July 2019
    June 2019
    May 2019
    April 2019
    March 2019
    February 2019
    January 2019
    December 2018
    November 2018
    September 2018
    August 2018
    July 2018
    June 2018
    May 2018
    February 2018
    December 2017
    November 2017
    October 2017
    September 2017

    Categories

    All
    1.9 Inch
    2 Inch
    2s Whoop
    3.4.0
    3.5
    3d Printing
    5.8GHz
    6 Inch
    6s
    AKK
    AKK Infinite
    Antenna
    Attitude V5
    Battery Pad
    Beeper
    Betaflight
    Brushless Whoop
    Cheap Mods
    Dji Fpv
    Dshot
    DVR
    Eachine
    Eachine Trashcan
    Emax
    Fatshark
    Fullspeed
    Furibee X140
    Goggles
    Happymodel
    Hawk 5
    Hawk 6
    Headstrap
    Hq Props
    Iflight
    Jello
    King Kong Fly Egg
    Larva X
    Larva-x
    Leader 120
    Lightweight
    Micro Brushless
    Micro CCD
    Micro Quad
    Mobula
    Mobula6
    Mobula7
    Mobula7 Upgrade
    Omnibus
    OSD
    Pids
    Propellers
    Red Devil
    Repair
    Runcam Nano 2
    Sailfly X Upgrade
    Sailfly-x Upgrade
    T65mm
    Throttle
    Throttle Limit
    Thrust
    Tinyhawk
    Tinyleader
    Trashcan
    Upgrade
    USB Charger
    VTX
    Walkthrough
    X2 Elf
    Xlite

    RSS Feed

    follow us in feedly
Thanks for visiting QuadifyRC.com Follow us on facebook below to get all the latest updates
  • RC Cars
  • Car of the Month
  • Quad Reviews
  • Quad Mods
  • COUPONS AND DISCOUNTS
  • Long Range
  • About & Contact