|
By now I've made a number of brushless upgrades to the WL Toys 144001 which I've documented, each with a different objective in mind. All of these offer an improvement over stock which, depending on option offer an improvement of speed, acceleration, weight, balance and efficiency over stock. The objective of this brushless upgrade is simple - the cheapest brushless setup worth having for bashing Here are all of the brushless upgrade guides I've written to date. These have been based on a particular type of performance objective as summarised below:
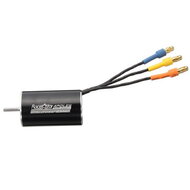
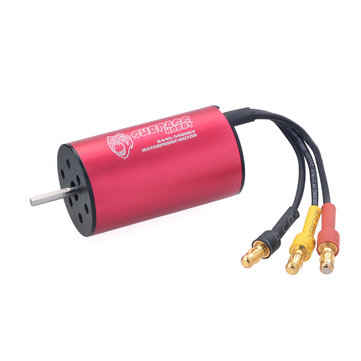
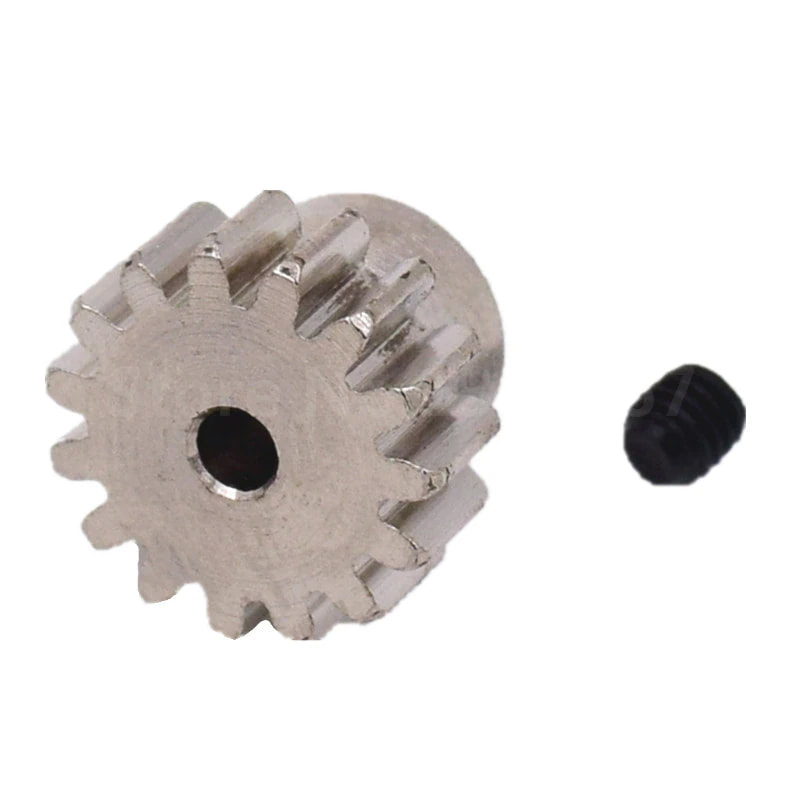
Since I've gone to some lengths in my other guides to cover the install process I will leave that out an instead ask you to follow the 124018 / 124019 / 144001 drop in brushless upgrade guide here. So lets get on the the parts! Parts used for the build Motor. I've gone with another drop in option based on the 15t pinion here to keep things simple. In order to keep current draw down (which allows me to use a cheaper ESC), I've opted for the smaller 2440 4600kv motor which allows you lots of room with minimal weight - I'm talking 70g which is 1/3 of the weight of the stock motor's 210g. Don't worry about speed, I've clocked this at 60km/h on 2s which is no slouch. The 3rd/4th option below is a 2445 3600kv which will have a little lower top speed but much better acceleration and efficiency and more recommended where torque is required (e.g. offroad). All of these can be had for around $10-15 each.
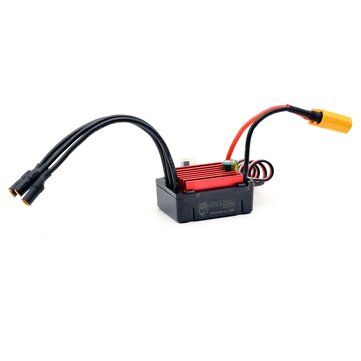
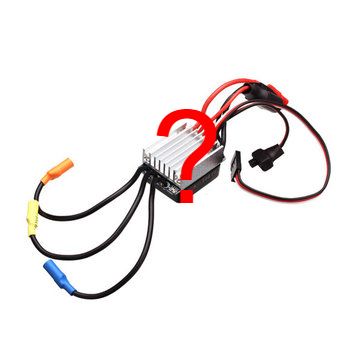
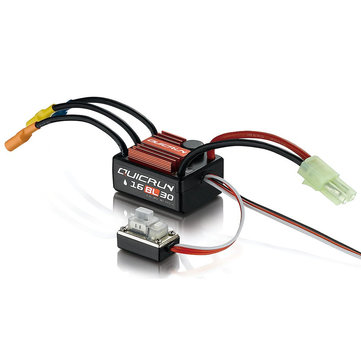
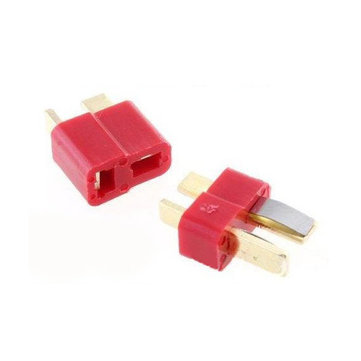
ESC. This is the trickiest area to save money since many of us have seen failures when cheap ESCs have been overloaded. In choosing small and/or low kv motor options with short gearing then we can limit current draw (on 2s) and choose a cheaper ESC as a result. All of the options below have been tested by me with additional feedback below on each. Cost for these is $20-25 depending on where you shop
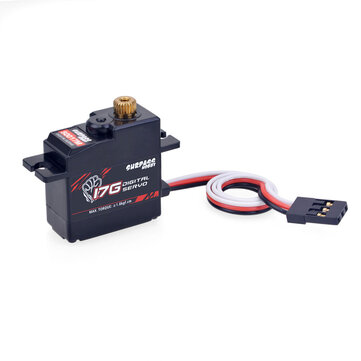
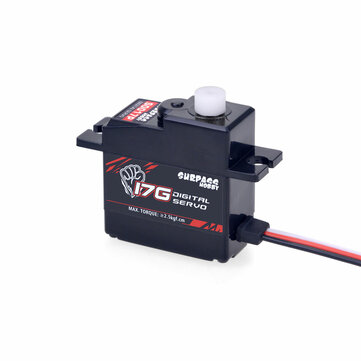
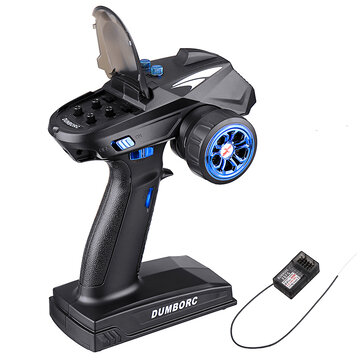
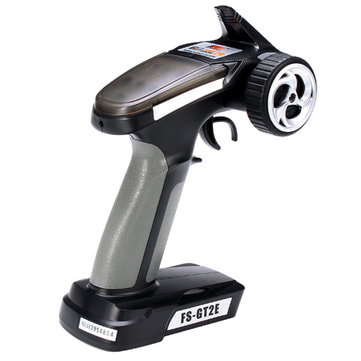
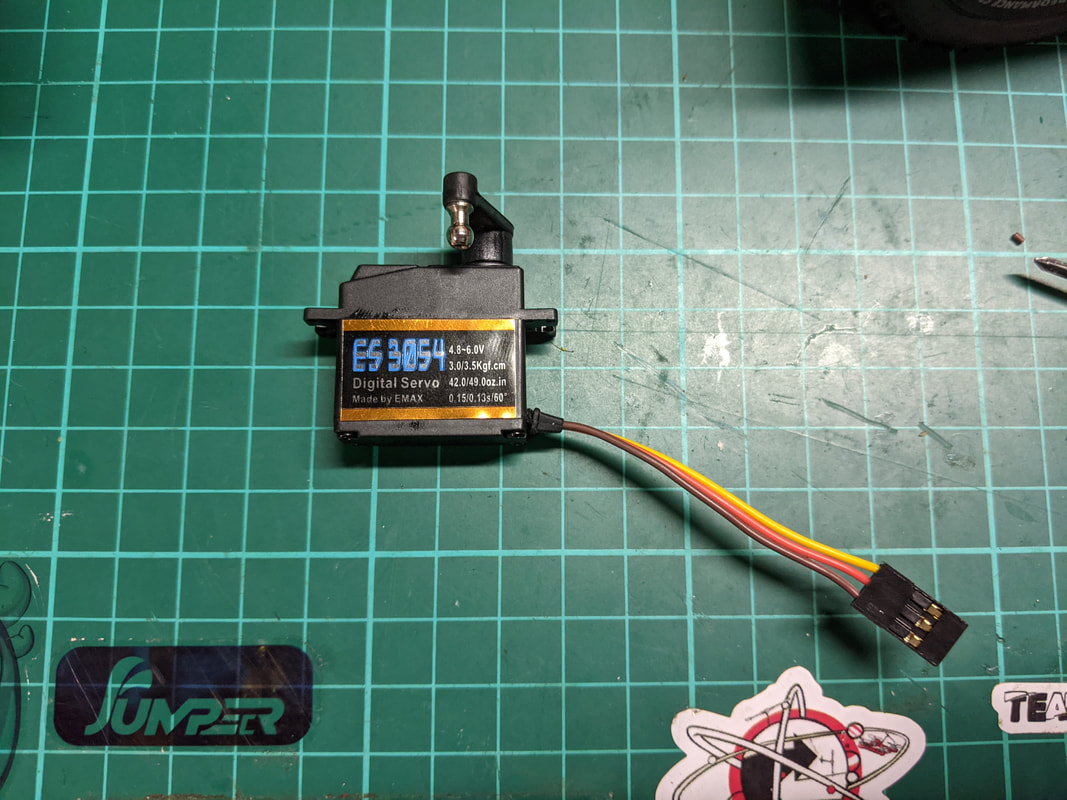
Radio and Servo. I've kept the options very simply below with the focus on cheapest worth having. You'll need to choose one servo and one set of radio gear (which includes transmitter and receiver).
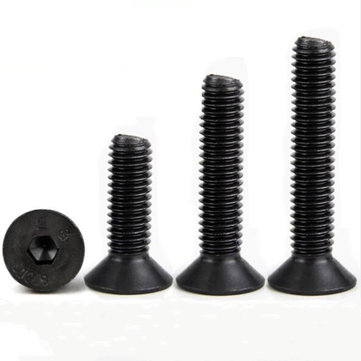
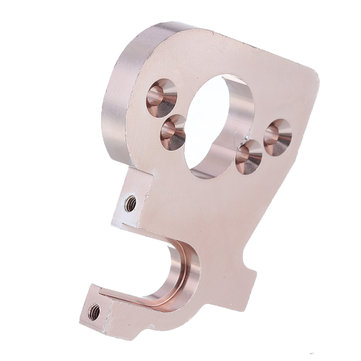
Other crucial items. You'll need these extras as well. I've included the motor plate but you can omit if you are confident you can remove the old motor and pinion.
Total cost for my build Details below for the build as tested and shown here.
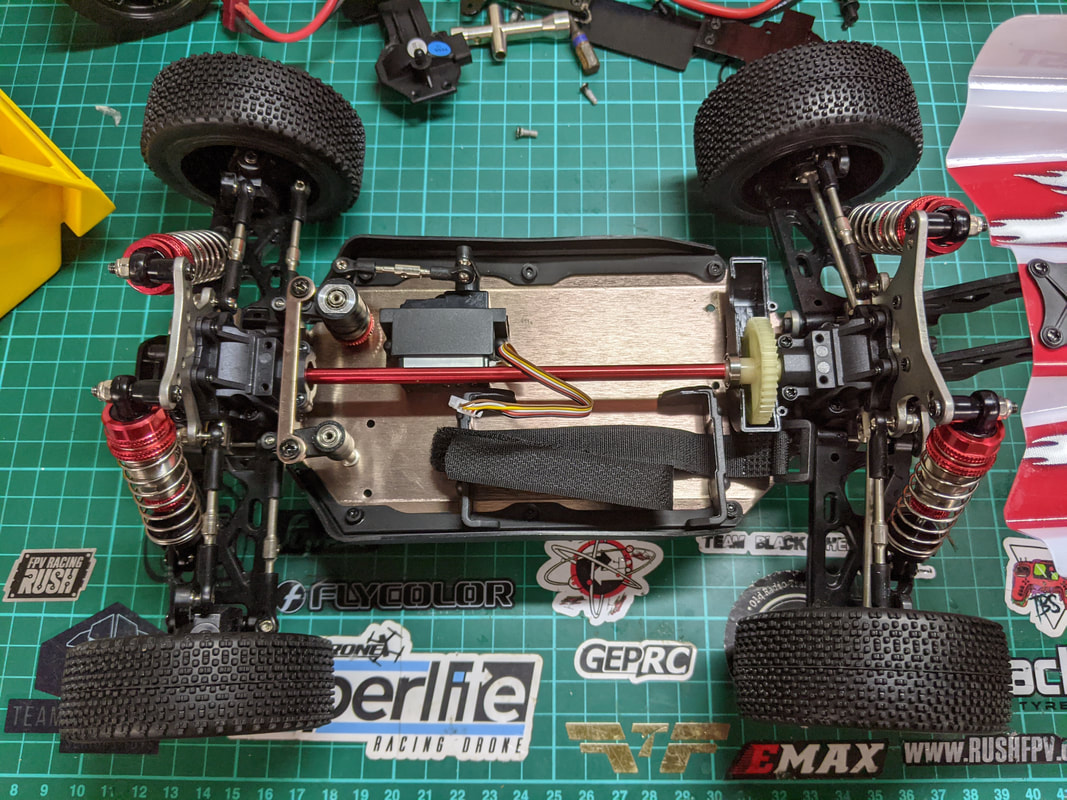
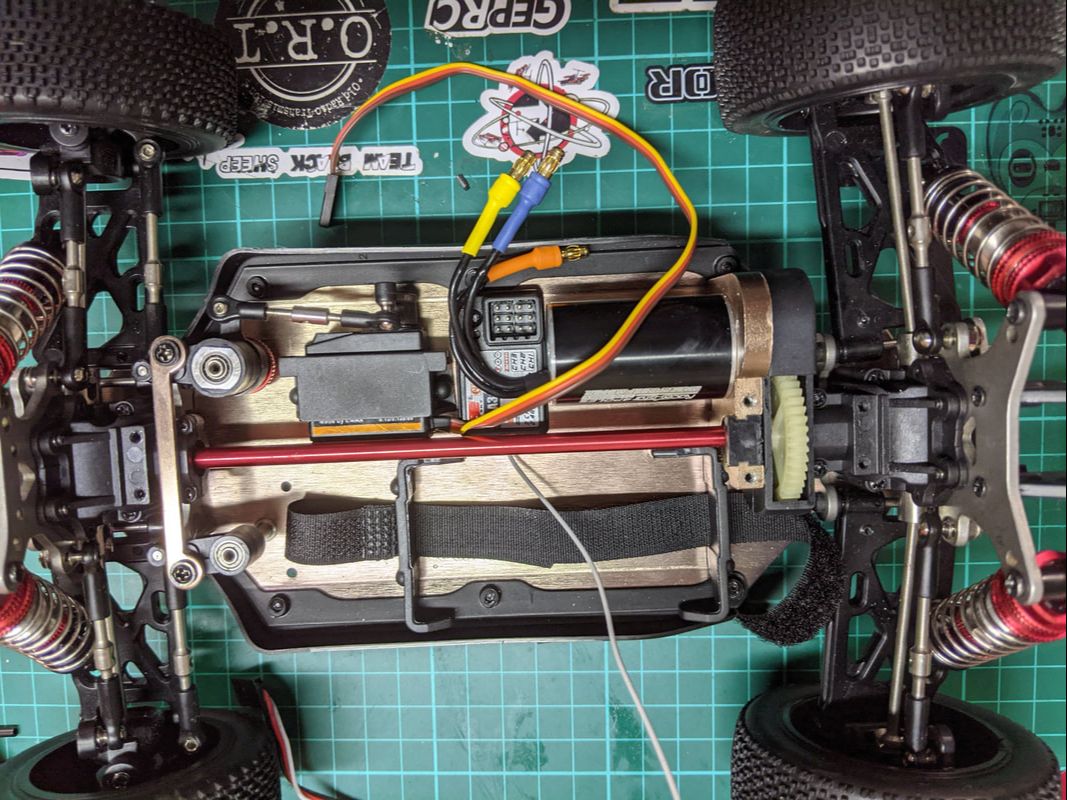
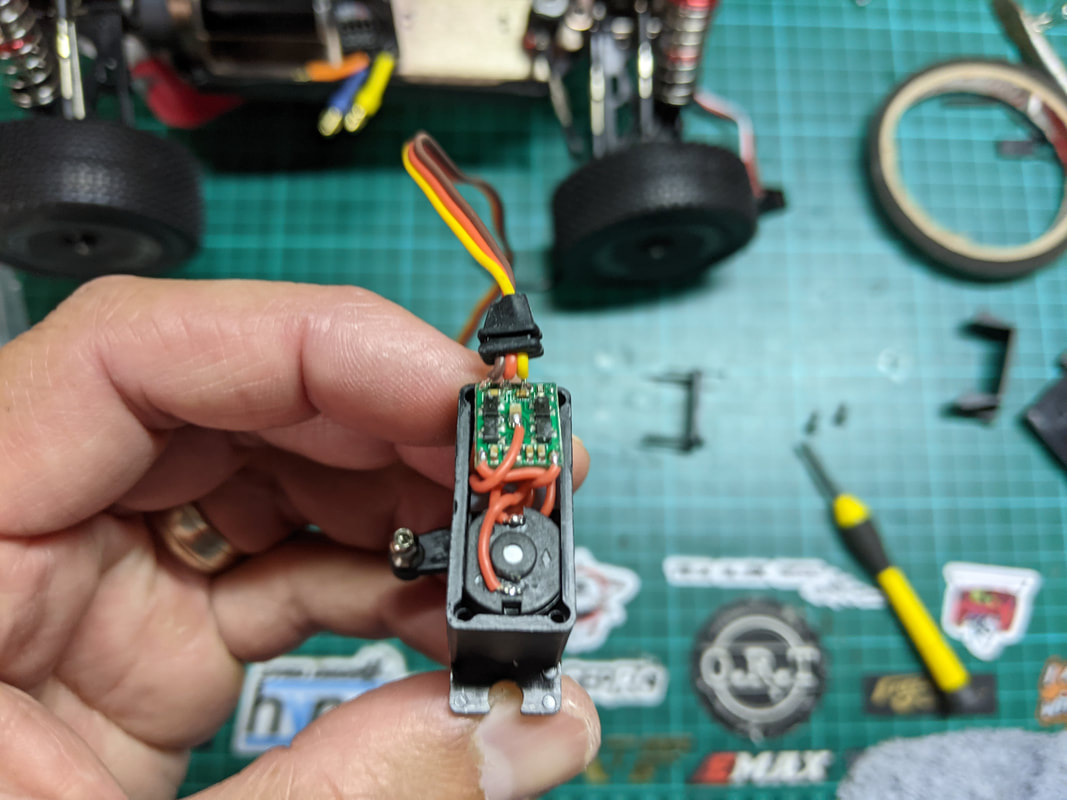
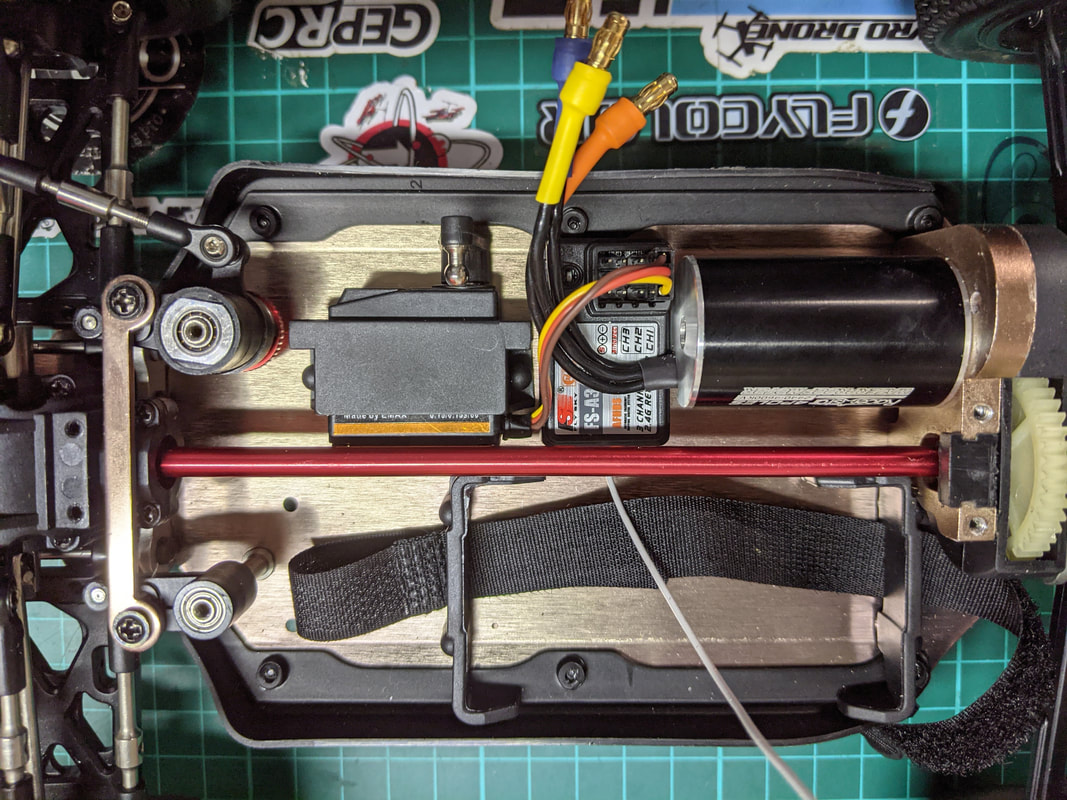
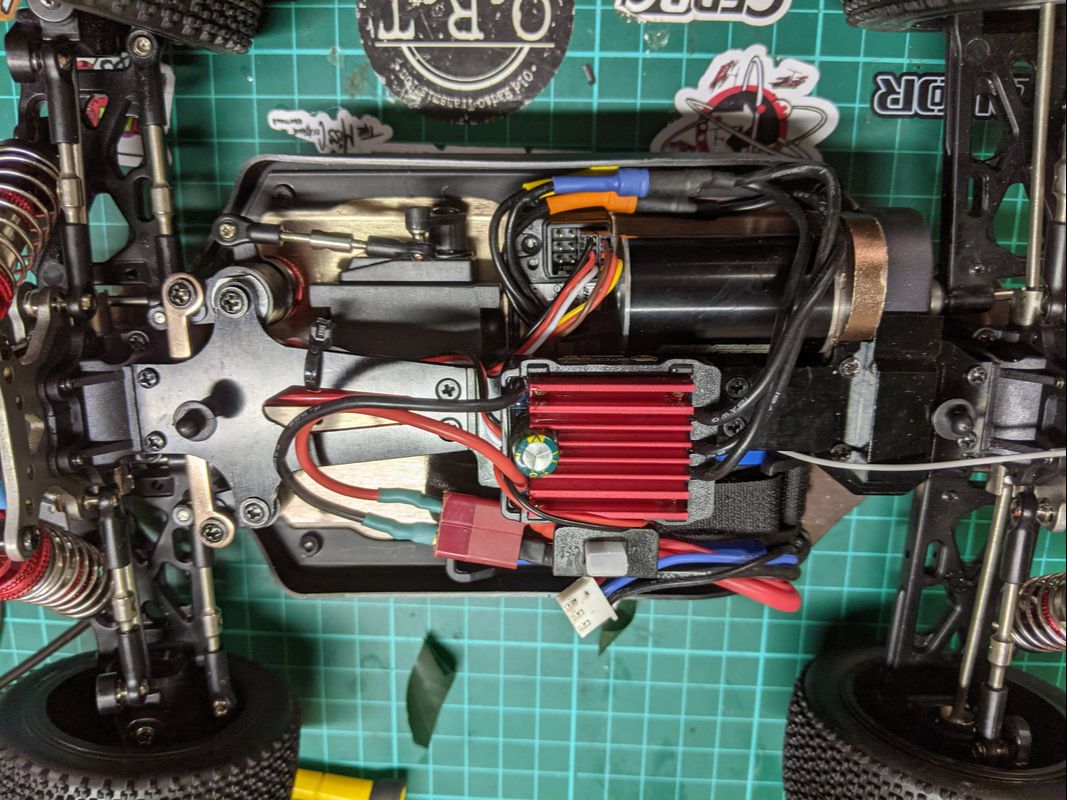
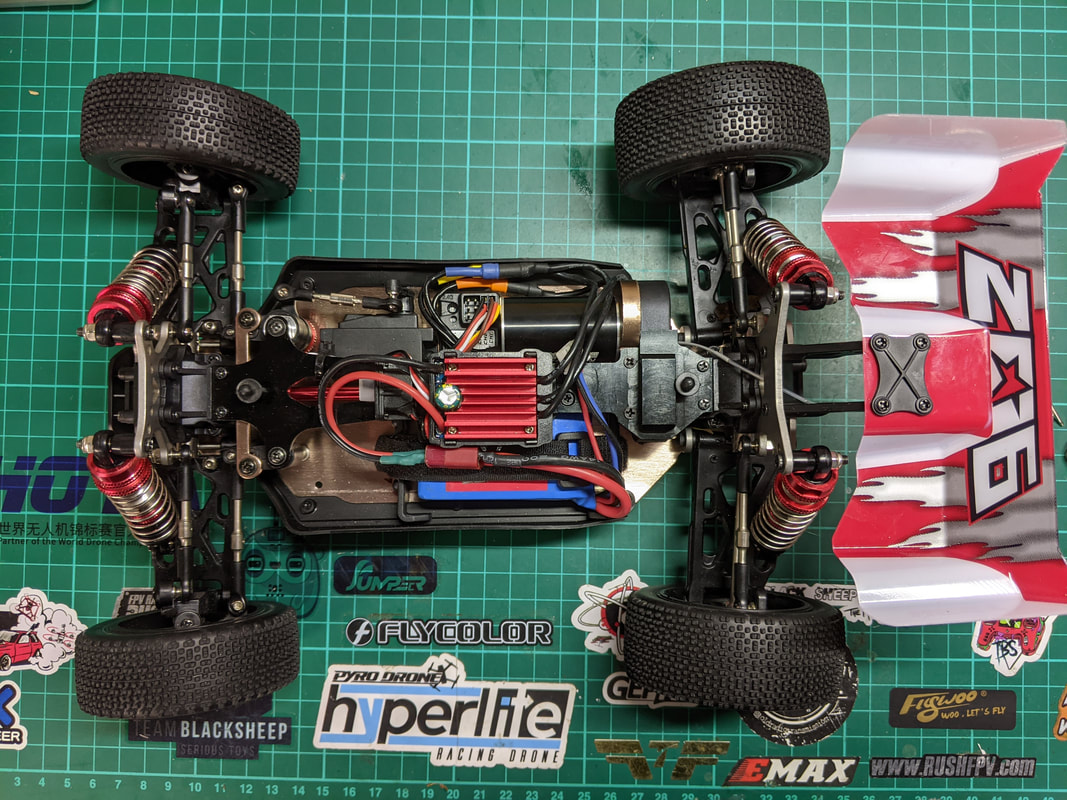
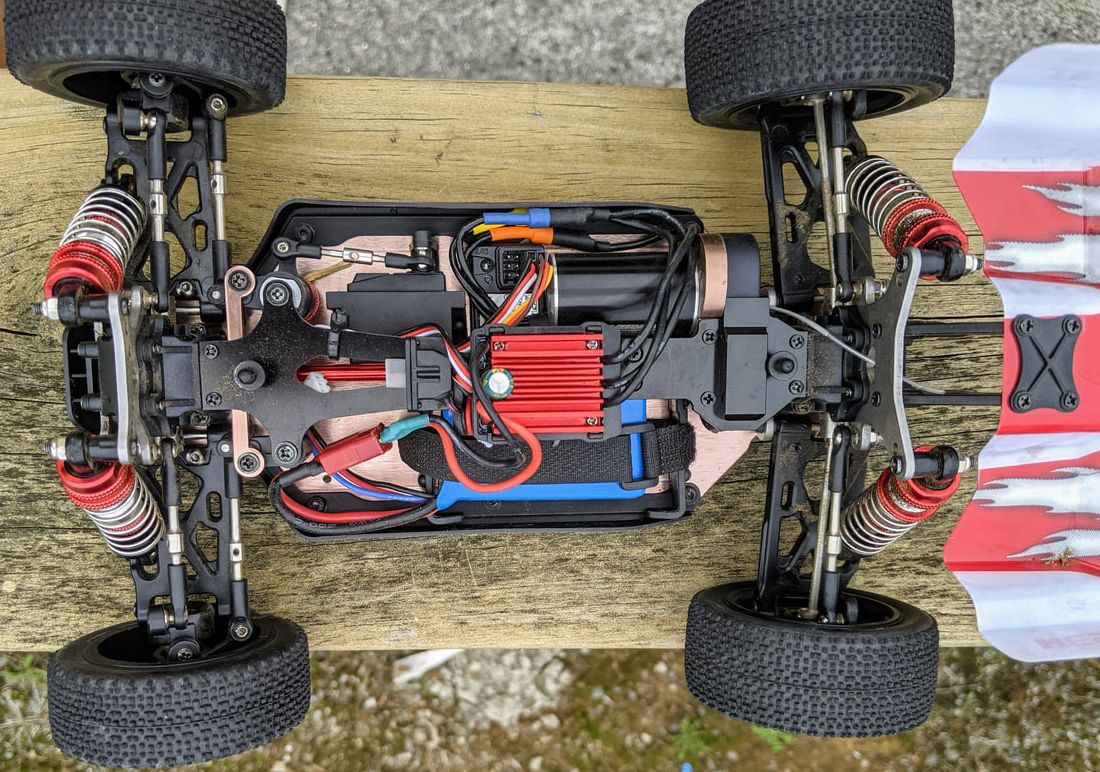
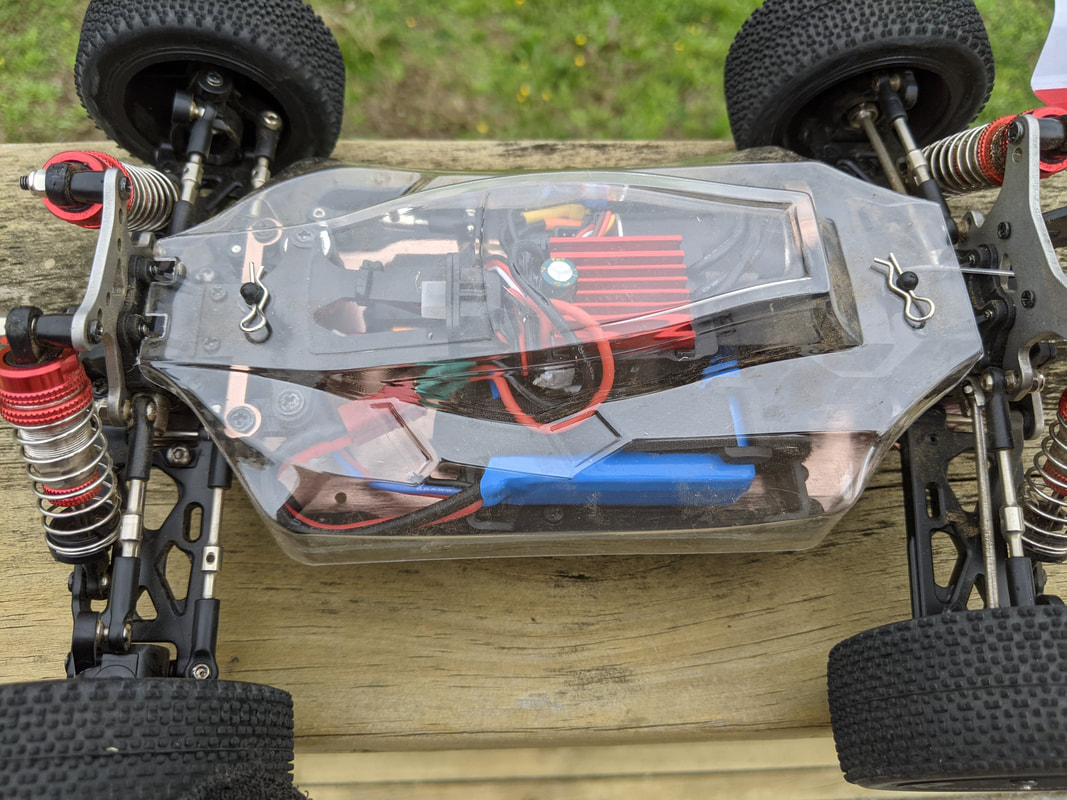
As you can see my parts came to a total of around $77. If you wait for sales and discount codes you may be able to get this for as little as $70 or try your luck on aliexpress and it may be as little as $60. For example right now on Alixpress they have the Surpass KK 35a ESC with t-plug connector and 2440 4600kv motor for $26 which would bring the total down by $10. By all means shop around but as you know I like Banggood for the most reliable experience for worldwide shipping for everything except the pinion which they do not stock. Just to play devil's advocate check out my article comparing the cost of a custom brushless 144001 setup vs the superior LC racing EMB series which is this car is based on. If you shop carefully you should be able to end up with a brushless 144001 at around the $150 mark. Install As mentioned above I won't delve into the install as a guide but will show you some pictures I took along the way. See my drop in brushless guide which follows the same steps for install if needed. Click to embiggen as always.
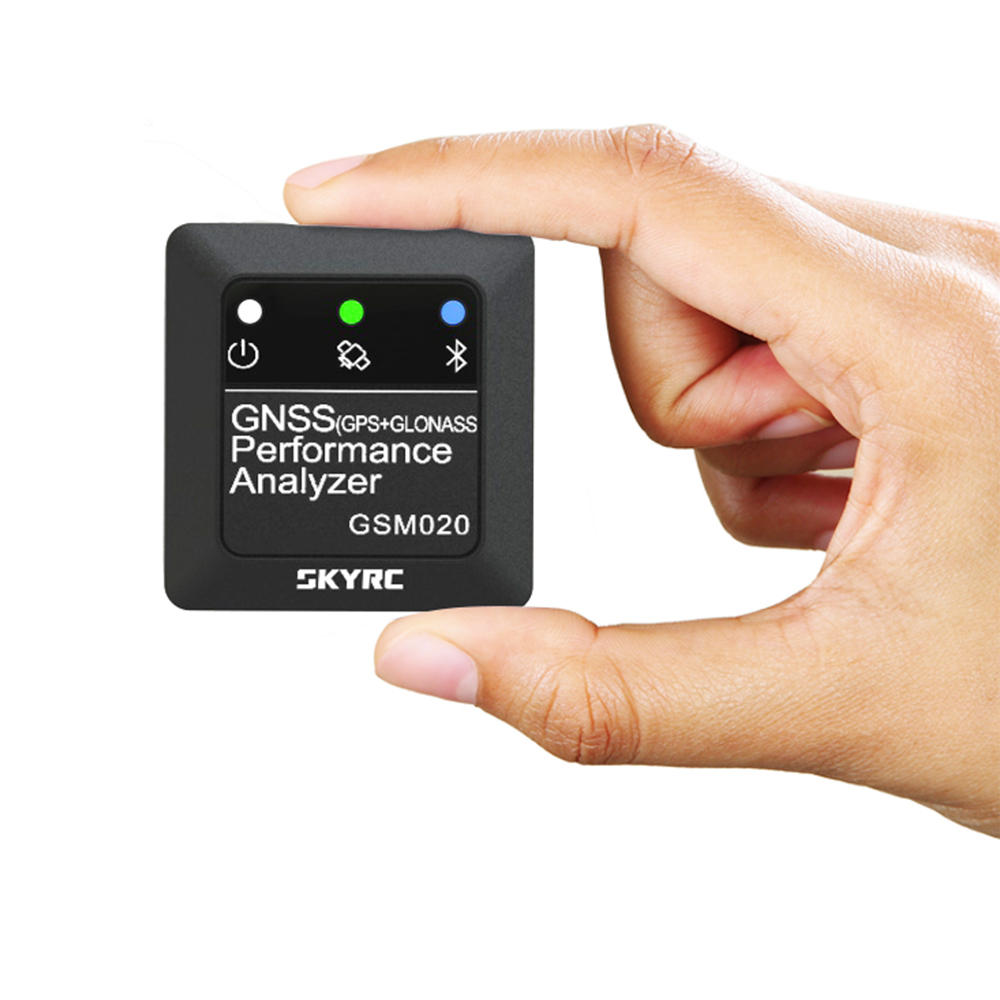
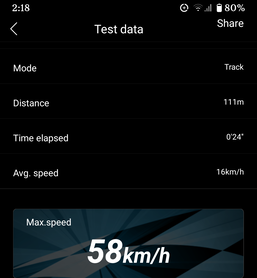
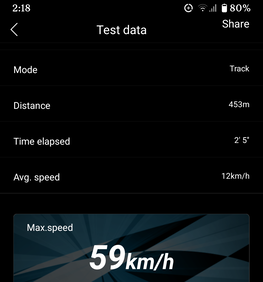
Performance Top speed. The first thing I did with this combo was to check the top speed as this is easily quantifiable and simple to understand. Speed runs weren't done in a big flat area but on the narrow 30m long footpath (pavement) directly outside my house using stock wheels and tyres. After 2 or 3 runs I was getting 59km/hr fairly consistently and reckon I'd crack 60 if I had a little more space. This is about 37mph and compares to 35mph stock which is about the fastest I've seen on a very long run up. Not a lot more top speed but the acceleration and battery life is vastly improved which makes it feel so much faster since most of the time we are accelerating rather than topping out speed. FYI I used the overpriced SKYRC GSM020 for speed tests
Acceleration. Punch or power off the line on the Surpass Hobby ESCs can be adjusted via a programming card as per my guide here or with the built in programming button on the newgo ESC above. As you can see in the video below this allows the car to have enough power to wheelie when used in combination with my favourite Remo P6973 wheels as I wrote about here. This simply can't be done with the stock setup due to lack of power and excess weight. It is worth noting that you can detect a slight delay in power coming on at full punch with the Surpass ESC when compared to the more expensive Hobbywing 16BL30 ESC as used in my drop in brushless upgrade guide. Not easily noticeable as a one off but you can feel it if you switch from one car to the other.
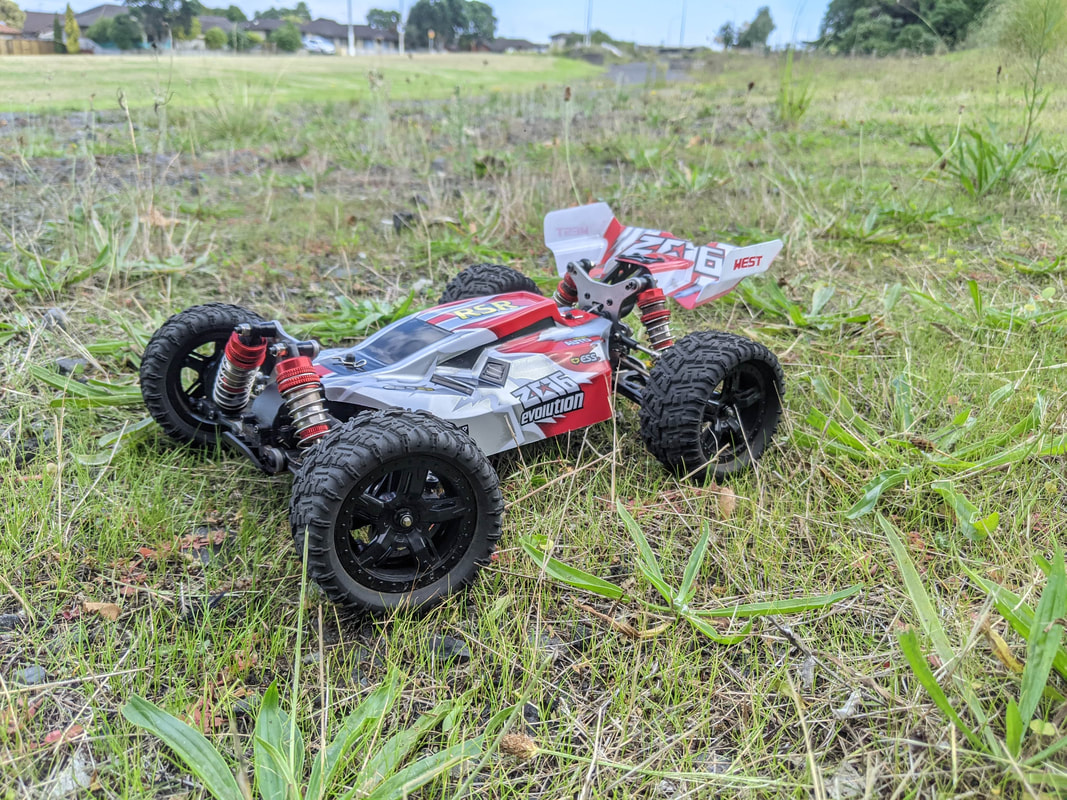
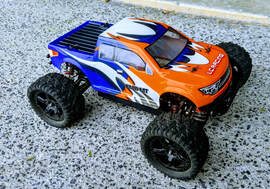
Battery Life/ Efficiency. This is where this setup REALLY shines. Instead of getting around 5-7 minutes with the stock battery on the stock motor, this little brushless setup easily doubles that number - I actually got around 15+ minutes on the same battery in the same conditions. If you wanted to upgrade to the surprisingly good 124019 2200 mah battery then you could expect to get 20+ minutes of runtime depending of course on how and where you drive. As expected the motor and ESC wasn't especially hot either which suggests energy is converted into moving the car rather than being converted to heat through inefficiency. Bear in mind if you put larger wheels and tyres on and run in tougher conditions with a lead foot (lead finger?) then this will put the gear to the test more but my torture testing over a couple of dozen packs now has shown this to hold up well, thanks to the smaller current draw of the motor. The unexpected benefits of weight reduction. As mentioned the 2440 motor is a third of the weight of the stock motor and much smaller. When building there is a lot more room to install and balance the weight of the car. Balancing weight front to back and left to right allows the car to be much more predictable through turns and over jumps. The reduction in weight overall of course helps with acceleration (and wheelies) but the big benefit I often overlook is resistance to damage. Since this car carries so much less weight, the inevitable crashes are much less serious in that parts don't get broken anywhere near as much, there simply is not as much force involved in a crash. Further recommendations A note on tough offroad bashing. Although this setup runs surprisingly well for on-road bashing and gravel or light offroad, when I really pushed this setup with the bigger P6973 wheels in grass and tough offroad, I did start to notice the limits of this smaller 2440 motor: acceleration is a little more strained and you can start to feel the limits of the motor. If this is your primary use for this car then I would suggest going to the larger and lower kV 2445 3600kv whilst still running on 2s for more torque and efficiency in this range. What about 3s? Although all of the ESCs above state they can manage 3s, I would avoid unless you plan on getting the Hobbywing which does blow out the budget. All my testing has been done on 2s and although I may try 3s down the track it would be for novelty only as 2s is plenty fast for bashing with this setup. I will be writing an article soon on switching between cell counts in RC cars but as a teaser: avoid it. Your gearing, cell count and motor KV should all be targeted to a chosen cell count. Going up will take it out of its effciency and reliability band very quickly. Don't forget this upgrade was made to a budget. If you want to spend a little more, do consider my drop in brushless upgrade guide which is built around the excellent Hobbywing 16BL30 ESC. For my part though, I'd say this budget setup does a big chunk of what the original "drop in" upgrade does in terms of performance but with even better battery life again. Total list of parts used in this guide to get the same build as me: Coming up next I'll be taking this car and turning it into the toughest basher I can make at the request of the guys on the QuadifyRC facebook group. Here's a sneak peak! Hopefully you have found this article useful, I'm focusing on making my guides and testing more technical and exhaustive so the choice is made easier for you. If you purchase via the links here or on any of my pages I receive a small commission at no cost to you which is enough to help my cover my hosting fees and other expenses related to quadifyrc.com - thanks!
|
Categories
All
|
Thanks for visiting QuadifyRC.com Follow us on facebook below to get all the latest updates


 RSS Feed