|
The WL Toys 124019 is a small and fast car out of the box - it'll do 55km/h on the old technology brushed motor that comes stock out of the box. For bashing and off-road I prefer to upgrade with physically smaller and more efficient brushless motors but if straight-line on road speed is your objective as is the case here, then using a 3650 sized motor can get you massive speed... there are many examples where this car can go well over 100mph. The objective of my build here is to see what kind of speed I can get without pushing the budget or modifications too far - bolt in parts, stock body and a car than is as reliable as stock and can easily be converted back.  For this build I've chosen the WL Toys 124019 which is a long-wheelbase version of the popular 144001. The reasons this car makes for a good speed run build is:
Let's get on to the build which I have broken down into sections. We'll start with the powertrain which most of you are here for but I'll also cover important lessons in wheel/tyre choice, suspension set up, aero, speed measurement and driving technique. Read on for more
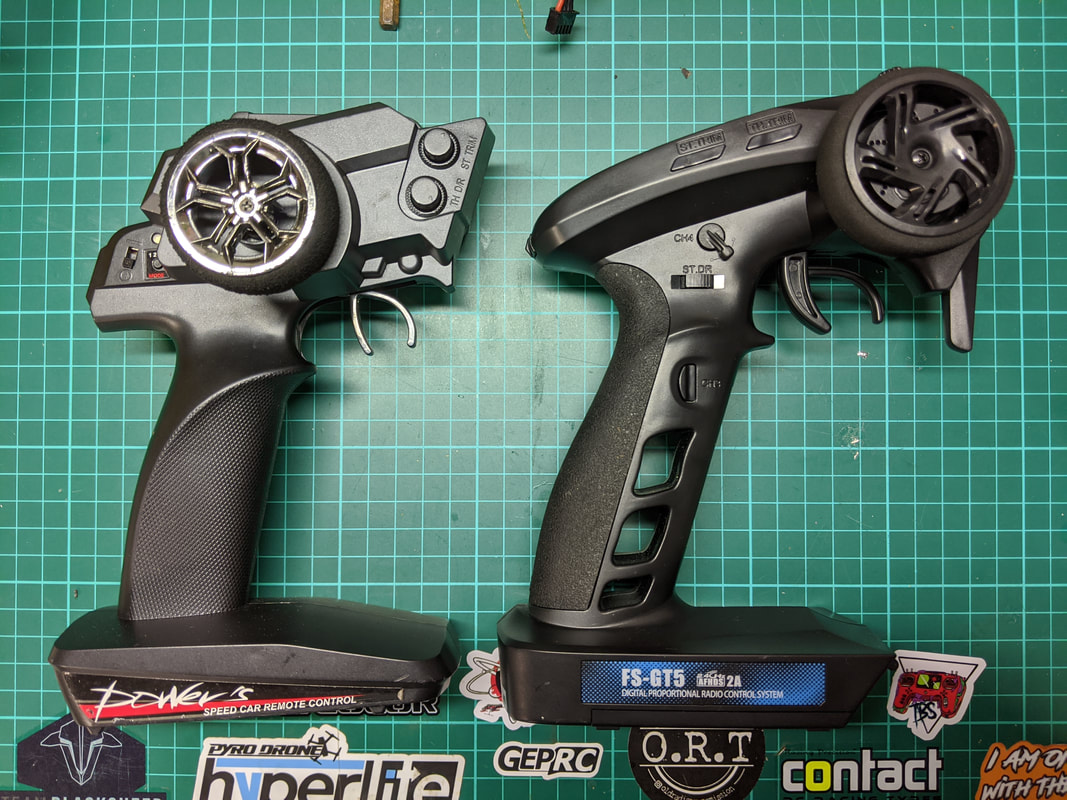
Conversion to brushless - electronics and power train First you'll need a radio. I strongly recommend the Dumbo X6 with gyro for the fact that it is cheap, has excellent range and has a gyro that helps with stability at low speed. Read this article if you are confused about all the different models. If you are looking for a more premium unit that has the option of multiple model entry and more gyro control then the Flysky FS-GT5 as I reviewed here is my favourite.
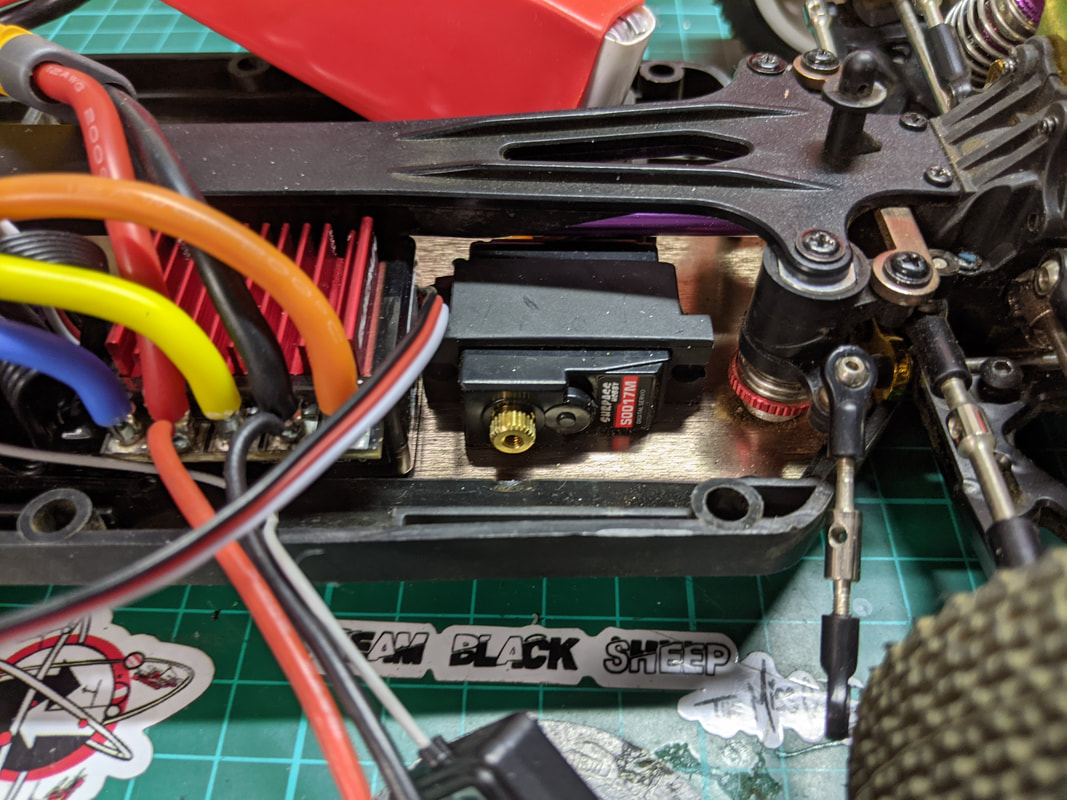
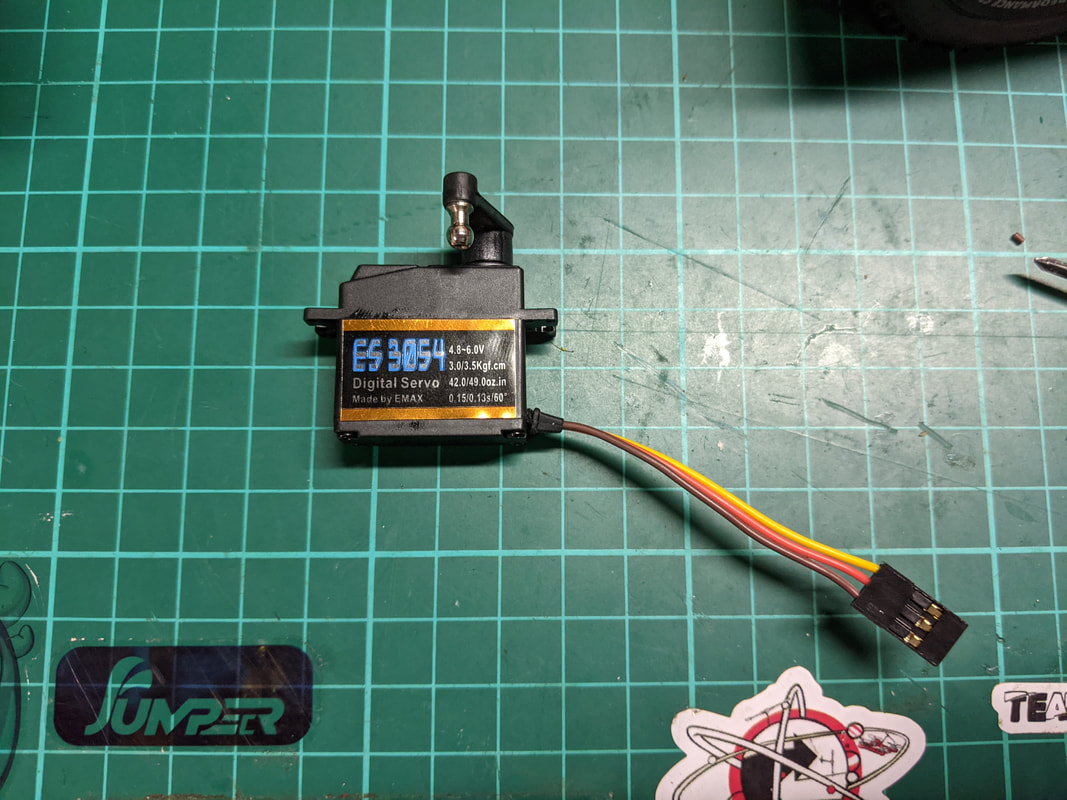
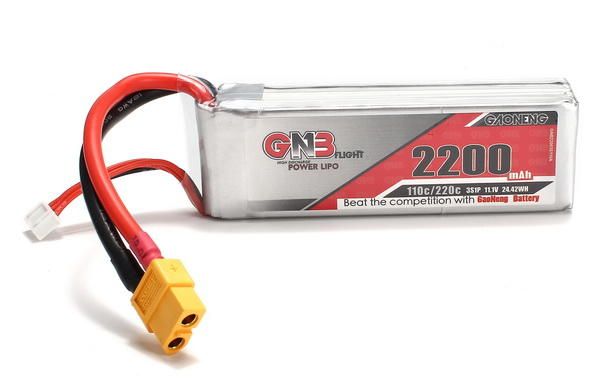
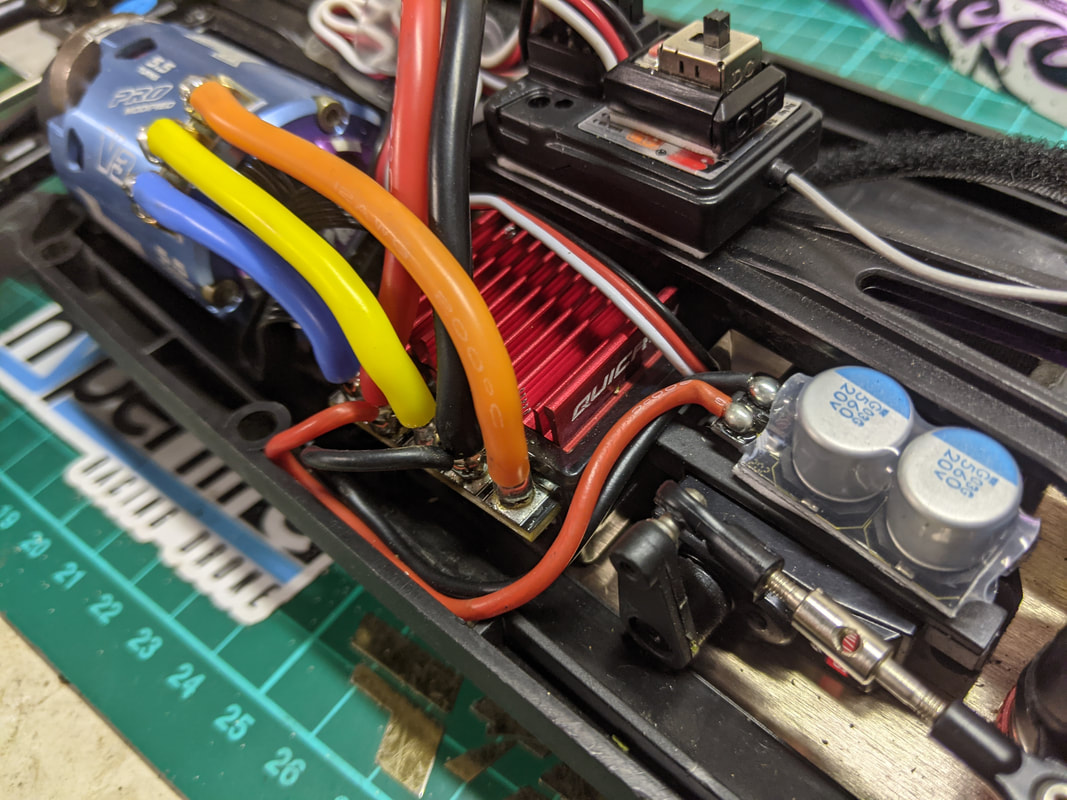
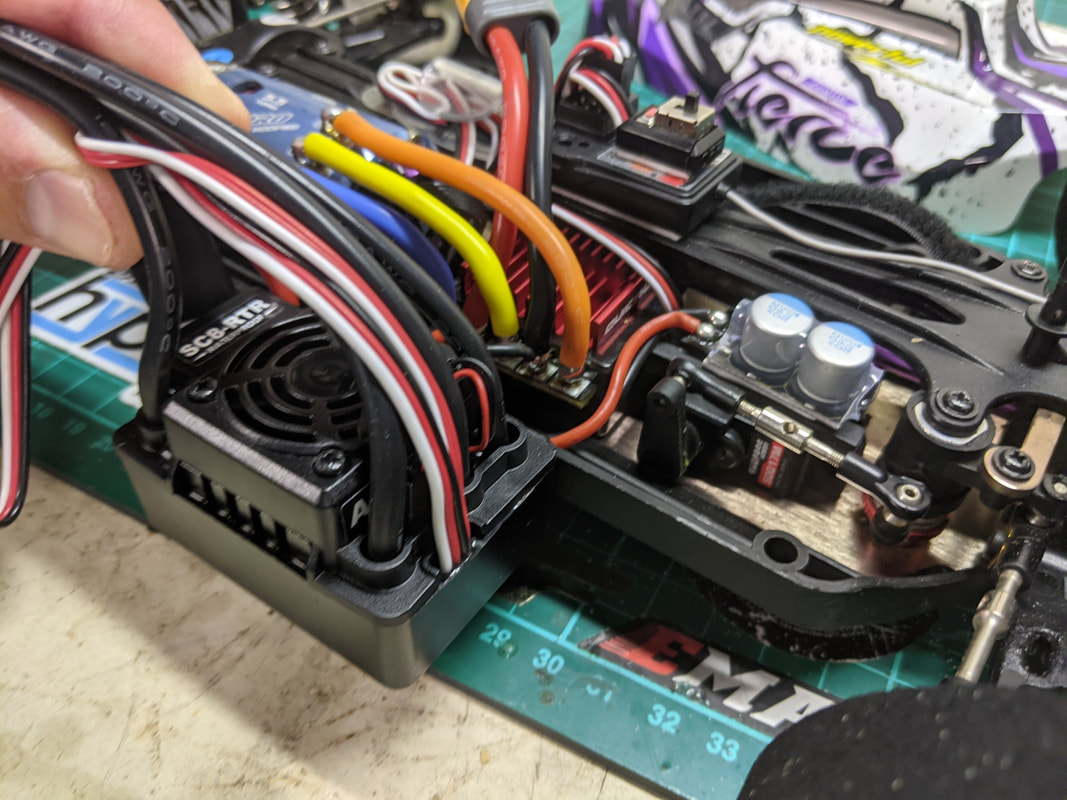
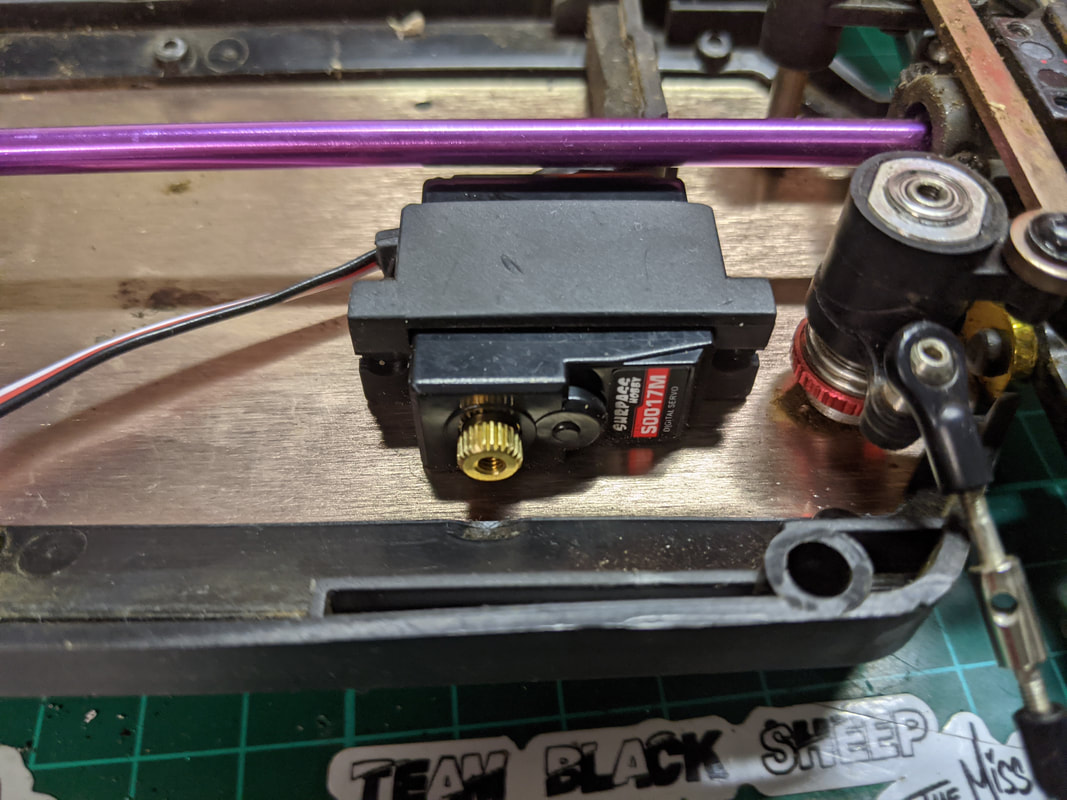
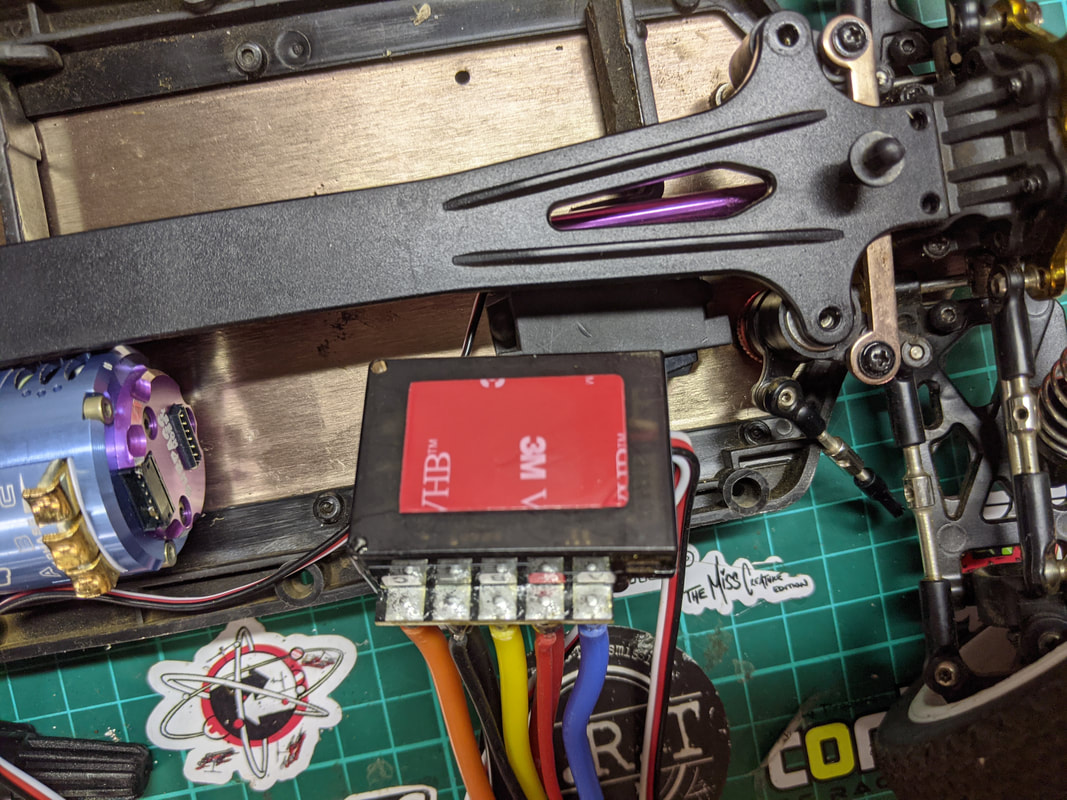
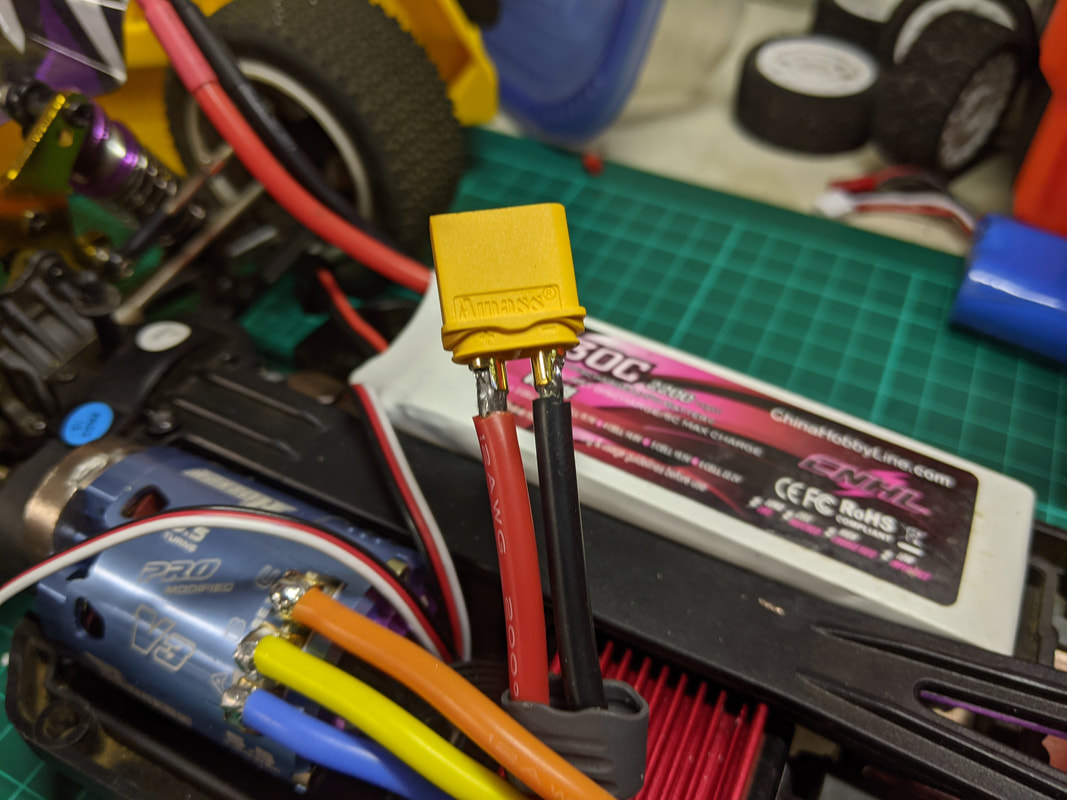
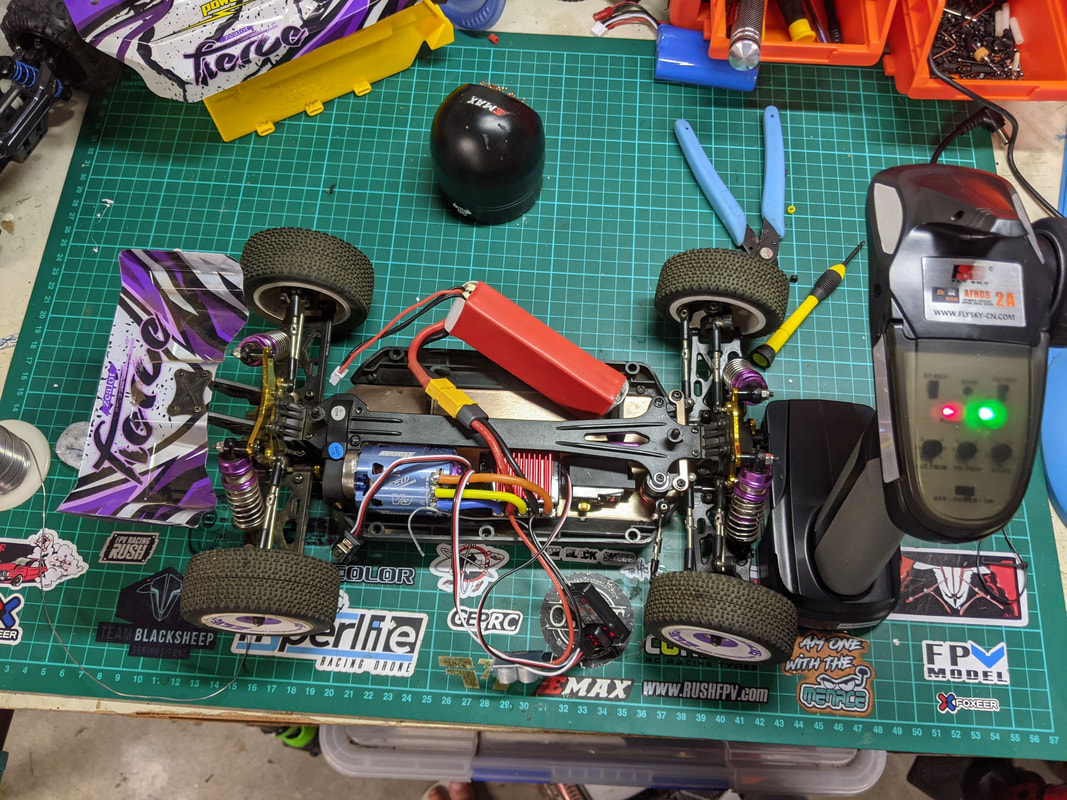
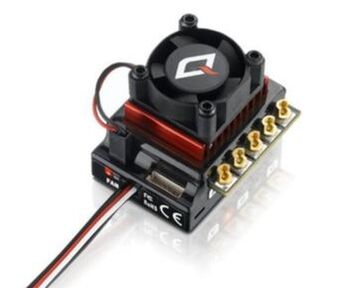
For the servo, the best unit for this car is the Surpass Hobby S0017M 17g metal geared unit. It's only around $10-12 and is the fastest of the drop in servo options. The speed of the servo is important here as your steering needs to have very quick response. If this is unavailable then the JX PDI-1181MG servo is nearly is good. The Emax ES304 is the slowest of all of the direct fit servos even though the specs try to state otherwise. To keep this build simple I've chosen to go with a 3s battery size because I know the stock tray can fit a 3s 2200mah battery like this one from China Hobby Line (CNHL) very easily. If you want to maximise battery output then GNB are probably the best lipo cell manufacturers out there and this 3s 2200mah 120c GNB battery will do the job well. For connectors I like to use XT60 as the handle up to 120A burst, are compact, common and easy to solder. If you are not confident soldering, check out my soldering guide for Noobs here. Based on my decision to stick with 3s max, I've decided to use the Hobbywing QuicRun 10BL120 ESC. It is 2-3s only and is rated for 120A which should be perfect here. Compared to the waterproof units (I don't need it to be waterproof on this build) this is much more compact and can be made even smaller with the fan removed. See below for comparison for the Hobbywing SC8 RTR ESC which would be my recommendation if you were looking for a reliable and cost effective 4s option. The Hobbywing 10BL120 does not come with a battery connector, as mentioned I strongly recommend the XT60+ connector which is easy to solder and fit.
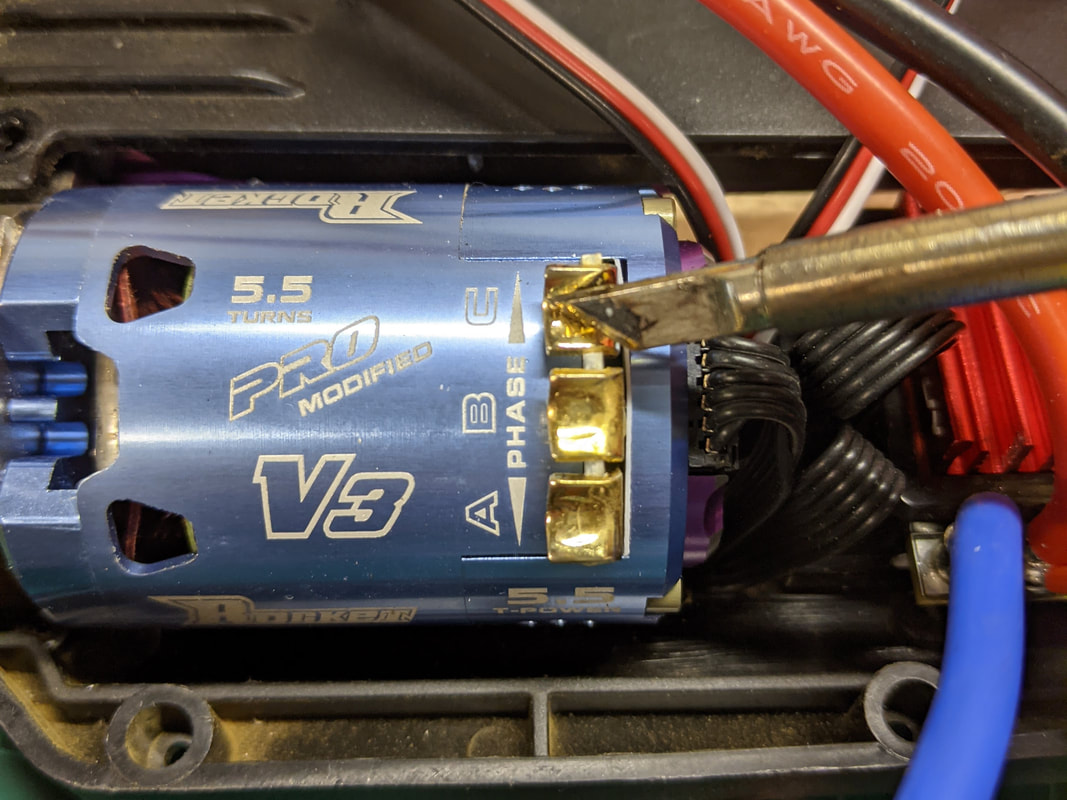
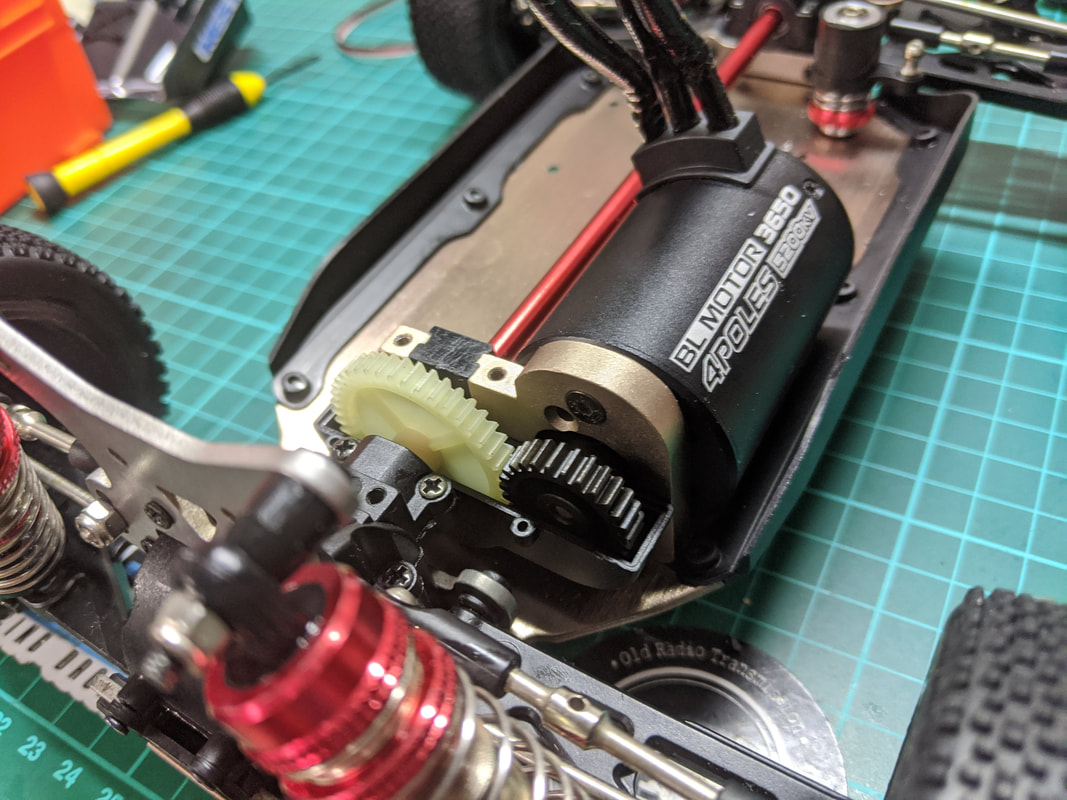
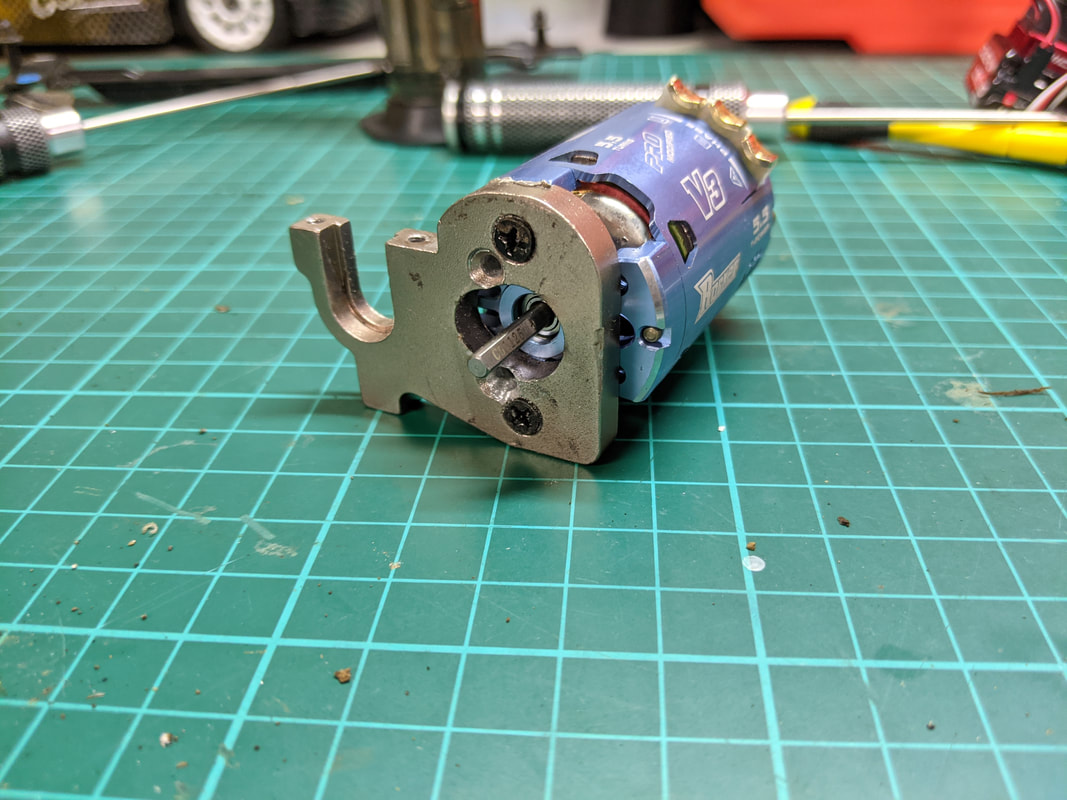
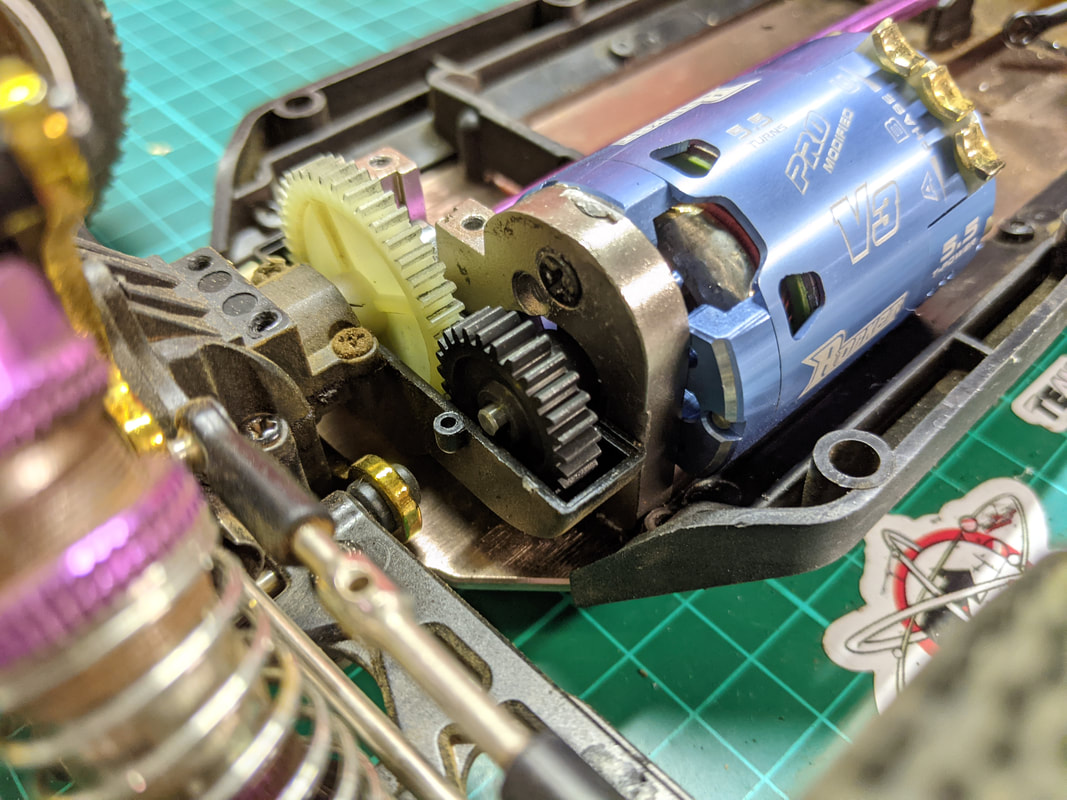
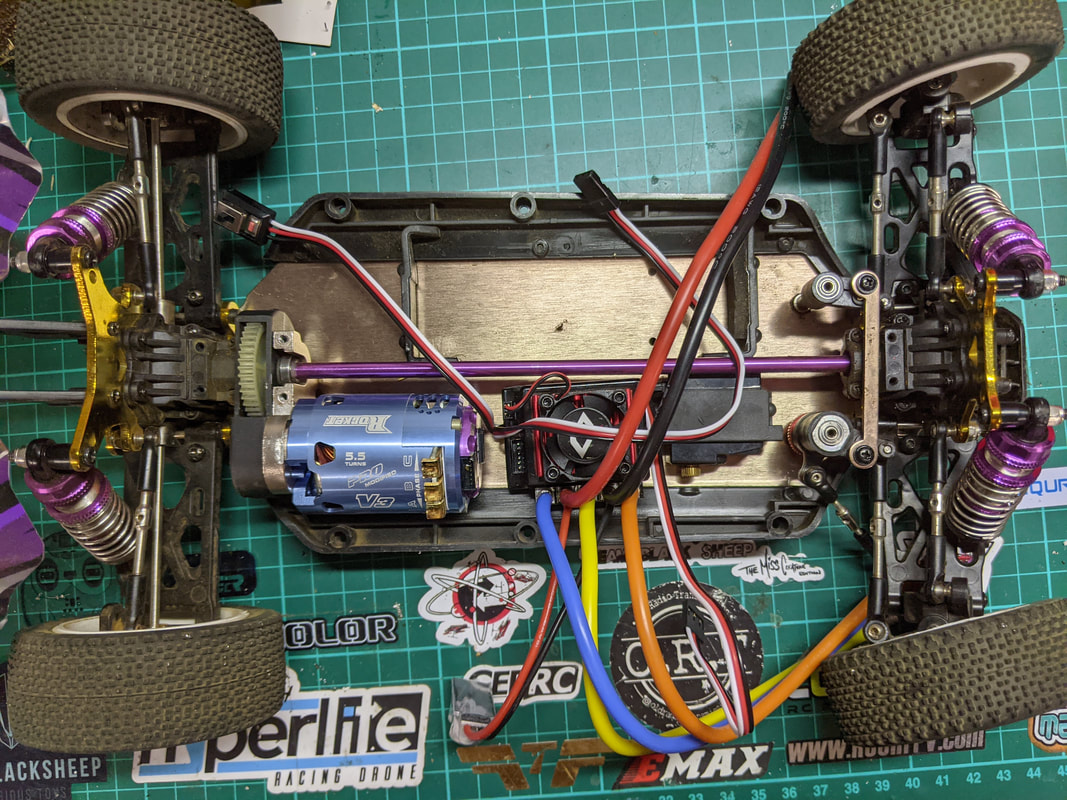
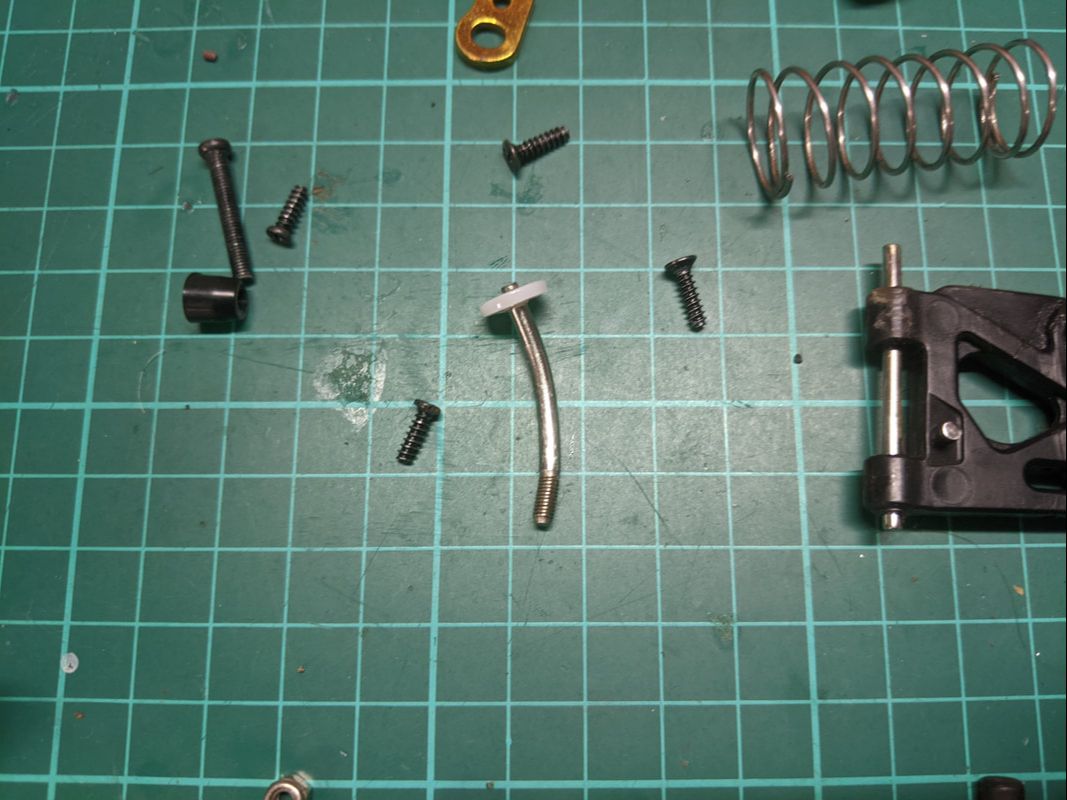
Since I have made the decision to stick with stock gearing, I have gone with a fairly high kv motor. The ESC I've chosen is capable of running non-sensored and sensored motors so I've chosen to run with a sensored motors to see if it helps jitters and cogging at low speed. So in this case I've gone for the Surpass Hobby Rocket v3 5.5t motor which is around 6600kv because I wanted an option for running on both 2s and 3s. This kv option is only suitable for speed runs and in no way do I recommend this for off road with this car. A lower cost unsensored alternative is the Racerstar 3650 which is available in 5200kv and 5900kv. These motors are cheap but have proven themselves capable of good speeds As with all of my brushless builds I recommend you buy a new motor mount and stock pinion gear. It is possible to remove the stock motor mount with heat but after 5-6 attempts I have never successfully removed a stock pinion gear without rounding a grub screw. And yes, I use good tools! See below for install pics.
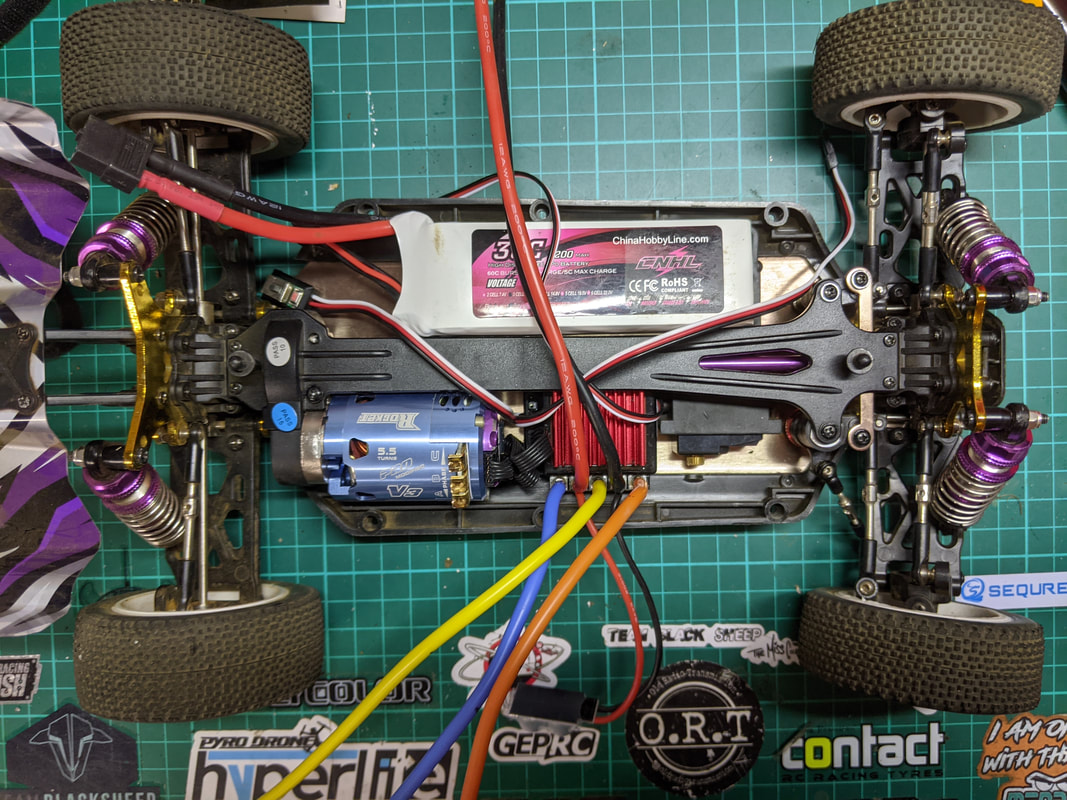
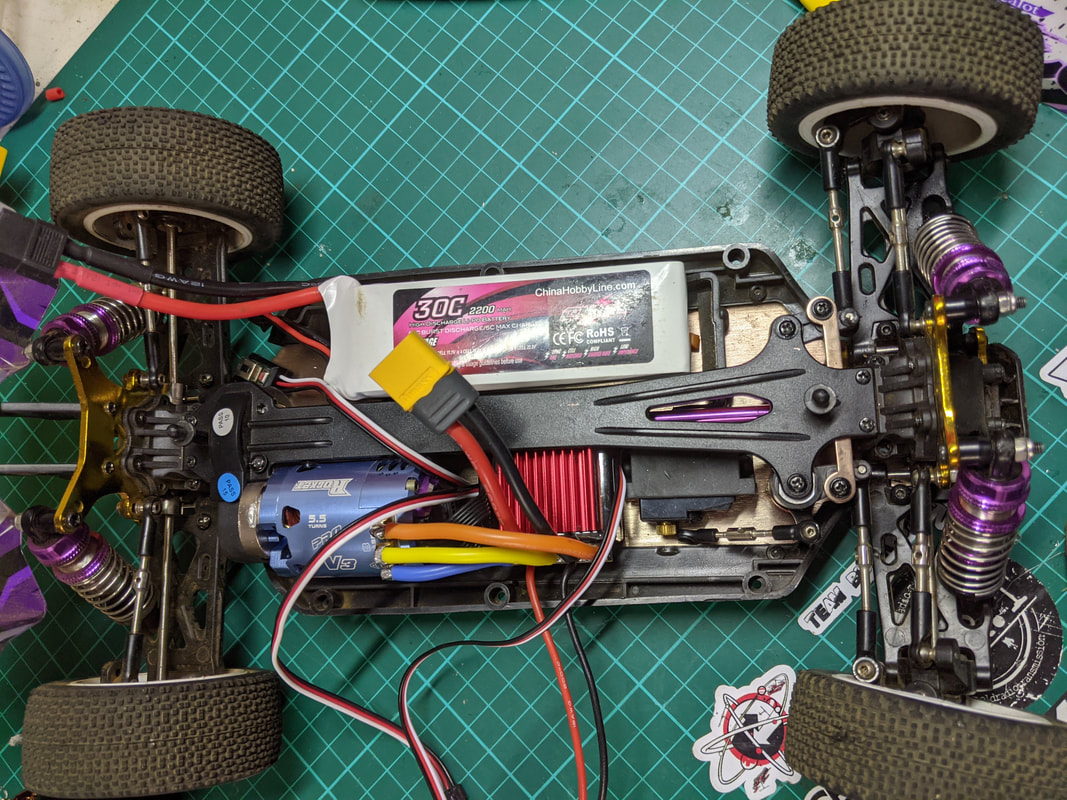
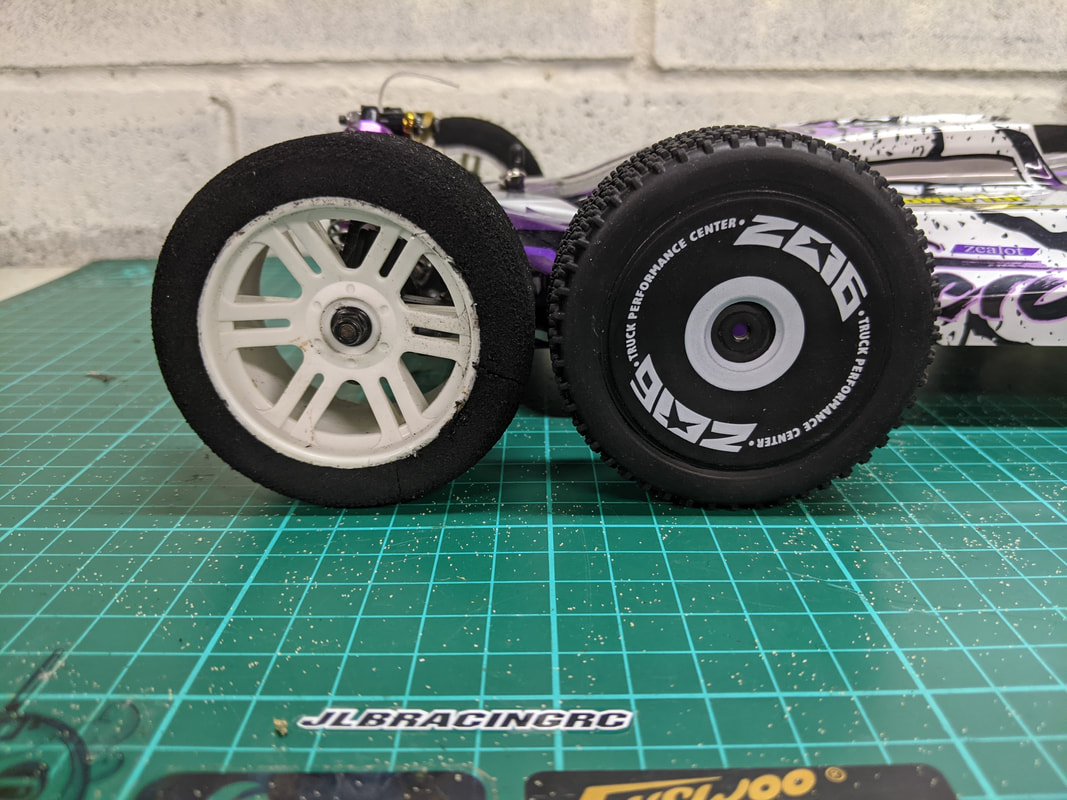
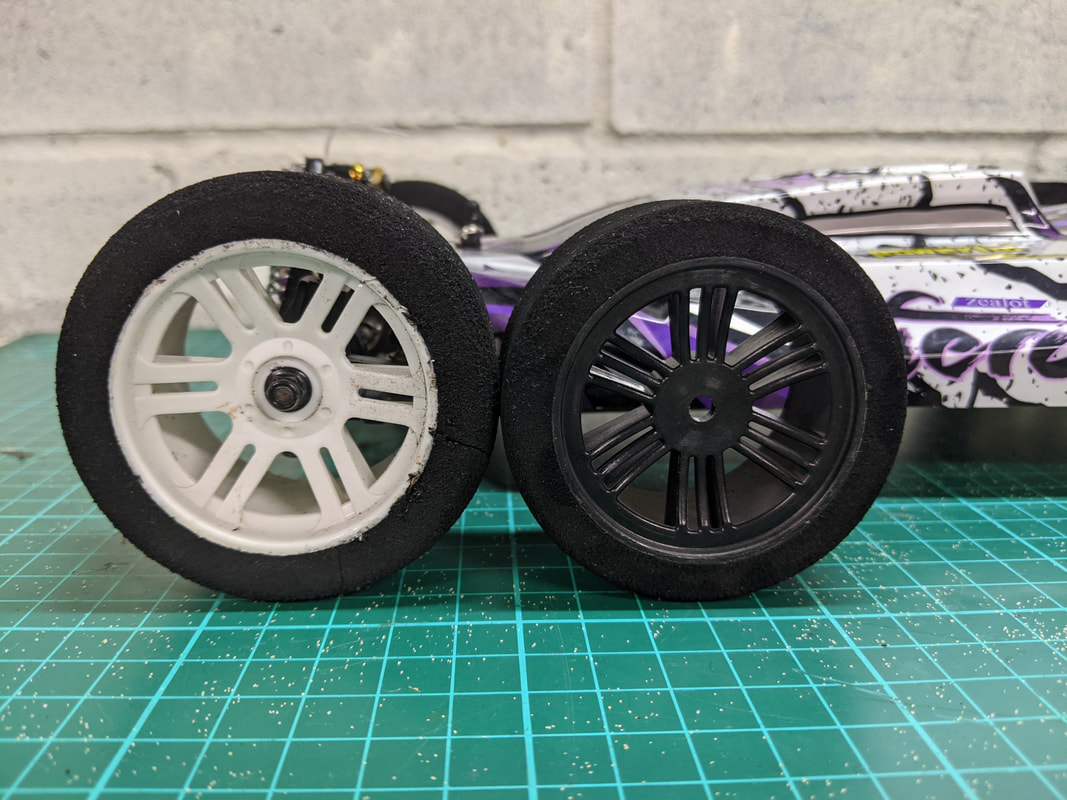
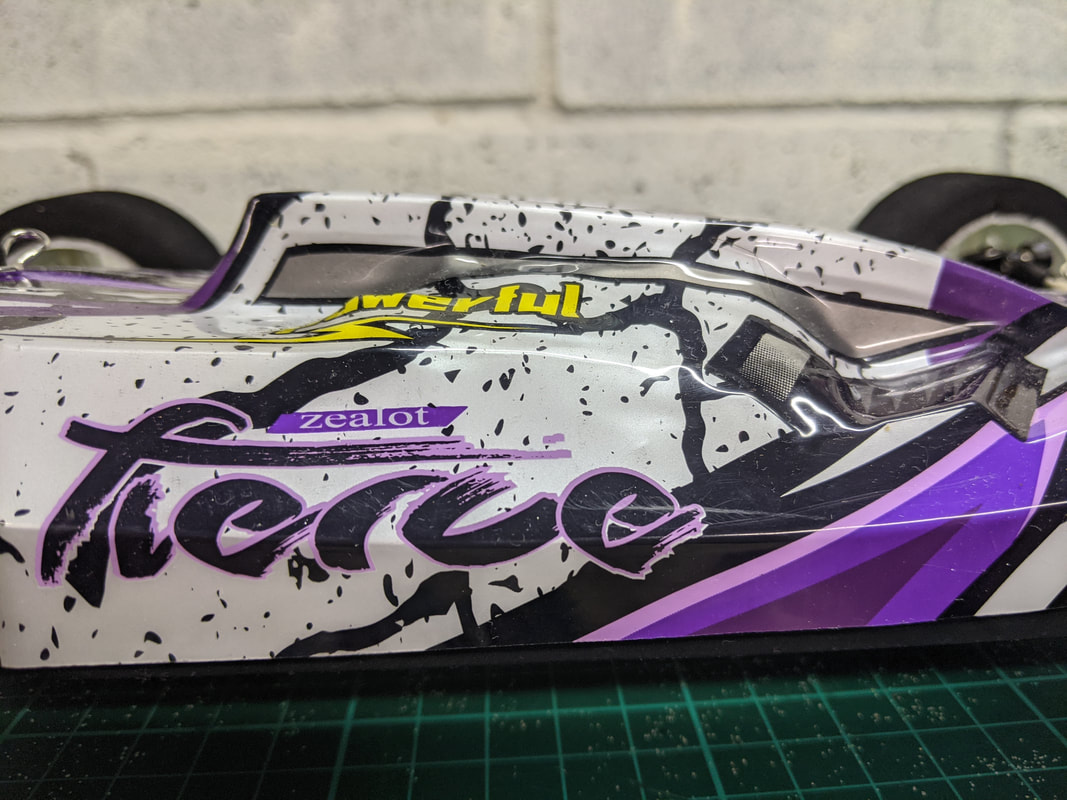
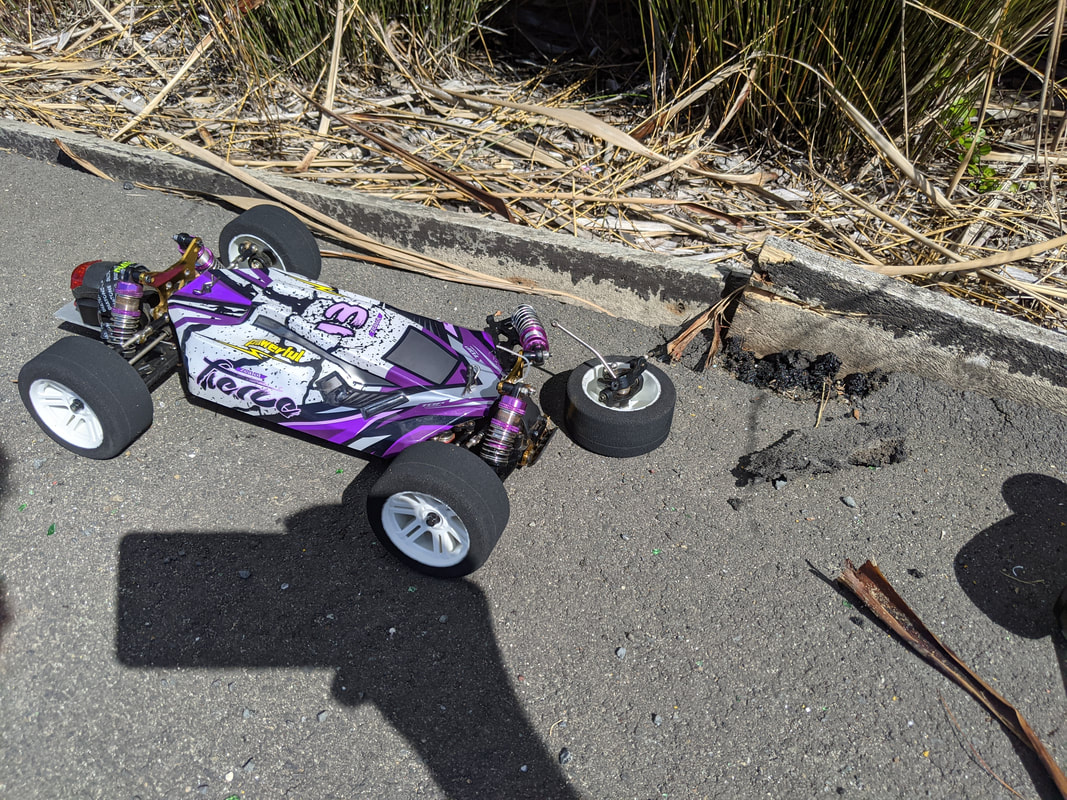
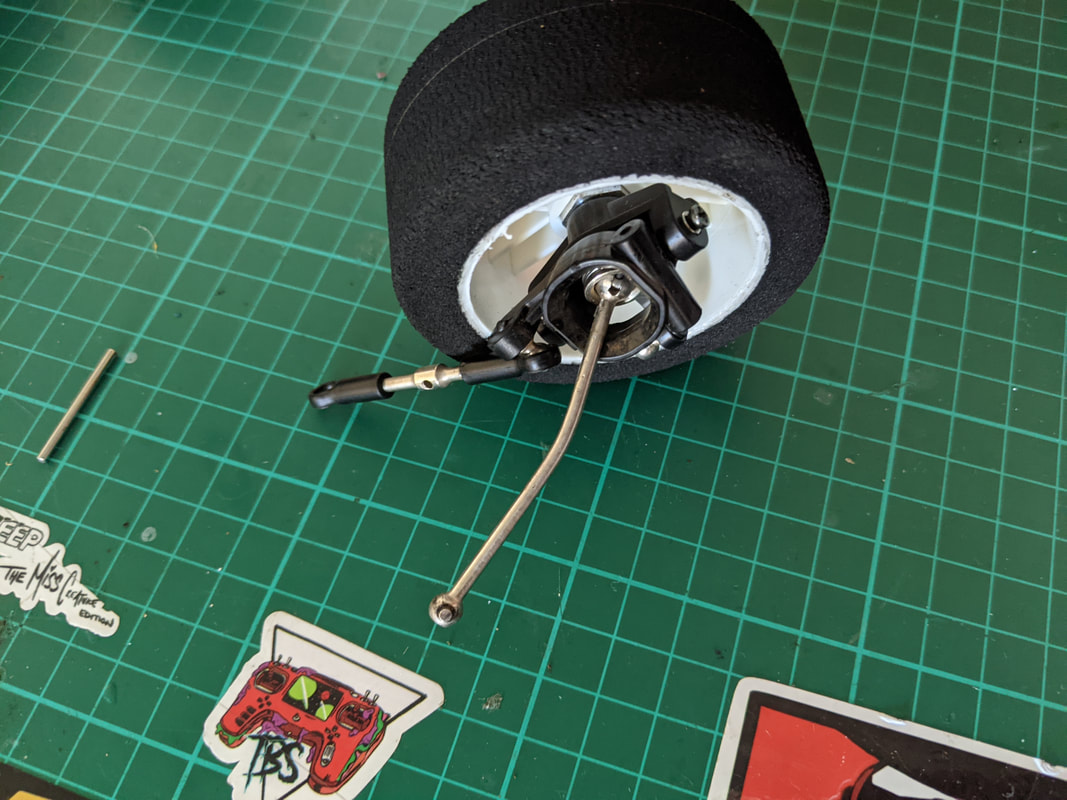
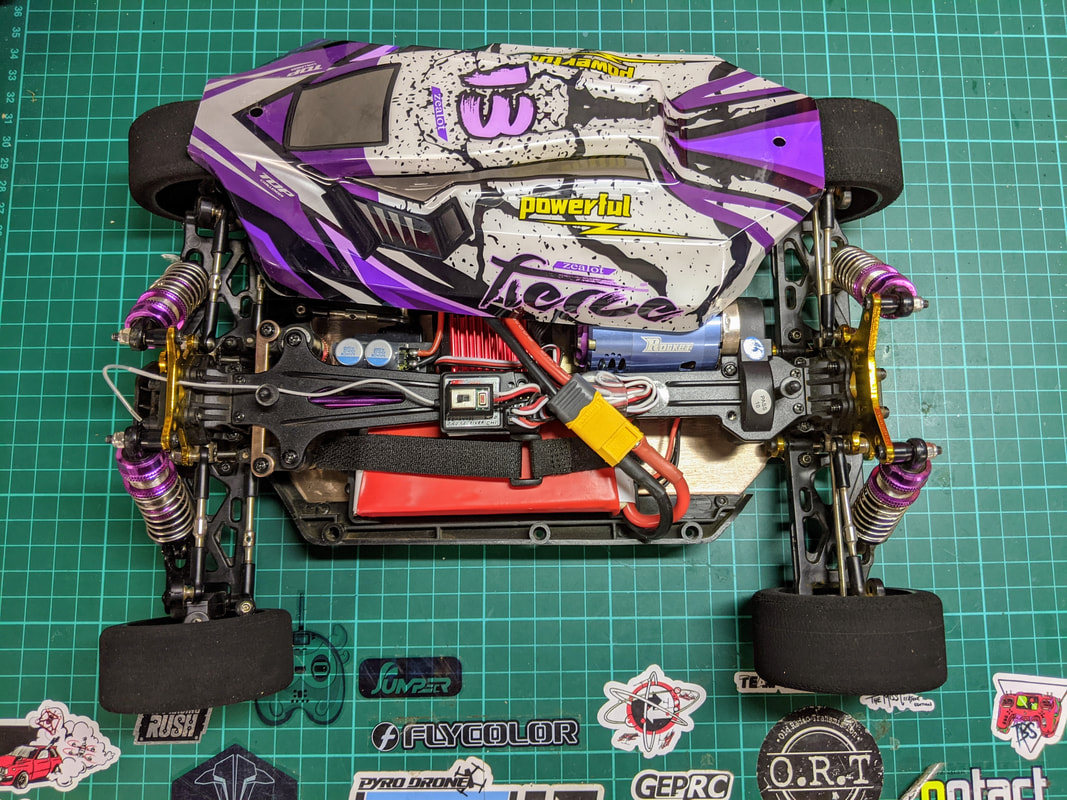 Cable management completed. The bod came on and off a lot during this stage because keeping the body low profile is really important to me Wheels Simply put the stock wheels are no good for speed runs. Grip can be ok in dry conditions but they ballon badly as you approach 100kph and they become very squirrely as a result. I had them up to 109kph in this car as part of my drop in brushless upgrade build but it was terrifying! Sponge tyres are crucial in this application because they do not balloon up. The community standard is the contact 1/10 scale touring car foam tyres which are available in black in white. They are 26mm wide front and 30mm wide rear but have a diameter of only 65mm - 10% less than stock. The good news though is that after a little searching and testing I have found a different variant of contact tyres that are 70mm in diameter - only 2mm smaller than stock wheels. These are the Contact Drag Racing Front 32mm Wide Tires (30 Shore) w/12mm Hex. The larger size is hugely useful on stock gears and should allow for a 10% higher top speed compared to the smaller 65mm contact wheels. I recommend front for both front and rear wheels as the rear "drag" tyres are too wide and will cause unnecessary aero issues. I bought all my contact foams from Amain Hobbies.
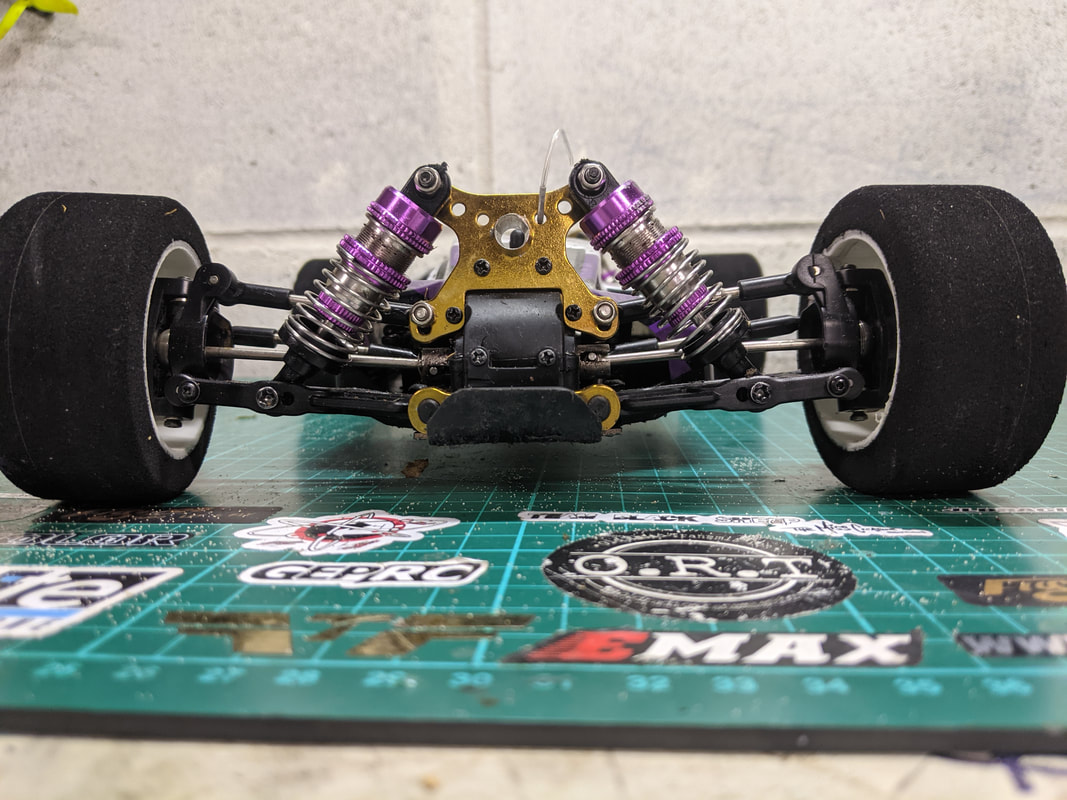
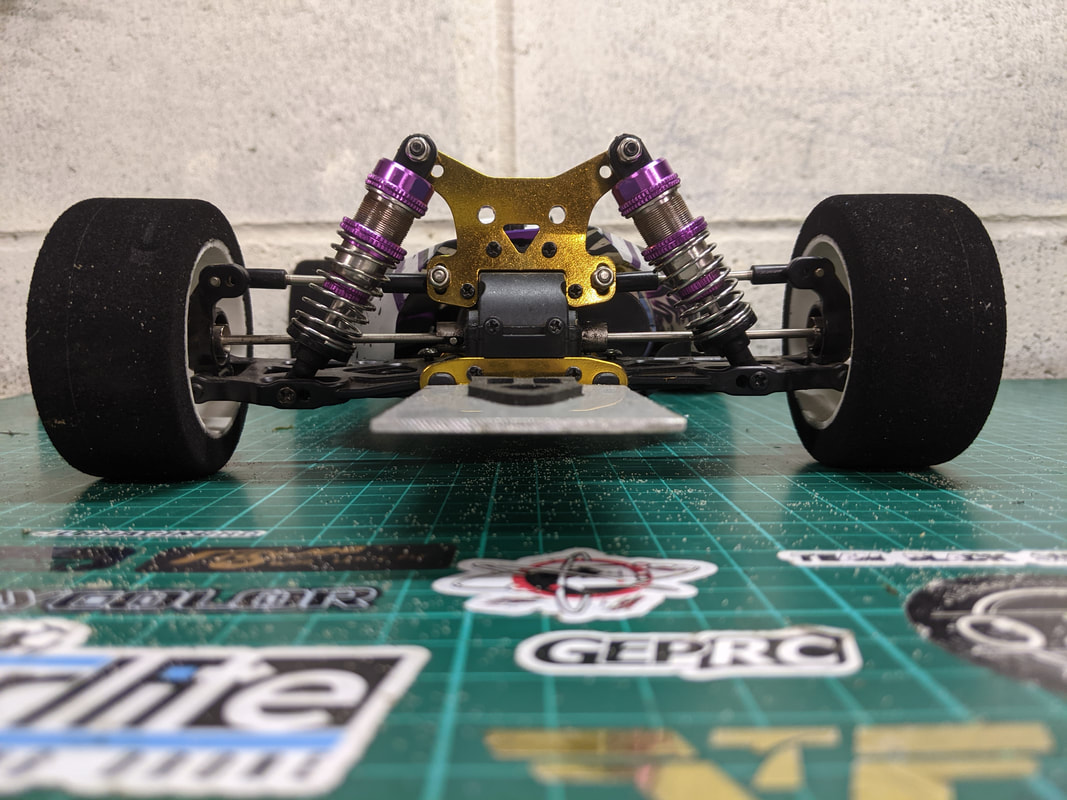
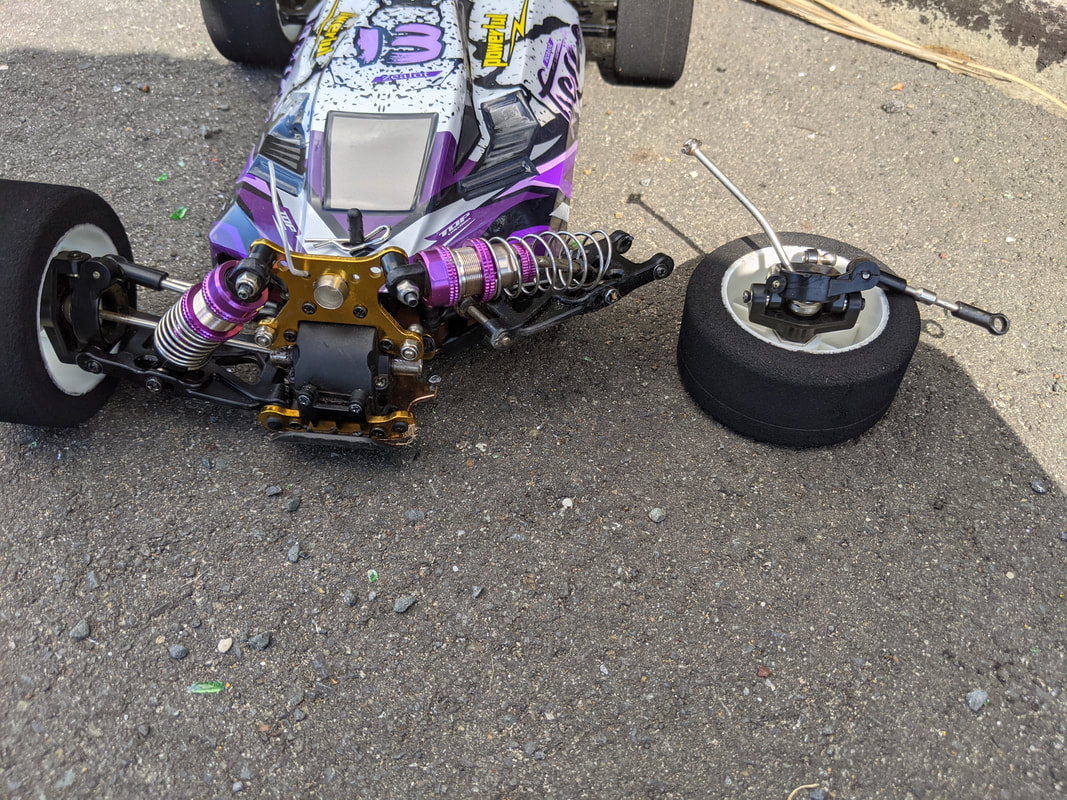
Suspension Because this is a very small car that will be going very fast, there is very little wiggle room for bumps and dips on the surface you run on - you are going to need a VERY smooth road or surface that is suitably long - ideally 200m plus. In this case your suspension will be doing very little so you need to make it as stiff as possible to stop weight transferring to the rear under power (which will be most of your run). Set your droop screws to drop the car right down low at the front so your drive shaft are just below parallel with the ground (if you need details of the droop screws read this article on tuning the 124019). Set the rear so they are just above parallel with the ground. Then wind the spring pre-load collars down as far at they will go. By this stage your suspension will be doing very little and if you are REALLY confident on the flatness of your surface, you could replace the shocks altogether with tie rods. By the way the rake the you have created on the car is very important to the aero and I'll cover off why there.
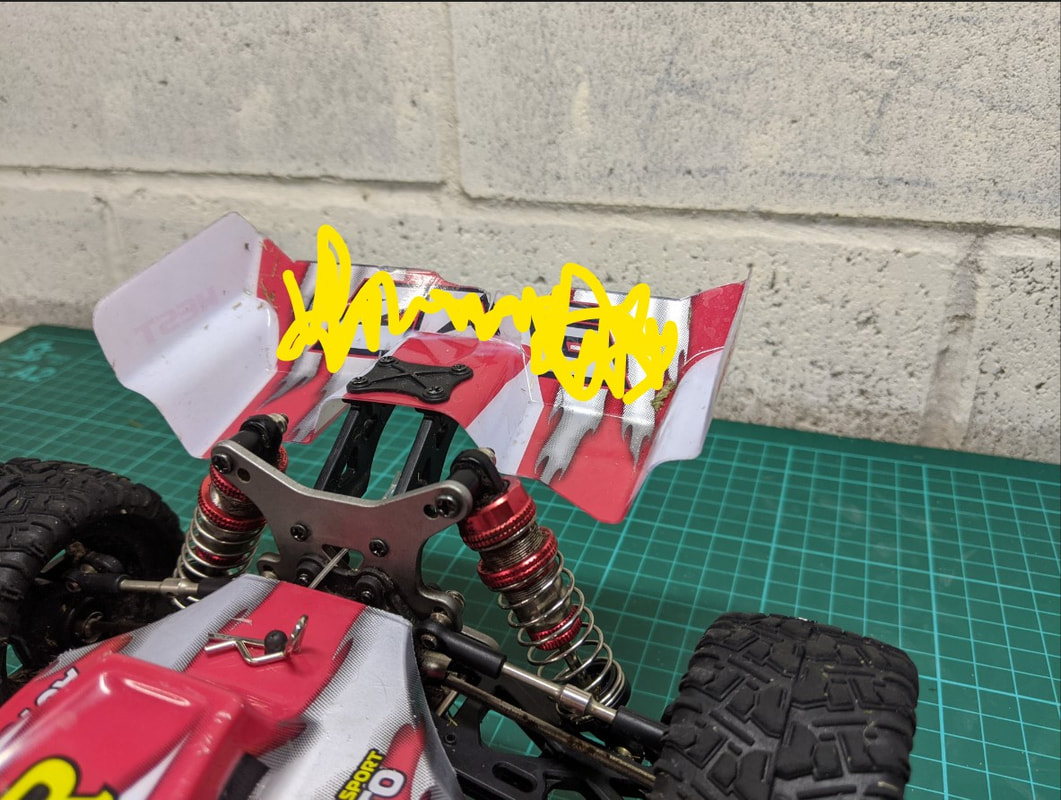
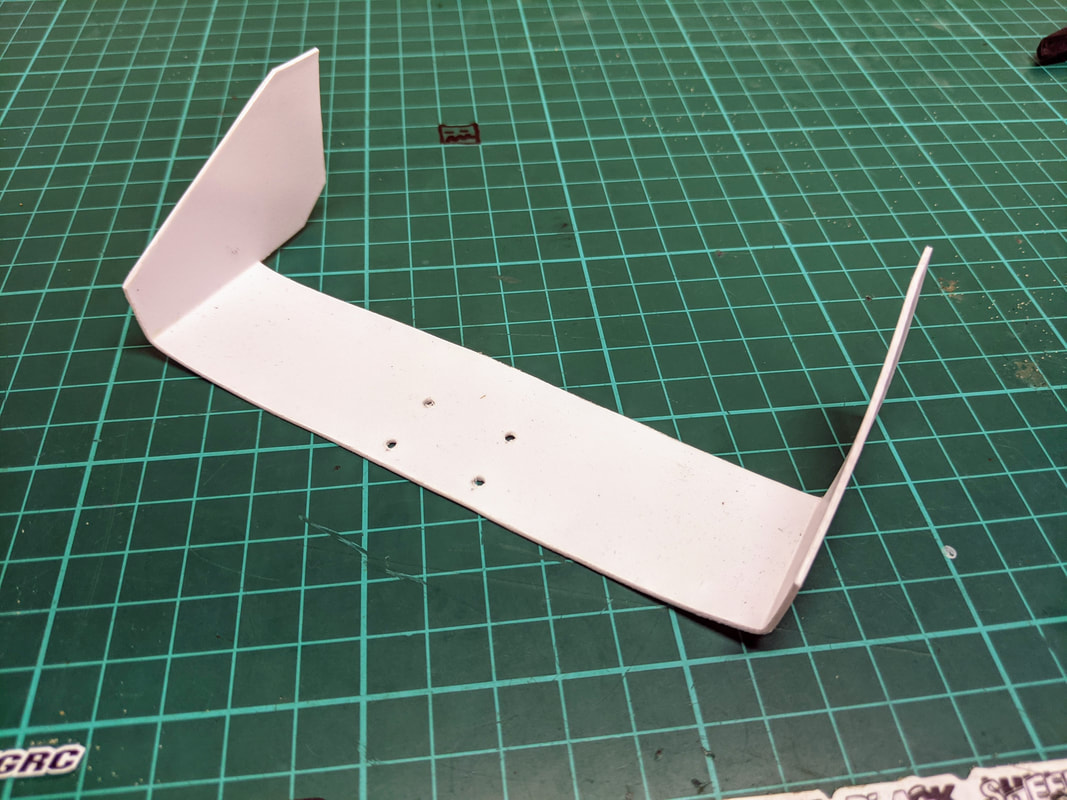
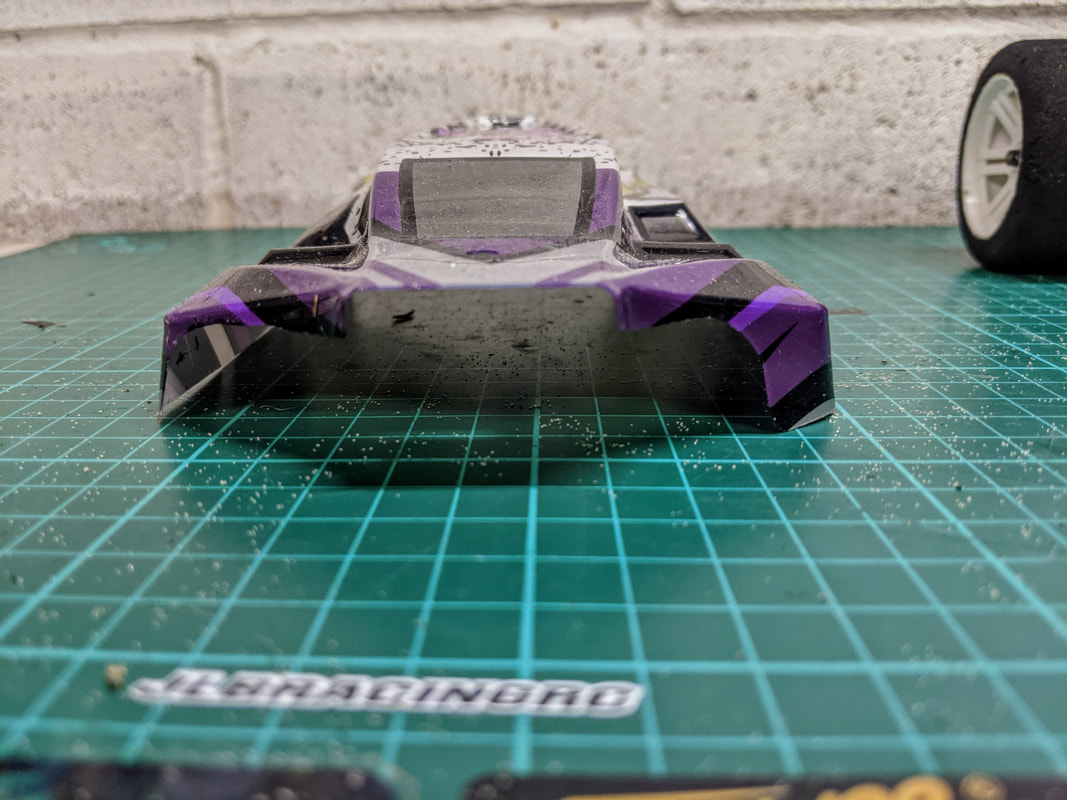
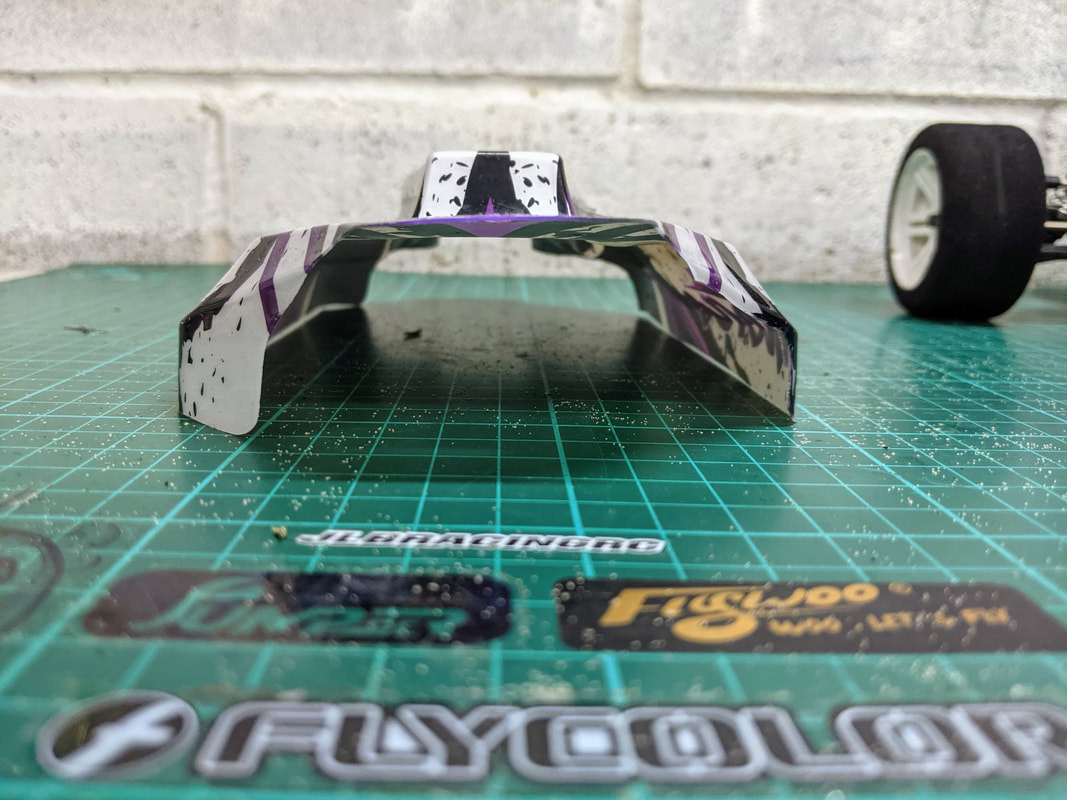
Aero If you leave the rear wing on your car as is, the car will lift at the front over about 60mph/100kph and it will flip. You will break things. This is because the rear spoiler actually creates significant downforce at this speed. You now have two options, the first is to create more downforce at the front. Makes sense but downforce = drag which is exacerbated at high speeds. I don't believe in this solution for a straight line car where cornering is not required. The second option is to reduce downforce on the back. If you wish to keep the stock spoiler then you can remove the sections that are not parallel with the road i.e. those that create downforce as can be seen below. Alternatively you can use a different spoiler with no downforce sections. I highly recommend the one that Michael Koebbe makes - he has some of the fastest WL toys cars in the world and knows his beans. He as also kind enough to send me one of his wings out, you can see it below.
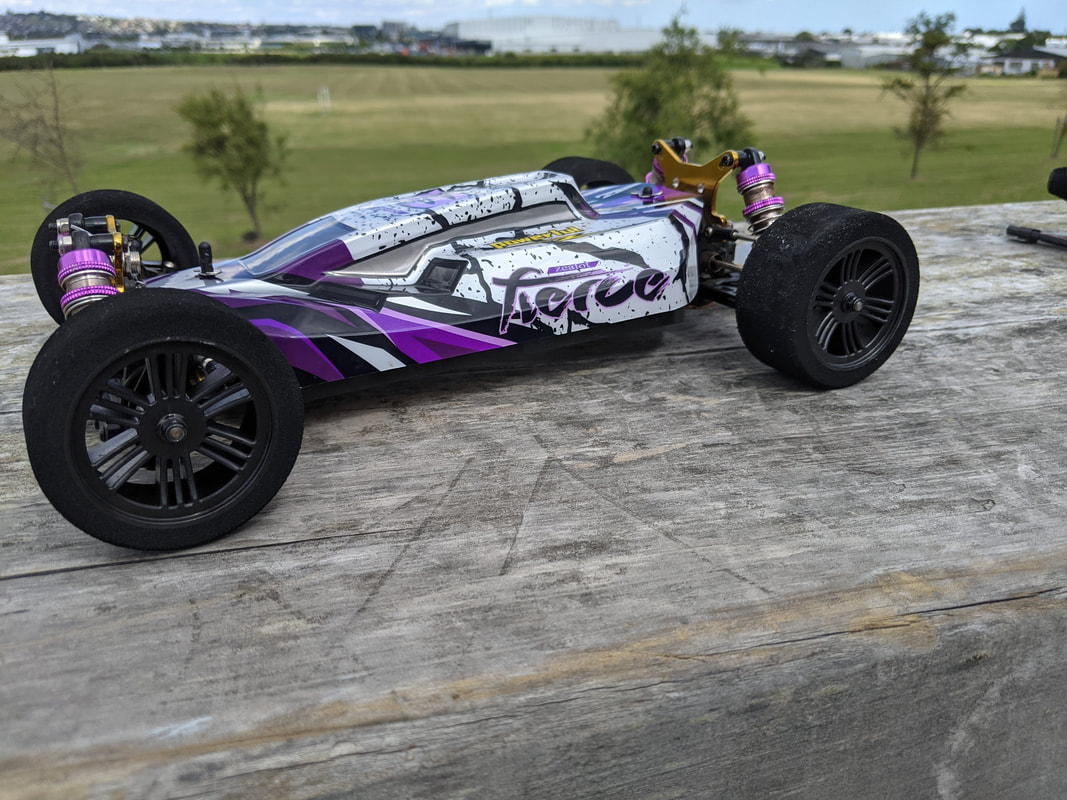
I've chosen a different route here though and have omitted the spoiler altogether. Functionally I just don't think it does anything particularly useful on a speed run car other than perhaps a little lateral stability that I don't really miss. Remember that rake I added to the car with the ride height lower at the front? That will use the entire body for downforce just a little and more appropriately pushed the car to the ground in the right place. Yeah it doesn't look as good but it does make a lot more sense (to me at least)
Speed measurement
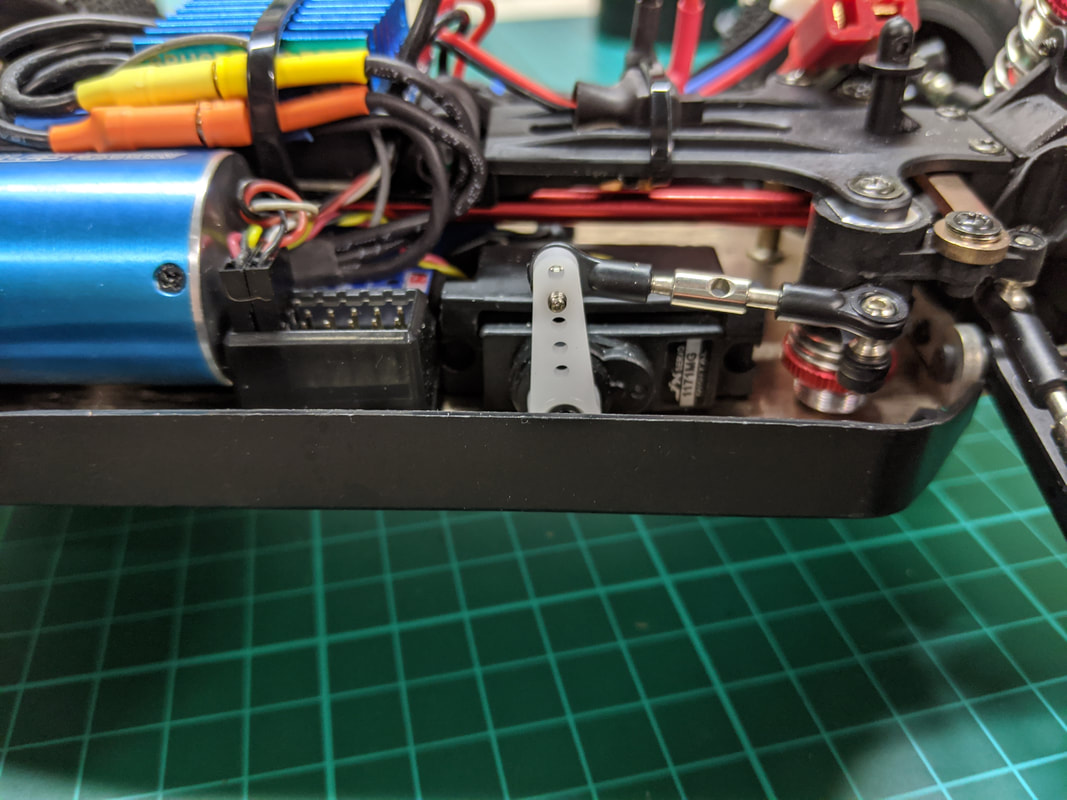
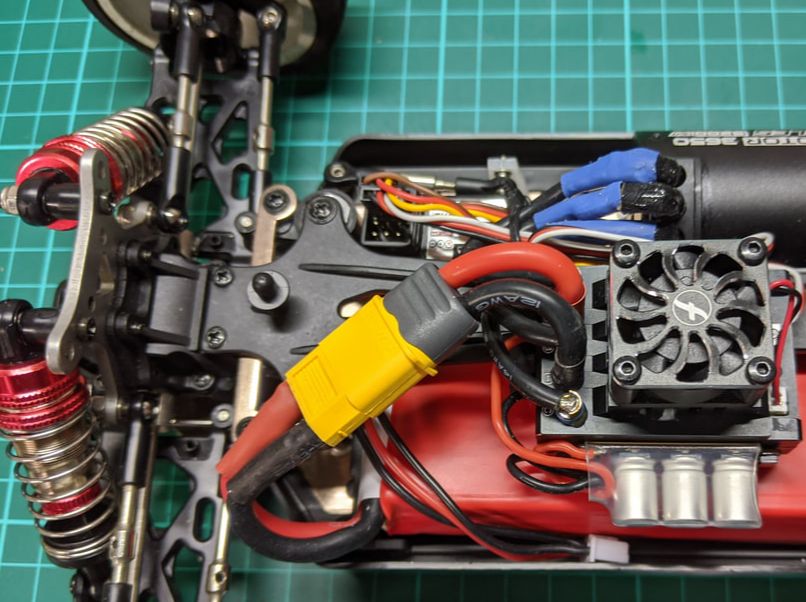
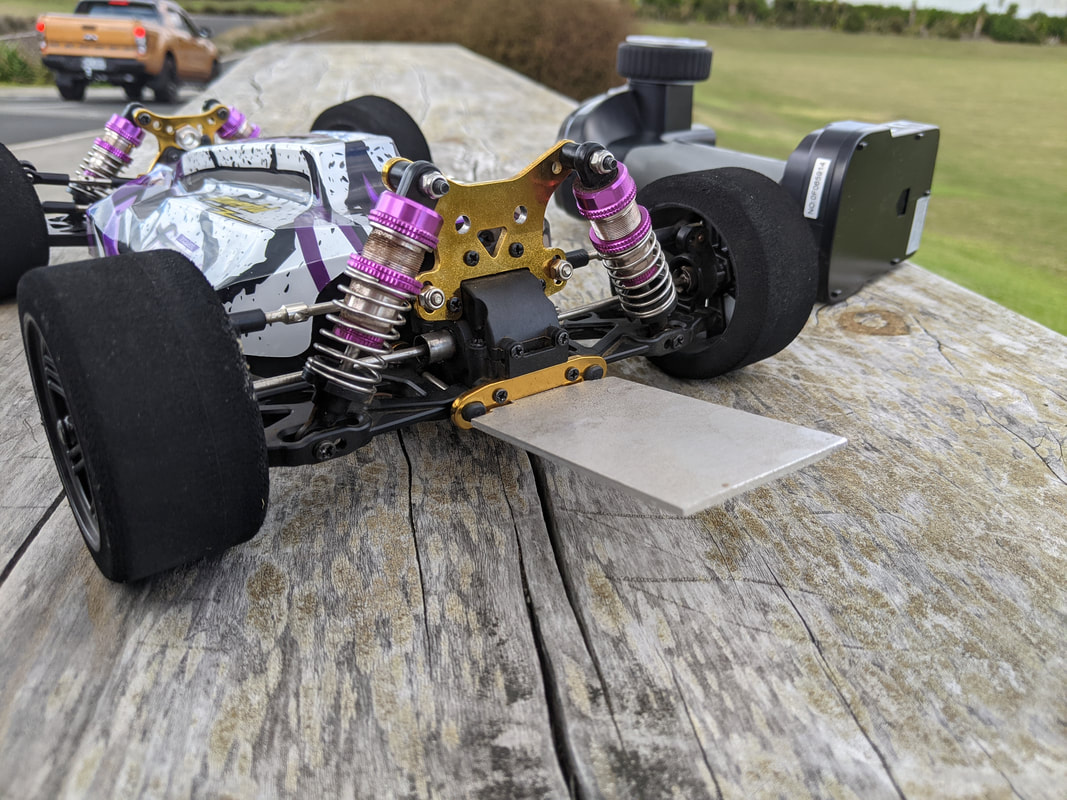
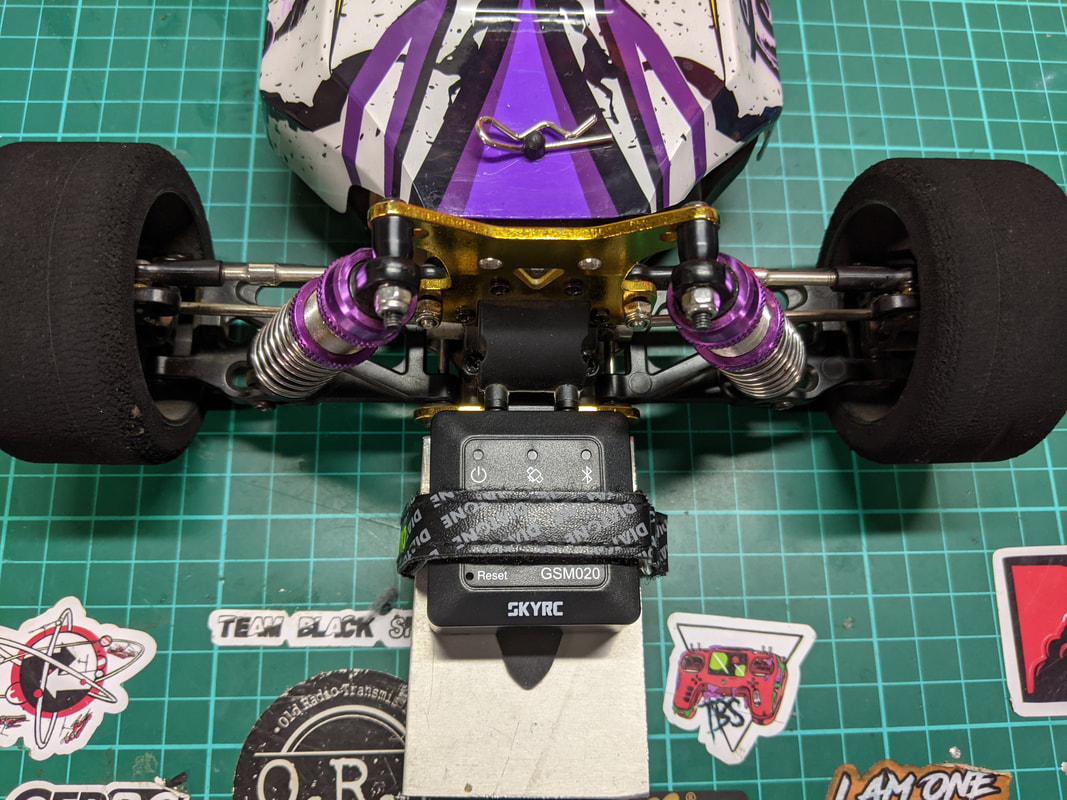
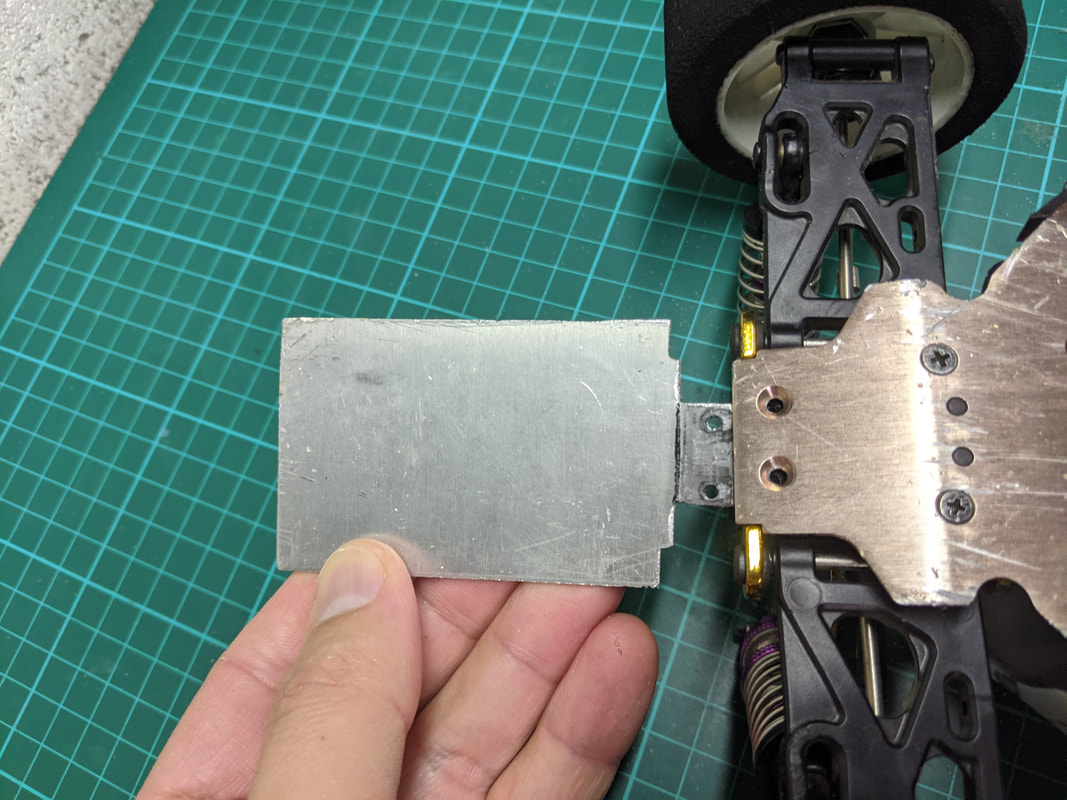
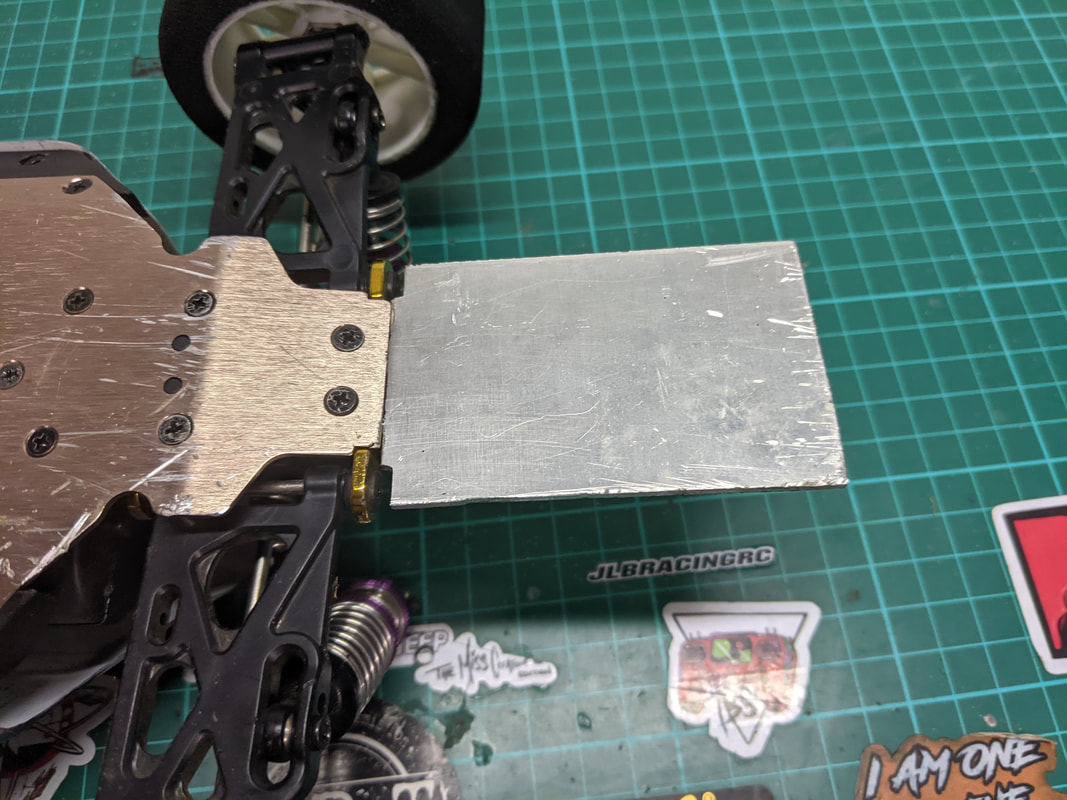
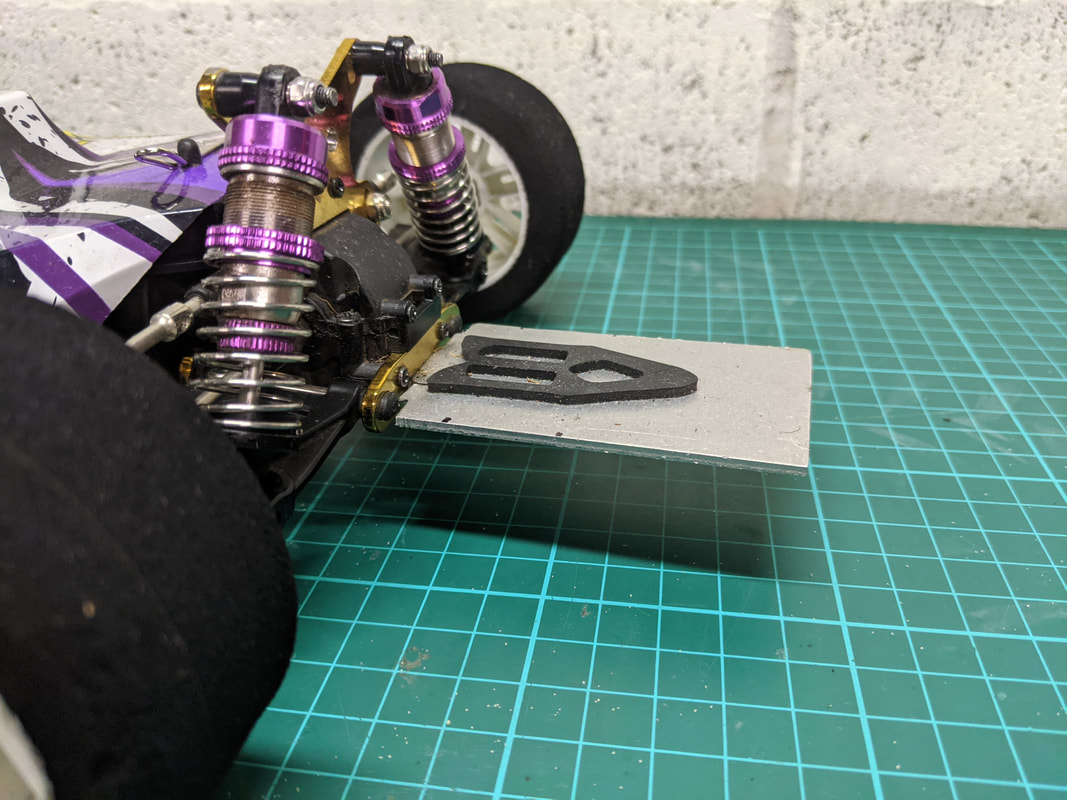
Since there is not a lot of room left in the car to mount the GPS unit, I made an aluminium tray in place of the rear bumper that holds the GPD safely behind the car. This took about 20 minutes to make out of 2mm aluminium plate with a hacksaw, drill and file. This also doubles as an anti-wheelie plate. If you lack the confidence or materials to make, get in touch with Michael Koebbe as mentioned elsewhere - he makes a limited run of these by hand.
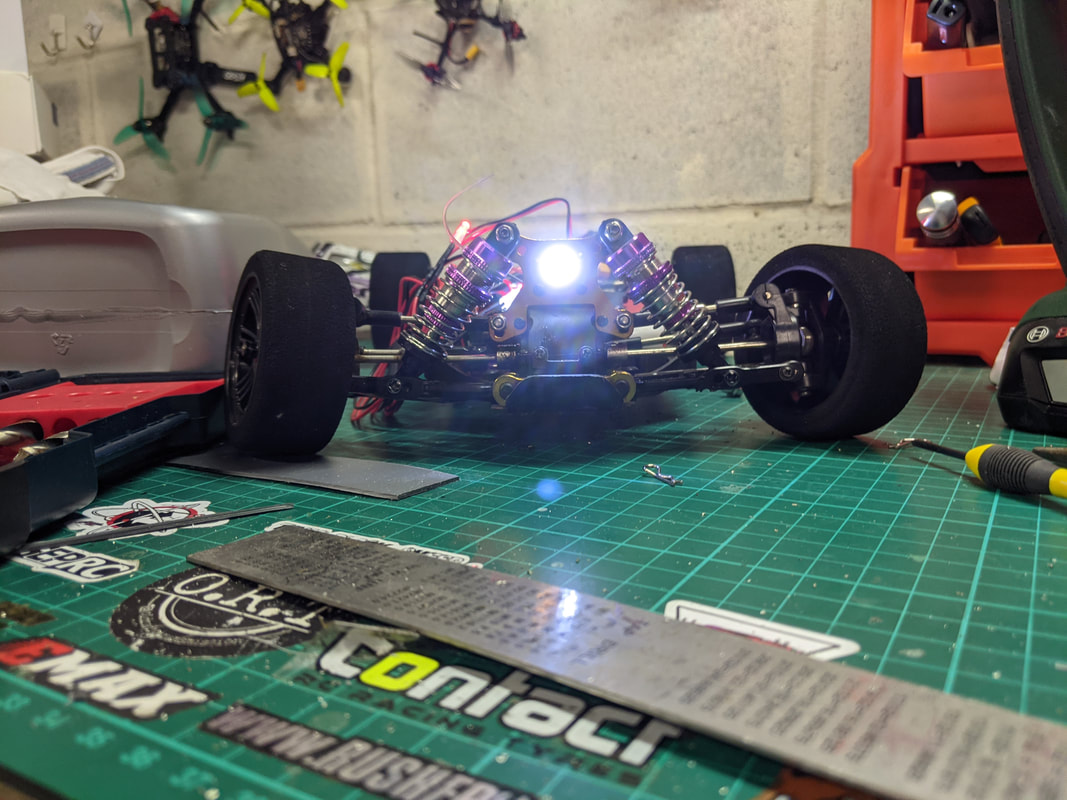
Useful tips I've learnt along the way What I've done above is fairly formulaic I feel but there are a few little things I've learnt along the way that makes my build a little better and I'll show you them all: Add A cheap LED bicycle tail light to the rear, F1 style. Before I strapped on my GPS, I strapped a $2 bicycle rear LED to it. This allows me to see the car better at a distance and of course allows me to run further into the evening. It also make locating the car easier in a crash 😥. I used this one which comes as a set: LED Silicone Bicycle Front Rear Light Set 3 Modes Waterproof but you can buy them singularly for as little as $1 as well
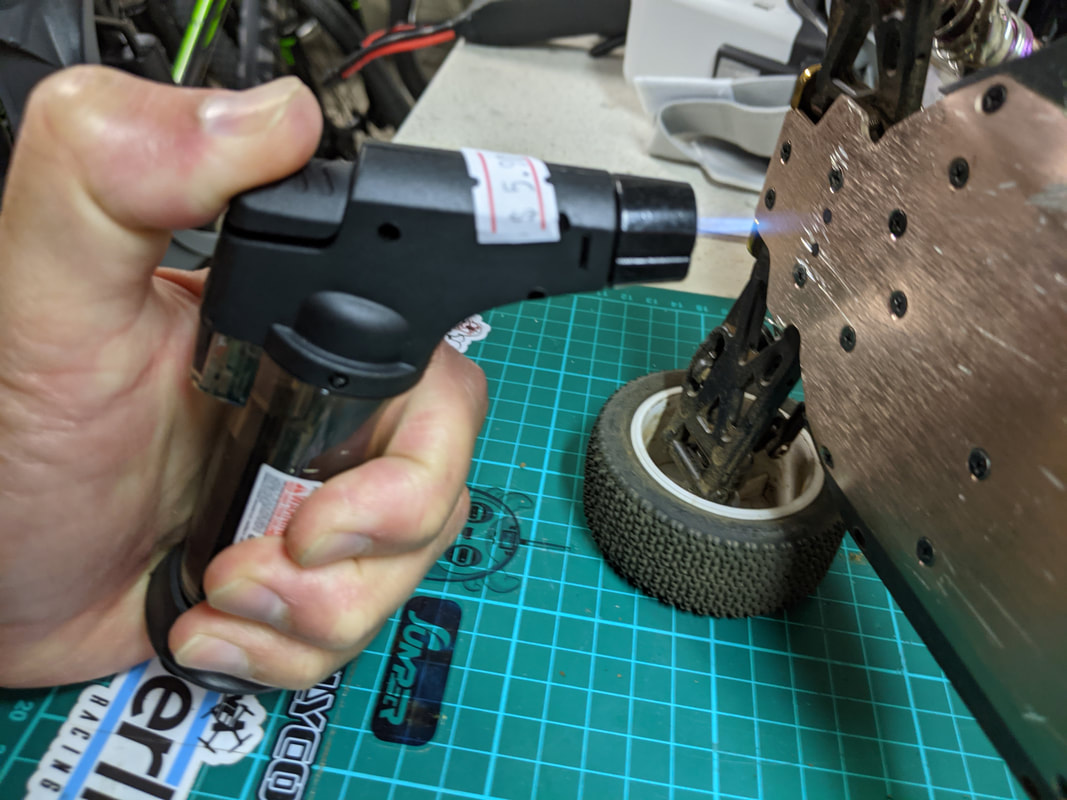
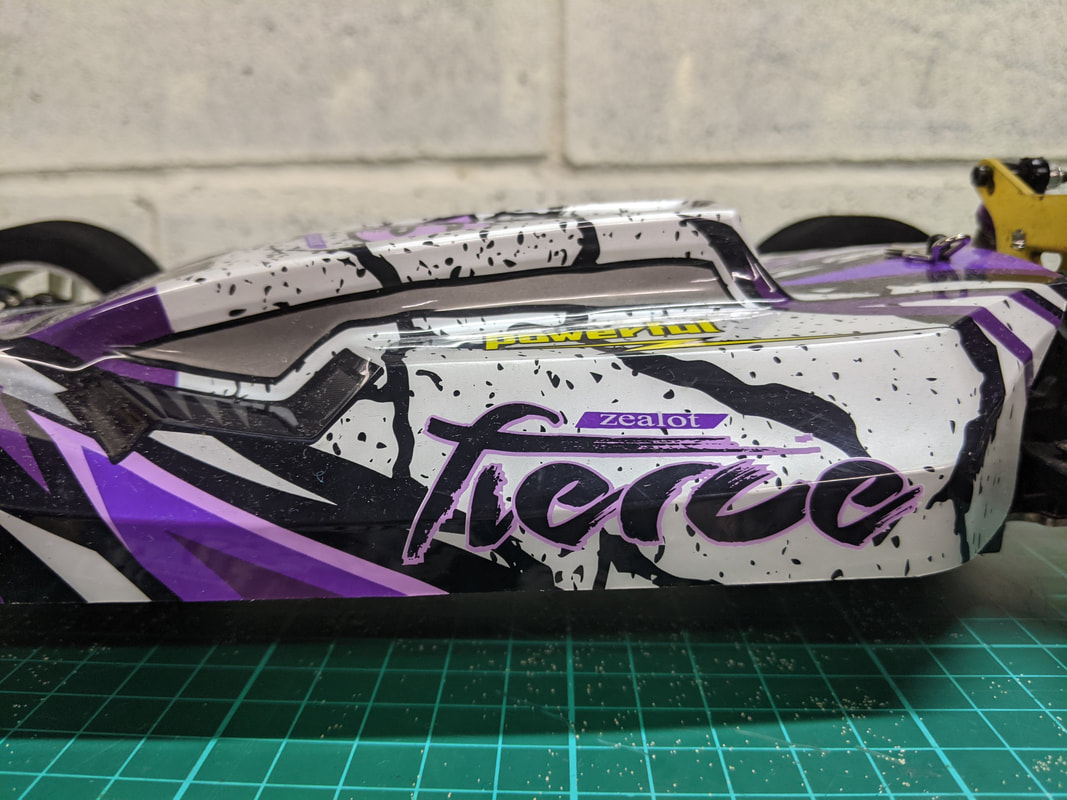
Allow the body to sit as low as stock by heat moulding. I'm not a fan of raising body posts on these cars to fit the electronics. I still want the low profile look. With that much extra gear in and particularly the way the motor wires exited the ESC end entered the motor that was an issue. To get around this I got the cable management on the car as tight as possible, clipped the body on and LIGHTLY heated the areas where it was fouling. This made the body shell bulge a little in those areas but it is practically invisible given how busy the body shape, paint and decals are. My heat source was the cold part of the flame on a cigarette lighter. Go very slow - you only need a tiny bit of heat!
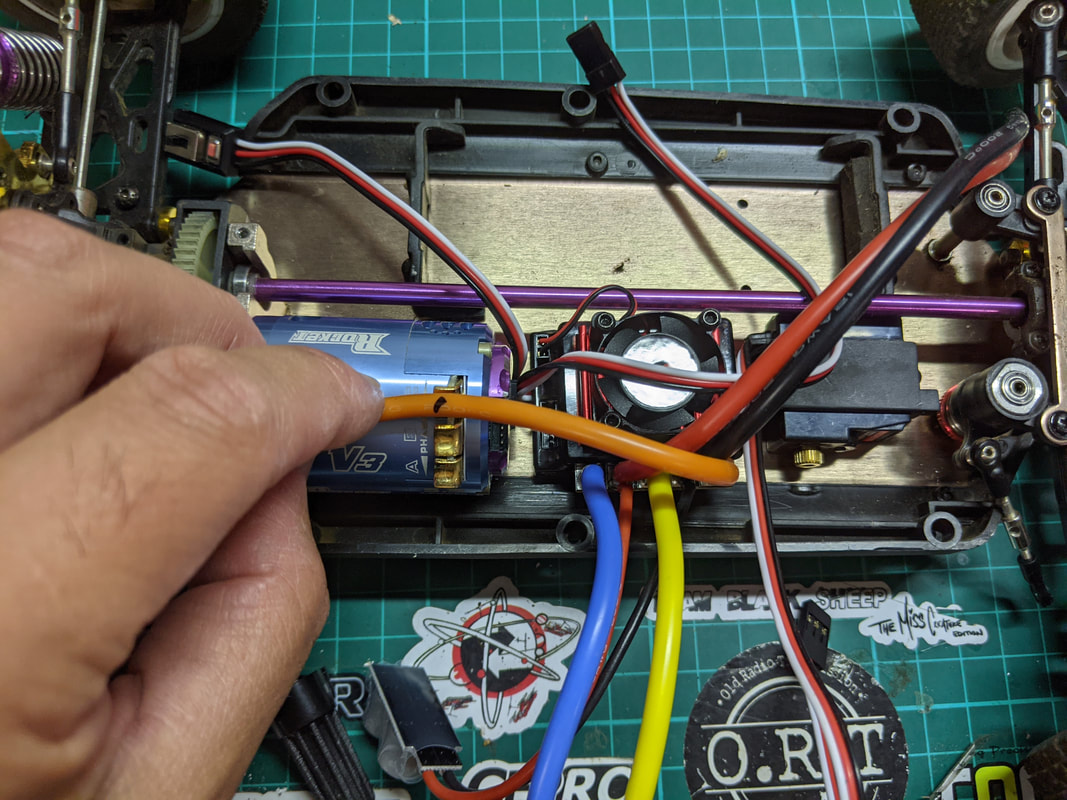
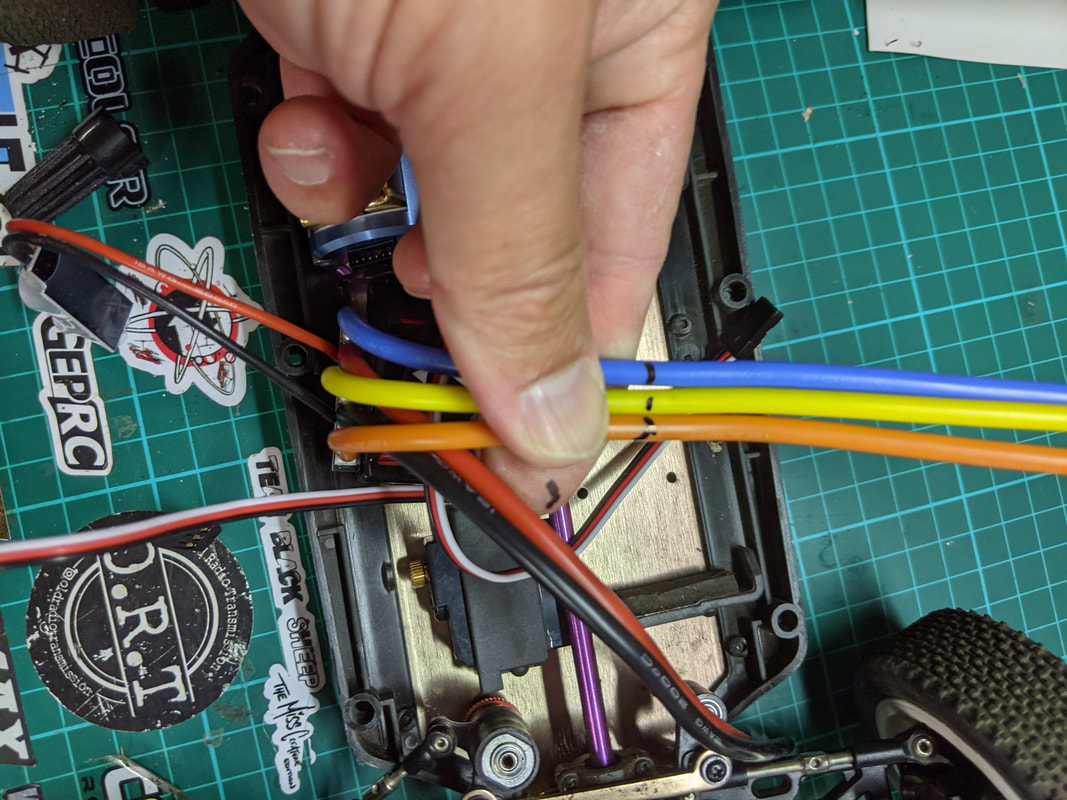
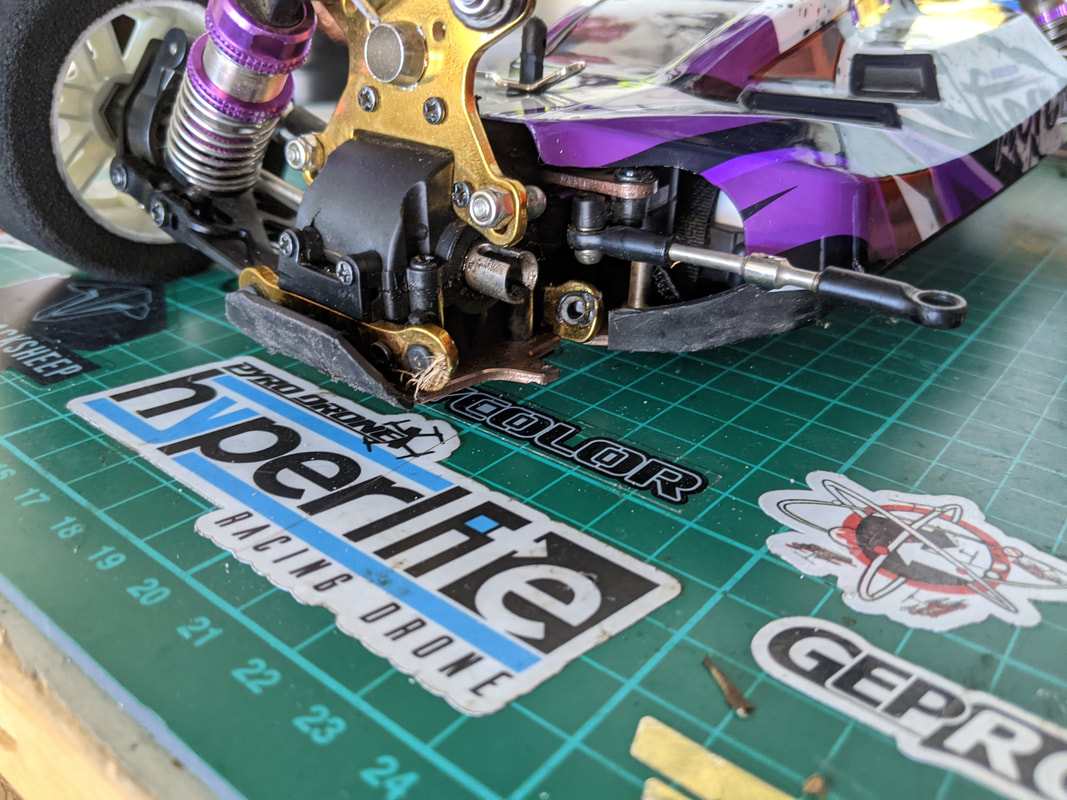
Increase airflow to the ESC, motor and battery. This is an easy win, you can take advantage of the large airflow of speed running by directing a small amount through your car with emphasis on through rather than into. By that I mean that any air that gets directed into the car needs to be directed out - see below in the pics for what I mean
Remove ESC Fan if it is safe to do so. First some theory. Under load a burst of heat is generated by the mosfets and this heat is drawn away from them by conducting it into the heatsink. The heatsink rises in temperature and the heat difference between this and the surroundings is the driving force that sheds the heat from the heat sink. An active fan or airflow improves this heat transfer by increasing the convective heat transfer coefficient. If the burst of heat generation (i.e. passes) is less than that ability of the heatsink to shed heat think it will remain at a warm or cool temp. If it is greater it will heat up over time. The interesting thing about speed runs though is that we only do short burst of runs compared to bashing or racing where we are on the throttle a lot more. Experiment with the fan on and off to see if your ESC can handle this - you should be able to hold your finger on the ESC for 3 seconds or more without discomfort to be safe. The call to remove the fan or not depends on your setup and driving style so only you can make that descision for yourself.
How to drive for speed runs Driving for speed runs takes a lot of patience, courage and luck. First get familiar with how your car moves and see that you are happy with braking (mine had to be increased). Next, after ensuring that your steering is of course dead straight and correctly adjusted (see this guide for how to tune that). you'll probably want to turn your steering dual rate down so you have more resolution - you don't need larger amounts of wheel turn for driving in a straight line - just enough for the u-turn at the end of each pass. Now you car is ready you'll want to drive away from yourself as far along the road as you are comfortable. Don't forget you can build this up as you gain confidence and experience. Turn around so your car is facing towards you along the roadway. Then SLOWLY squeeze on the throttle and don't worry about trying to hit 100% - you might not get there for a while. These build have so much power that any sudden increase at practically any speed will result in wheelspin and loss of control. Again - build up to it. Ideally you want to get to the point that you are moving in a straight line at full throttle for a number of seconds which allows the car to wind up to full speed in a controlled manner. Feel free to experiment with throttle dual rate and lower cell counts to work up to it if you want. This way you can always have another pass but if you push yourself too quickly you will crash and crashing at these speeds you will break something, usually multiple parts. Speed running is not for the faint of heart in this manner. My speed run results - the end? 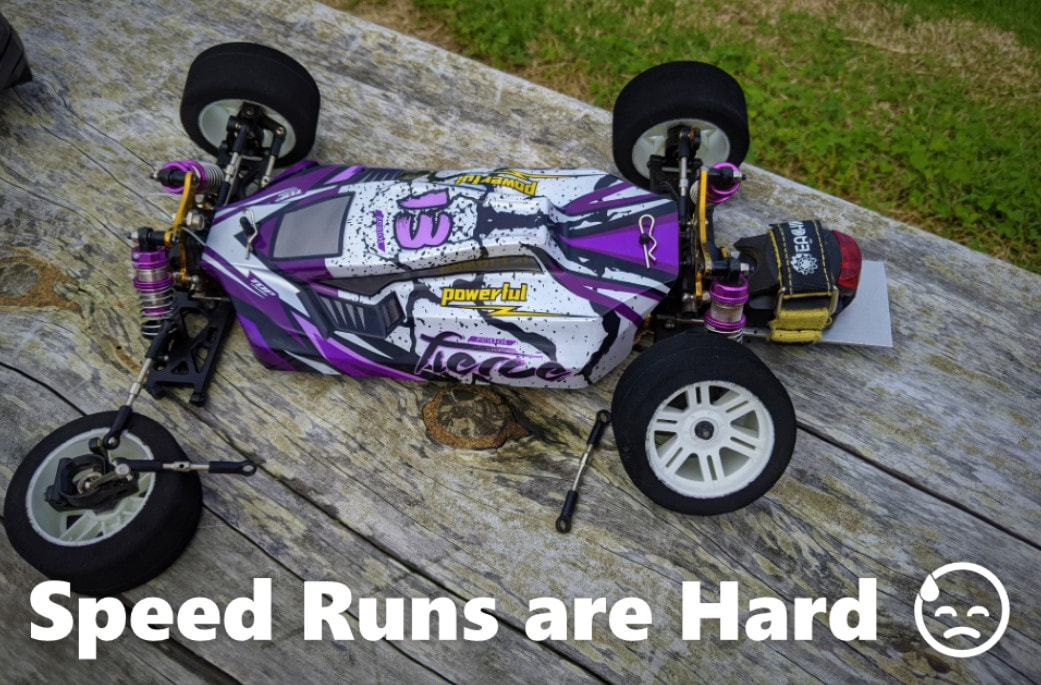 So how did my speed runs go? For me disappointing. I simply don't have the right surfaces around me for this. When I forced myself to run in a less than ideal spot then you get exactly the result you expect - a crash. I had plenty of those but other than needing to replace a front swing arm, everything I damaged could be bent back into place including front hinge pins, hinge pin carriers, front drive shafts (both of them) and even shock absorber shafts. All of these were tapped back to straight using small taps of a hammer on the anvil surface of my vice. Extra special care is needed to get the driveshafts straight because of the speed they rotate at. I was luck though, most of my speed was scrubbed off before impact. If you crash anywhere near top speed then you may need a brush and dustpan to collect the car.
Parts used in this build
Next steps to get more speed I believe there are 2 key factors that would ultimately limit this car to around 90-100mph. First would be gearing. As a result of the smaller wheels needed to run this safely, the effective gearing is reduced. Ideally there would be a 80mm foam tyre available but these simply don't exist. In order to change to a lower drive ratio (higher speed) the most common approach is to go to mod 1 gearing - not because of the larger teeth but because you can get very large pinions with a 5mm bore that bolt directly on to the drive shaft, replacing the pinion. If this is something you are interested in I'd recommend visiting the 124019 speed run group, there is great information and helpful people there. Michael Koebbe as mentioned earlier sells custom strengthened drive shafts for exactly this application. Upping the gearing will place more demand on the power system and the next weakest link in this chain is the battery. In order to get enough current to power this car you need a larger battery. The downside to this is that it will not under the body and it unbalances the weight distribution for the car. My recommendation instead would be to add pods to the side of the chassis so that you can have 2 x outboard batteries on either side that sit between front and rear wheels. These batteries will need to be connected in parallel and this effectively doubles the max available current from the batteries and of course double the capacity. After this things start getting expensive - bigger ESCs, bigger more expensive motors and even more cells; up to 6s - the sky is the limit. Thanks for reading, if you found this article useful please feel free to like or share, the facebook links below directly link/like this article. I don't believe in asking for money by patreon nor by paypal but if you do wish to help me, the affiliated links in these articles help me buy the bits and services I need to produce this type of content. If you are looking for RC cars, quads or parts check out my coupons and discounts page which I keep updated with only the RC cars, parts and quads I like at a proper discount
|
Categories
All
|


 RSS Feed
Thanks for visiting QuadifyRC.com Follow us on facebook below to get all the latest updates