|
The ability to solder cleanly and safely is useful tool for RC car enthusiasts if you have more than a passing interest in the hobby. Like most hobbies, mass manufacturing in China has meant prices for tools and consumables have come right back but you'll need to make sure you have the right products. In this guide I'll cover some soldering basics as it relates to RC cars and which gear I recommend for the beginner to intermediate user that is budget friendly yet gives a good outcome.  I am by no means a soldering expert but even then I take my ability to get a good clean, and effective joint a little for granted since my dad taught me when I was very young. When I got into quads about 4 years ago this was crucial as you simply cannot fly FPV without being able to solder. With RC cars you can procrastinate the need to solder a bit longer through use of adaptor plugs and the like but at some point it becomes necessary when you want a reliable, safe and fit for purpose finish with your wiring. Getting the right gear As with any tool, getting the right gear is crucial. Of course you can go out and spend a fortune on the top gear but if you just want to dip your toe in with the minimal spend on half decent performance - that is the trick. Good news for you then, I've done this work for you! The equipment I will cover includes:
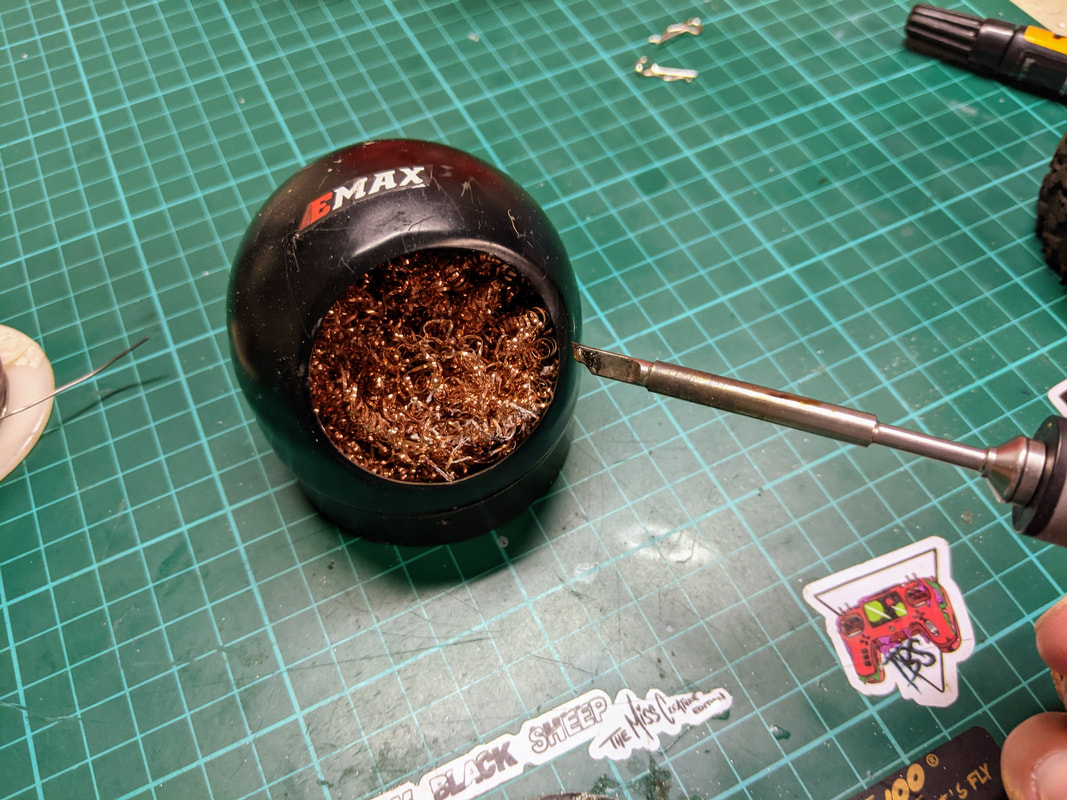
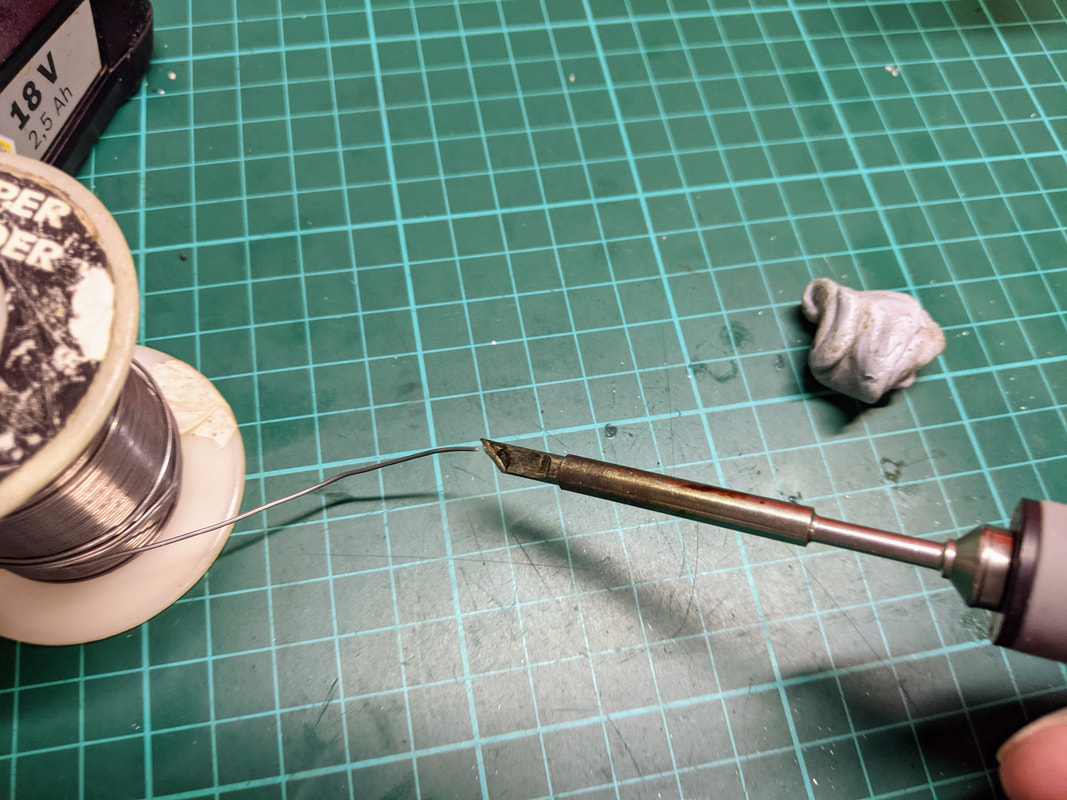
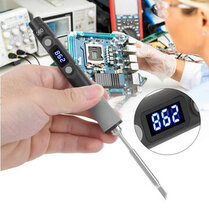
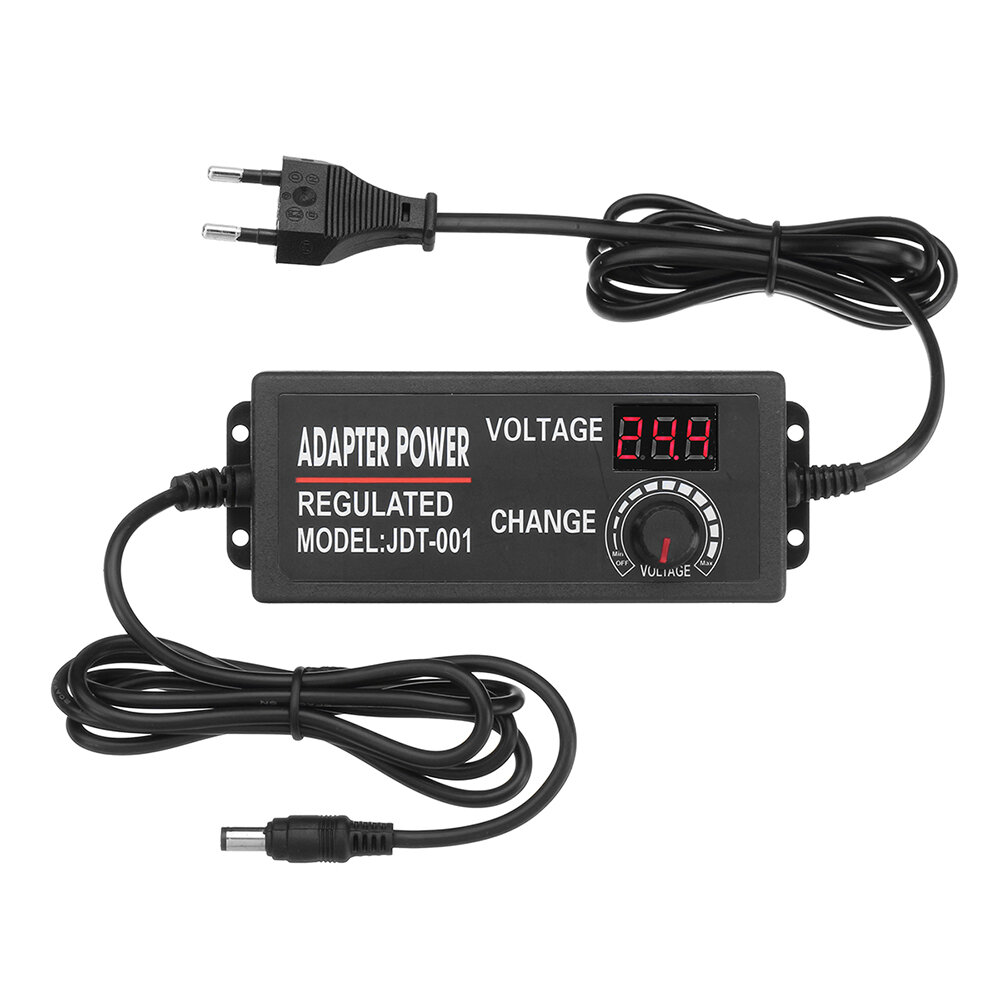
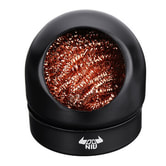
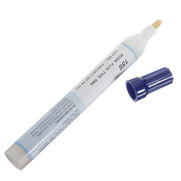
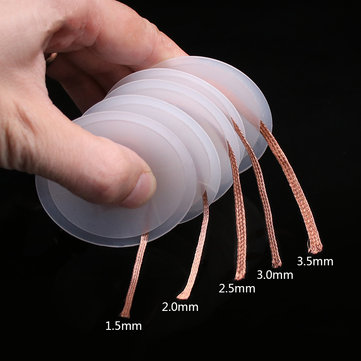
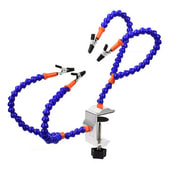
 Sequre SQ-D60 Soldering Iron Sequre SQ-D60 Soldering Iron Soldering Iron. The most cruical piece of equipment is now probably the easiest to choose - quite simply the SQ-D60 60W Digital Soldering Iron Station is amazing value for money for a precise, lightweight iron with tight temperature control, replaceable tips, portability, additional safety features and enough power to attach and remove connectors on large gauge cable. This iron is only $27 and has a temperature that is easily selected with two buttons and a digital display to the nearest degree. It heats up in under 10 seconds which is very convenient - old school irons would take up to 10 minutes so that is surely a win. It includes a cable to power off a lipo battery which is fine for the field but on the workbench I'd recommend a basic 24v power supply to get the most out of it like this one. I also have the TS100 soldering iron which was a long term favourite but the SQ-D60 mentioned above is 90% as good at a fraction of the price. 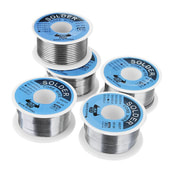 Solder. Solder is the soft metal that you melt with your soldering iron that physically and electrically fuses 2 electrically conductive items together - wire to PCB, wire to connector, wire to wire etc. The is simply no better electrical connection than a properly soldered joint, it is even more efficient than your best connectors. This is why the only place you will see connectors on power wires for a race car is not a battery and not on the motor. The best solder to use for both signal and power wires for attachment to connectors or PCBs is a tin:lead ratio of 63:37 I also like mine to have a little flux in it just to make it flow a little easier (more on that below). 60:40 is also ok, just not quite as good as 63:37 for the work we do. Whatever you do, avoid lead-free solder. Although it sounds like a good idea, it is simply terrible to work with. I like to work with 0.5mm diameter solder because I do a lot of PCB soldering for quads but for RC cars anything up to 1mm is fine. I prefer to get my solder locally but can recommend this one from Banggood in 63:37 with 2% flux in a range of diameters for about $4  Tip cleaner. Soldering iron tips get very hot (obviously!) which can speed up oxidation. Cleaning the regularly with a tip cleaner will extend the life and make for cleaner soldering jobs. The Sequre SQ-D60 soldering iron mentioned above actually comes with a small sponge to we with water and that is actually fine but I use this one from Banggood with a copper "sponge" that is a little larger and more sturdy: DANIU Heavy Duty Soldering Solder Iron Tip Cleaner Steel Wire  Flux. Flux is a chemical cleaning agent using before and during soldering. It removes the naturally occurring metal oxides from the surfaces you wish to solder and allows you to create and effective and clean solder joint. You can off course solder without flux but flux does make it cleaner especially where you want a good joint. Flux for hand soldering can be applied as a paste - I use a toothpick to paint it on the board or connector where I want the solder to flow. Alternatively it can come in a pen or syringe where you can accurately draw it on the surface you want. I'd recommend as a pen as it's easier and you don't need a lot, I'm just a bit old school that's all. These Kester flux pens are the ones I recommend. In practice flux will allow solder to flow more like a liquid in the areas you have applied which makes for a much cleaner joint and reduces the risk of getting a cold solder joint (more on that below). I always use flux where I have not solder before but don't tend to when re-soldering existing joints.  Braid or solder sucker. Sometimes when you are re-soldering you need to remove solder. I tend to melt it and draw it up on my soldering iron and flick it on to the bench like my dad taught me but appreciate this isn't hugely safe! Using braid is one option to tidy up - it acts like a sponge and use capillary action to draw excess solder up. This braid comes in multiple width options. Alternatively you can use a solder sucker which is essentially a syringe that doesn't melt quite as quickly although still has a limited life. These aren't critical but for the cost they are probably worth having around.  Third hand or Blu Tak. Picture this - you have your soldering iron in one hand and feeding the solder in another. Who holds the wire and connector? Although you can figure this IRL out I strongly recommend a set of third hands makes this so much easier and safer. If this is more than you want to spend, then Blu Tak (as it is called in NZ and possibly other markets) can do the job of holding wire or connectors too. Personally I use Blu-tak more because I'm cheap and lazy but I should really get round to ordering a set of third hands: these ones that clip on to your bench are only around $11 or these very flash weighted ones that can sit in the middle of your bench are $38 So, how do I solder then? Prepping the soldering iron. Firstly at all times remember the soldering iron when in operation is very hot, hotter than anything in your kitchen that can burn you so take care! Now, plug your soldering iron in and start with a set temperature of around 380°C (710ish Farenheit). Depending on power supply it will only take 10-20 seconds to heat up and you'll get feedback on the actual tip temp on the display. Next give the tip a clean with the tip cleaner of your choice and then melt a little solder on to the tip. This increases the contact area with the item you are heating for more effective heat transfer.
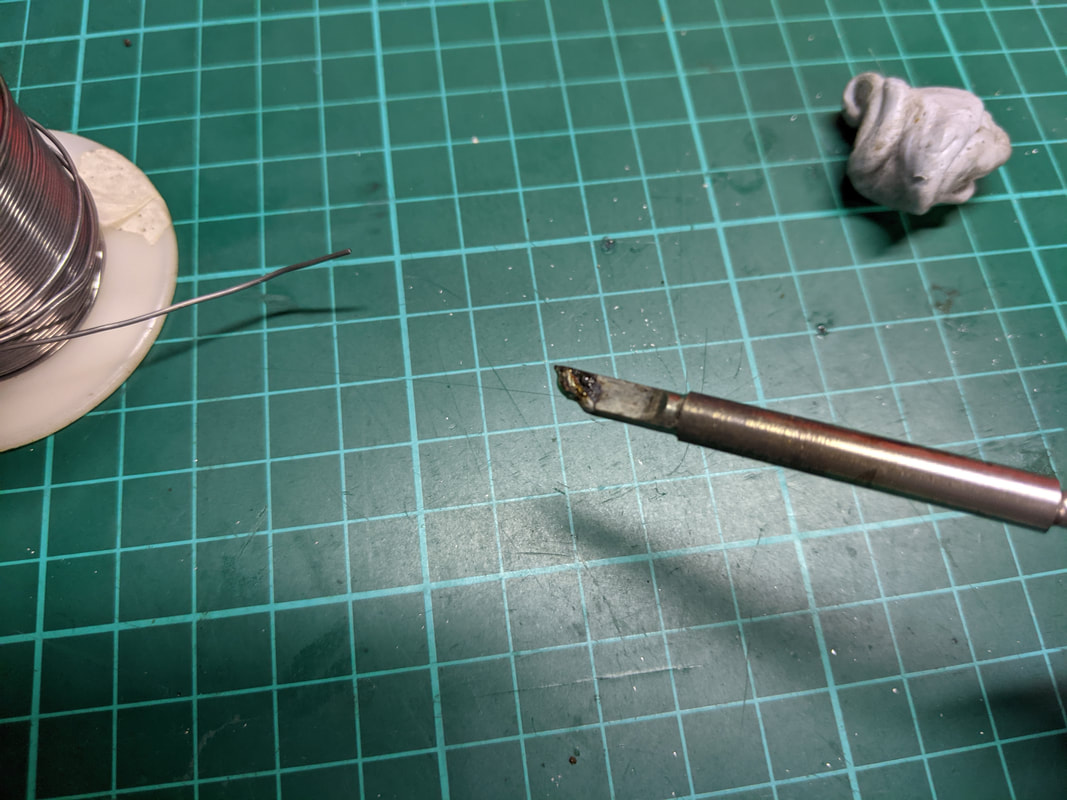
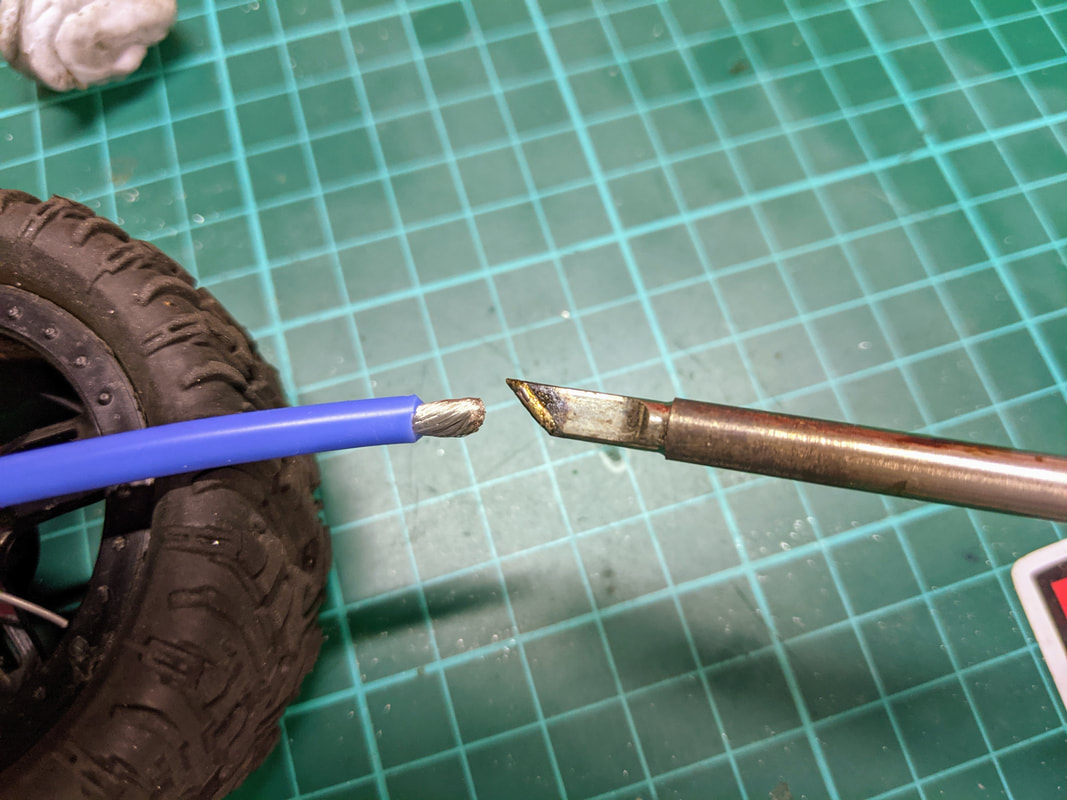
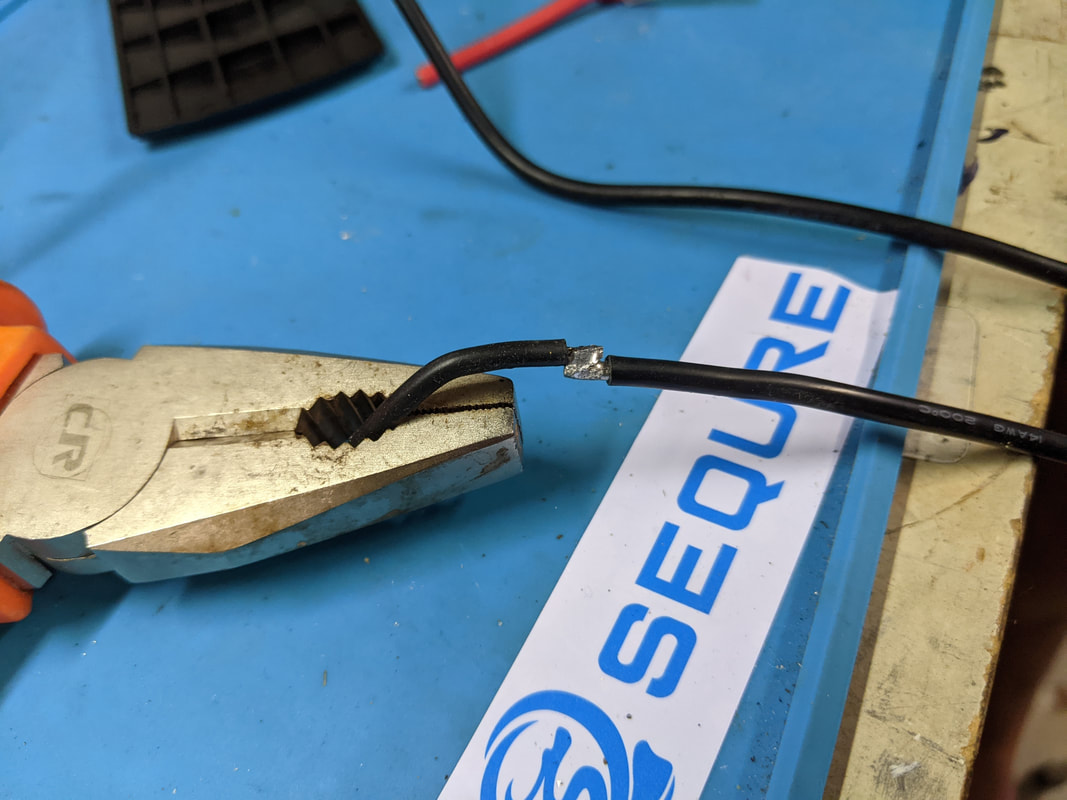
Next you will need to 'tin' the surfaces you plan to solder together which means adding a small solder coating on both surfaces you will later melt together to form a solid connection. Before you jump into soldering your expensive ESC / motor / receiver etc. I'd recommend practising with old, dead circuit boards wires, connectors etc. to get you confidence up because it's only too easy to get it wrong and let the magic smoke out... Tinning a wire. Something to remember is that electrically conductive elements like wires or connectors are also good heat conductors so they will rapidly pick up head from the iron and make the area you are holding hot - even when insulated with cable sheath or connector insulators. For this reason aim to hold your wire with your third hands or blu-tak as above. Once you have remove a suitable amount of insulation from the wire and have twisted the strands together, use that small amount of solder on the tip of the iron hold the tip against one side of the bare wire you wish to tin and then on the opposite side hold your solder wire. As the wire gets hot the solder will melt and wick into the wire through capillary action, not only coating the bundle of wire strands in solder but also between them. This will give the very best conductive solder joint. This is particularly important for power wires (all wires used between battery - ESC - motor) as a good connection ensures maximum performance. You don't need a lot of solder, just enough to see that all wire strands are covered. If this is too difficult, try feed the solder between the iron and the wire. Tinning a power wire may take a while depending on the wire gauge and solder iron wattage but tinning a signal wire (like a servo etc) will be very fast and only needs to be held on for a very brief time. Be very wary of hard acrylic wire insulation on signal wires as holding a soldering iron on even for a short time can cause the insulation to melt at the end. Sadly RC cars still use this crappy acrylic insulation where as quads have moved to silicon insulation - the same stuff on your power wires. Bear in mind you may want to take you iron temp up to 390 or even 400 degrees C on a heavy gauge power wire
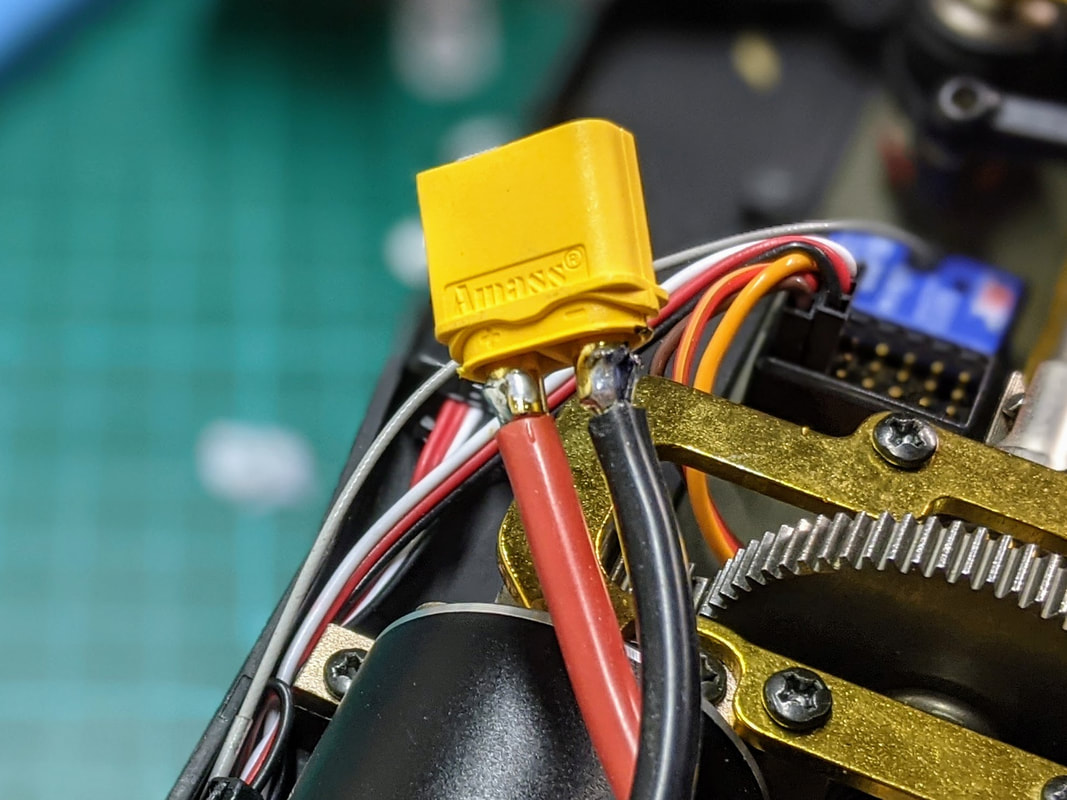
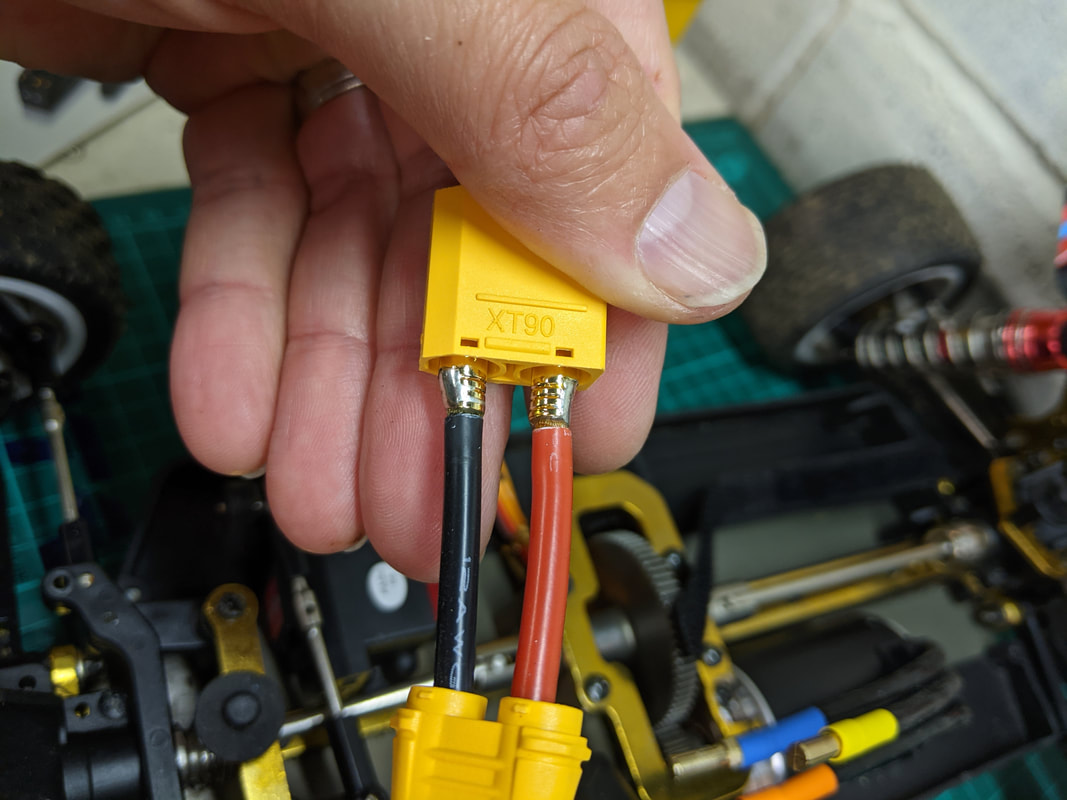
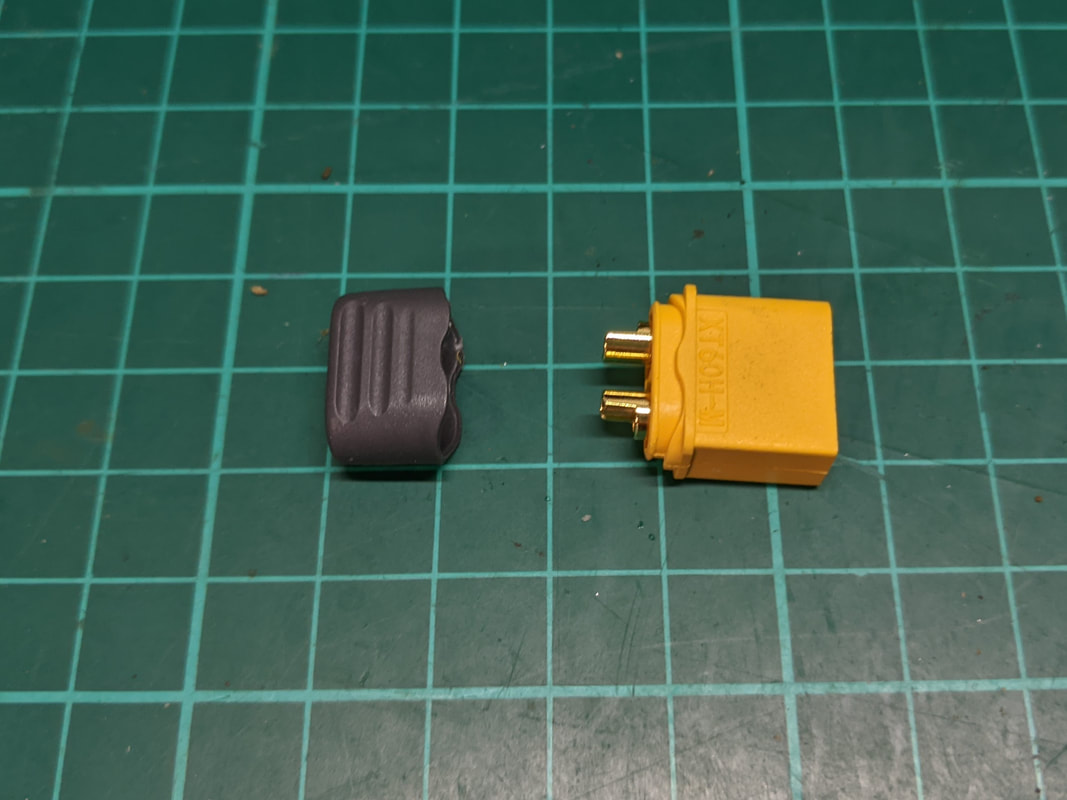
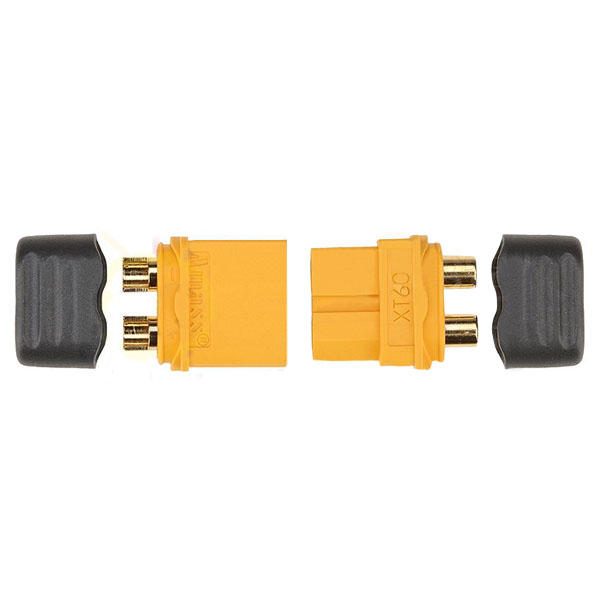
Tinning a connector. First add flux in the areas you want the solder to go. Look at an existing connector a battery or ESC if you need guidance. Hold you connector securely with your third hand or blu tack. Apply a little more solder to the tip of the iron to form a blob for maximum heat transfer and hold to the rear of the the conductive area where you wish to solder. Hold the solder wire where you want the tinned area to be and like the with the wire you'll see the solder start to melt when the heat transfers through. This should allow you to flow the solder evenly to get a nicely tinned surface. An alternative method is to hold the iron on the surface that you want the solder on and feed the solder wire BETWEEN the iron and the connector surface but unless the connector surface is nice and hot the solder will not flood into the correct place and come off as small liquid balls. 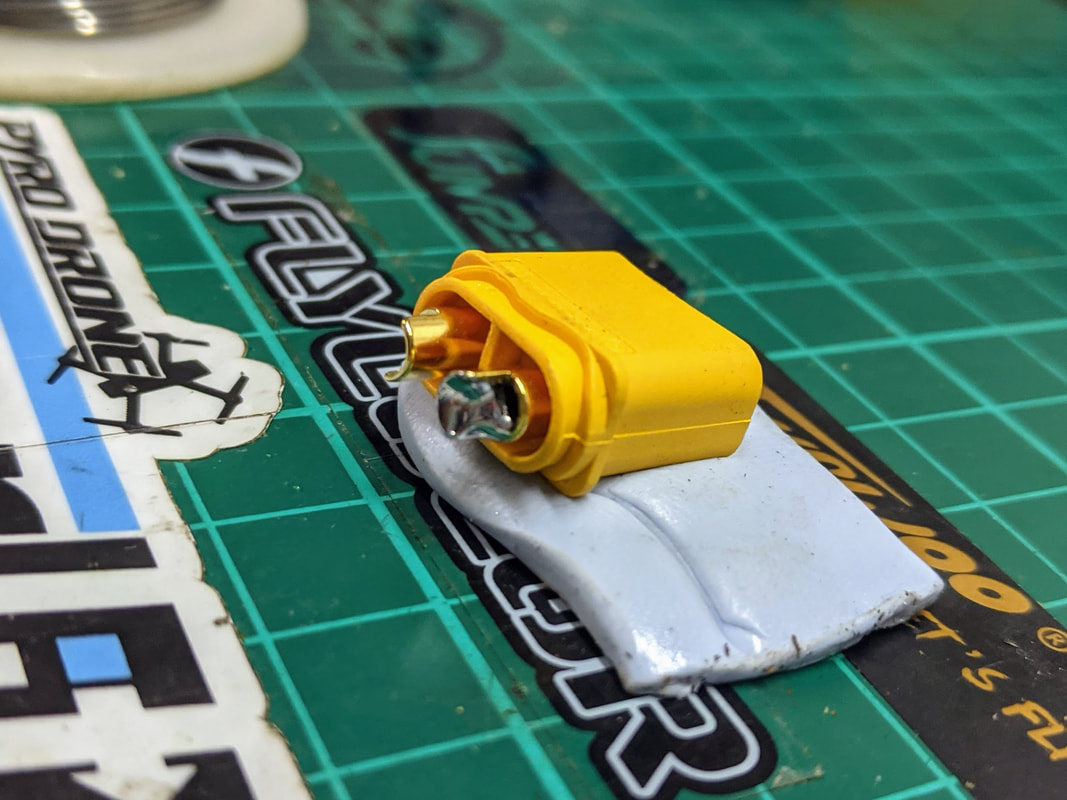 What an XT 30/60/90 connector will look like tinned
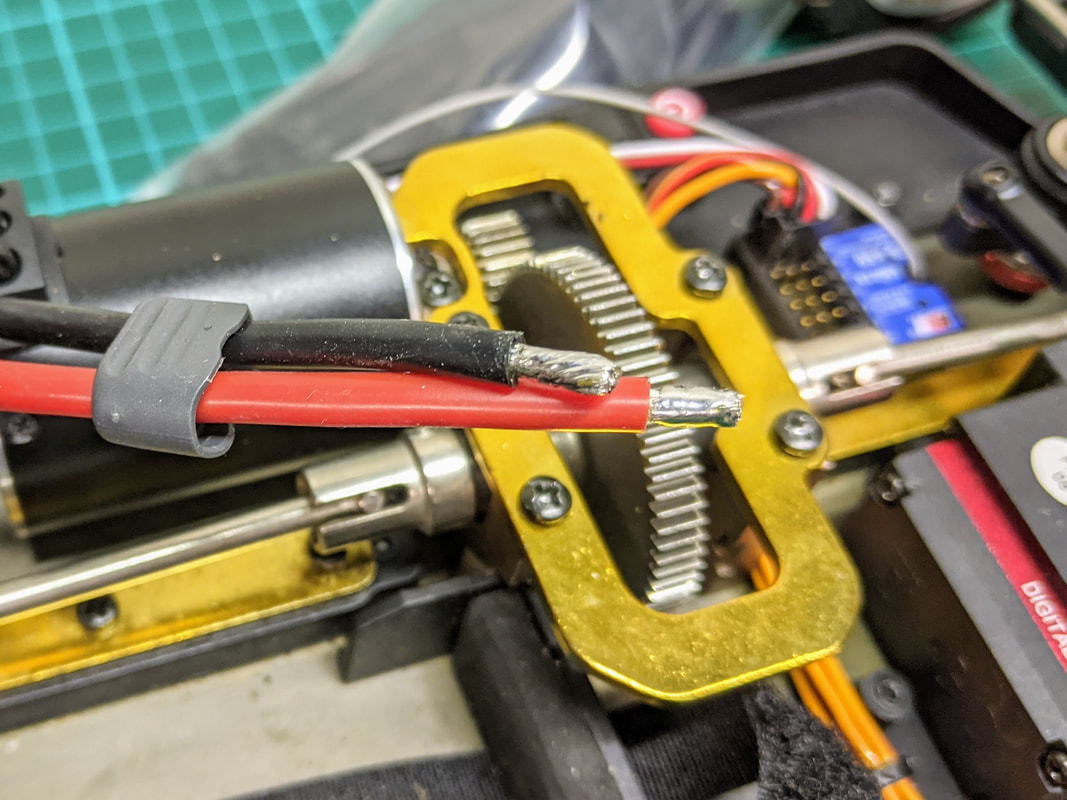
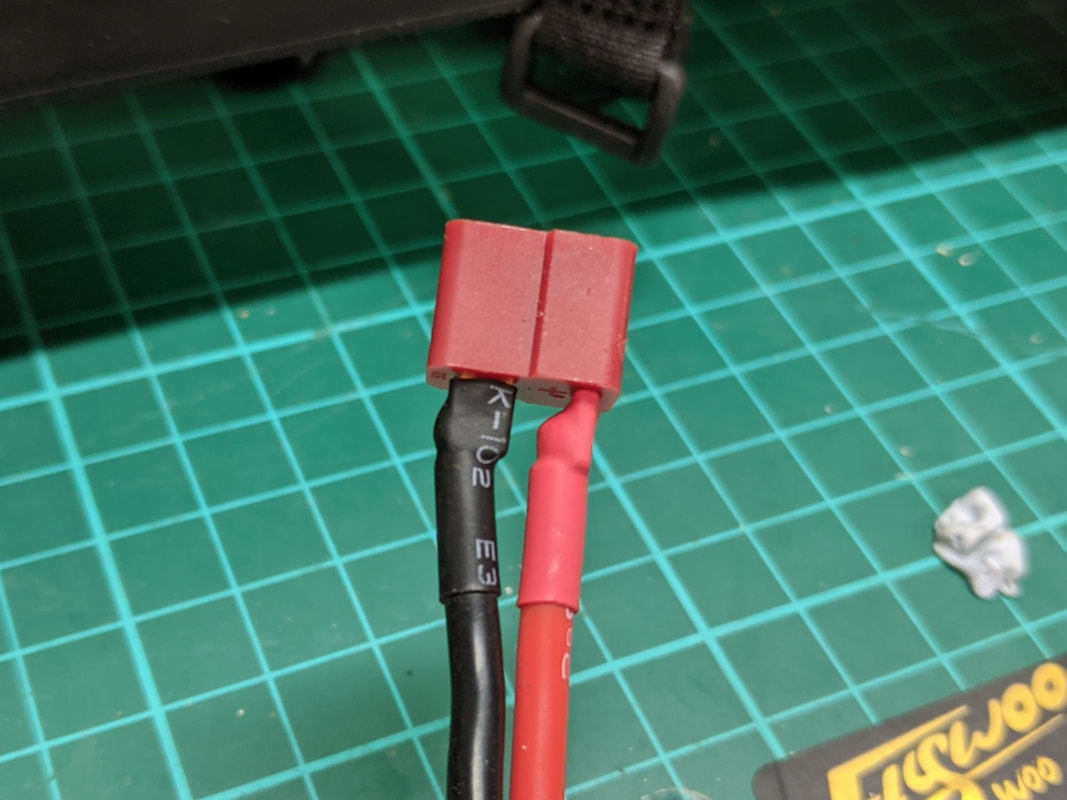
Completing the solder joint. You've actually done most of the hard work already with tinning the two surfaces to be joined. Hold your connector or PCB with your third hand / blu tack as this is the one the will get hot. Hold the wire you wish to solder in your left hand, soldering iron in right. As you did when tinning hold you iron against the side of the PCB / opposite side of connector until the tinned surface liquefies. The push your tinned wire into this liquefied surfaces and hold until the solder on the wire liquefies as will - you should be able to see this and feel the wire move as the tip becomes more flexible as a result of liquefying. Make sure you get the polarity right i.e. red is +ve, black -ve. Alternatively you can hold the iron to the wire but you will need to make sure that the solder on both the wire AND the connector liquefies to make a continuous piece of solder joint. Remove the solder, hold the wire VERY still in the position you want it and blow on the joint to help remove excess heat. Hold for a while especially with big wires/connectors as they have the ability to hold a lot of heat. When you are confident it has solidified, let go of the wire and admire your beautiful soldering joint! Now, clean the soldering iron tip and move on to the next one...
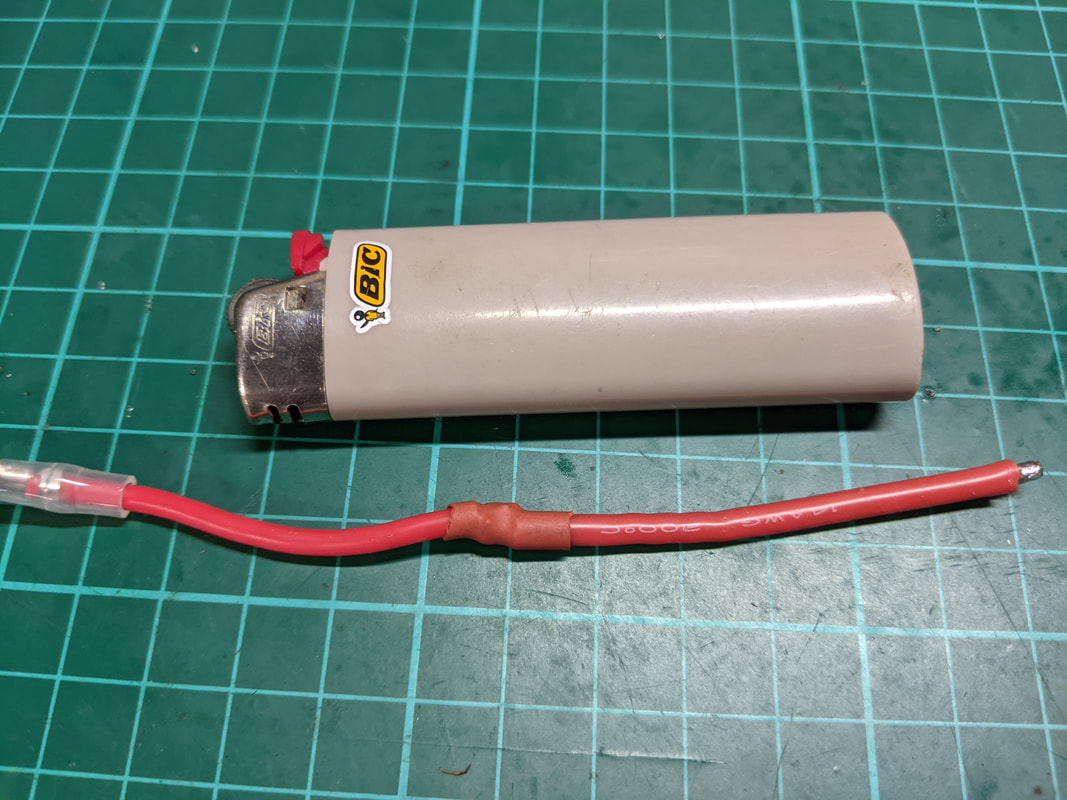
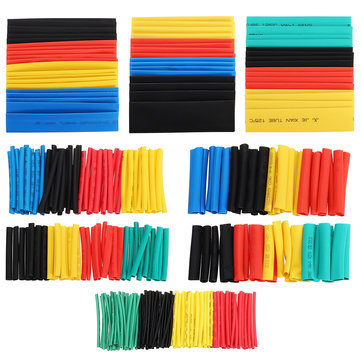
Heat shrink. The key to getting a safe and tidy insulation that will last is heatshrink. You can buy packs for very little with multiple colours and sizes like this one: 328pcs Heat Shrink Tubing. The cool part of a cigarette lighter flame provides more than enough heat to shrink down to size. Many connectors like XT60 and Deans/tplug actually rely on heatshrink to complete the job.
Finishing up. Flux can leave a bit of a stain on PCBs but can be easily cleaned up with rubbing alcohol. Before you turn off your iron, clean it one last time and add fresh solder to the active area of the tip. This will protect it against oxidation. Don't forget it will take a little while to cool down so have somewhere safe to keep it while cools. Cold solder joints. A good solder joint should look shiny, almost liquid and you should able to see a continuous phase of solder joining the wire to the connector/PCB pad. If the solder looks dull/matte in colour and crumble then you may have a cold solder joint. You can often wiggle them lose quite easily - not something you want to happen during operation. In this scenario the solder is mostly sitting there and there is very little connecting the wire to the connector making it conductively weak and physically weak. These can be problematic as they can propagate signal, control and power issues which are tricky to diagnose. Always inspect your soldering work for cold joints and re-solder with flux and/or more heat if needed. That's if for now, if I get any feedback that makes me challenge the ideas above I will come back and edit but for now I can say that this is the clearest way to capture the methods I use. I have yet to let the magic smoke of any of my builds due to poor soldering if that means anything. Tools and items mentioned in this article: Thanks for reading, if you found this article useful please feel free to like or share, the facebook links below directly link/like this article. I don't believe in asking for money by patreon nor by paypal but if you do wish to help me, the affiliated links in these articles help me buy the bits and services I need to produce this type of content. If you are looking for RC cars, quads or parts check out my coupons and discounts page which I keep updated with only the RC cars, parts and quads I like at a proper discount
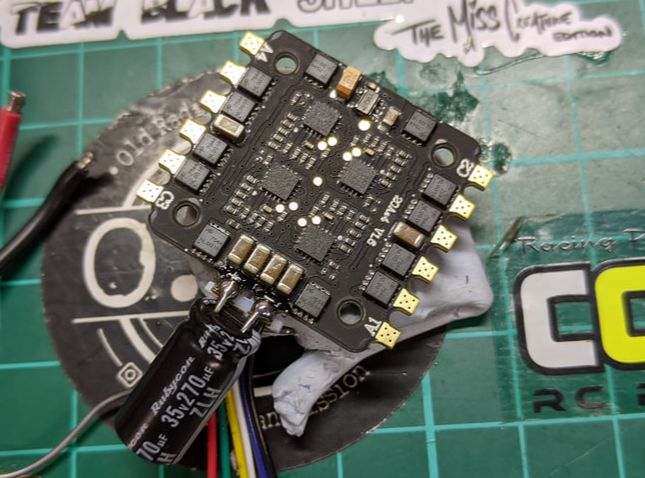
 If it makes you feel better, wiring drones is a much trickier task!
|
Categories
All
|


 RSS Feed
Thanks for visiting QuadifyRC.com Follow us on facebook below to get all the latest updates