|
Part 2 of from our good friend Geoffrey Chan's 124018 build following on from the visual improvements he made to his 124018 in this Stage 0 guide. If you're on Facebook, pop over to the QuadifyRC group to discuss here with Geoffrey and myself A quick Recap: Geoffrey is building a special build from a WL Toys 124018, taking time to build the car that he wants. This is a very methodical build going deeper into each component and looking at many options. There’s a reason why this project car is called the WLC Racing 124018: several of the upgrade choices are sourced from the LC Racing catalogue and are a direct replacement. This goes to show how heavily “inspired” WLToys was with their 1/12 scale models. The parts mentioned in this article are also compatible with the 144001 and 124019. 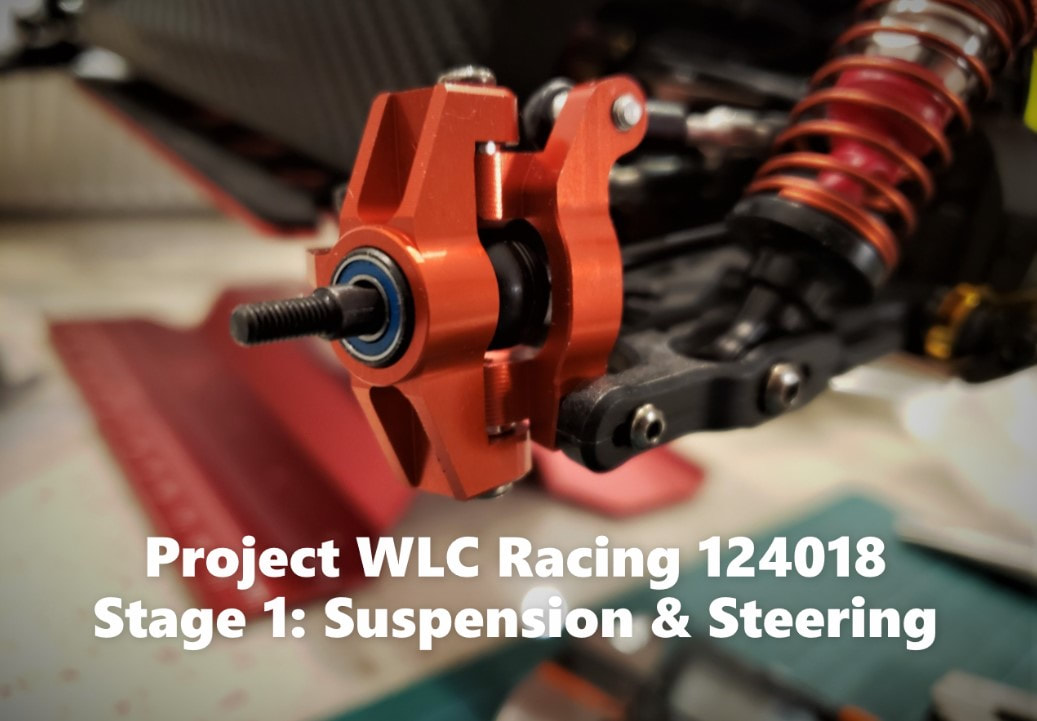 I consider this Stage 1 of the build because these upgrades have an impact on the performance and durability of the car. Stage 0 was focused really on making the car more aesthetically appealing. Suspension related parts and accessories aren’t likely to be the first things that people think about when modifying an RC car, but it is for me because that’s just how my brain works when it comes to what should be addressed based on my logic of fixing the easy things first. This isn’t a sexy area of upgrade either, but maybe after you read through this article, you may see it differently. Suspension Arms I’ll start with what is most likely the second most hotly contested upgrade topic after which brushless motor setup to go with for this platform. Which A-arms to replace a broken one with or upgrade to? I have probably seen a post a day on Facebook groups asking this very question. Not saying I’ve seen every single post, but I have yet to see a response with a comprehensively objective comparison between all the different options, so I decided I’d give it a shot and hopefully not completely botch it. I’m not a scientist by trade like QuadifyRC, so please forgive me if I’m a bit lax in my scientific rigor and process. I’m literally doing this on my kitchen countertop <QuadifyRC: my benchtop is built around an old door so I'm not one to talk>. I’ve become a bit of a parts hoarder and managed to get every single possible A-arm option available for the 144001 and 124018/9 that I am aware of. Don’t ask me how, it just happened.
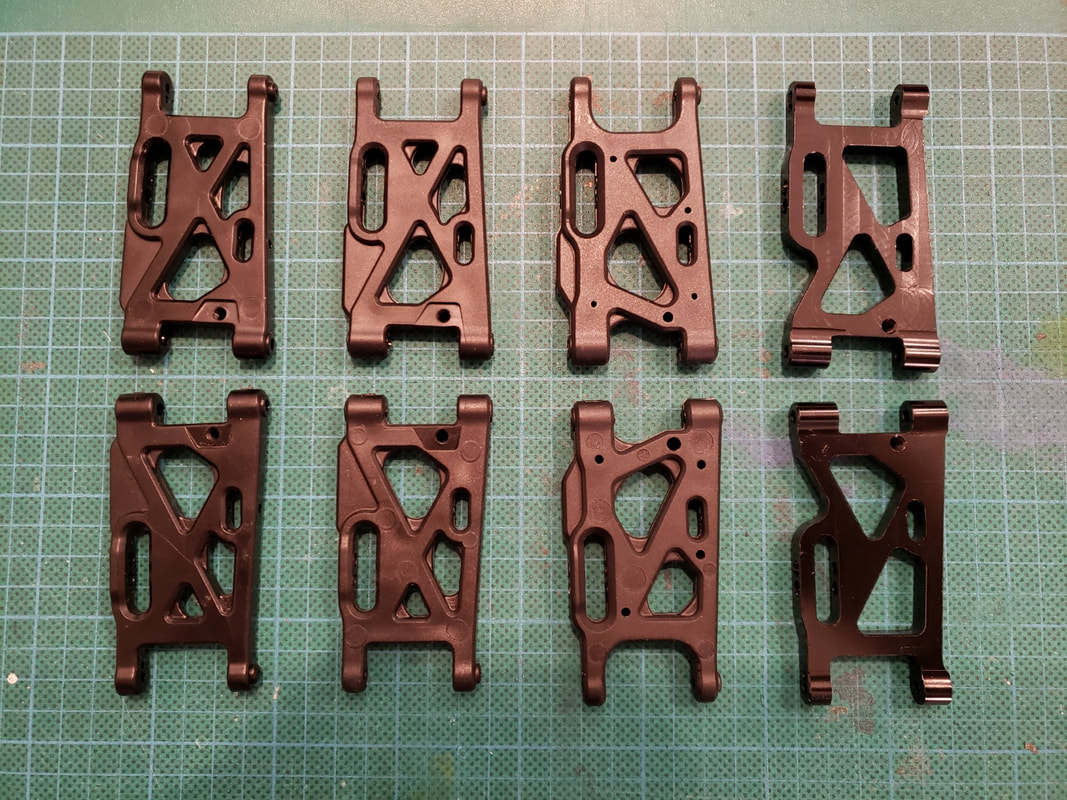
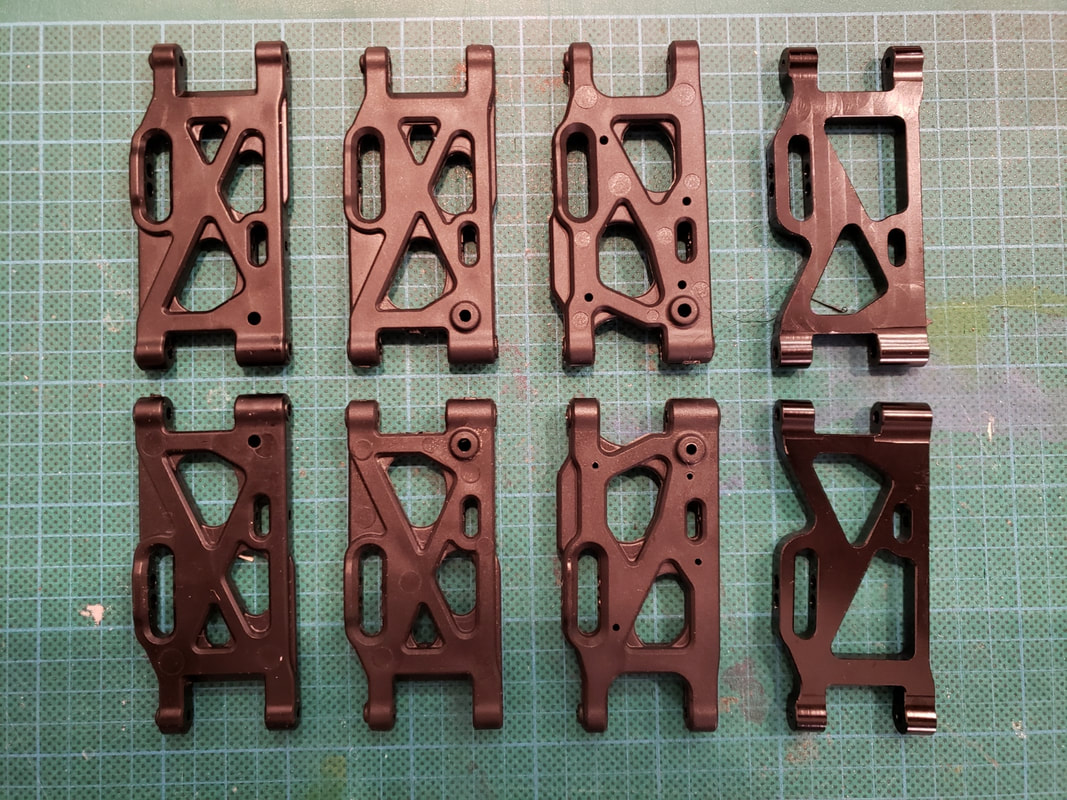
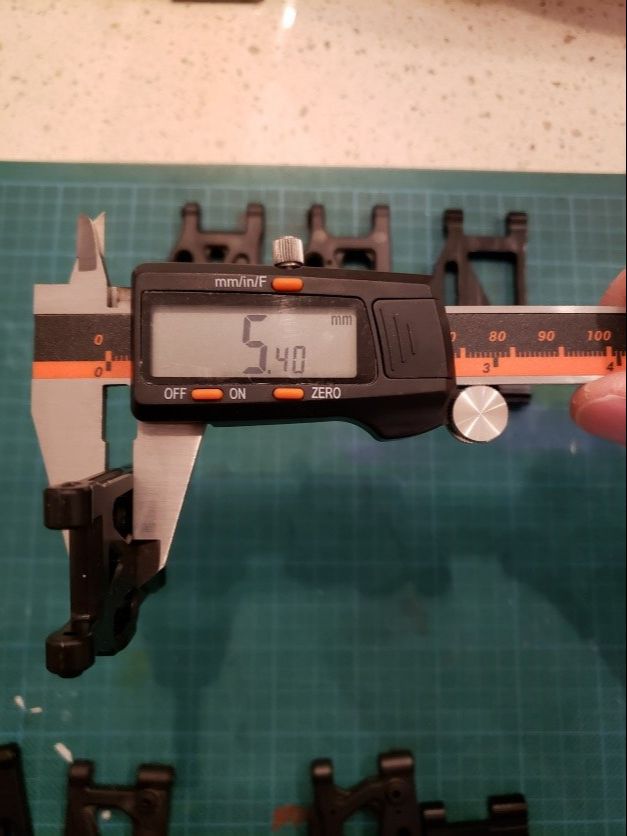
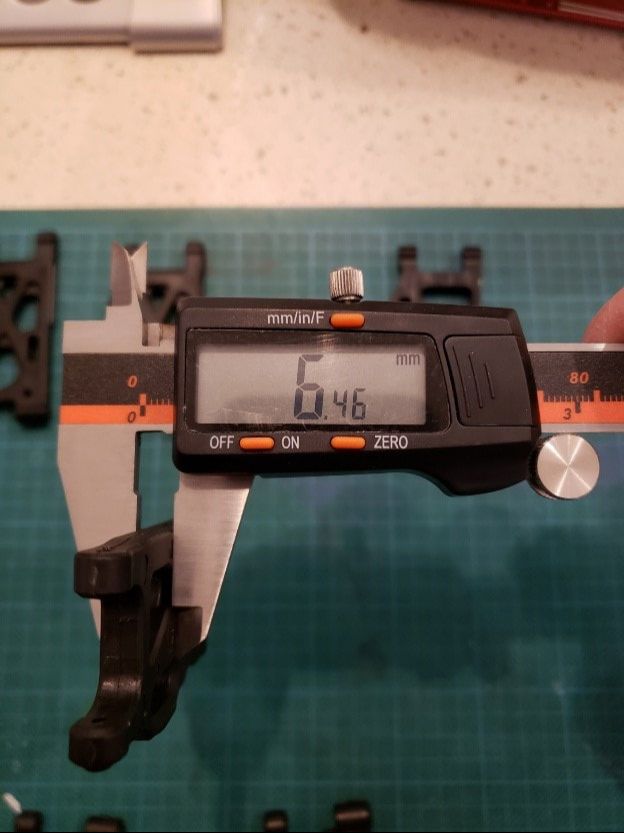
I present to you the options that I have evaluated for my upgrades/replacements: Option 1: Original WLToys Plastic Arms The stock arms that come with the WLToys 1/12 and 1/14 scale are what they are. I’ve often seen broken arms and they tend to break near one of the screw holes in the middle of the arm, but they also flex and bend back in most crash situations. Pros: Inexpensive to replace. Cons: Not really an “upgrade”, but a simple replacement. Option 2: LC Racing Stock Plastic Arms Having the stock WLToys arms and the stock LC Racing arms side by side, you really see how closely these two line up. Virtually identical except for some minor details. The biggest difference is the plastic feel of the LC Racing arms that have a more matte finish vs the smooth finish for WLToys. Not sure if I’d say they’re necessarily stronger without a way to measure force required to bend/break, but they do feel nicer which says absolutely nothing at all. Pros: May be more accessible locally if there’s LC Racing distribution. Mounting holes are roughly 1.5mm closer, which has an indirect benefit of less likelihood for a dog bone or CVD to pop out in a crash. A new set comes with both front and rear along with extra swing arm shaft holders. Cons: Not really a major “upgrade” in strength, but still an improved replacement. Option 3: LC Racing Hard Plastic Arms I think this is the most interesting upgrade available for this platform. For only a few dollars more than the WLToys and LC Racing stock arms, you can get a beefier set of arms at a small weight penalty (7g for a full set or 30% heavier than stock). Pros: The material is 15-20% thicker depending on where you measure on the arms. Mounting holes are roughly 1mm closer, which has an indirect benefit of less likelihood for a dog bone or CVD to pop out. More rigid arms help prevent bent CVDs and dog bones, but being plastic, they will still bend in the event of a crash or hard landing. Full set come a set of swing arm shaft holders. Cons: Weigh a bit more than stock and are more a bit expensive than stock WLToys arms. Option 4: WLToys Alloy Upgrade Arms You often see hop-up parts made in alloy to add strength and rigidity. I’m not entirely convinced that this is necessarily the best place for it. This has been a hotly debated upgrade for years in the RC community across all brands. Even Traxxas, one the major basher RC brands only offers composite upgrade arms for their trucks. My view is if you want to use them, you take your chances, but I feel the cons outweigh the pros. Pros: Strongest material out of all the options. Cons: Increased unsprung weight over stock plastic arms by 129%. The arms don’t break, but bend and in a hard-enough impact will rip out something else in the process. Depending on the manufacturer, you may also lose the droop screw holes and will either need to drill your own or just live without them. It’s pretty obvious my choice was the LC Racing Hard Arms, which strike the best balance between strength, weight and flex. This being a basher build, these make total sense as an upgrade. Agreeably, metal arms are strongest, but they are also the heaviest and have the highest risk collateral damage and a negative impact on overall performance. The stock WLToys and LC arms are good replacements. LC parts may be more easily accessible depending on where you’re located, so they’re a very viable option for spare parts.
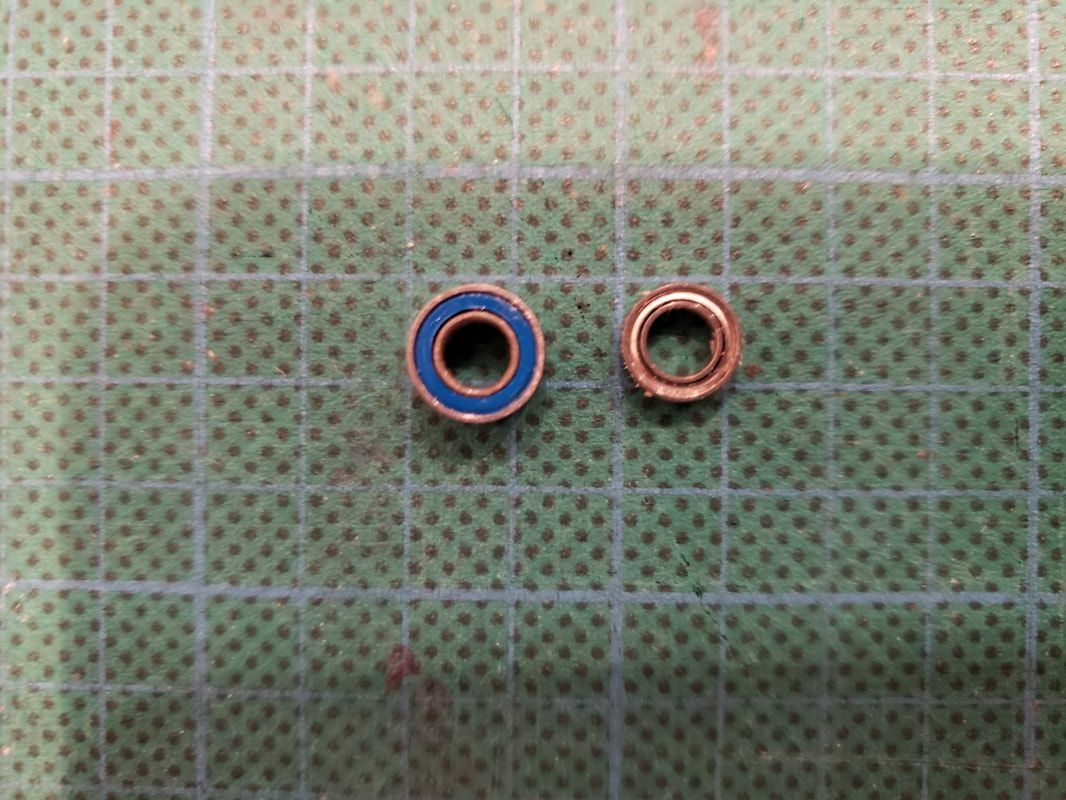
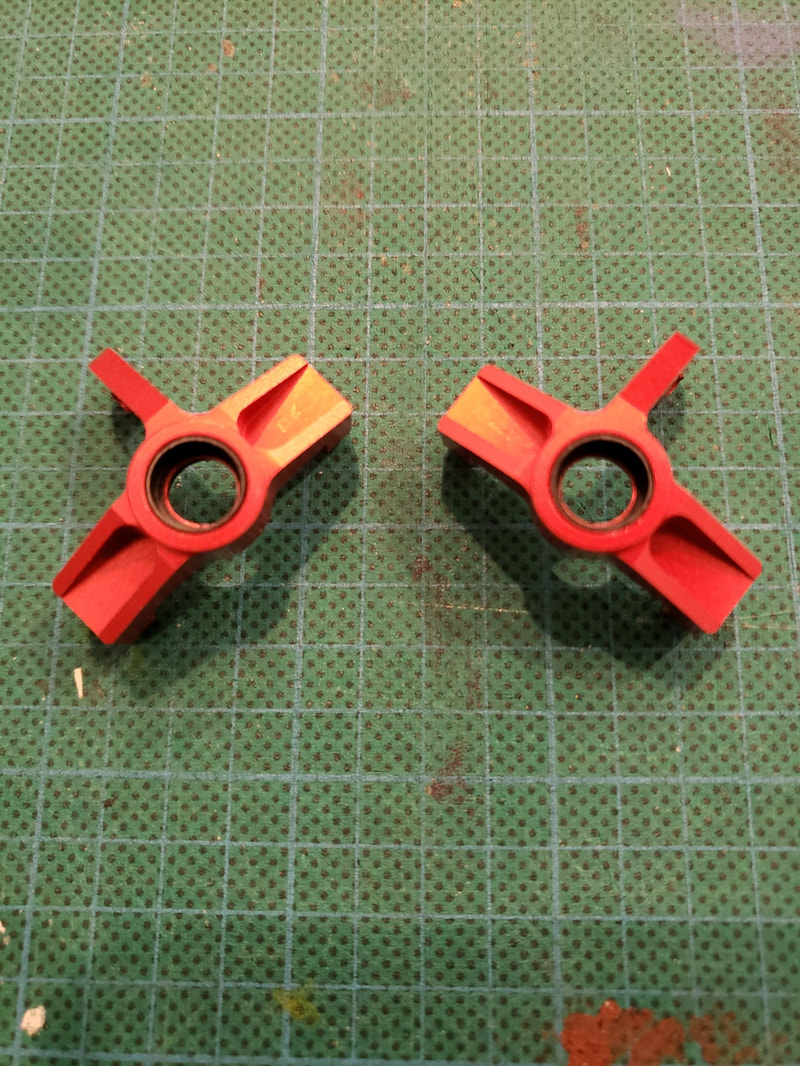
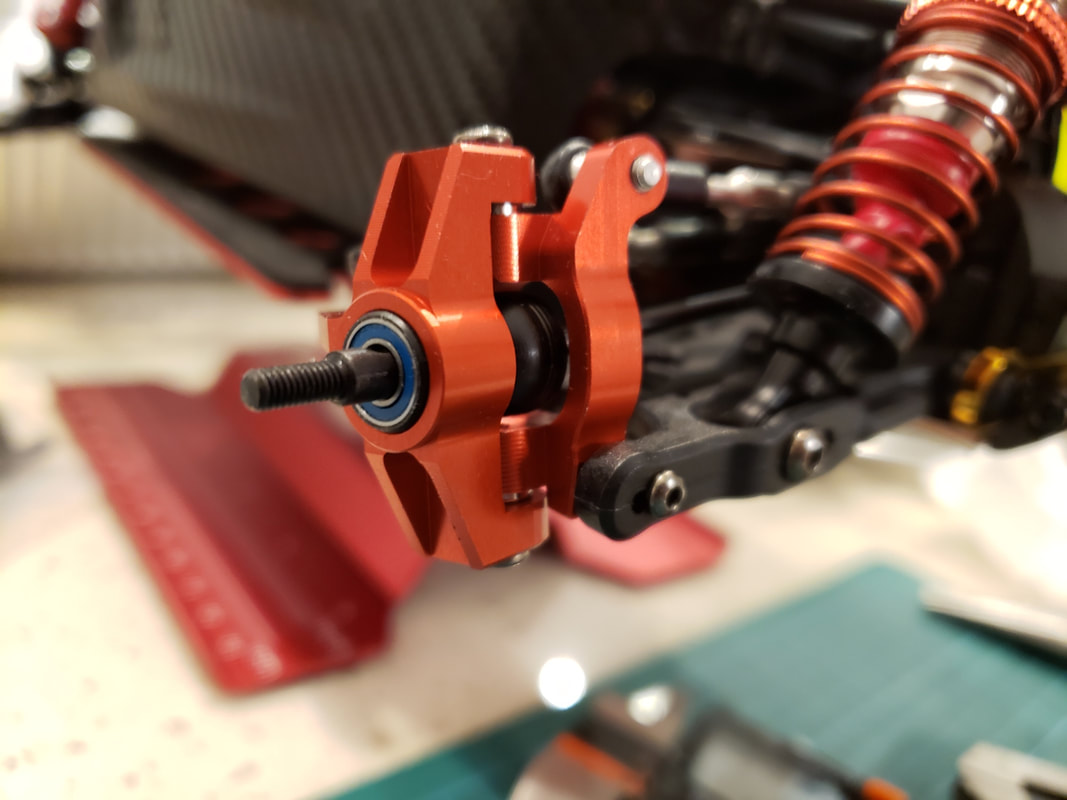
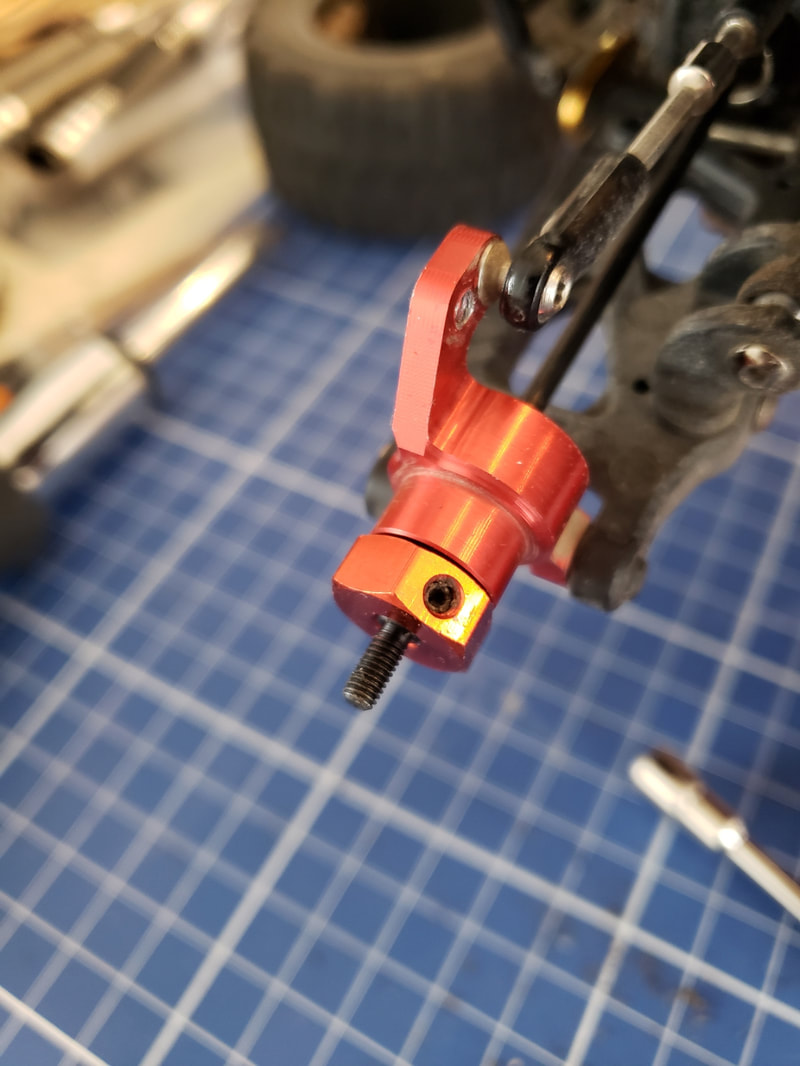
Measurements in case anyone is interested in the actual numbers: The length of the arms was measured from the suspension arm shaft mounting holes and the difference was calculated against the original WLToys stock arms as a comparison. The thickness was measured from the middle of the arms. Granted not the most scientific method, but it at least gave us a relatively consistent point of comparison. 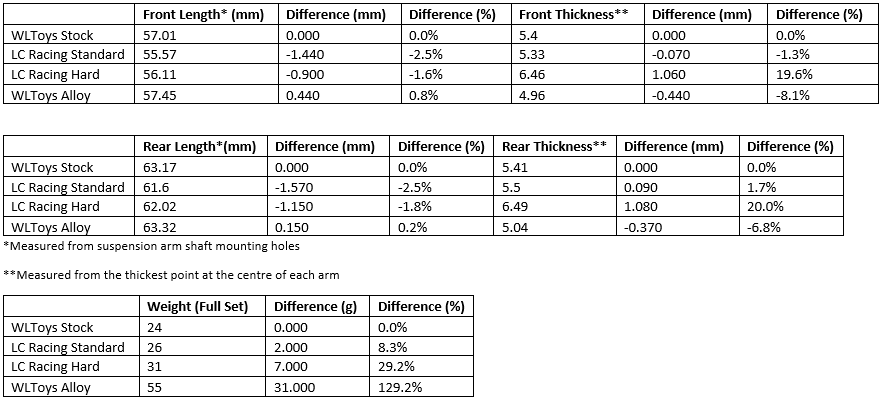 Hub Bearings, Hubs and Hub Carrier When it comes to metal upgrades, this is one of the few places that I want to upgrade to a stronger material. I’ve had one too many RC days that ended abruptly due to a hub break. Not an expensive part or difficult part to replace, but it sucks when you’re enjoying yourself and then you need pack up and go home because of a small part like this. I will gladly take the unsprung weight penalty if the upgrade lets me keep having fun.
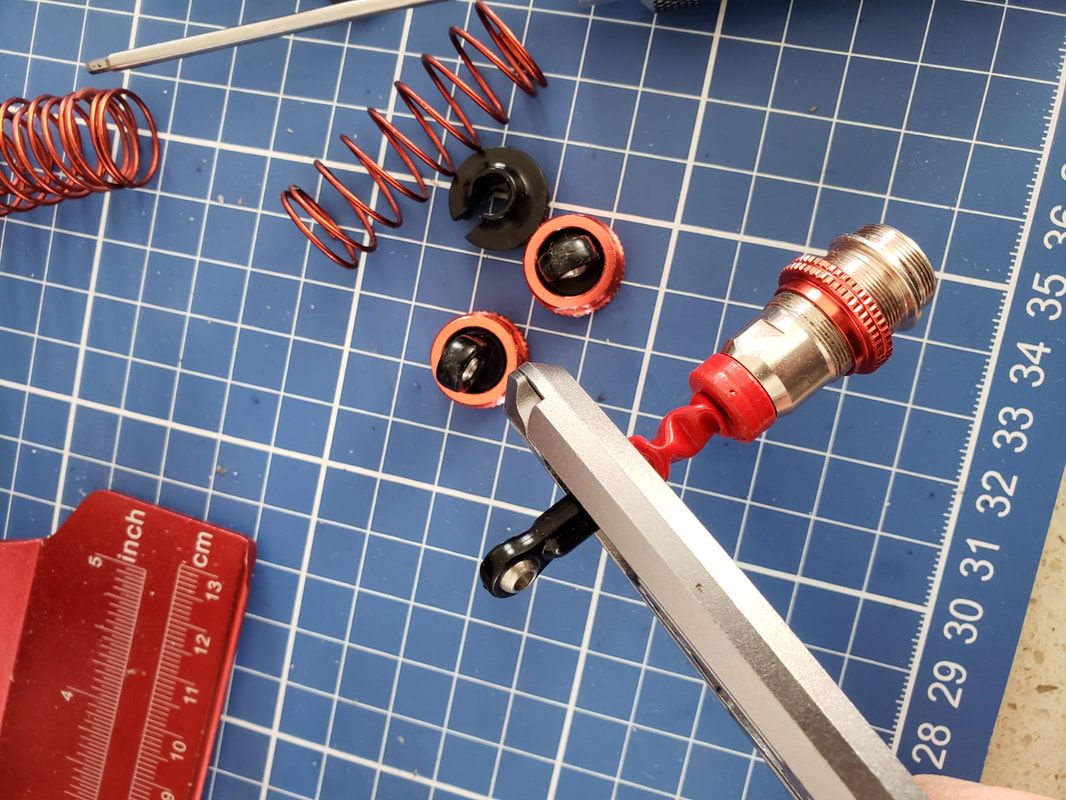
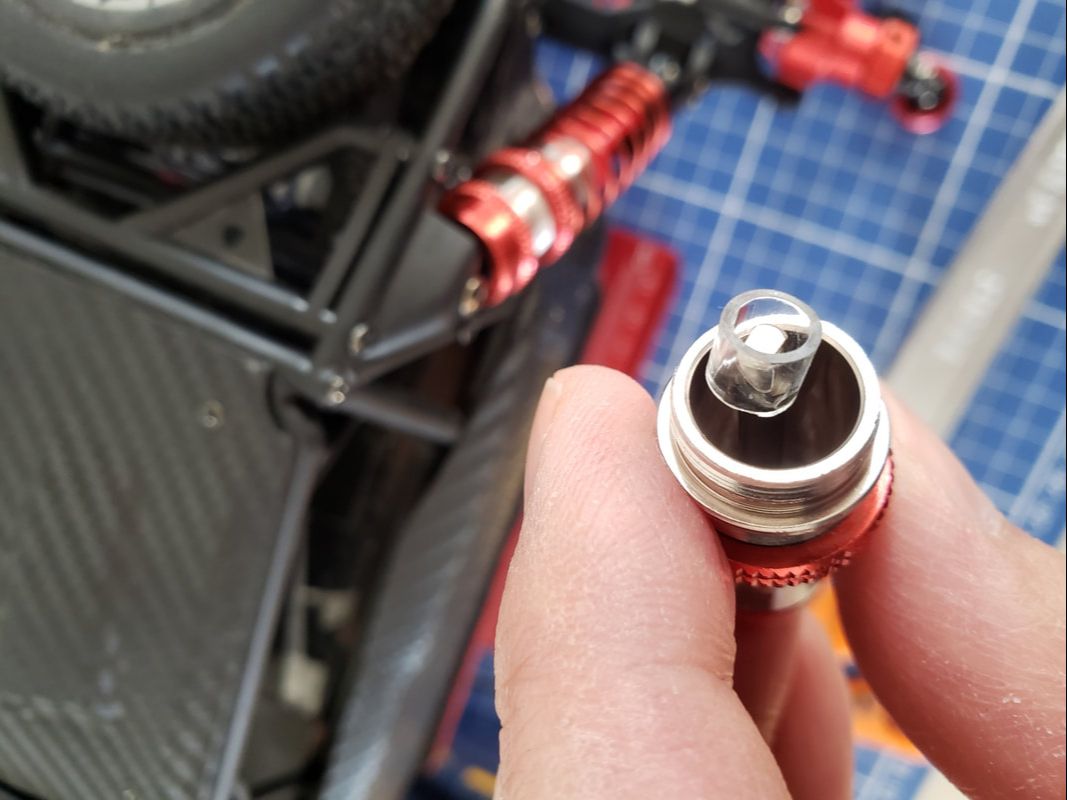
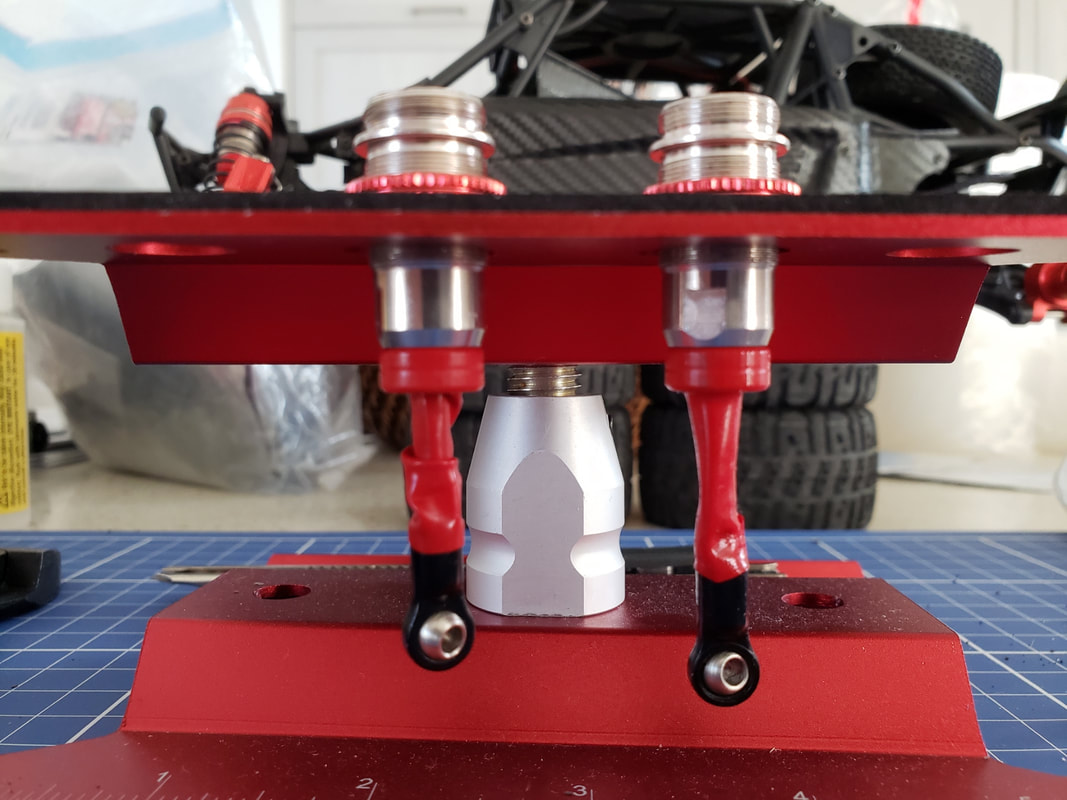
Admittedly, I may have gone over-budget, but it is possible to get a lower cost upgrade to yield similar benefits. A set of aftermarket WLToys alloy hub carriers can be had for relatively low price of $5-10 off of Aliexpress. You could then go with the plastic front/rear hubs (L6007) and the LC Racing bearings. This will cost half the price of the full metal kit, but you get 70% of the benefit and would be a bit lighter as well. Anytime someone asks about replacement bearings for this platform, I always point them to the LC Racing bearing and hub upgrade over the stock WLToys parts even if it’s just replacing plastic for plastic. Shock Modifications There are a few things that I wanted to do in the shock department. First, I wanted to put a heavier oil weight into the shocks. I felt the stock oil was too light and didn’t offer enough damping on both compression and rebound. I opted to use the 40wt Team Losi Racing silicone oil all around as I’ve had good results on similar scale cars. I’ll continue to fine tune as I get to drive the car more over varied conditions, but for now I felt this was a good starting point to go off. I won’t go into detail about shock oil changes since QuadifyRC has written about this already. The next mod was to drop the rear suspension ride height. Because of the reversed swingarm configuration on the 124018, you lose the ability to adjust ride height through the droop screws, so there is a little trick that was used quite often in the early RC racing days (or so I’ve heard from others). While I was changing out the oil in the rear shocks, I cut a 5mm length of 5mm diameter fuel hose and dropped it inside the shock around the shaft, under the piston. Take note that you will need to remove the lower ball joint to push the shock shaft high enough get the piston off to place the fuel hose underneath. The lowered ride height accomplished two things. First it allowed me to drop the rear suspension ride height to be level with the front. Second, because the shock travel is shorter, I could now preload the rear spring more and make it stiffer to better match the front. After my test drive of the stock setup with the EMB-MT tires, the car was like a giant pillow and I wanted to address that. On hard acceleration, the rear would squat heavily and reduce traction on the front wheels which I didn’t like so much.
Driveshafts, Hexes and Screw Another hotly debated topic is what is the best CVD driveshaft “upgrade” since this is a known weak point on this platform. The stock CVDs and dog bones will bend just by looking at them hard. In all seriousness, they can barely handle the stock brushed motor power without flexing and twisting. Since I had the suspension arms and hubs off, it was the perfect time to swap out my CVDs and dog bones for a set of “upgraded” black CVD driveshafts from Banggood. So are these really the best and strongest driveshafts you can buy for this platform? Honest answer is I have no idea. Depending on how hard you bash your car, these things will bend at some point. You crash hard and they will bend. Too much power on acceleration and they will bend. You land hard and they will bend. So, I’ve basically thrown in the towel and just bought the most reasonably priced CVDs that are marketed as “upgrades” over stock and expect to replace as they wear and bend. I should say I have had good experience with the LC Racing CVDs (L6178) on my EMB-T, but at $20 for a set of two, I felt it that I could live with slightly lower quality and get a full set of four of the Banggood specials for 75% of that price. I should mention I did manage to break one of the CVDs on of the rear wheels doing a moderate bash test. It could have been the result of cart-wheeling the car after hitting a bump unexpectedly. These aren’t indestructible by any stretch.
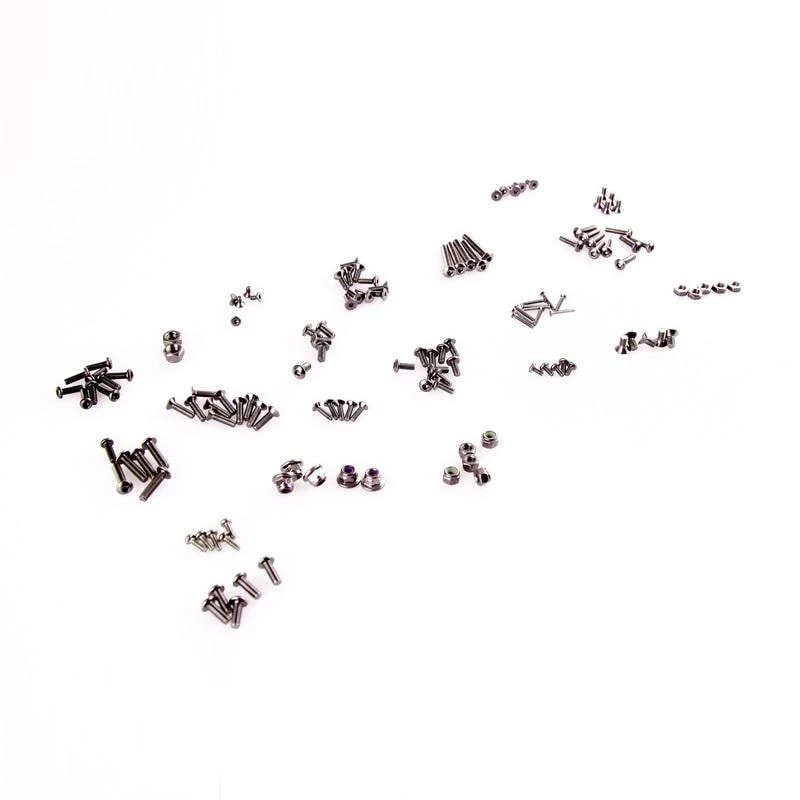
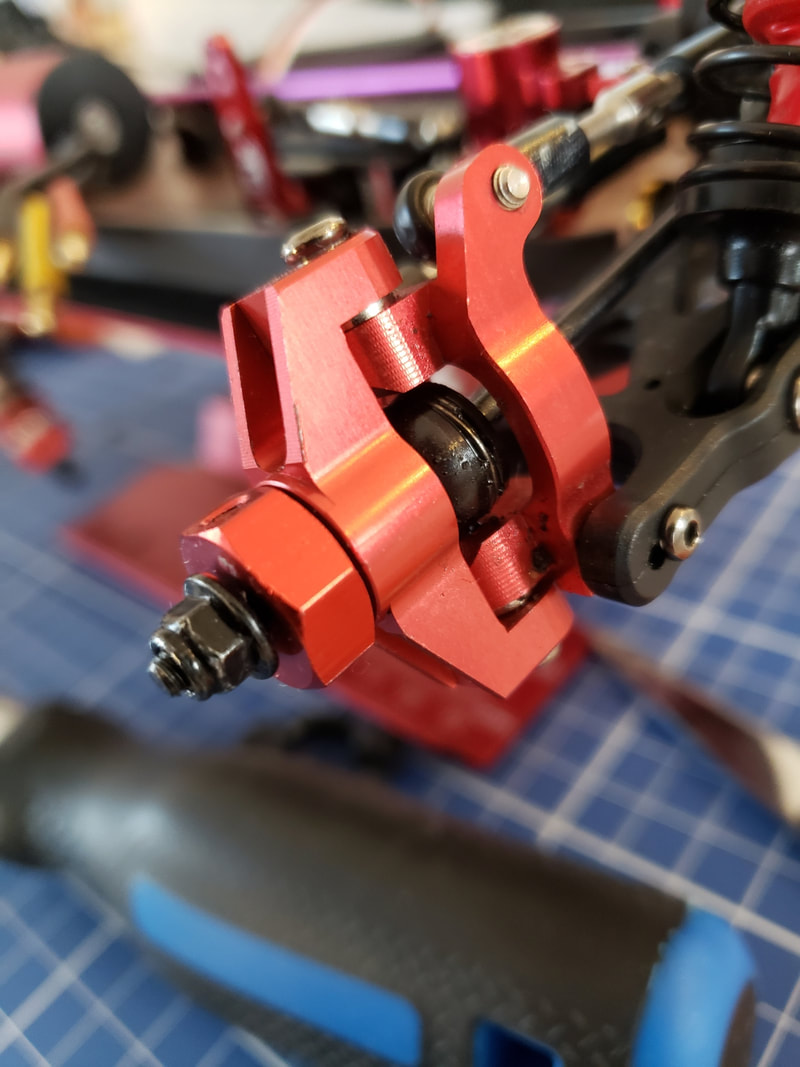
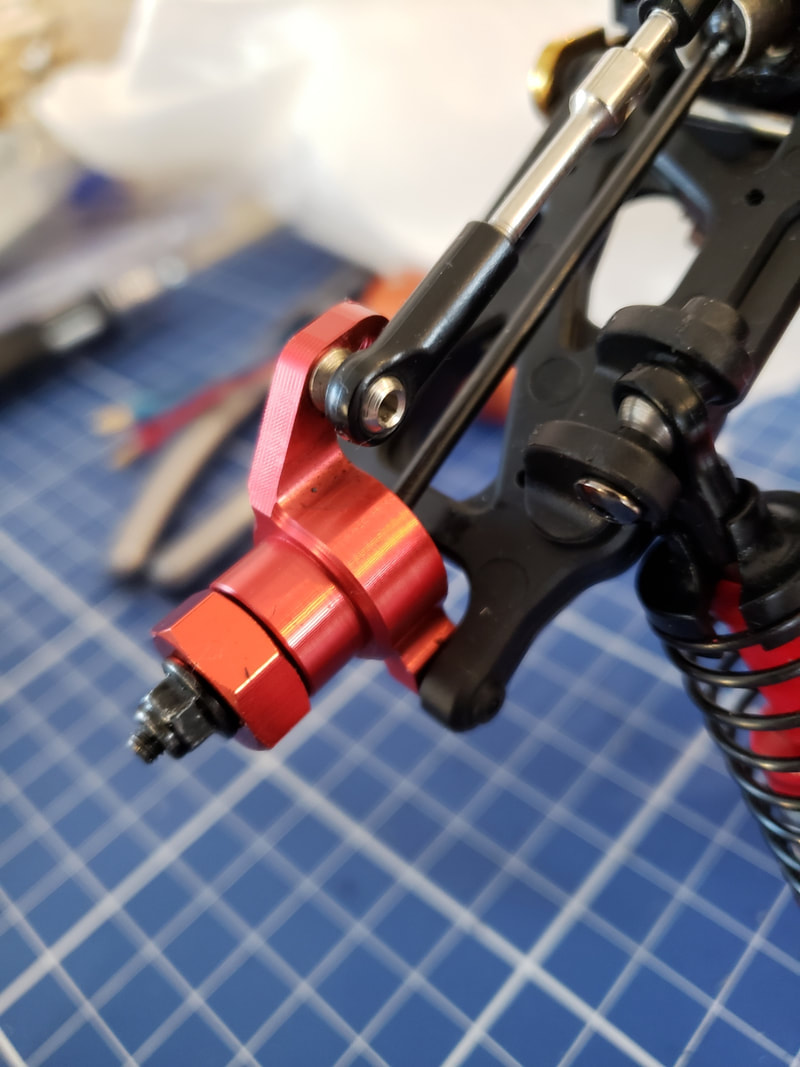
Throughout the upgrade process, since I’m installing several new parts to the car, I opted to change out the crappy Philips screws and replace them with new fresh LC Racing screws that are Allen heads. Because they made of a much higher quality metal and are an Allen head, they’re less likely to strip on you. This is particularly important for any screws going into metal that may require Loctite to prevent them from loosening. I will keep replacing them as I remove parts where it makes sense. Some of the plastic parts have existing Philips screws with a courser self-tapping thread. I will leave those in place since the plastic has already been shaped to accept that thread. For metal or fresh plastic like my new A-arms, these babies are going in. The last upgrade on the list and probably the best unseen upgrade on this platform are the LC Racing wheel hexes. What makes these so much better than the stock metal or plastic ones is that there is a grub screw that holds the hex in place. This provides two major benefits. First is that it holds the hex in place and will allow you to tighten your wheels down without it binding your bearings. Second, because you can lock the hex in place, it allows you to preload the tension on the CVD and eliminate any play in the wheels and bearings. I should mention that the LC hexes use a shorter axle pin that WLToys so you will either need to trim yours or just buy their pin set (L6202) to replace them.
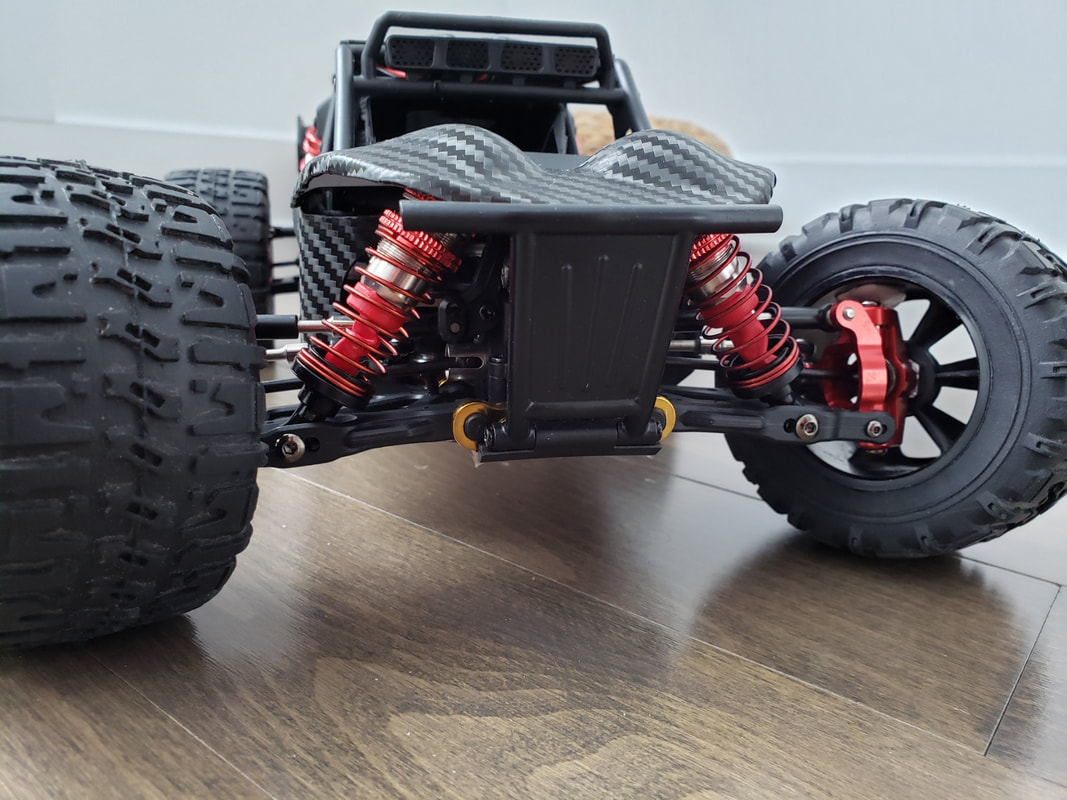
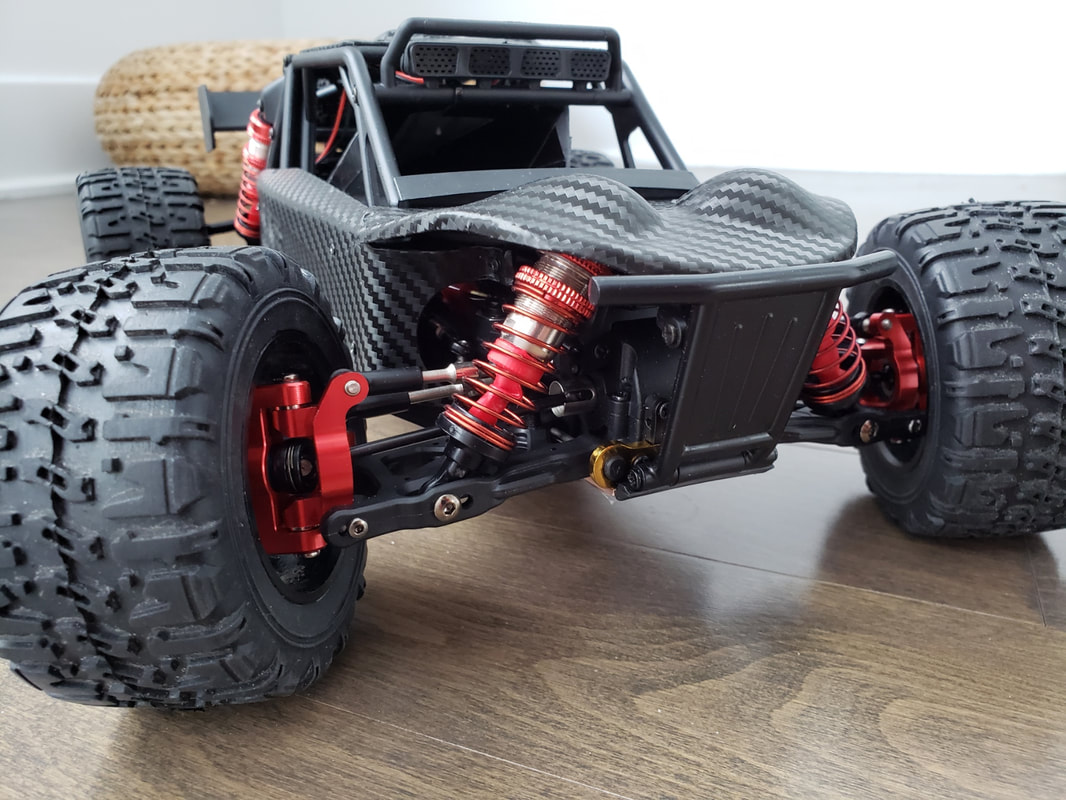
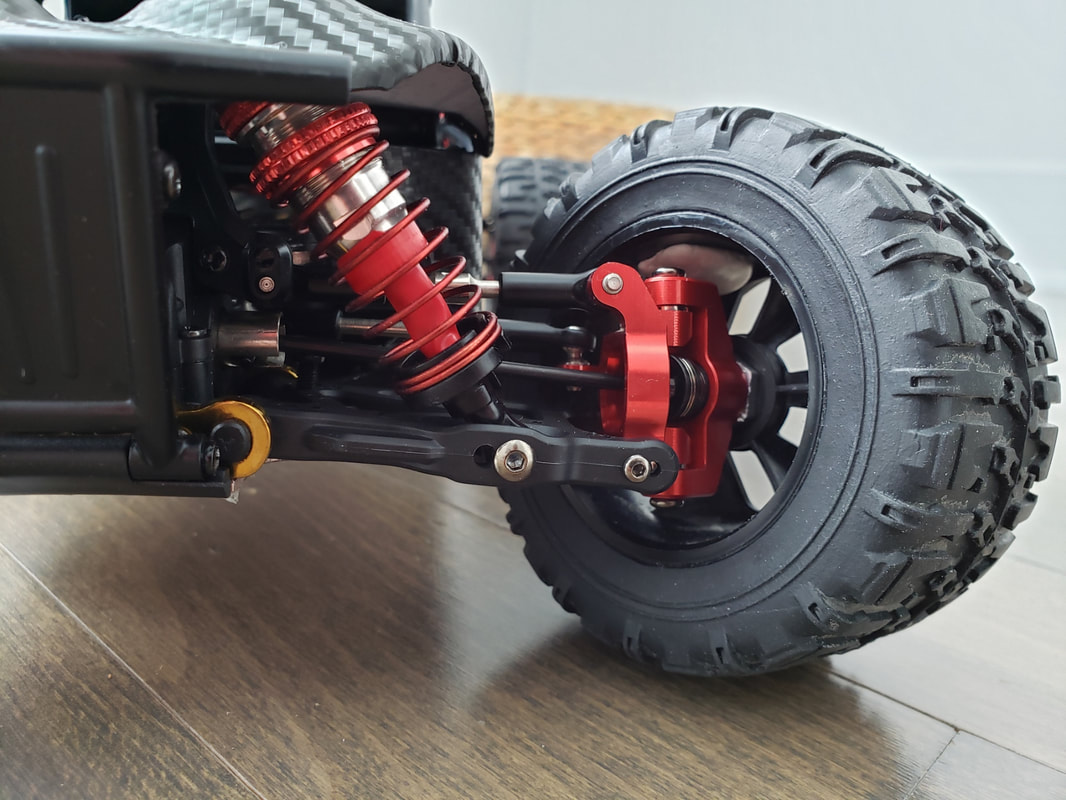
This brings us to the end of Stage 1. Admittedly, I completely forgot to weigh the car before I stripped down the other components in the car for Stage 2, so we’ll need to do the weigh in after the next set of mods. Next on the agenda I will tackle the juicy part of the upgrades, which are the motor, ESC, servo and receiver/transmitter. Until then, you can check out the pics of the build so far. Aren’t those red shiny bits just damn sexy against the black carbon finish and black wheels?
Parts used in the upgrades and modifications:
Thanks for reading, if you found this article useful please feel free to like or share, the facebook links below directly link/like this article. I don't believe in asking for money by patreon nor by paypal but if you do wish to help me, the affiliated links in these articles help me buy the bits and services I need to produce this type of content. If you are looking for RC cars, quads or parts check out my coupons and discounts page which I keep updated with only the RC cars, parts and quads I like at a proper discount
|
Categories
All
|


 RSS Feed
Thanks for visiting QuadifyRC.com Follow us on facebook below to get all the latest updates