|
Another article from QuadifyRC.com's good friend Geoffrey Chan following on from his comprehensive Vinyl wrapping guide. If you're on Facebook, pop over to the QuadifyRC group to discuss here with Geoffrey and myself  Let me start off by saying that the WLToys 124018 is one of the coolest looking 1/12 scale RC cars on the market. I have been a big fan of desert truck/buggy body styles for some time. Larger scale trucks like the Losi Tenacity and Losi Lasernut have always caught my eye, but the cost and lack of a place to run something that large have kept them off my buy list. The 124018 or the LC Racing EMB-DT/Tacon Cavalry that it is a clone of fit in a sweet spot of a portable size, an affordable price point with heaps of potential for tuning, upgrades and customization. The 124018 out of the box is far from perfect - check out the QuadifyRC review here. The tried and tested 550 brushed motor and combined ESC/receiver combo have been thoroughly discussed by the 144001 community. In the larger scale platform and full body cage, this car is weighted like a tank. I would have gone with the original LC Racing EMB-DT, but to get one delivered would cost 3x the price of a 124018, which I had a hard time justifying. So, I decided I should just get the 124018 and use the savings to customize and modify it to my personal preference. At the same time, I wanted to see if I could come close to or exceed the performance of the LC Racing EMB-DT but on a smaller budget. So here I start my project to build my WLCRacing 124018 and will compare how my incremental improvements affect things like weight, speed, and overall handling of the car. Target Weight: Equivalent to LC Racing EMB-DT RTR Weight – 1200g with battery (according to LC Racing site)
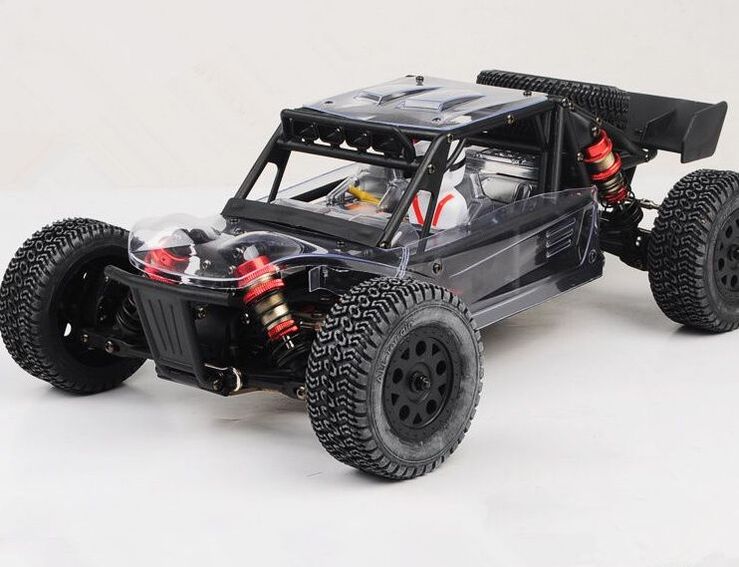
What does Stage 0 mean? Stage 0 to me is taking care of some aesthetic enhancements on the 124018. Having seen the LC Racing EMB-DT or Tacon Cavalry in several different carnations with solid color body panels, I knew I wanted to do something to accentuate the lines and design of the panels. The busy monster claw graphics really hide the curves and creases that make this body shell good looking. Not to mention the ramble of nonsense that’s printed on the sides. Modifications for Stage 0:
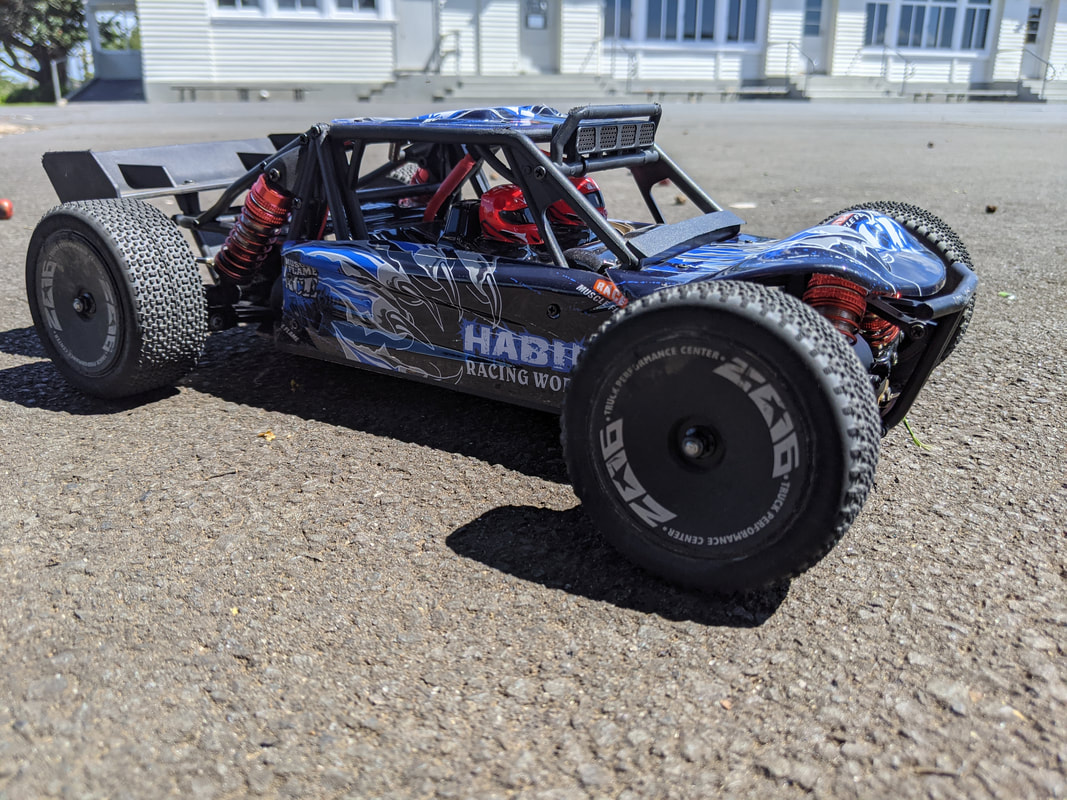
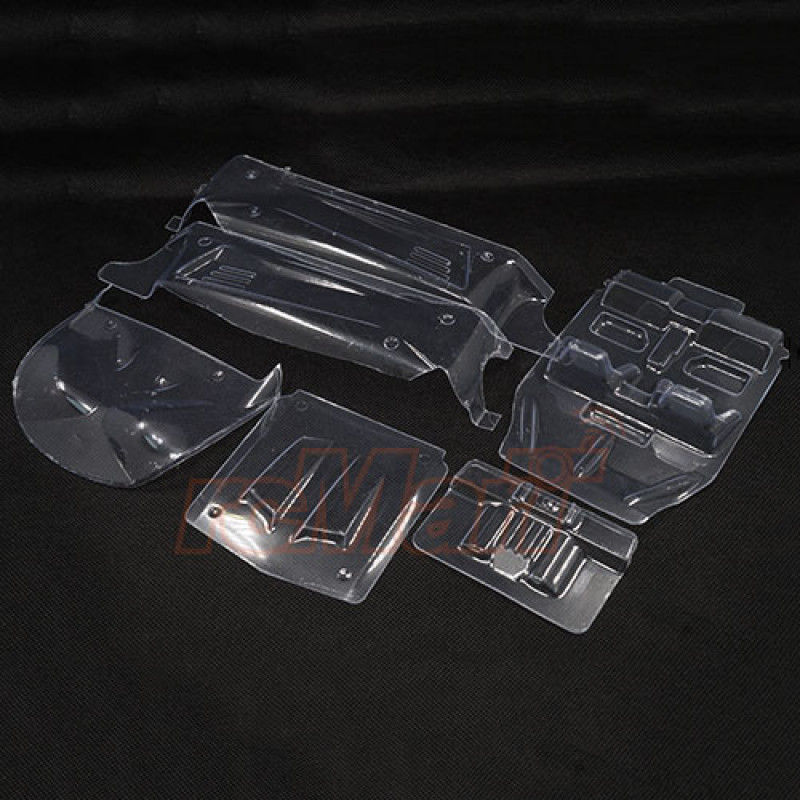
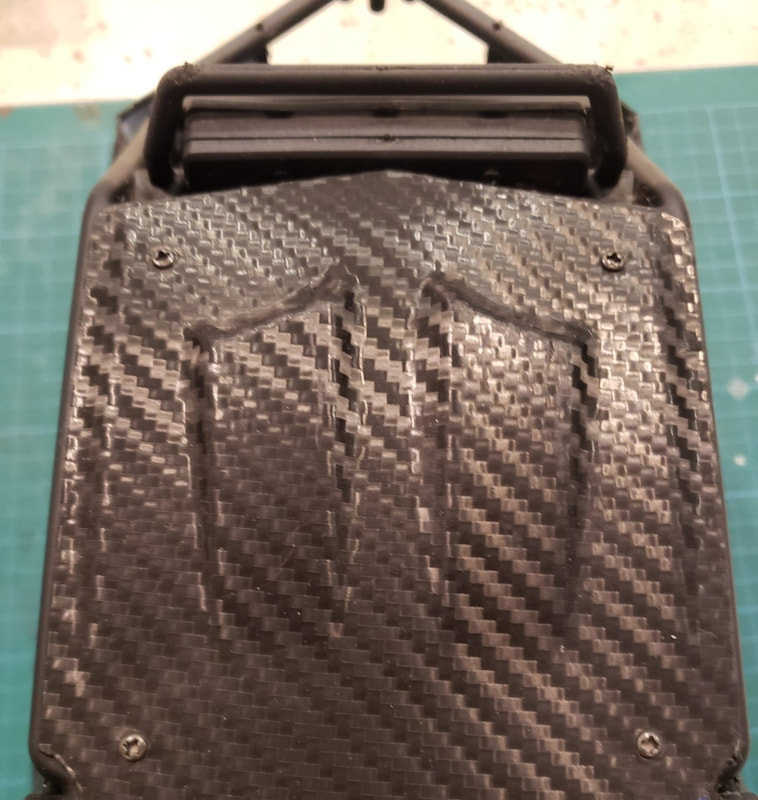
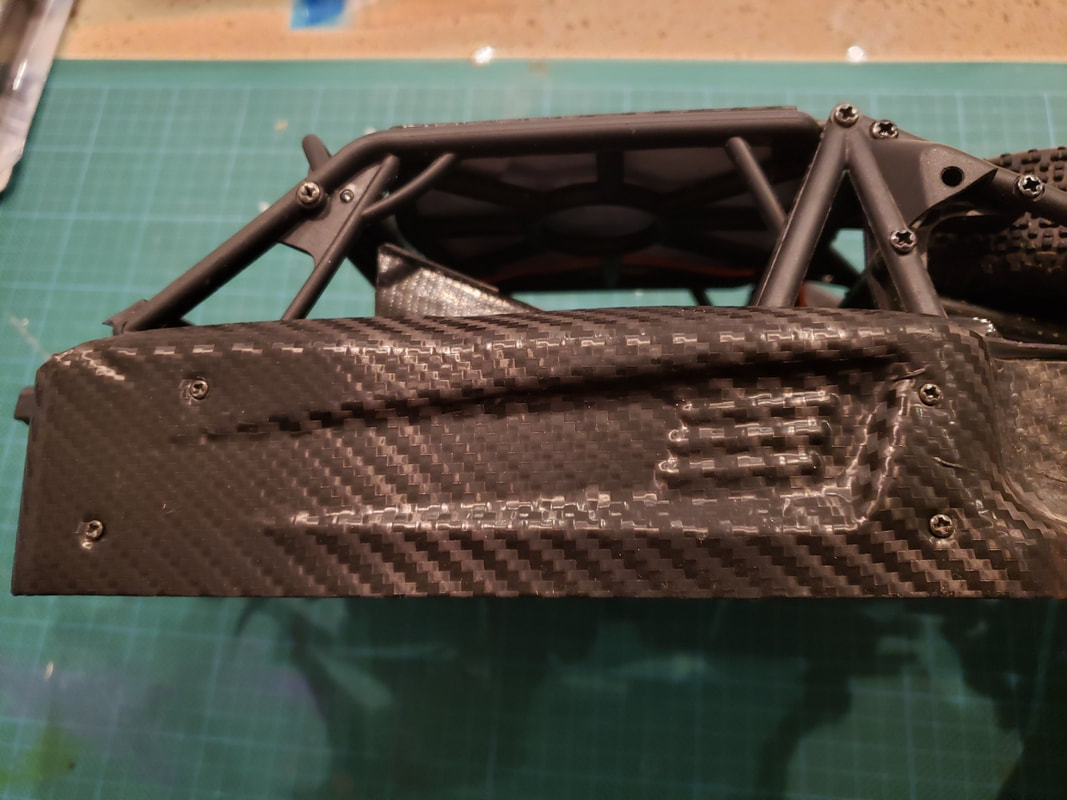
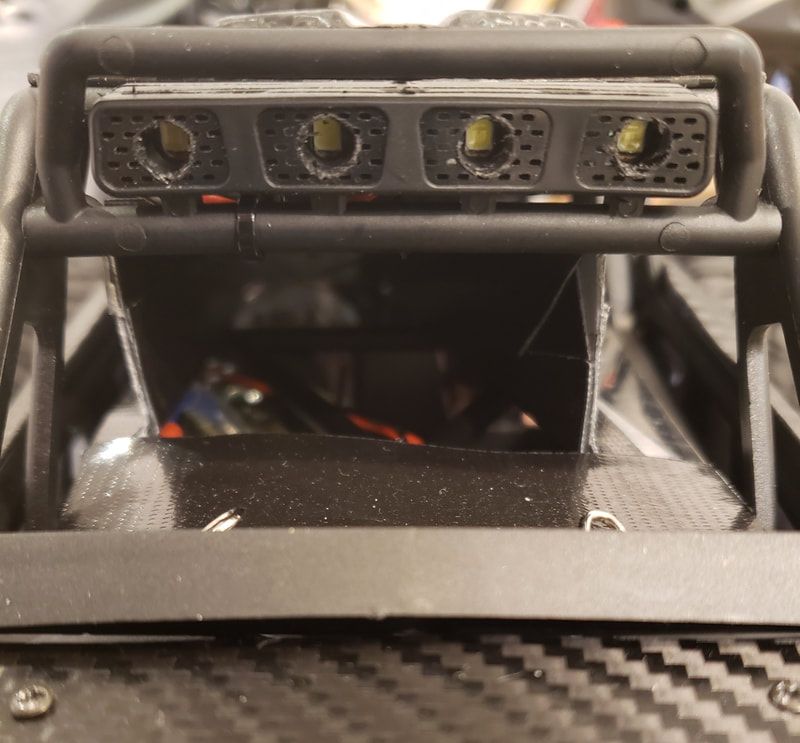
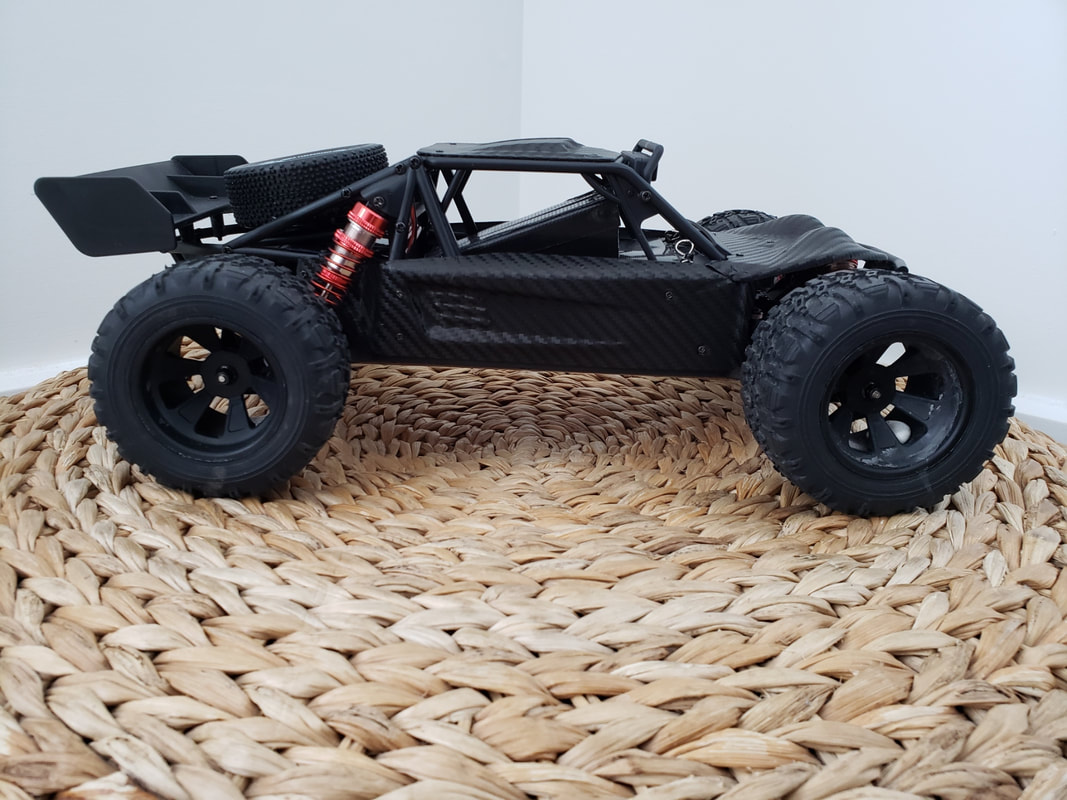
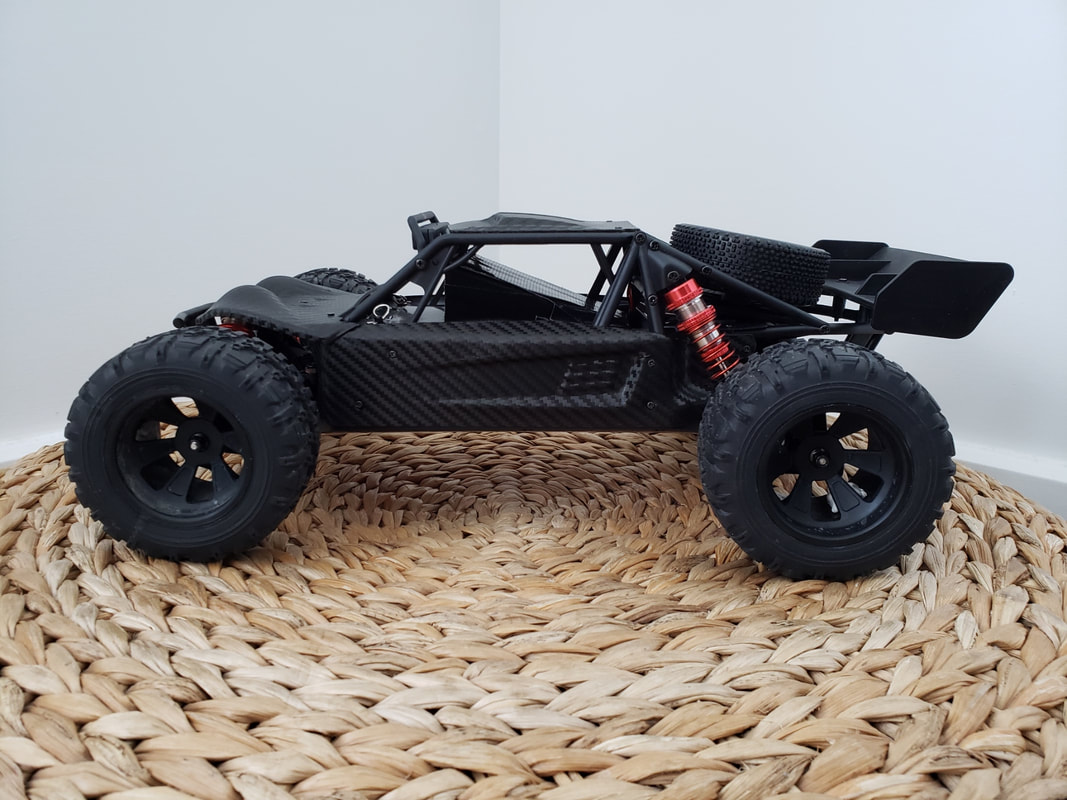
Vinyl Wrapping My initial intention was to repaint the body completely but being fortunate to have a brother that runs an automotive wrap shop, I thought vinyl wrap might be a better option. Without the prep and mess needed for paint, it’s much cleaner and quicker to apply. I decided to swing by his place to pick up some scrap materials with a few color choices. The one material that really stood out for its appearance and texture was the carbon fibre wrap. It’s used very often to wrap hoods and roofs to give cars a motorsport looks without having to spend the money on real carbon fibre pieces. I was pretty sure it was going to make this desert truck look like money. The detailed step-by-step guide on how to vinyl wrap an RC body shell can be referenced on the best way to handle and apply the material. Removing the 124018 body panels was an easy process with a few Philips screws. After 3 hours of taking my time to apply the vinyl to the body panels, the 124018 was completely transformed. The creases and curves now show prominently. The textured finish looks amazing in the light and completely erases any memory of the original paint scheme hidden underneath. This is easily one of the least expensive and most effective ways to completely change the look of this car. There is also the option to buy a clear LC Racing L6064 EMB-DT body panel set, but it will be more expensive and would take more time and effort to source, prep, and paint. An advantage to the clear body option is since the paint is applied underneath, it will be more durable.
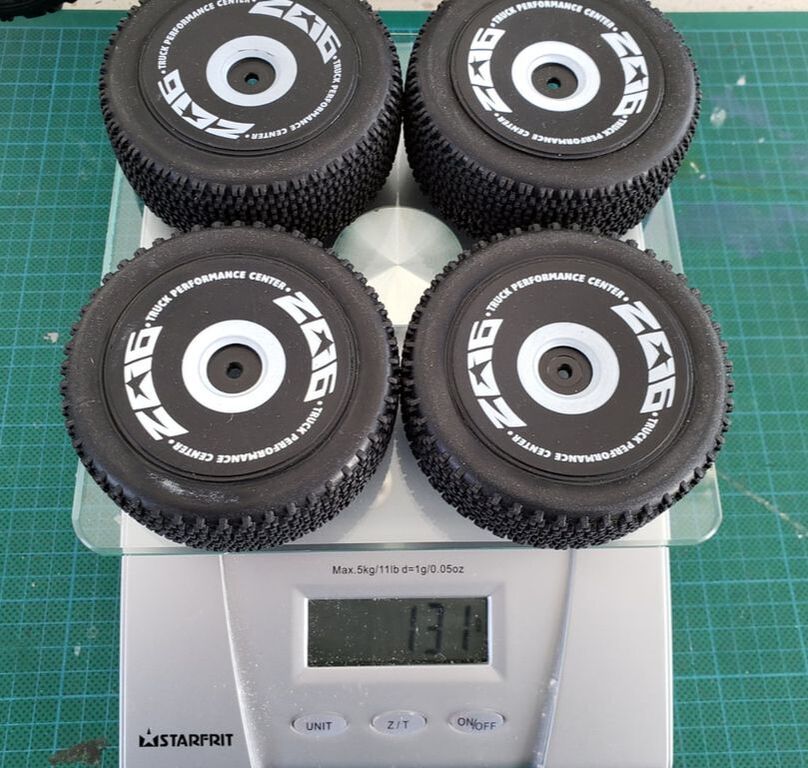
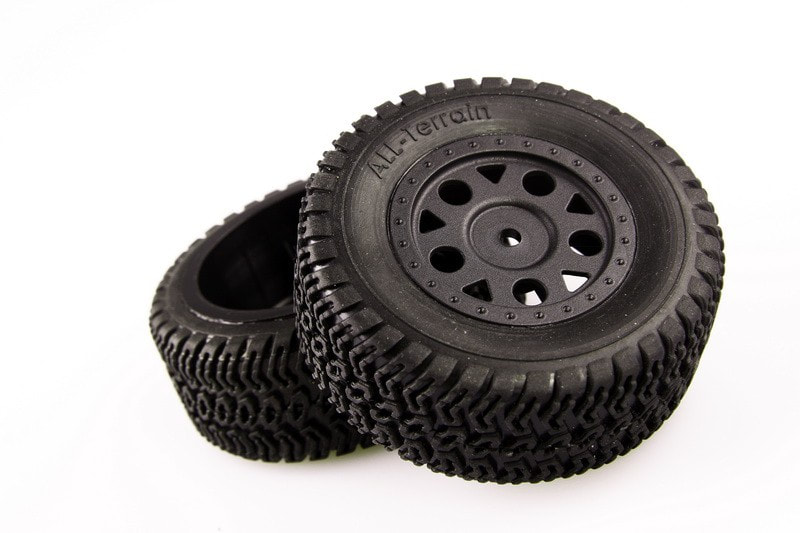
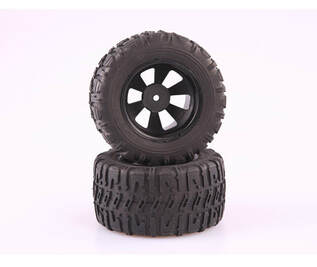
Wheel and tire choice are actually a pretty important aspect that will completely change the way your RC car drives. Depending on the intended surface, I feel it doesn’t hurt to have a few sets of tires for different conditions. Choosing the right tires will improve the handling characteristics of the car and in turn make it more controllable. My intention for the WLCRacing 124018 is more of a basher to use on and off-road so I wanted something that had decent tread and could help absorb some of the bumps on harsher terrain. The stock wheels just aren’t cut out for that as they are better suited towards more hardpack dirt and smoother conditions. The tires are in a way an extension of the suspension system, which is often overlooked. So, in my case, choosing a set of tires that had some give to it was important. I had done a ton of research prior to picking a set of wheels and weighed the pros and cons and ended selecting the LC Racing L6061 EMB-MT (Monster Truck) wheels and tires combo. I do have a set of the LC Racing L6003 EMB-DT/EMB-SC tires that I will do a comparison later.
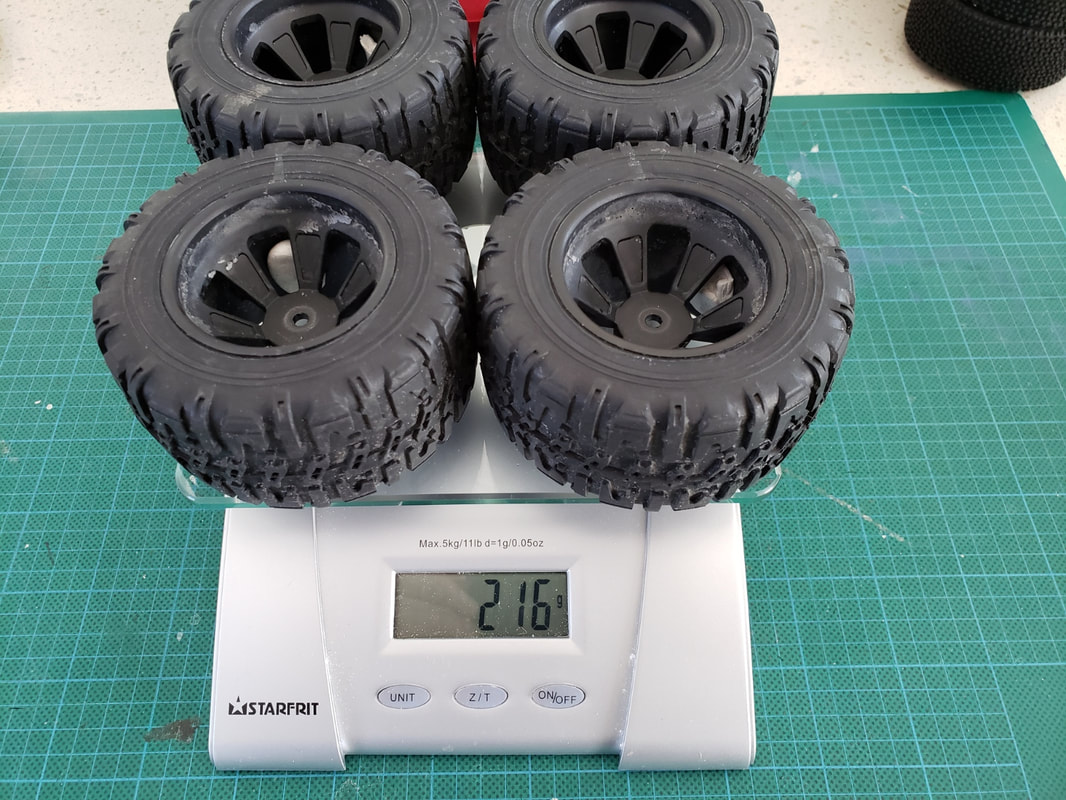
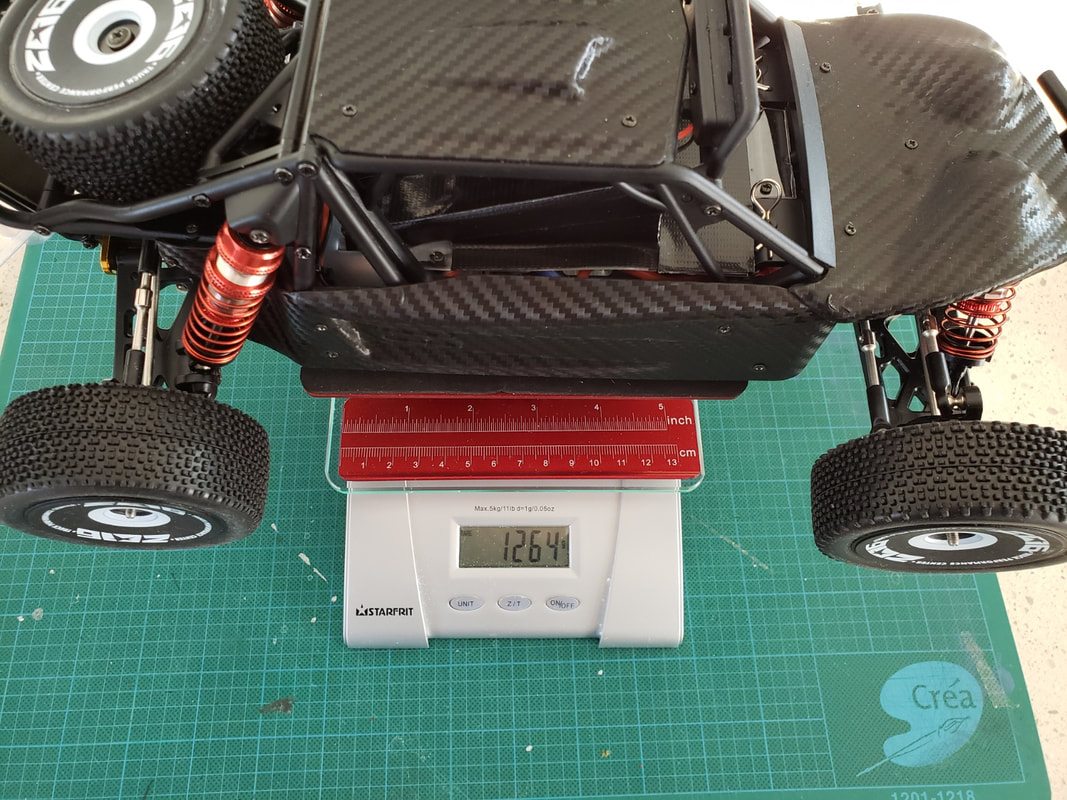
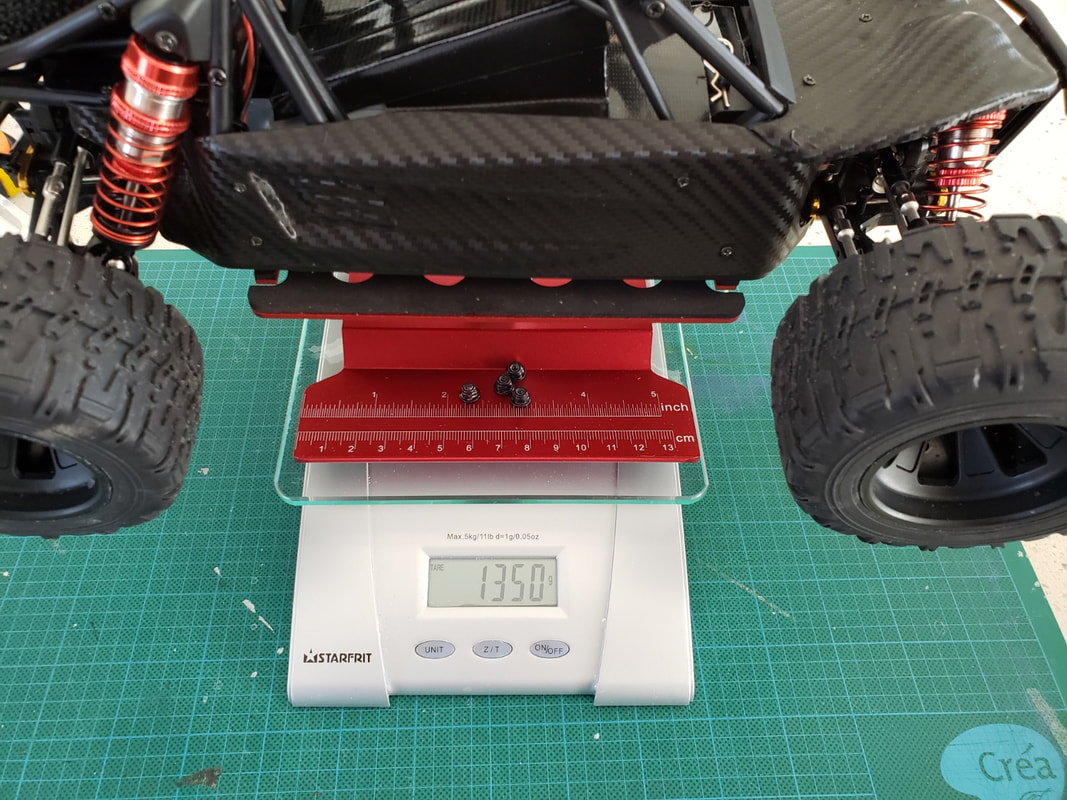
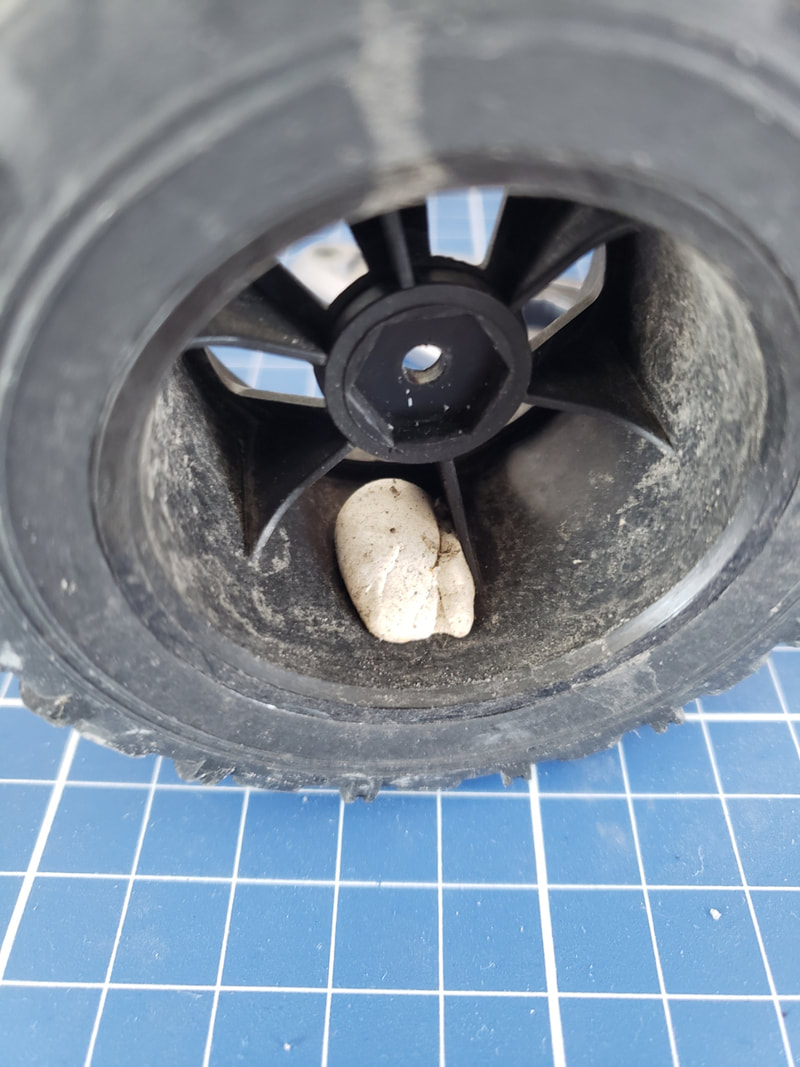 Did Geoffrey use old chewing gum to balance his wheels?! Did Geoffrey use old chewing gum to balance his wheels?! The LC Racing EMB-MT tires required some balancing as it generated a noticeable amount of wheel vibration on my bench test. I ended up removing one of the dog bones in the rear wheel and mounted one tire at a time. I spun the tire around until the heaviest point stabilized towards the bottom and gradually added some sticky tack to the inside of the wheel, directly opposite to the heaviest point in the wheel. I’d give it a few spins and add as needed until the wheel would stop at random places. So compared to the original wheels, I’ve incurred an 85g penalty for more grip and cushion! I think it’s worth it, but I’ll see how it all handles when all the other mods comes together.
Performance Taking the car out for a quick shakedown up and down the street, the car is noticeably softer on the larger tires. I personally find it a bit too soft in combination with the stock suspension as it tends to lean heavily when turn-in and push into understeer. However, it is a ton of fun to launch off curbs and small jumps. Careful not to go too crazy and overheat the stock electronics, I was able to test it enough to call this a successful upgrade. We’re ending Stage 0 with a weight gain, but I will see where else we can save weight in other areas to bring us down to the target weight. For Stage 1, I will be modifying the suspension areas to handle a bit more abuse that I will be throwing at this car. For now, I can happily just stare at the car and appreciate how it looks so much better aesthetically. Click on the pics below to embiggen
Hopefully you have found this article useful, I'm focusing on making my guides and testing more technical and exhaustive so the choice is made easier for you. If you purchase via the links here or on any of my pages I receive a small commission at no cost to you which is enough to help my cover my hosting fees and other expenses related to quadifyrc.com - thanks!
|
Categories
All
|


 RSS Feed
Thanks for visiting QuadifyRC.com Follow us on facebook below to get all the latest updates