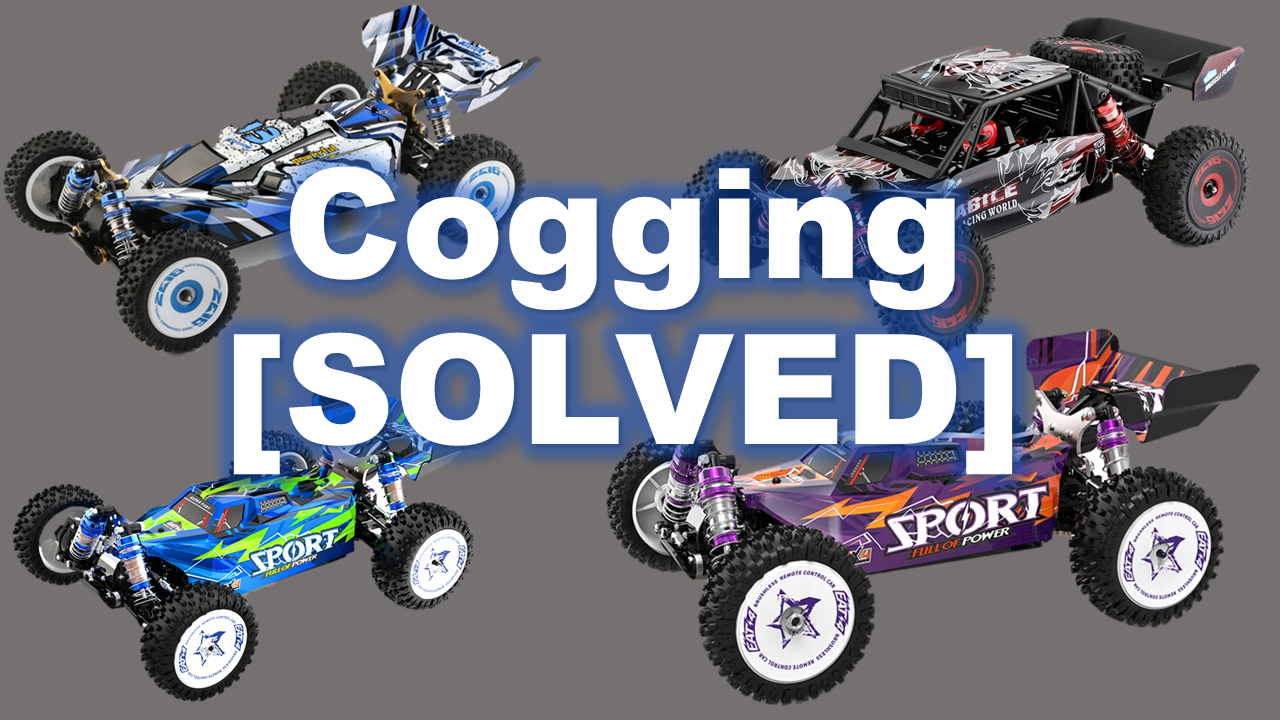
QuadifyRC 124016 124017 EAT14 cogging issue fixThe WL Toys 124016 and 124017 (and the Eachine EAT14) have a major issue with cogging - the stuttering that occurs when accelerating from standstill or low speed and is a major downside to these recent releases. Cogging in your car is not by bad luck but by design choice; in the search for top speed bragging rights, the tall gearing has really compromised these cars ability to accelerate. Never fear, QuadifyRC to the rescue! I'll give you 3 and a bit options on how to fix this issue by addressing the root cause rather than by going on a wild goose chase and addressing the wrong things. Cogging - The Root Cause As soon as I found out WL Toys and Eachine had retained the big 27t pinion from the brushed models I knew they would be fast but were going to be poor on acceleration. This turned out to be correct as you can see on my Eachine EAT14 review which has the same running gear as the 124016 and 124017. You can get away with this big pinion on a brushed motor (like with the 144001, 124018 and 124019) because of the way they work but not on a brushless motor because of the way they differ mechanically. Cogging is when the electromagnetic field invoked by the motor is not strong enough for the motor rotate and catch the next pole thereby getting out of phase and rocking back and forth; it's that jiggle your car make before it takes off. So what causes it? The motor can not generate enough torque for the given load. The 2845 is not a small motor for a car this size so it is safe to assume that it is the load that is unreasonably high due the very tall (fast) gearing. Since we know the root cause we need to address it directly in order to get the best quality solution but before I do that I'll let you know the things that will NOT fix it:
Adding more power with more cells. You'll see I mentioned that the motor didn't have enough power to turn so what if we go up from 2s to 3s to give it more power? Well, you haven't addressed the real issue which is the load, not the motor power. Increasing the power to the motor will make it more likely to spin but it wont fix the cogging and you will more than likely do damage for anything but speed run passes. Cogging Solution So it's clear by now we need to reduce the load on the motor, The drivetrain runs freely so it's not like anything is binding. This leaves us with the gear ratio. As mentioned it's really tall and so dropping the pinion size will resolve this. Easy right? I'm afraid not quite for 2 reasons:
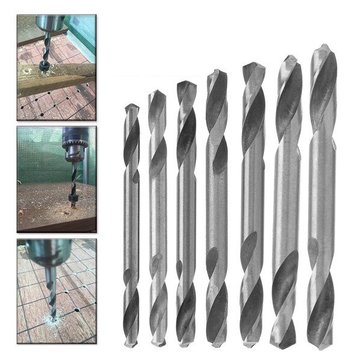
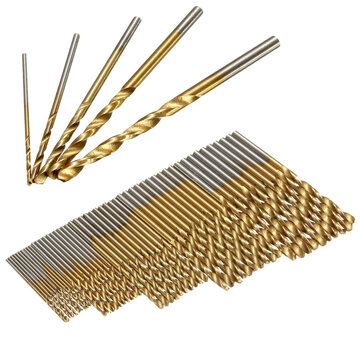
I still have fixes however and will take you through the options based on what you want to spend and what you expect to achieve. Solution 1 - Minimum spend re-using as much as possible. Parts Needed. Here we will reuse all of the electronics and will need to do a small amount of drilling and filing to get a reliable car that performs well at minimum spend. For this we will need:
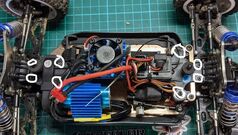
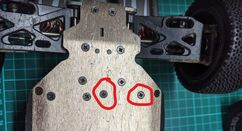
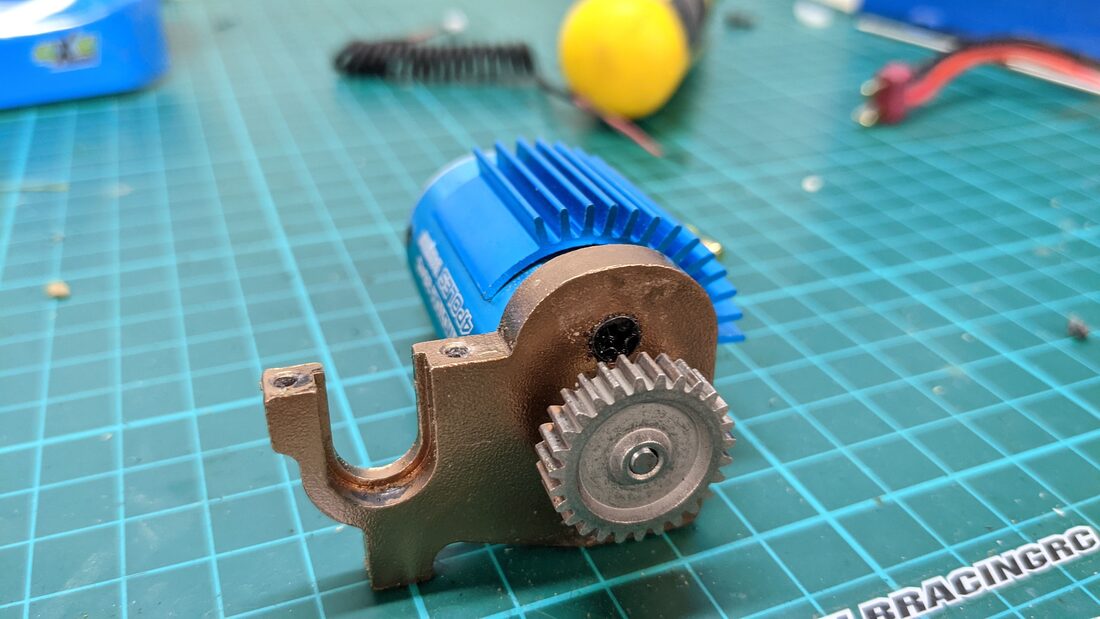
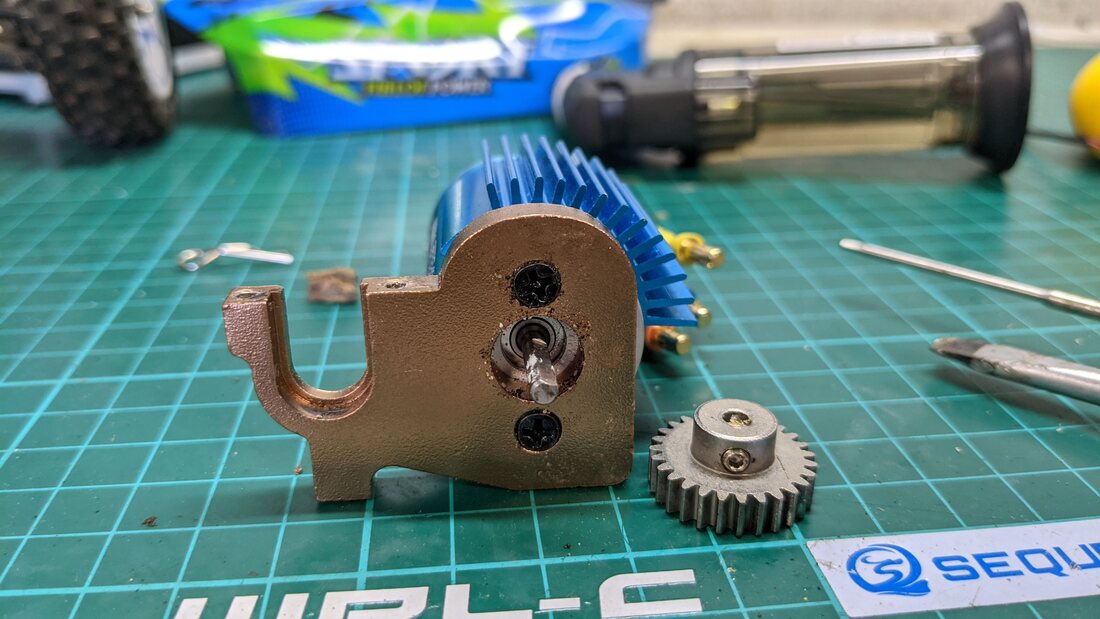
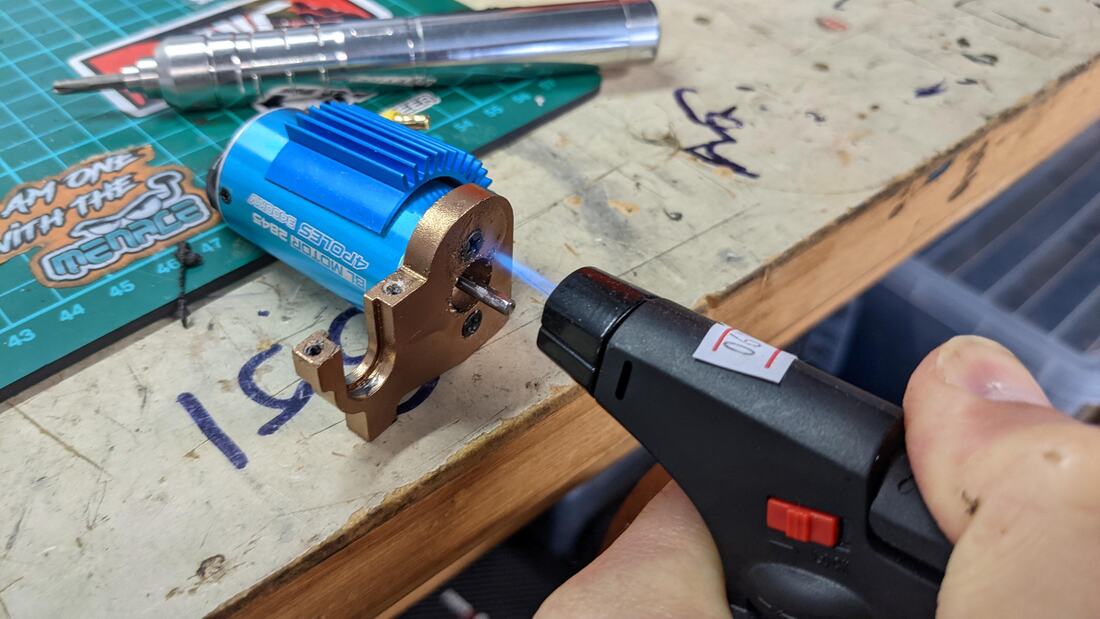
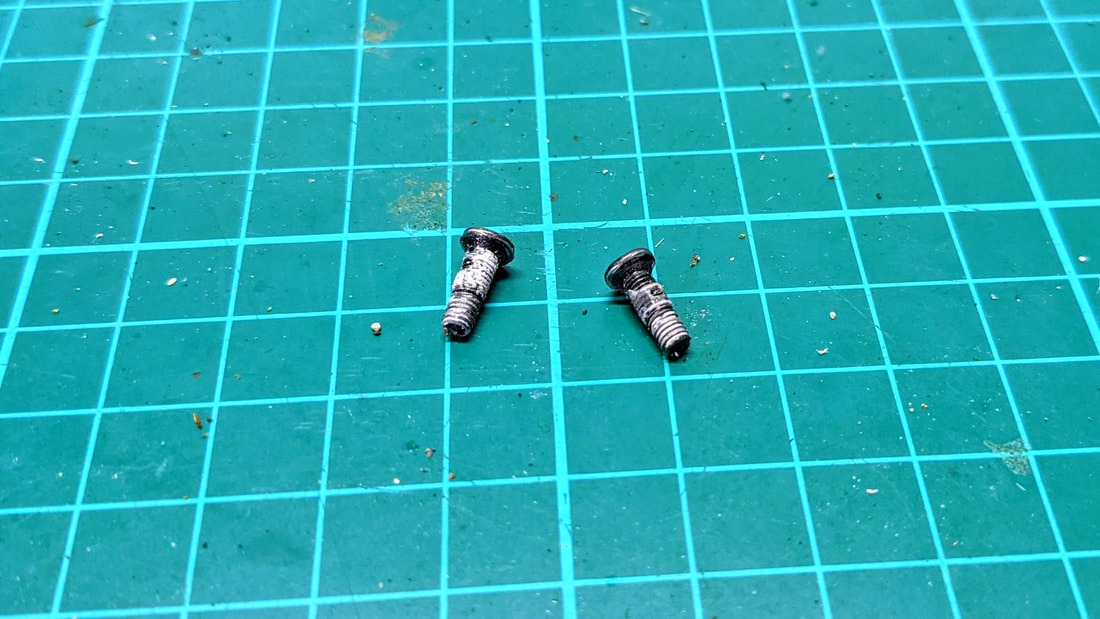
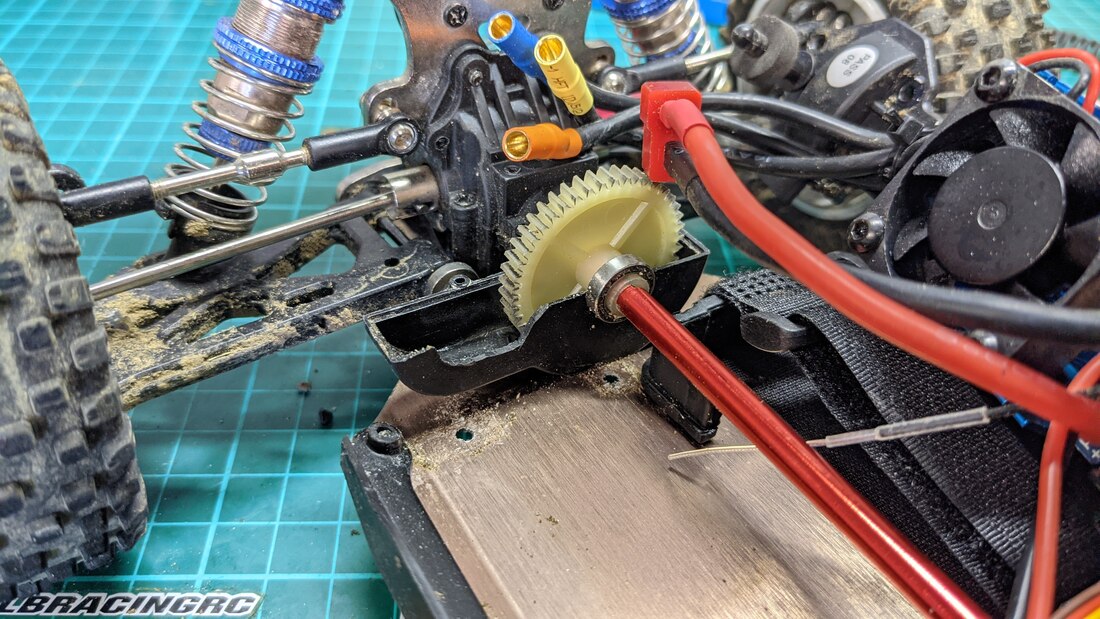
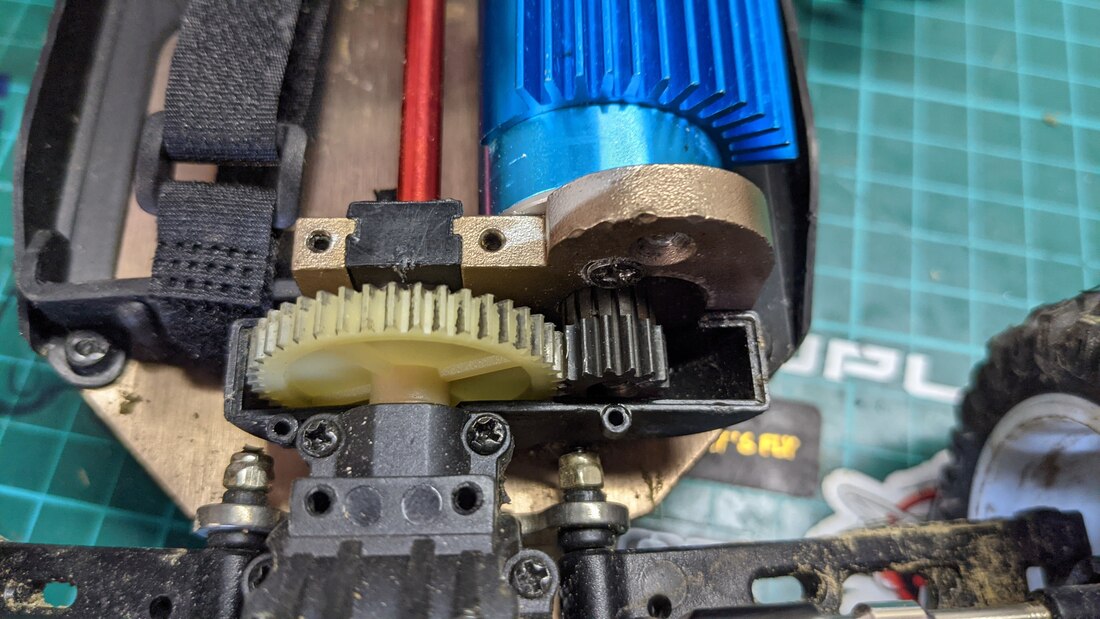
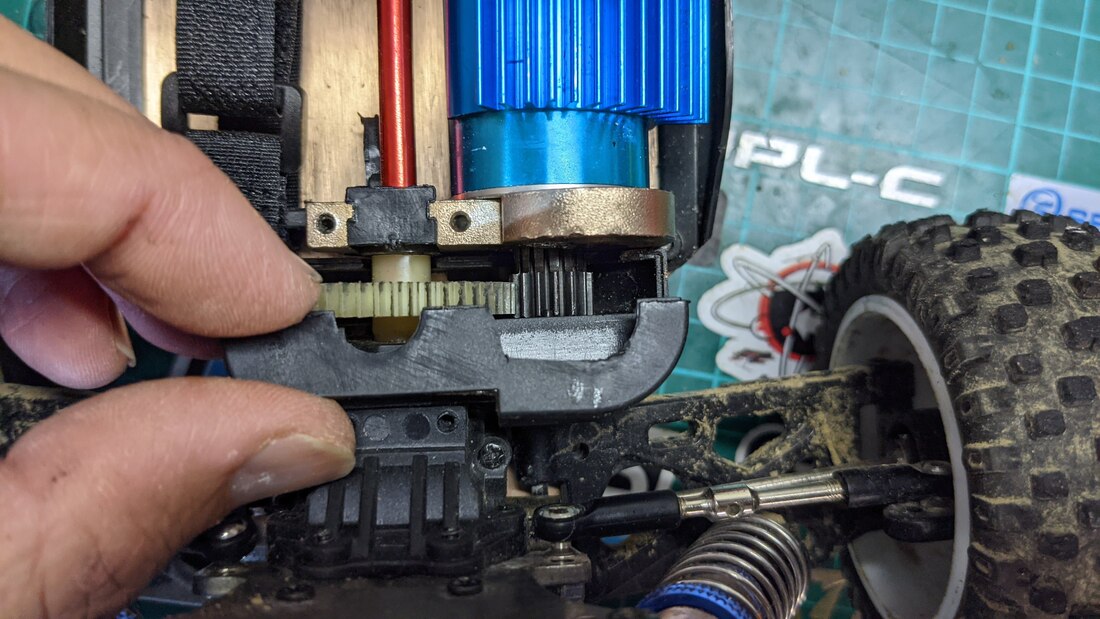
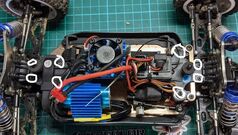
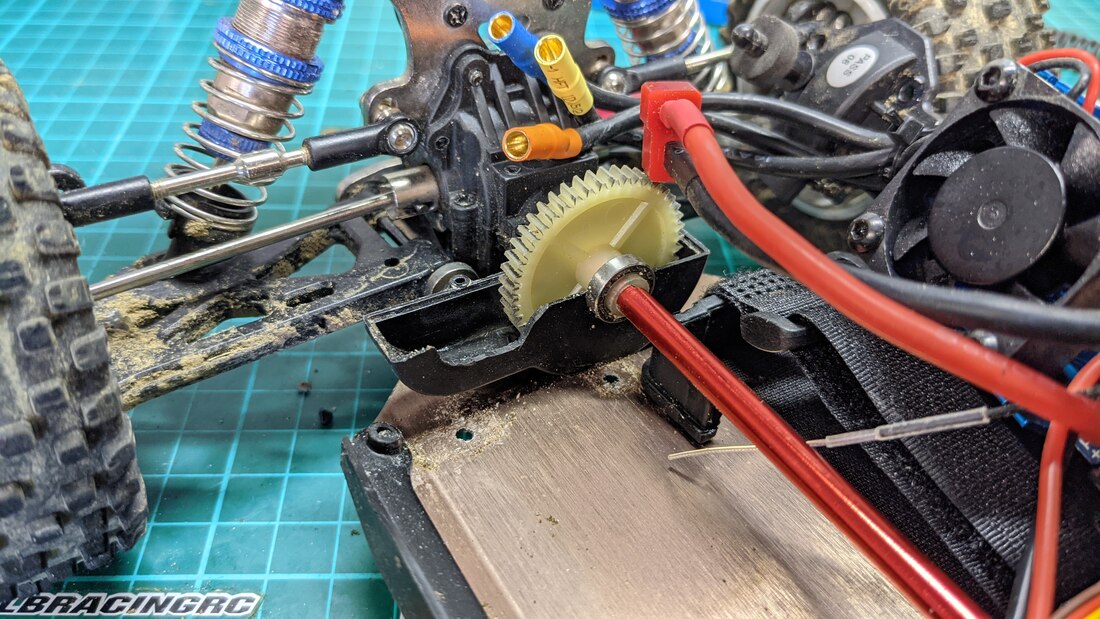
Installation guide. In addition to the above you'll want a little butane blow torch. These can typically bought for less than $5 and are needed to melt the super strong threadlock that WL toys use. Follow the steps below to remove the motor:
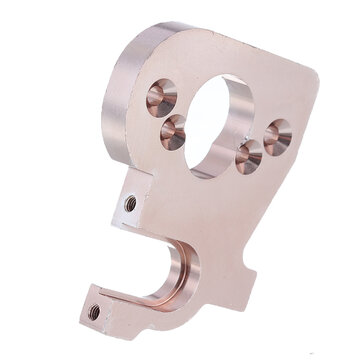
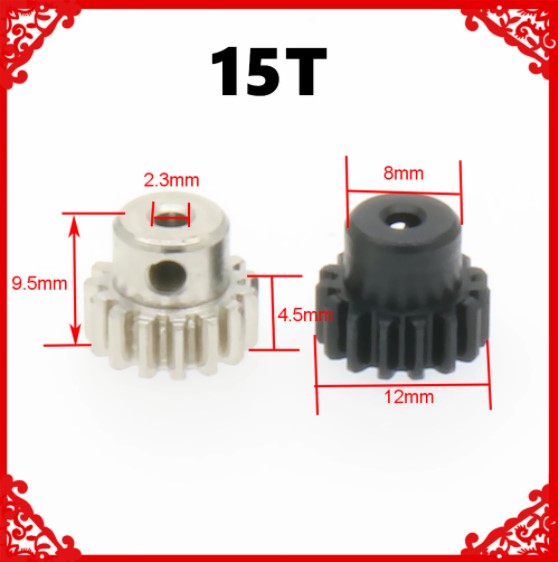
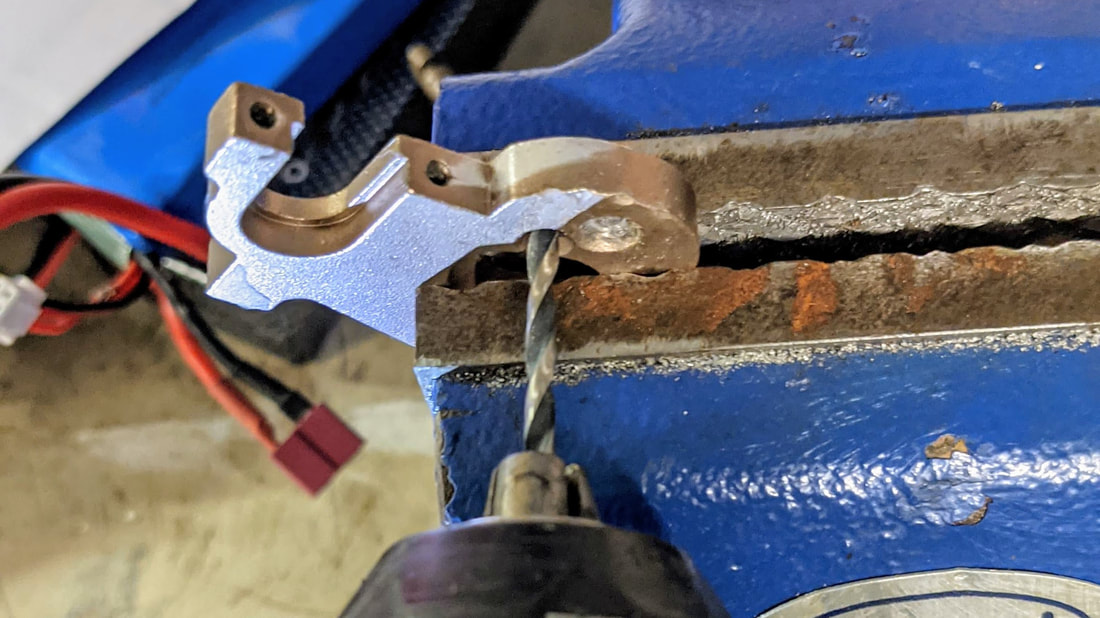
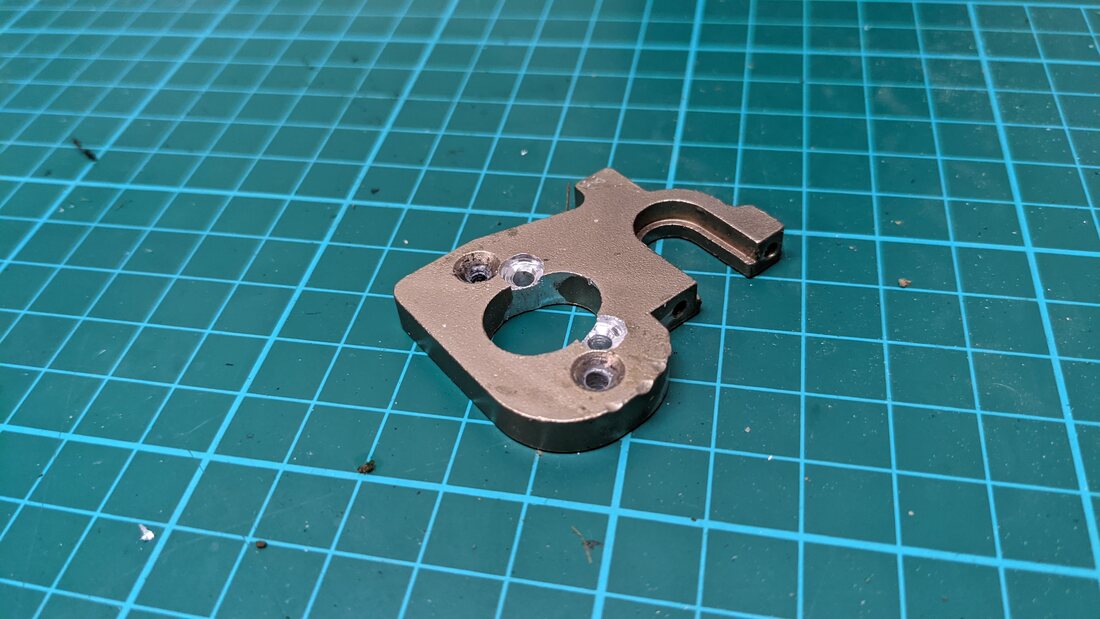
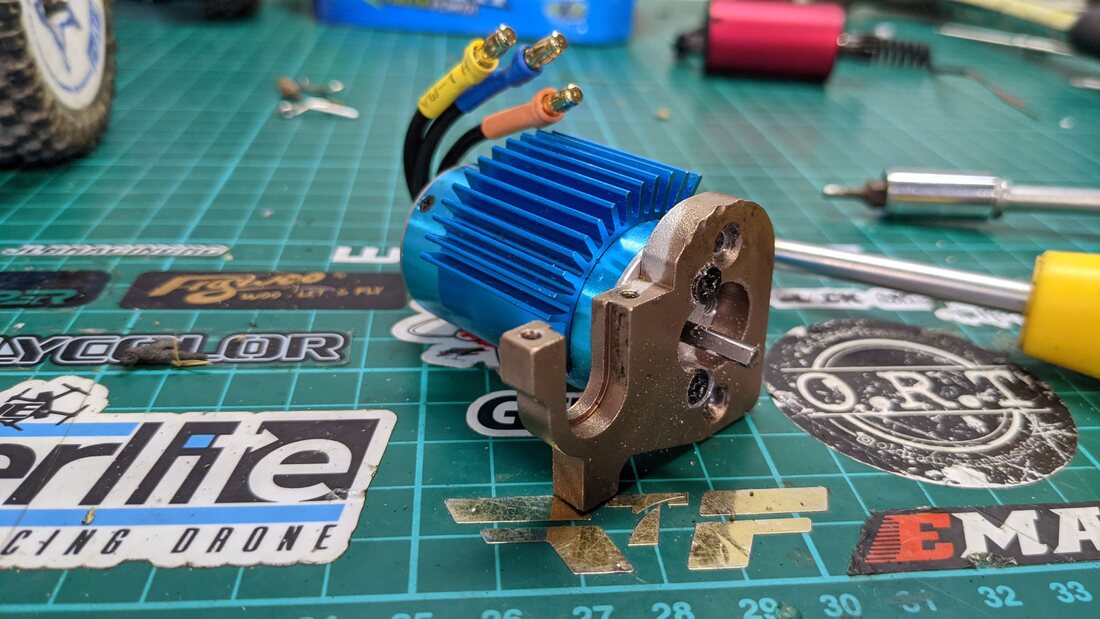
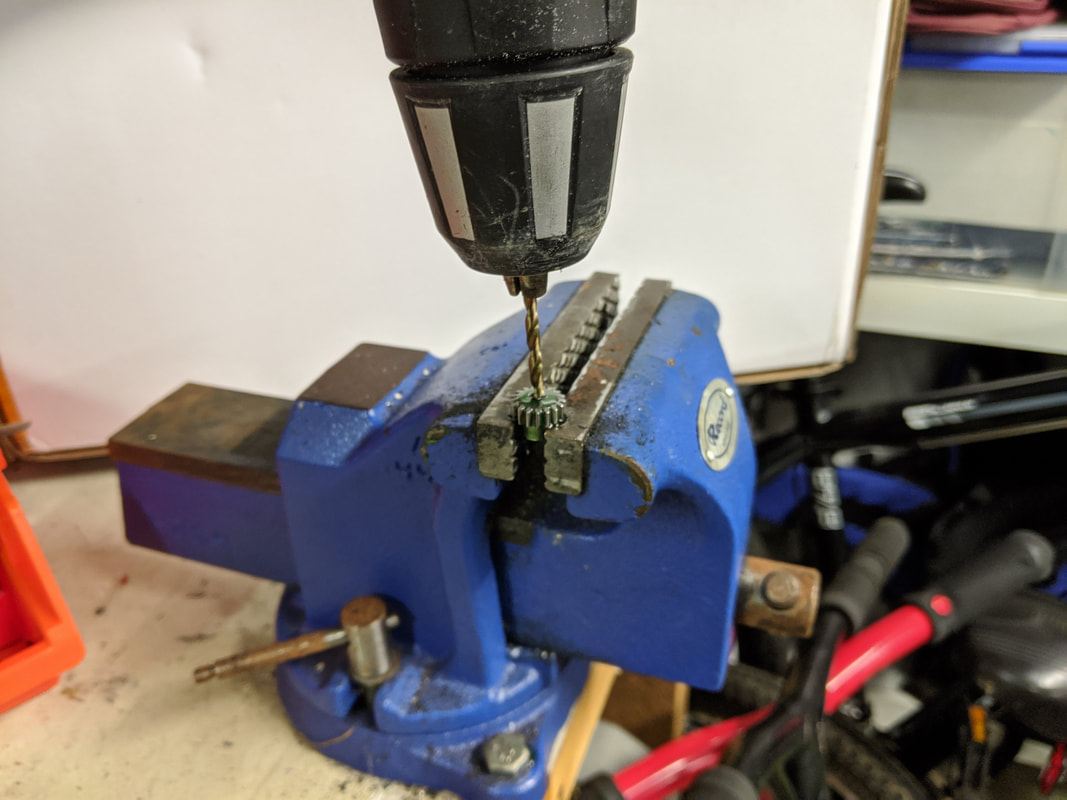
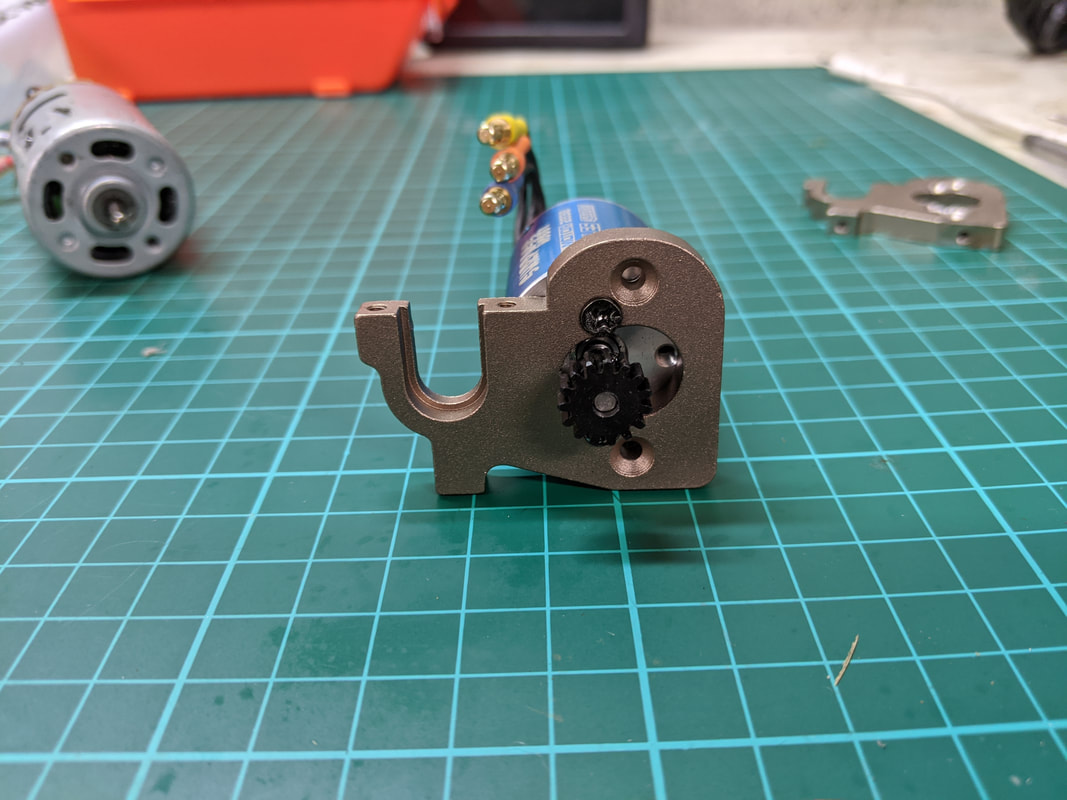
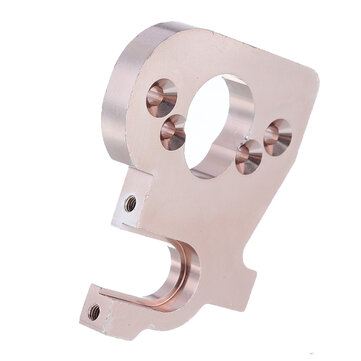
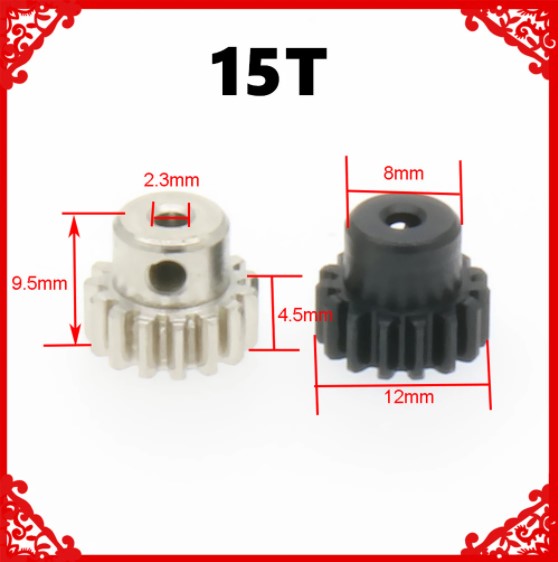
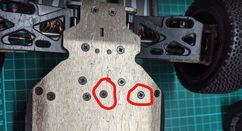
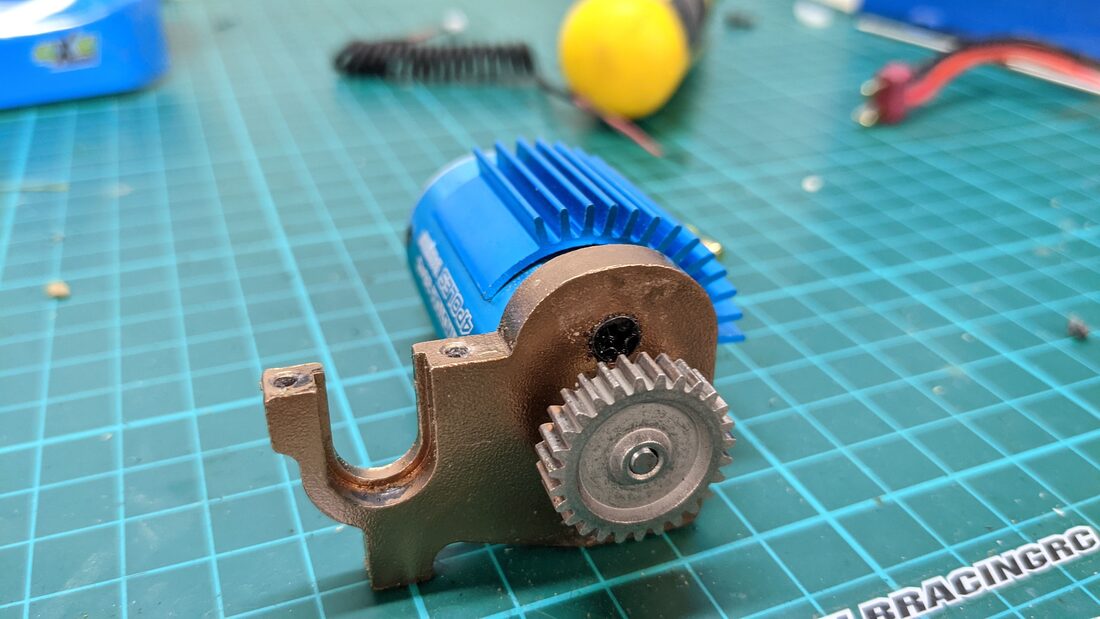
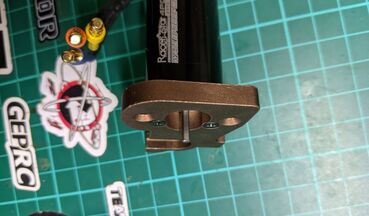
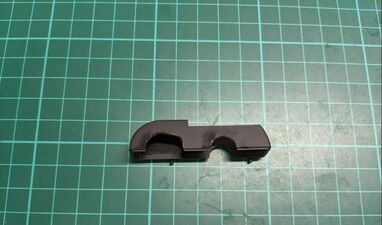
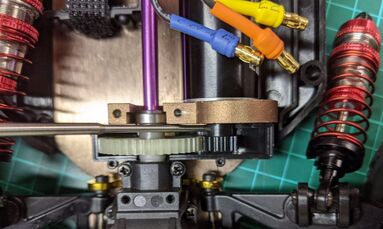
Next we need to use the 144001 motor mount as it has preset holes the align for perfect mesh with the 15t pinion. A little bit of material remove is required to make this fit. Take care in enlarging the pinion bore especially as it is easy to get off centre. I'd recommend ordering at least 2 pinions for this reason as they are cheap but have a long delivery time.
From here do the reverse of what you did earlier, reinstalling the gear shrouds, motor plugs and of course the top deck. It should look almost identical from before but you may notice the the motor now sits inside the car a little further. Performance. Make no mistake, on the same 2s pack this car will be slower, I measured 44km/h with my GPS on stock wheels and just under 50km/h on these wheels. Cogging is completely gone though and you will also have the other benefits:
All these add up to a much better experience for off-road at the cost of some top speed. Clearly this won't help for those of you wanting straight line speed runs but the majority of use want a car that runs equally well on all surfaces and all terrains and 50km/h is still quick for a car this size. If that is unacceptable though you can easily jump up to a 3s battery and hit 70km/h plus quite comfortably. This is well within the thermal envelope of this ESC / motor combo, See below for proof of the cogging fix and how the car performs plus a look at the efficiency this new gear ratio brings.
Solution 2: Easiest Install Parts needed. As I showed in my Drop in brushless upgrade guide for the 144001 / 124018 / 124019 there is a much easier install path but you will need to but another motor. For the additional $10-15 outlay though you will not need to drill, file or cut and in my opinion is well worthwhile
As per the first option you'll need to remove the motor but since you are using a new motor mount, motor, pinion and screws, you can leave that whole assembly intact and set aside.
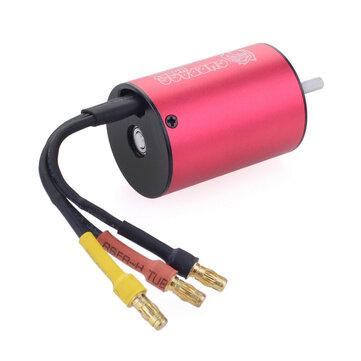
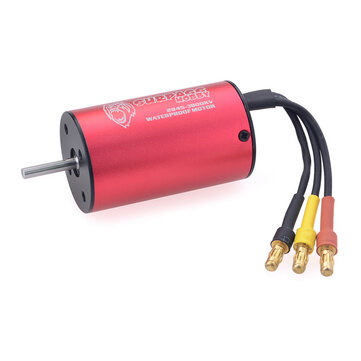
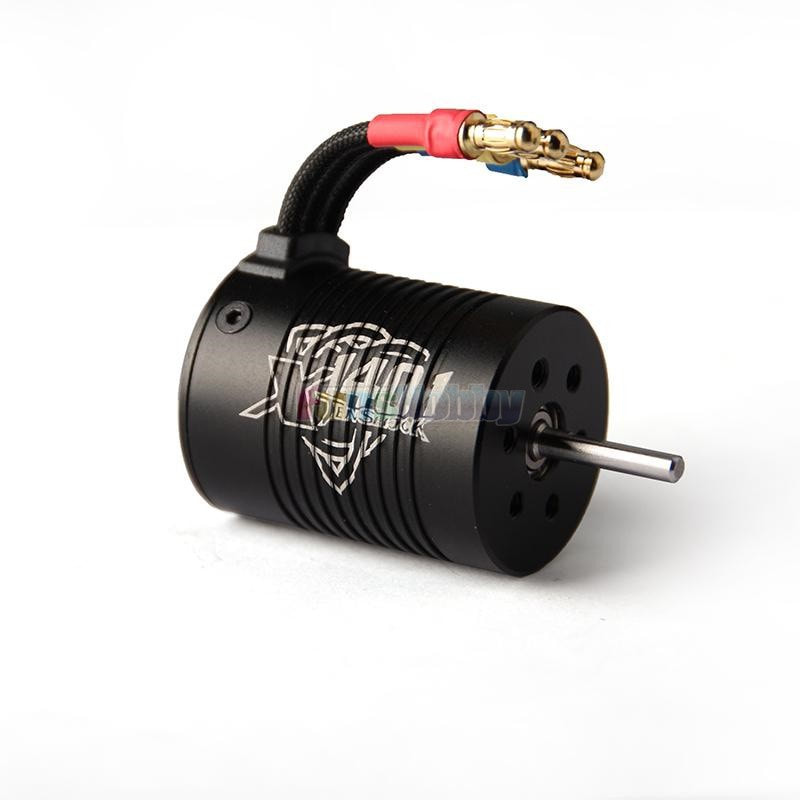
Installing the motor and other hardware is super easy now since you don't need to bore out the pinion nor the motor mount. From here do the reverse of what you did earlier, reinstalling the gear shrouds, motor plugs and of course the top deck. This motor is the same length as the stock motor but smaller in diameter so should be more roomy. Performance. Although it took a lot less effort to get to this point due to a direct fitting motor the outcome is very similar to option 1. Note: since the gear ratio is a lot more conservative, the smaller 2445 is not really disadvantaged towards the stock 2845 motor. In addition to the same benefits as the option 1 (acceleration, battery life, smoother throttle, less heat), you also get a lighter and more balanced car as a result. Again, a much nice drive over a wide range of surfaces. Top speed on 2s is 50km/h and 3s is 72km/h, you can read more about performance in my 144001 / 124018 / 124019 Drop In Brushless Upgrade Guide here as it is essentially the same setup Solution 2B: Easiest Install, high speed What about the 5400kv 2445 motor? You can of course install this motor as an option too, it is super quick - 78km/h on 2s and 109km/h on 3s as seen in my original drop in brushless upgrade guide. It does run hot thought so would only really consider it for on-road applications. The stock ESC should handle this motor just fine, especially with that great big fan. If you want to see more discussion on 2s vs 3s and different kV options then read this article: RC CAR THEORY: 2S VS. 3S, HIGH KV VS. LOW KV Solution 3: The best no-compromise setup If you want the very best setup in this car and are not afraid to get your hands dirty then the best no-compromise motor I can recommend for this car is a 2838 or 2845 sized brushless motor (like the stock motor) but in a more appropriate kV that suits the 15t pinion better, I recommend around 4500kv if you plan to bash hard or use bigger wheels or around 5000kv if sticking with the stock sized wheels and not pushing your cars on such tough terrain. These motor should net you around 60-70kph and run fairly cool. Below are some recommendations in this size: My Personal Recommendation
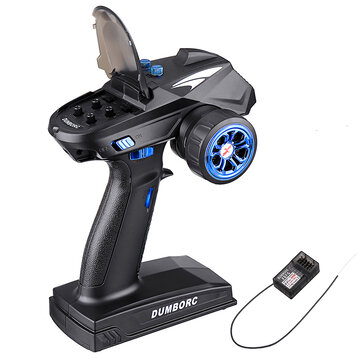
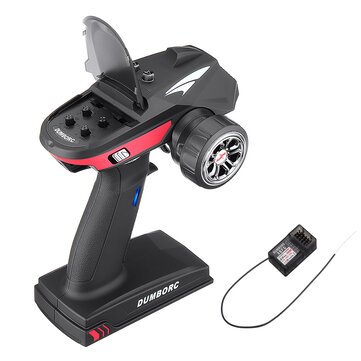
So there you have it, 3-4 genuine options to resolve the cogging issue in the 124016, 124017 and EAT14. My personal preference is for the second option (a or b) because it is just so much easier but if you have the tools and patience then do consider option 1 to make use of the stock motor. As I said solution 3 would be the best performing but is the worst combination of money and work required. Before I wrap this up I'll give you a little bonus: my favourite radio options if you wish to upgrade from the barely acceptable range on the stock radio. These directly replace the stock transmitter and receiver:
If you are looking for a discount on this car, I will post any coupon codes or flash sales for it over here on my coupons and discounts page. Remember buying from any of these links supports my page without any cost to you and is appreciated especially since I don't ask for money via patreon and the like. If you want to get involved in this discussion, feel free to join the QuadifyRC Facebook Group Here or like my page below.
|
Categories
All
|
Thanks for visiting QuadifyRC.com Follow us on facebook below to get all the latest updates


 RSS Feed