|
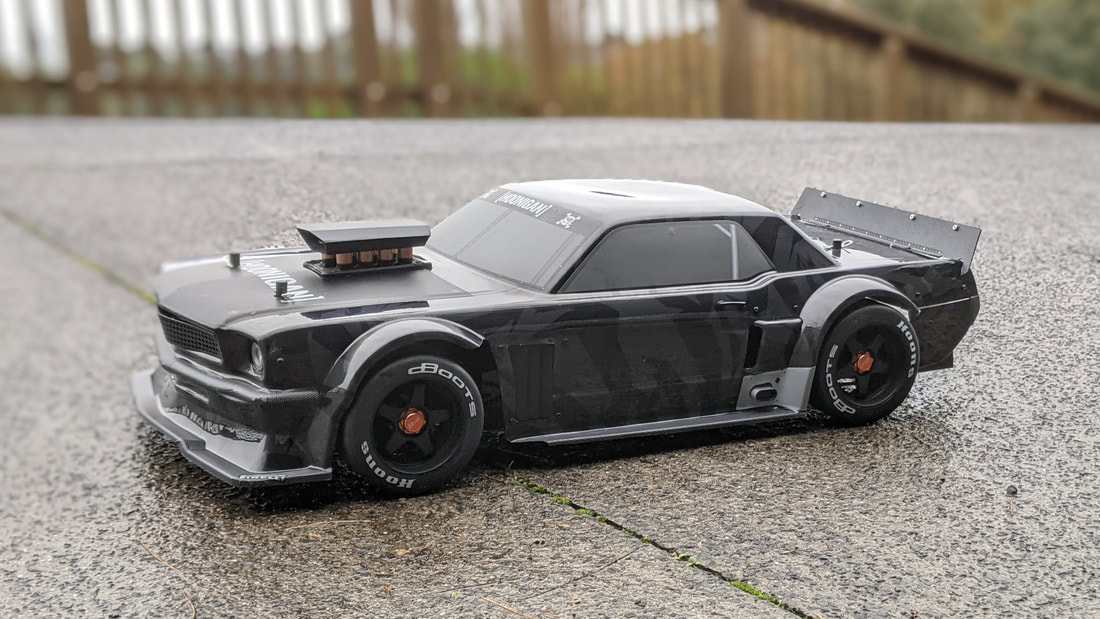
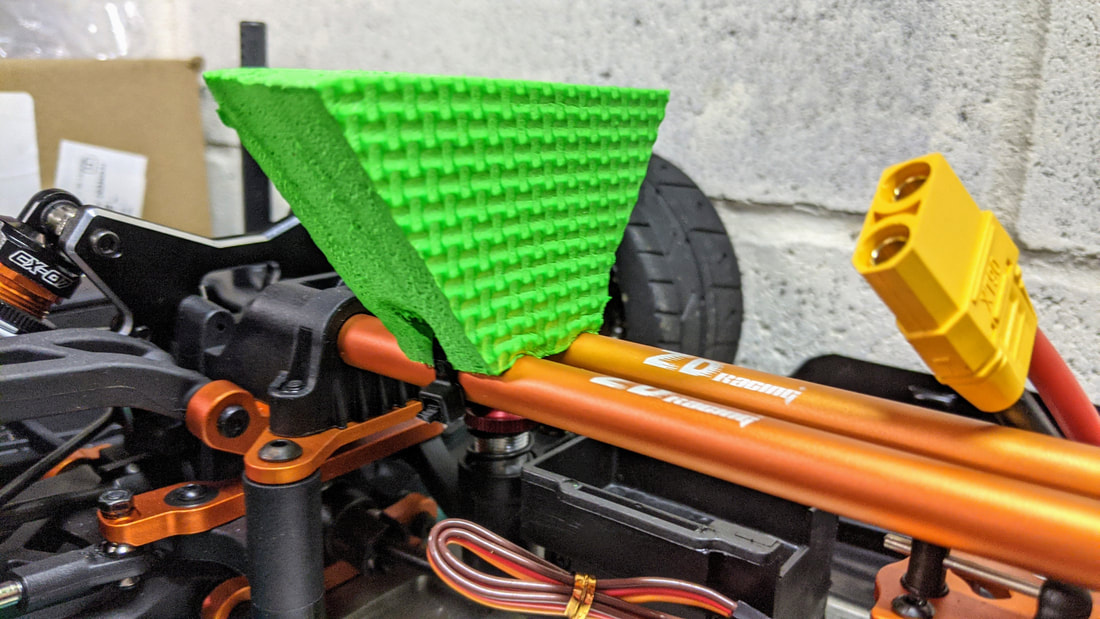
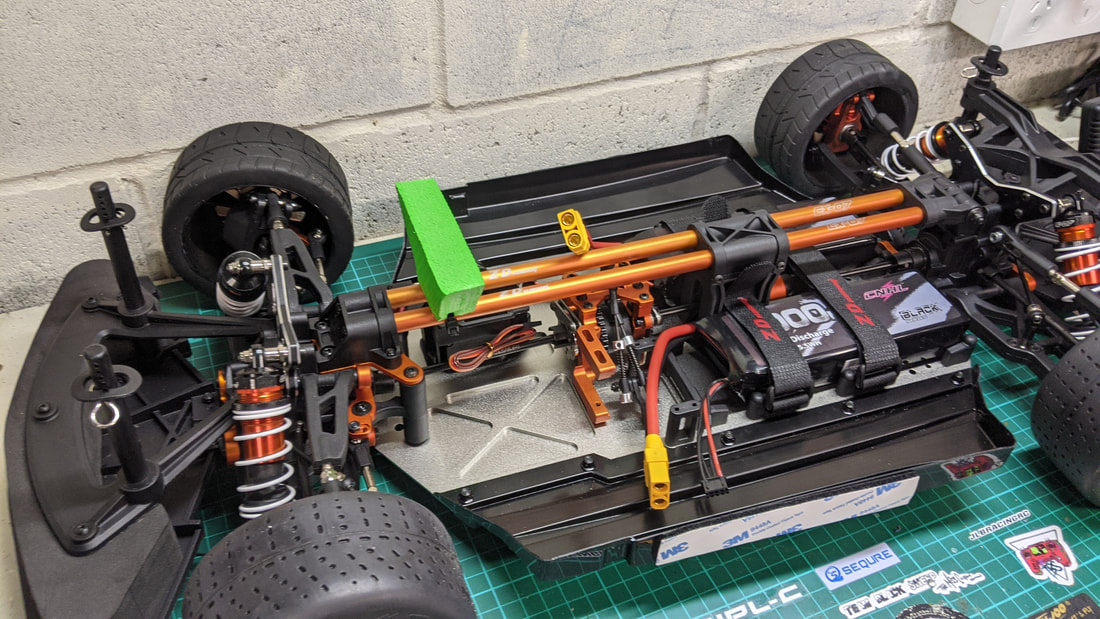
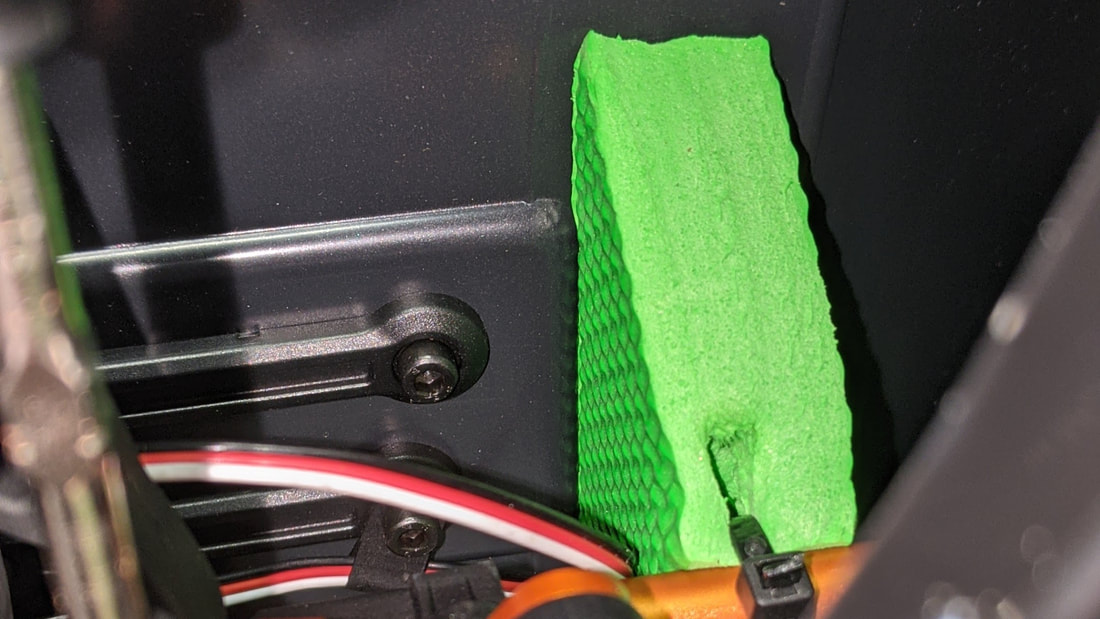
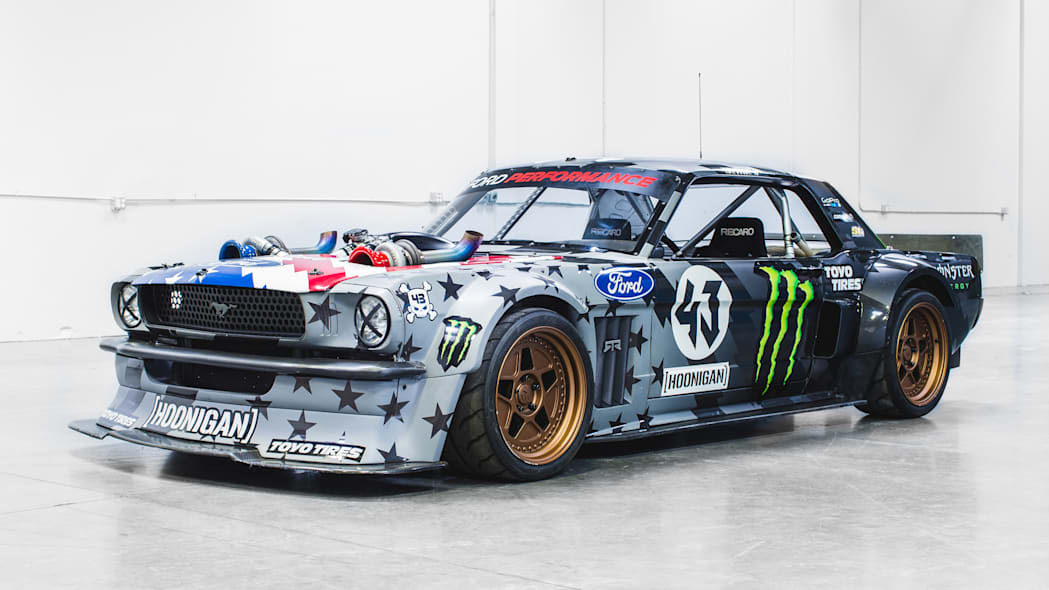
The ZD Racing EX-07 Is a massive 1/7 scale street bash RC car based on the looks of Ken Block's restomod Hoonicorn Mustang V1. It is available as a ready to run car with everything or a kit version without the electronics and I've chosen the latter. They have got the looks 90% of the way to looking amazing but let themselves down on the final execution, with the body drooping badly around the front of the windscreen it kicks the nose up awkwardly and makes it weaker too. In this guide I will show you how to fix that and make some other easy improvements to the stance to make it look even better than the Arrma Infraction and Felony that it competes with.  A quick note that this is not a review - I plan to do that soon but it's taking a while since I bought the kit version knowing that the stock electronics are a little sketchy. This allows me to choose my own servo, ESC and motor to get the performance and reliability I want. In this article I'll show you how to fix the horrible sag in the body the makes the nose point up, adjust the stance to make it more even by modding the body posts and droop screw settings and lastly an option for different wheels which in my opinion really set the car off. Fixing the sag The main issue with the body is that is is not rigid enough to support its own weight and it sags down with the bonnet in front of the windscreen becoming the lowest point. Initially I looked at putting strips of aluminium or stiff plastic rails on the inside of the car but this doesn't address the issue properly and the weight it adds would actually make it worse. Another option is to force the front closer down to the bumper by adding and extra body post that runs through the splitter but again, this doesn't support the body where it's needed. In the end the best solution is actually the most simple one - put a piece of high density closed cell foam (yoga mat material) that sits on the upper chassis rails and support the body in the weak area. The dimension of the piece and how I installed is below. I must say it does a fantastic job and this improvement is on a brand new body - as it gets damaged this sag would get worse without the support as I've mentioned here.
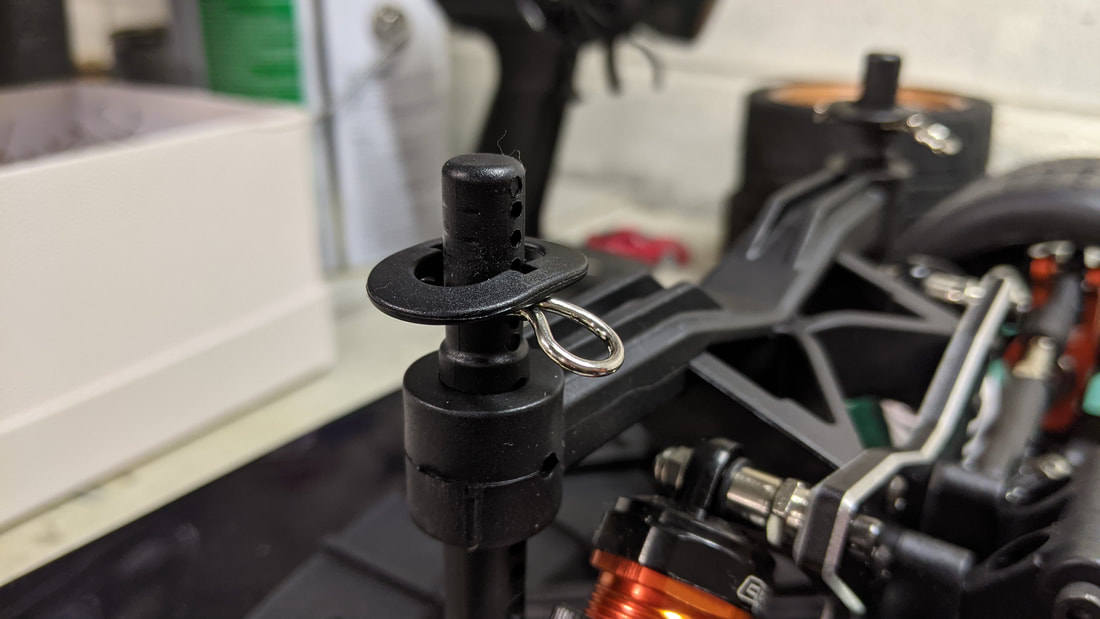
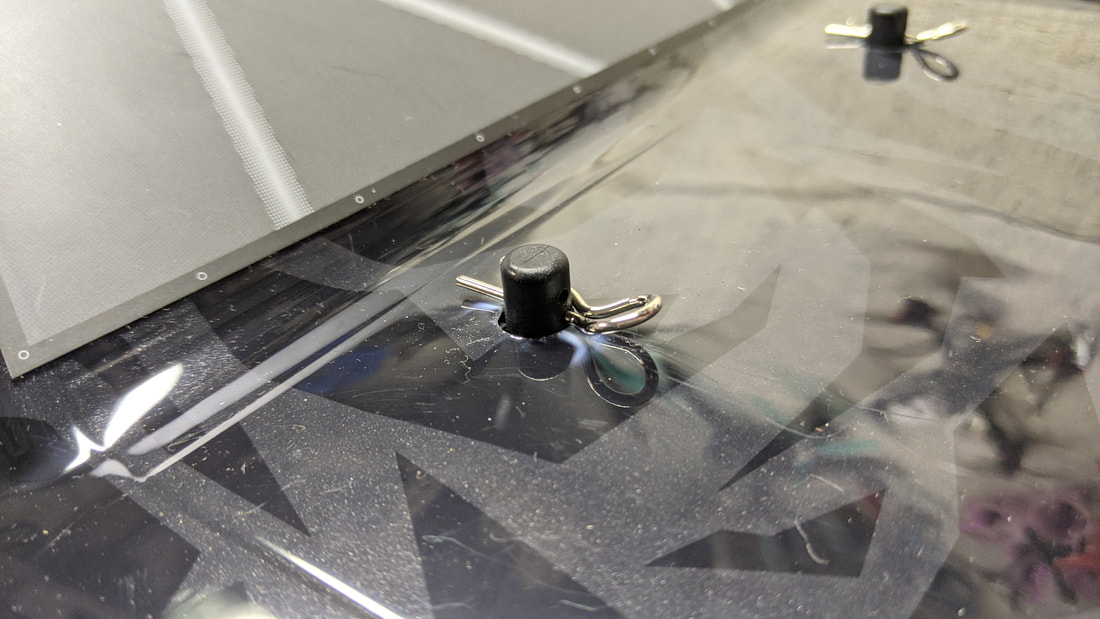
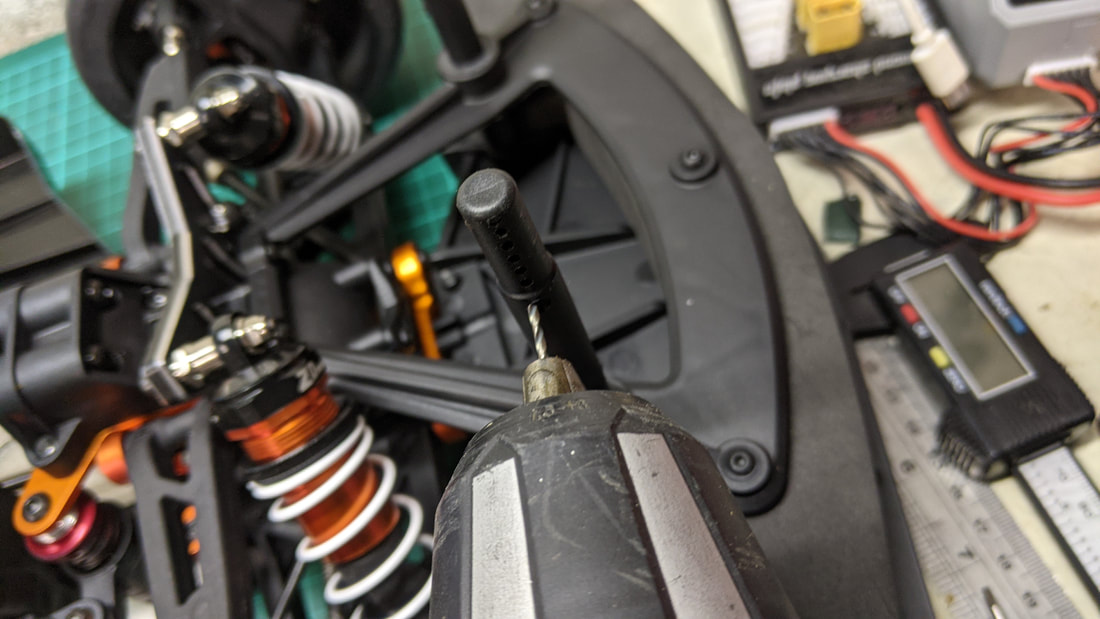
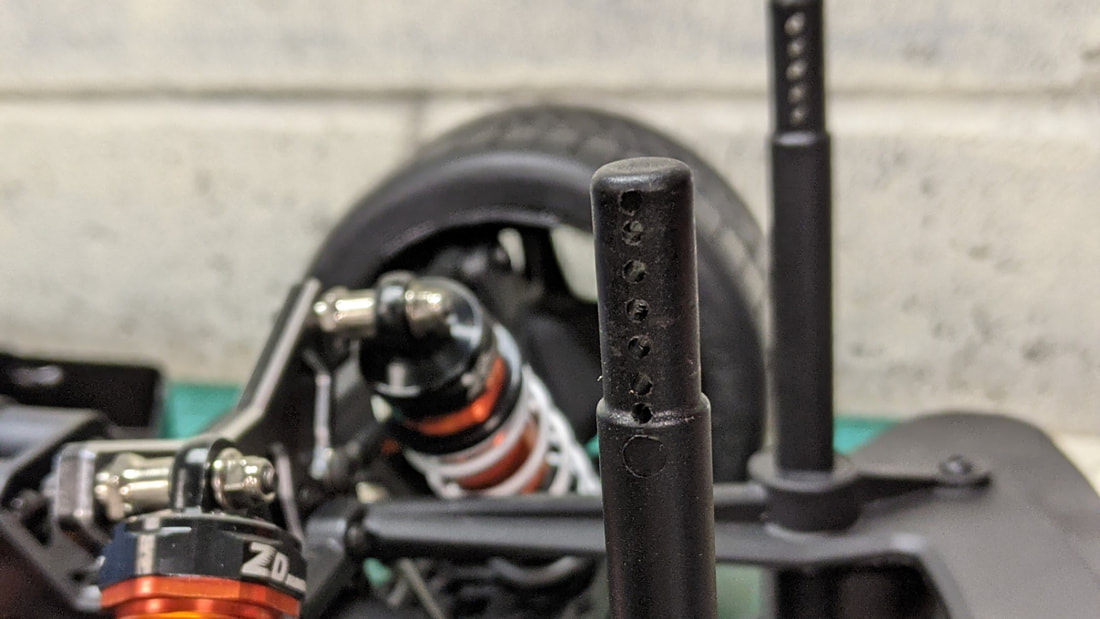
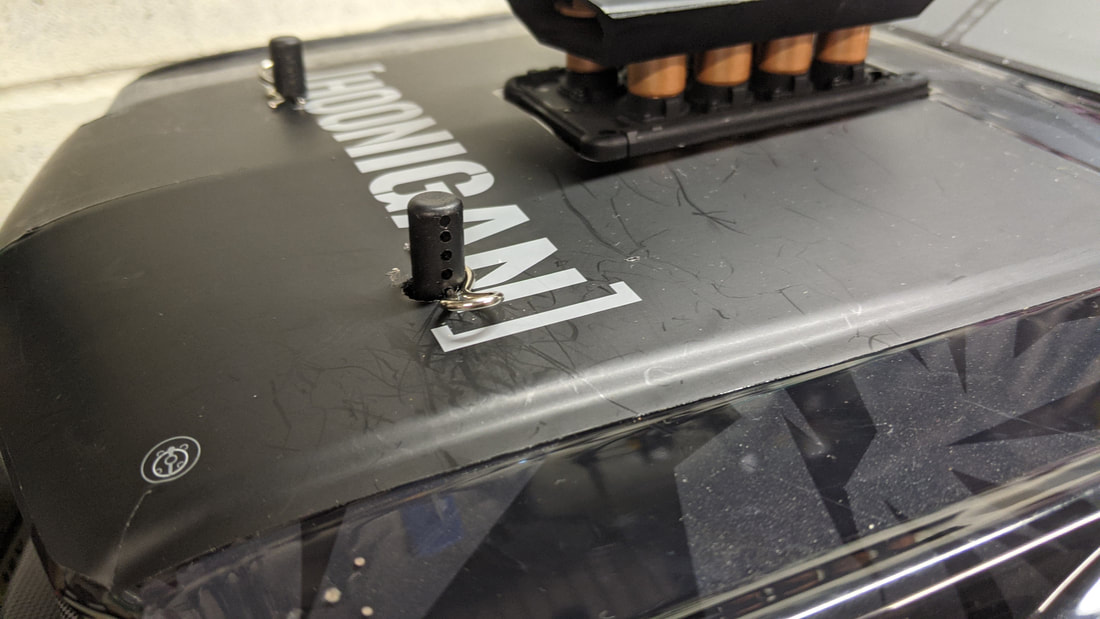
Adjusting and modding body post Now that the shape of the body has been fixed let's address the height. Personally I think it sits too high and there are two ways to adjust both of which have their up and down sides:
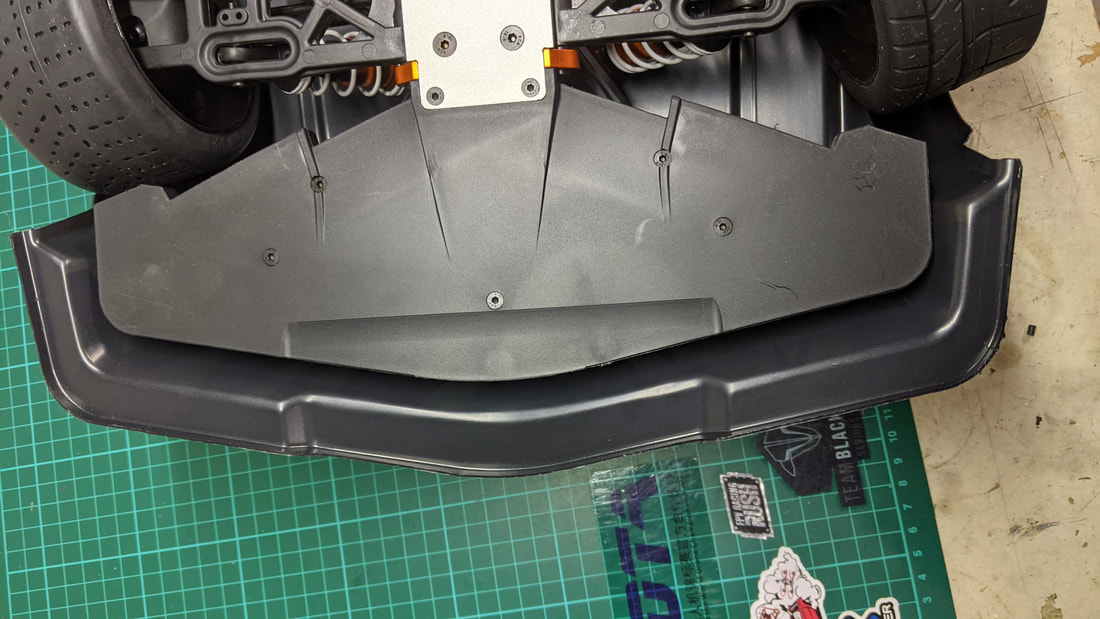
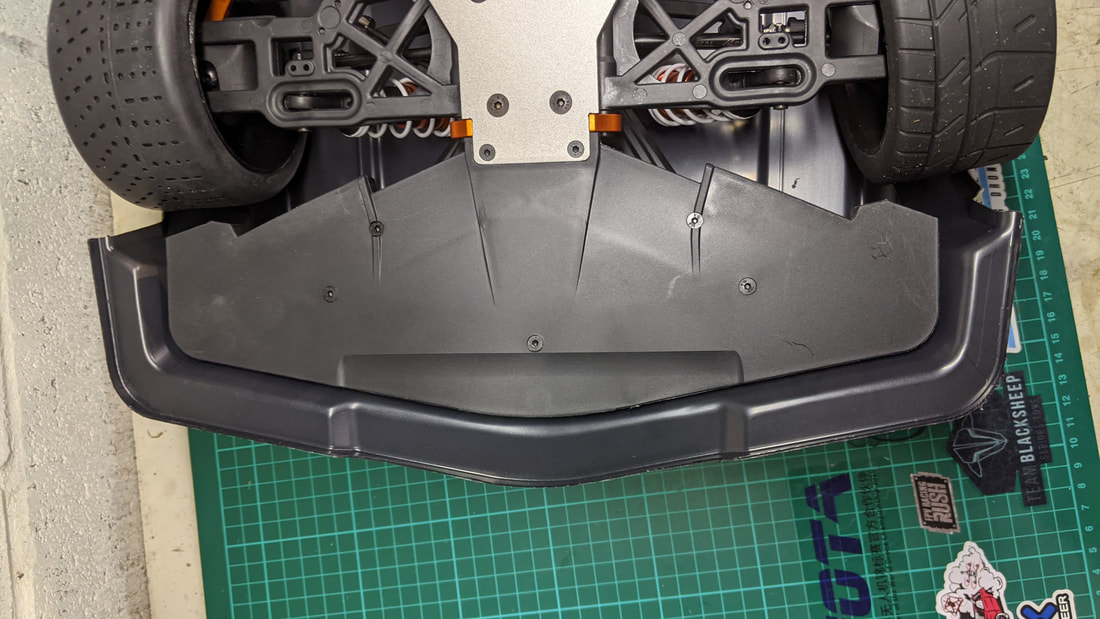
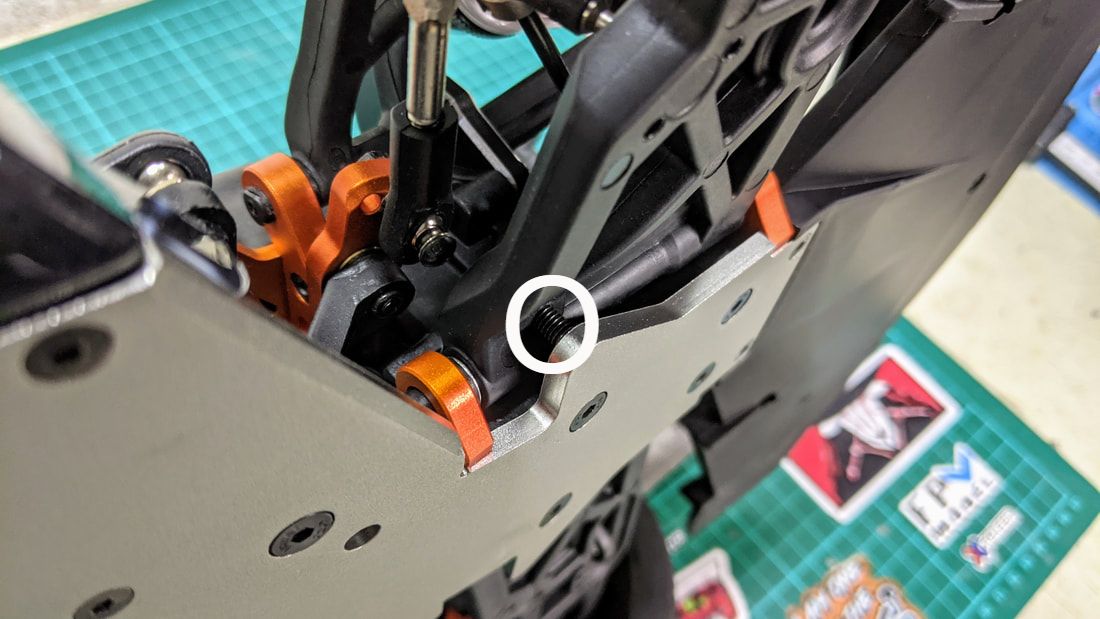
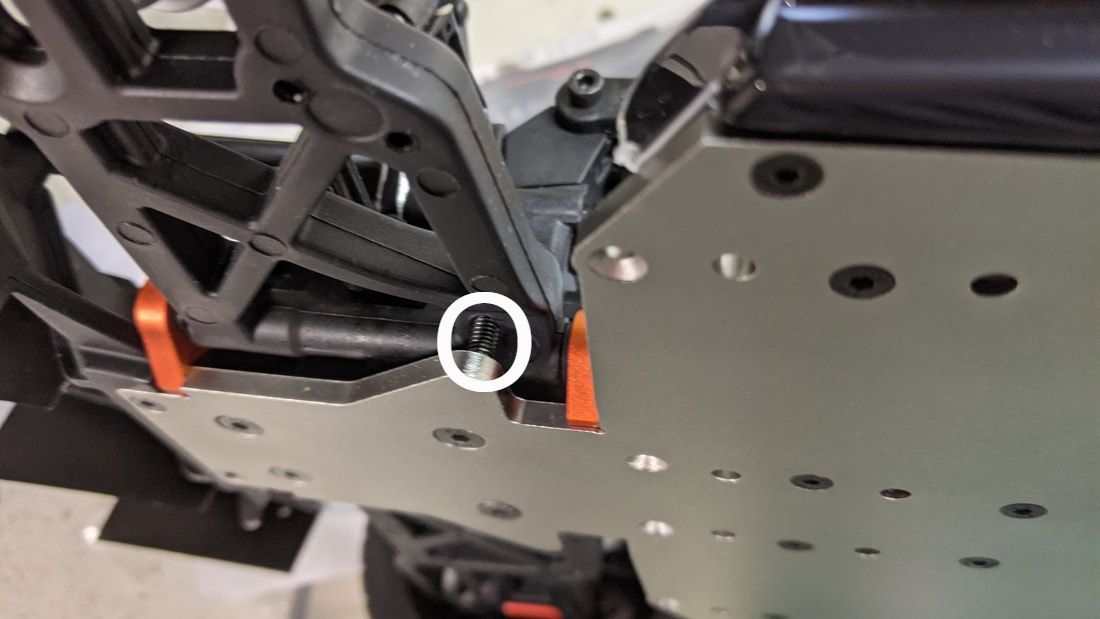
Adjusting droop screw Lastly I used tune the chassis ride height to get my final look right. For these I used the droop screws, the small grub screws that are located in the suspension arms and push up against sections of the lower chassis when at full deflection. I only made sparing changes 1/2 a turn at a time (clockwise decreases ride height, anti clockwise increases). The goal was to set final ride height but it is crucial you get front to rear and side to side balance correct otherwise you can upset handling with more weight on some wheels than others.
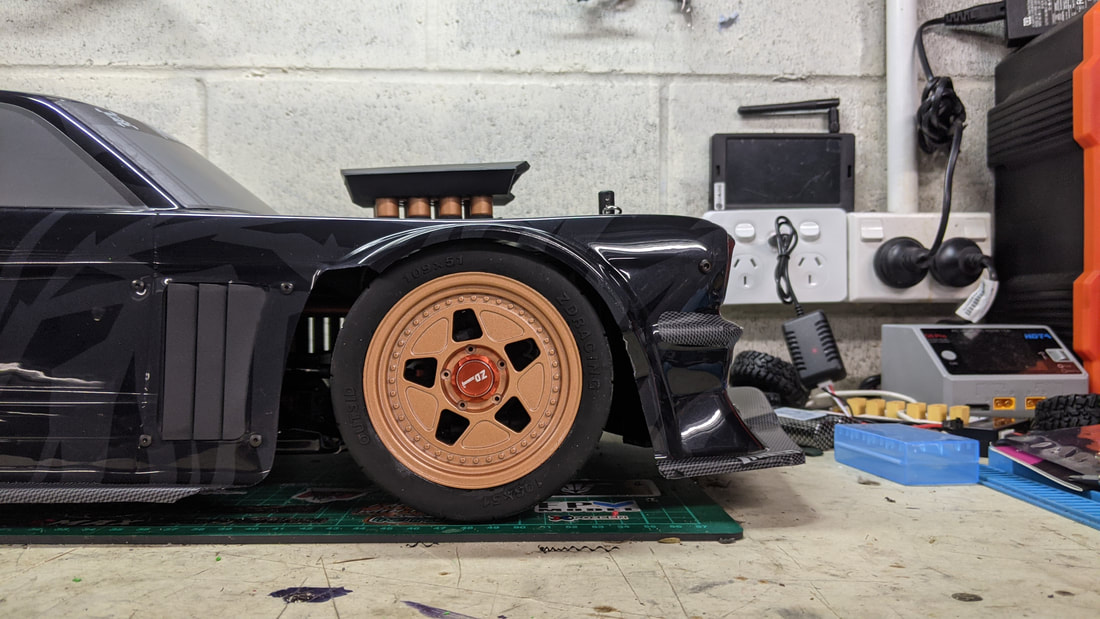
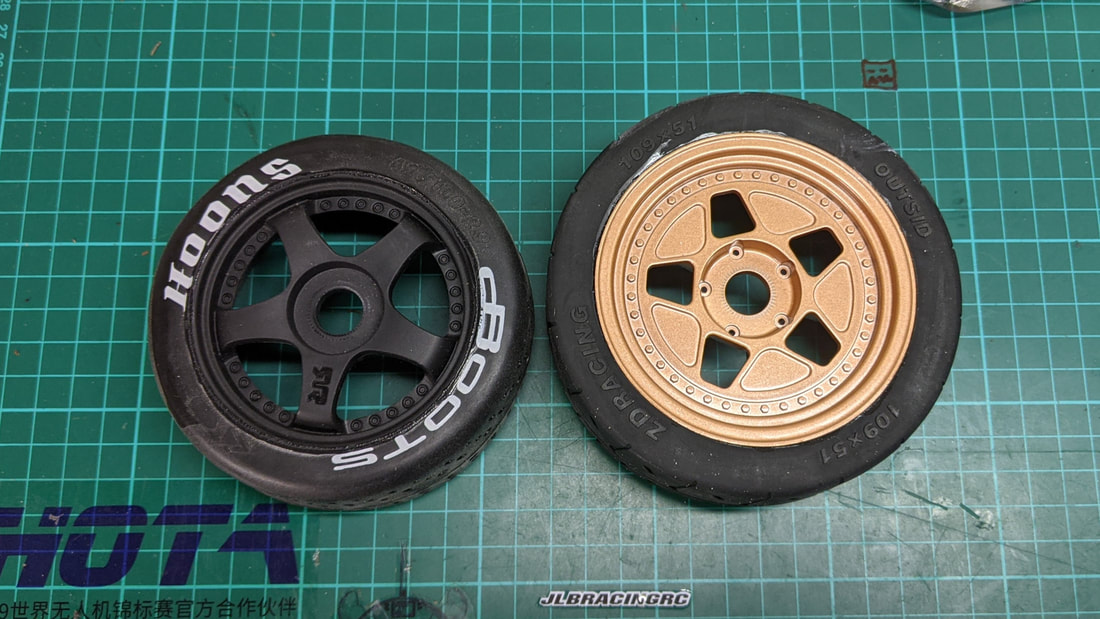
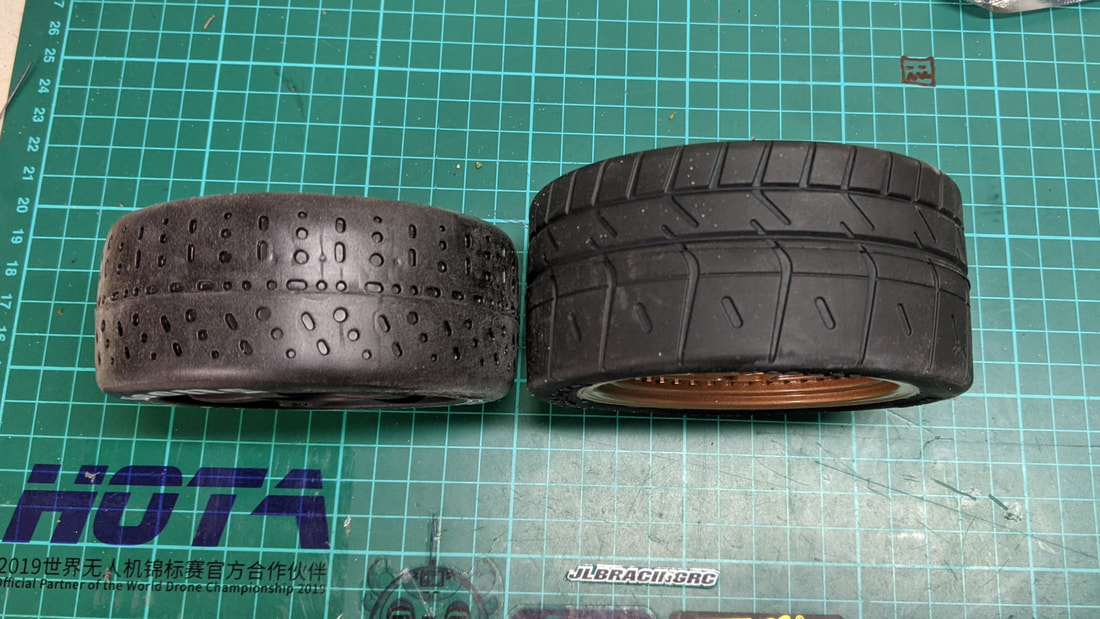
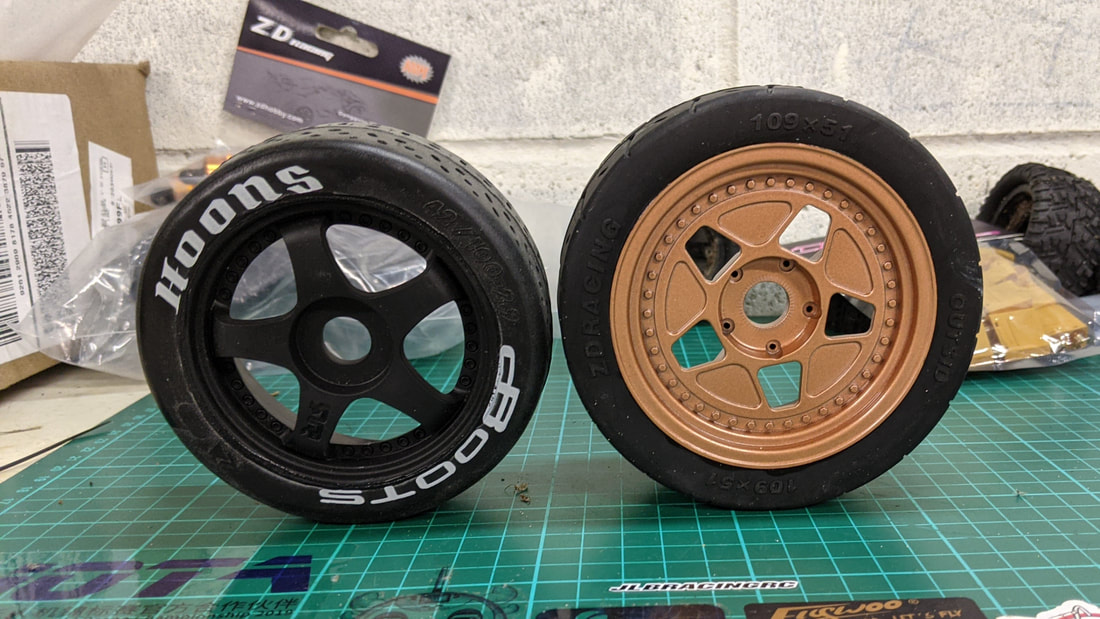
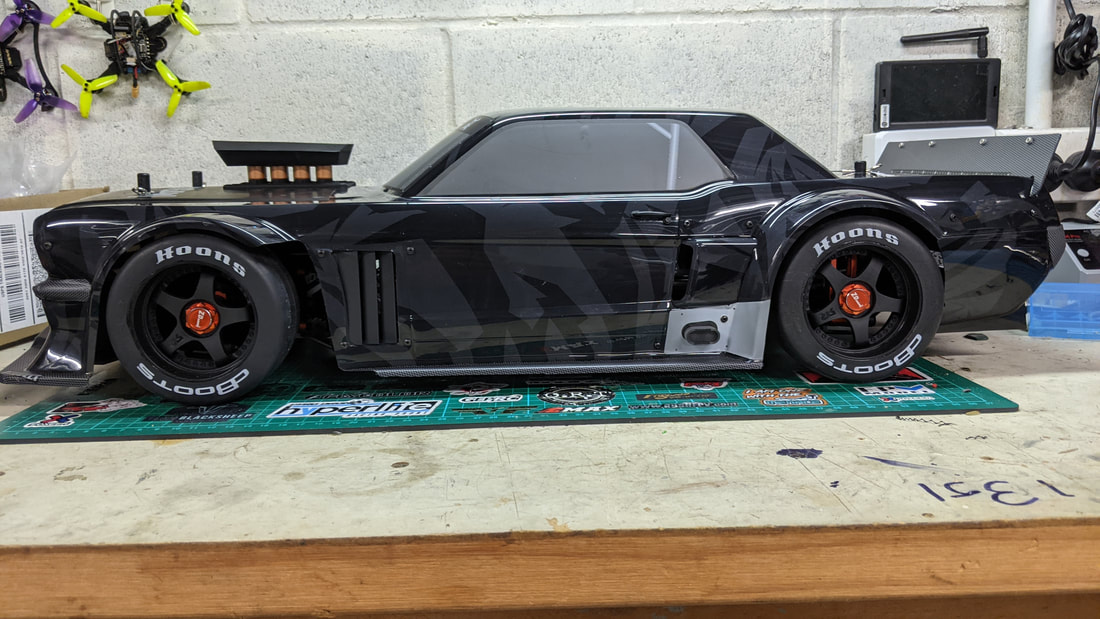
Wheel change The stock wheels are very true to the original Fifteen52 R40 units on all 4 corners of the Hoonicorn V1 and also made their way to the V2 as well. I think they look great and well proportioned on the real life car but my personal opinion is that I can't help but think something hasn't transitioned well onto this scale model of the same car. Certainly with the stance fixed it helps the overall look but I decided I wanted something else.
The most obvious place to look of course was is the ARRMA 1/7 line. Sadly the infraction limitless wheels are too small in diameter, width and offset, you can see for yourself below.
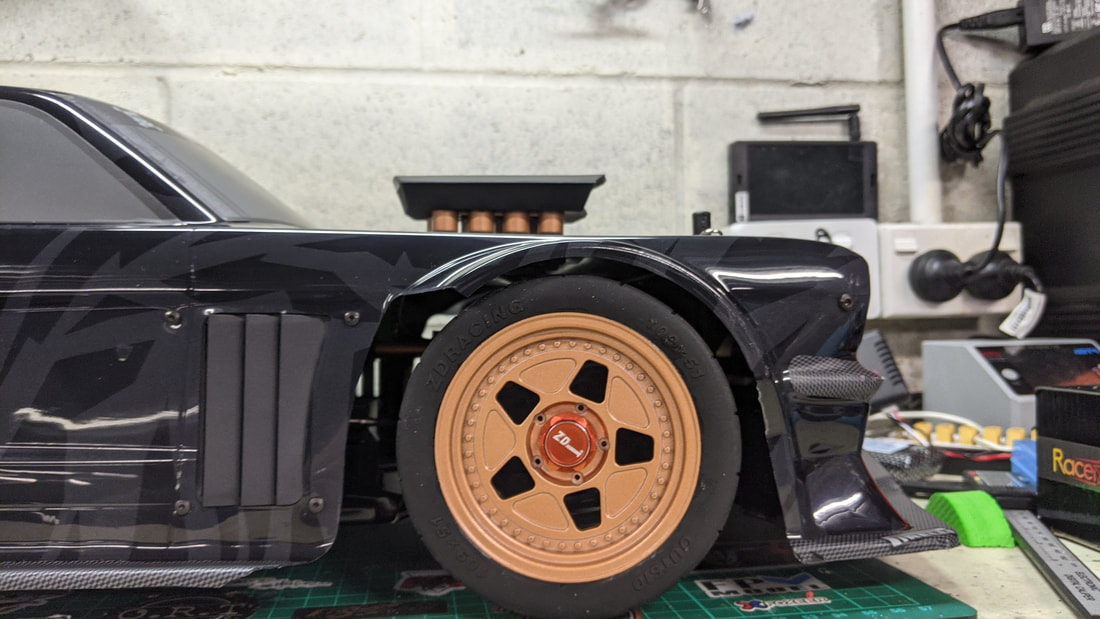
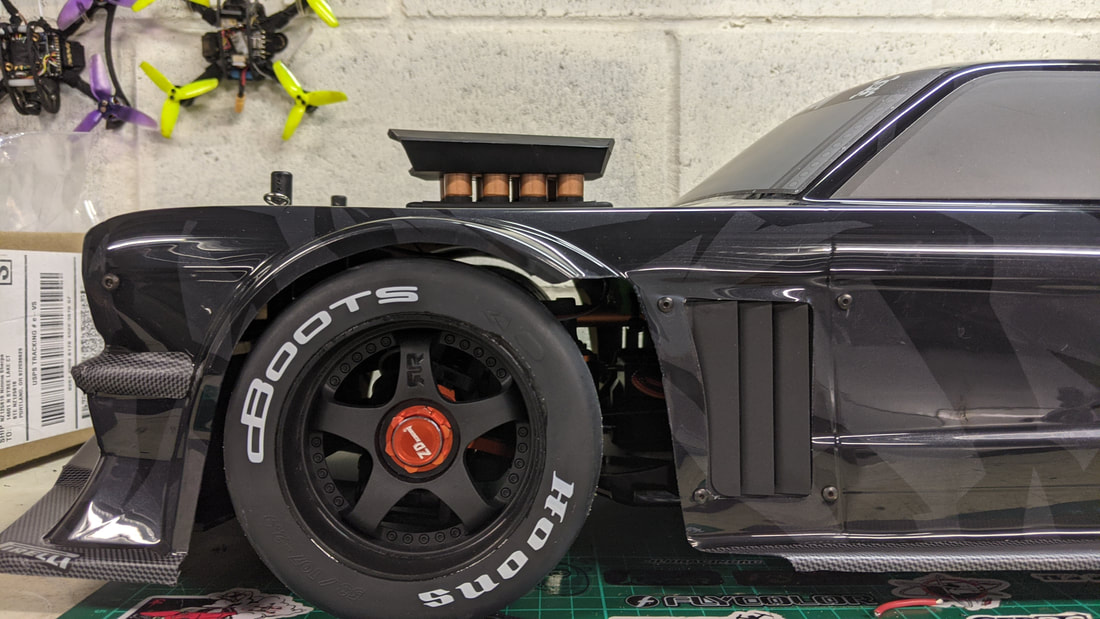
With the recent Felony release however, Arrma bought out a bigger wheels and tyre set for the rear. To cut a long story short these fit PERFECTLY on all 4 corners. Just look how awesome this look, I couldn't have asked for better. They even seem to have a slightly better offset than the stock wheels, aggressively pushed to the outside of the guards yet they do not rub. At around US$40-50 per pair this is not a cheap option. I've done this purely for the looks rather than performance so choose as you see fit for aesthetics rather than for an expectation of performance gains.
 Parts used in this build
Outcome I started with a car I didn't really like the look of which had me thinking that I should have gotten the Arrma Felony instead. Now that I have fixed the stance of the body and have the look of the wheels I like, I think I have something that looks even better than the felony, this ZD Racing EX07 looks TOUGH now and I'm looking forward to sharing the install of the electronics with you in a build guide and review very shortly. My final recommendation is that everyone should at minimum fix the sag in the body and consider levelling out the stance as I've done. Change the wheels only if you are wanting a certain look like me as they are not cheap at around $100 for 4 corners. Thanks for reading, if you found this article useful please feel free to like or share, the facebook links below directly link/like this article. I don't believe in asking for money by patreon nor by paypal but if you do wish to help me, the affiliated links in these articles help me buy the bits and services I need to produce this type of content. If you are looking for RC cars, quads or parts check out my coupons and discounts page which I keep updated with only the RC cars, parts and quads I like at a proper discount
RC Car Porn: 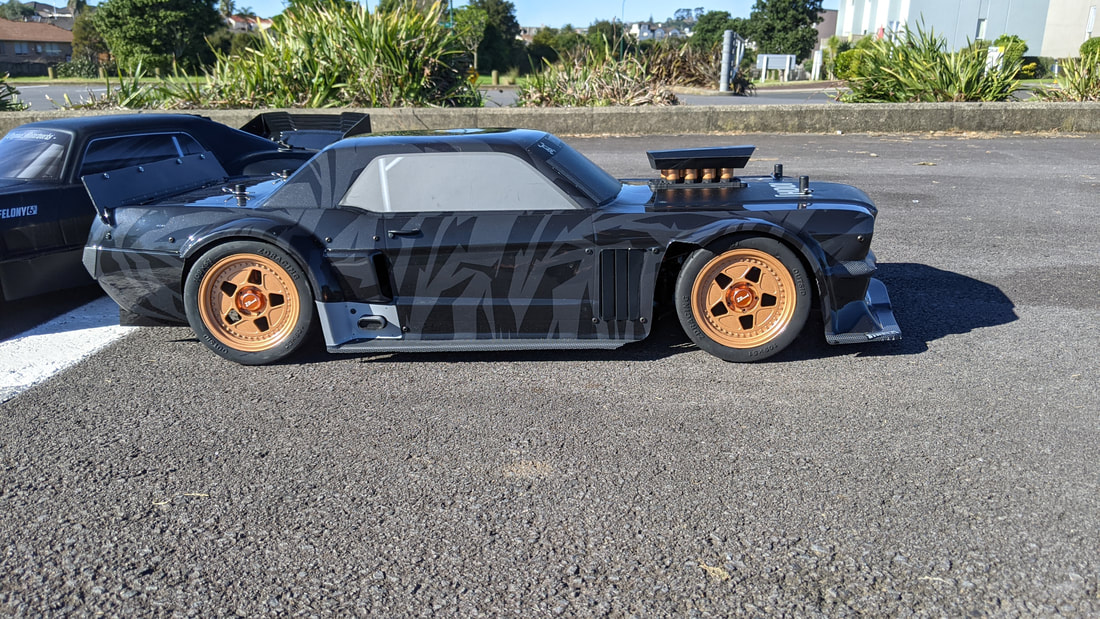 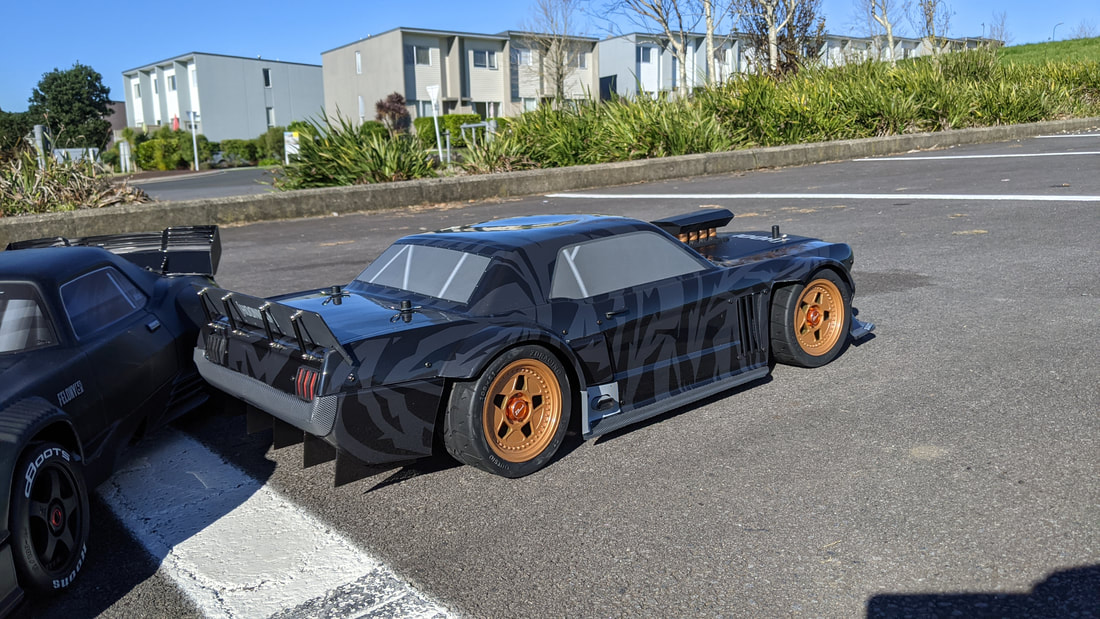 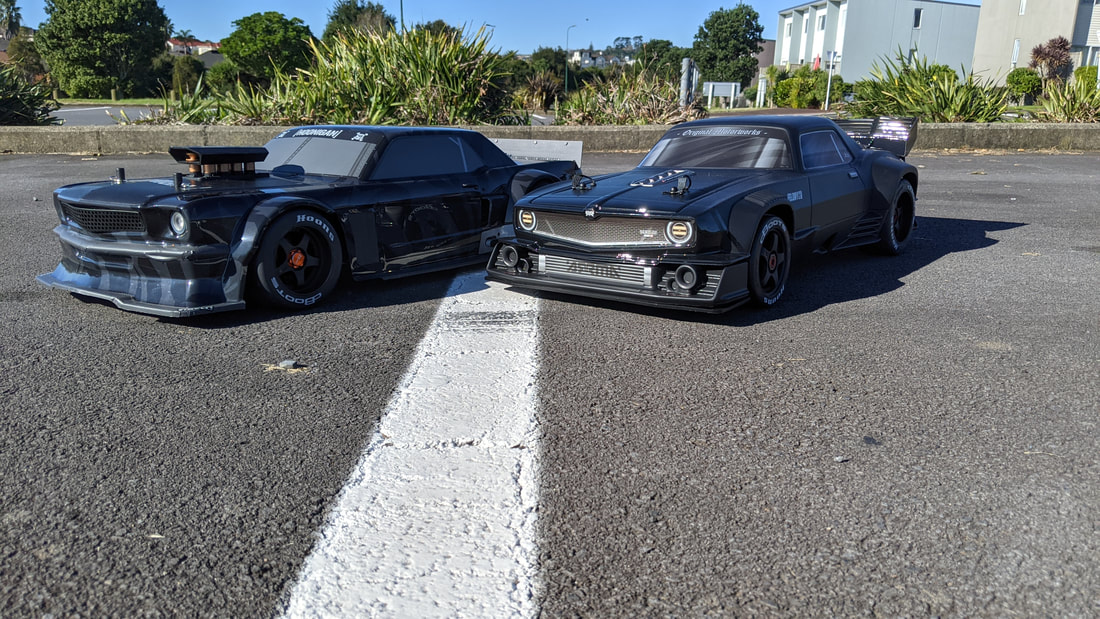 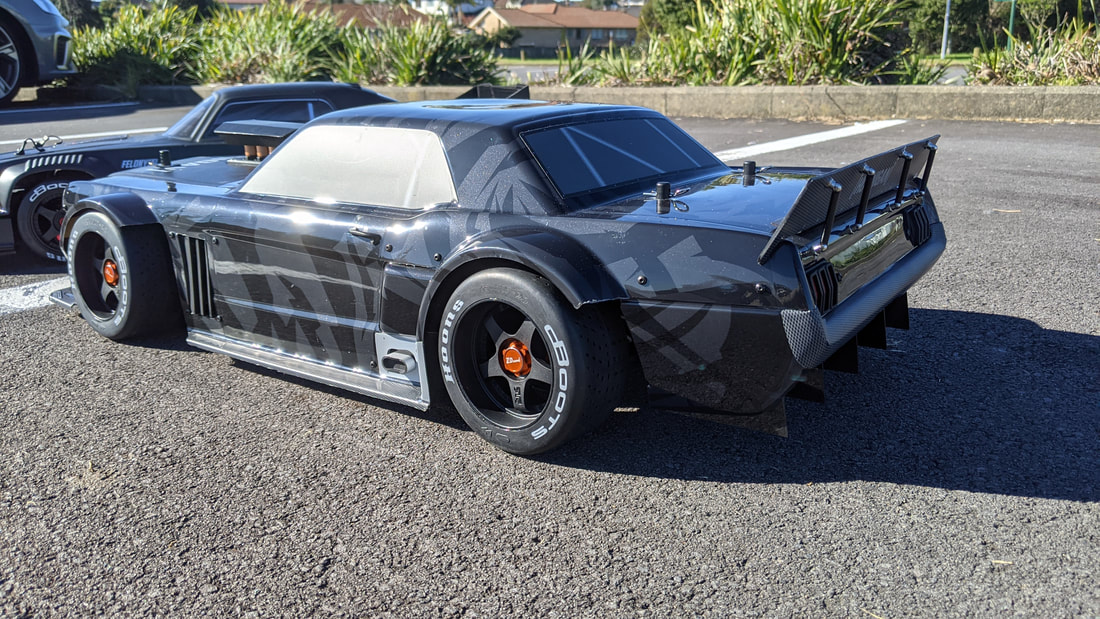 |
Categories
All
|


 RSS Feed
Thanks for visiting QuadifyRC.com Follow us on facebook below to get all the latest updates