|
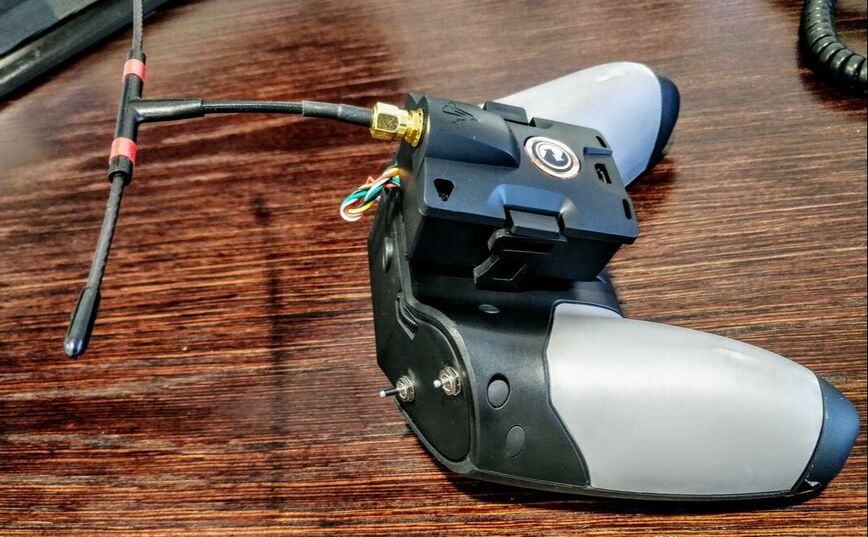
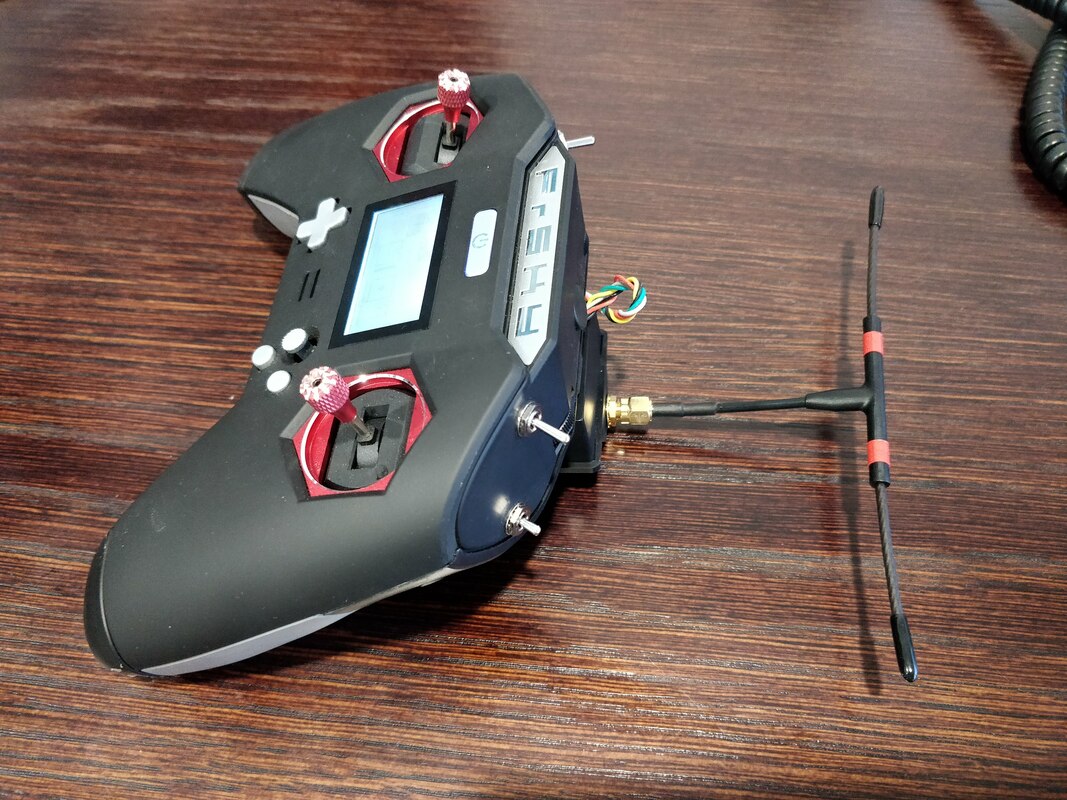
Introduction So now that that physical build is complete (minus the GPS) It's time to start setting everything up. I'll focus only on the elements unique to long range build beacuse I'll assume that anyone building a long range build is capable of setting up betaflight and BL Heli to their liking for basic quadcopter flight. Crossfire and the X-lite TBS Crossfire is new to me and was more of a learning curve than I was expecting having started with Flysky then moving to FRSKY a little over a year ago. My current transmitter is the TaranisX-Lite which I've reviewed here. In order to run crossfire on this I needed to purchase and adaptor that allowed the module to physically fit on the back of the x-lite and interfact electronically. This was easier than expected using a JR port adapter which I reviewed and streamlined in this blog.
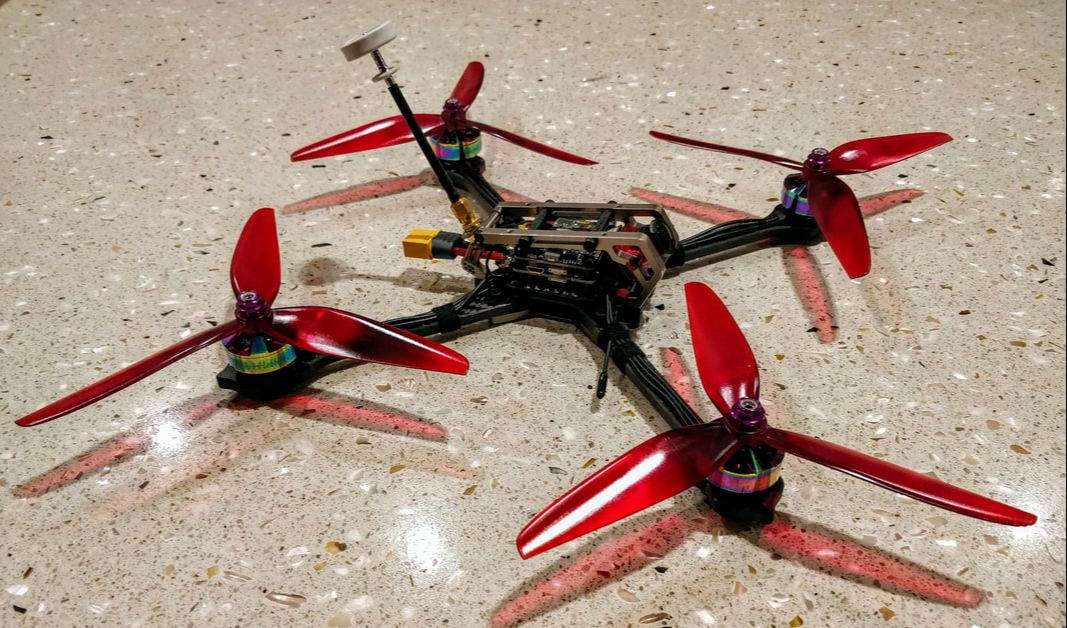
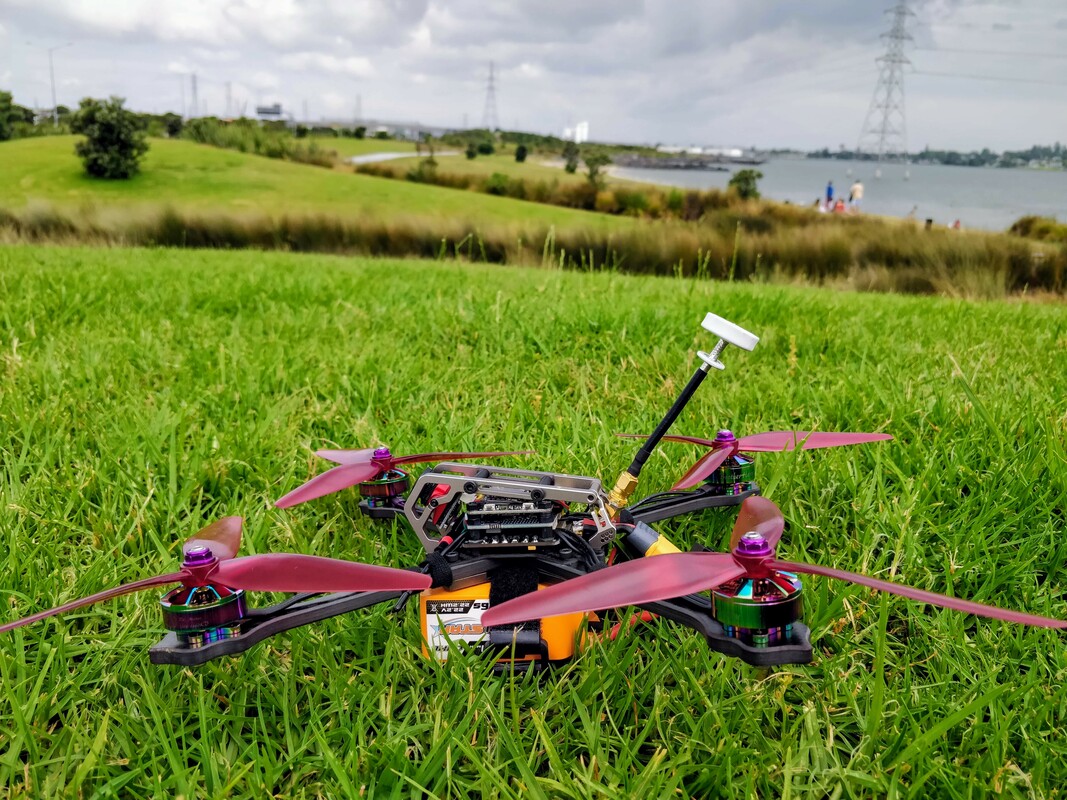
Easy to connect crossfire to the x-lite with this adapter. Check out my review here Crossfire firmware update Once connected, I set up a new model that disable the internal antenna (i.e. FRSKY protocol) and enable the crossfire module in the external module. Before anything else I used the TBS agent to update the crossfire micro transmitter module to the very latest firmware which allows it to run up to 250mW of power. This is a very worthy upgrade given this was only just bumped up from 50mW. TBS agent can be found here and is very easy to use: http://www.team-blacksheep.com/corepro/agent 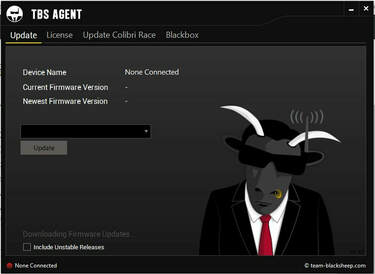 Crossfire transmitter and receiver setup Once updated, power on your module and bind to you receiver (crossfire nano receiver for me). To do this follow the instructions below: https://www.team-blacksheep.com/tbs-crossfire-micro-tx-quickstart.pdf Once bound, your crossfire transmitter will update you receiver to the latest software automatically using the telemetry function. Very nice and a much better option that flashing physically like with frsky receivers! By now you should be able to set the ideal settings using the crossfire lua script. Basic settings are: Use 868MHz if in Europe, 915MHz everywhere else; CRSF TX on output 1, CRSF RX on output 2. Your preference on maximum output power and whether dynamic power is on but I chose a fixed power of 100mW for stable and consistent link Crossfire Betaflight Setup Setup of in betaflight is simple - toggle serial RX on for the UART you wired the RX and TX wires into and then choose CRSF protocol as the serial based receiver type. Make sure you turn telemetry on as all crossfire receivers and transmitters support this function. Crossfire antenna mounting In terms of mounting your antenna the easiest option is the mount along the underside of an arm such that the elements on you immortal T antenna run perpindicular to the arm, parallel with the prop line. I chose my location as much for aesthetics as anything else.
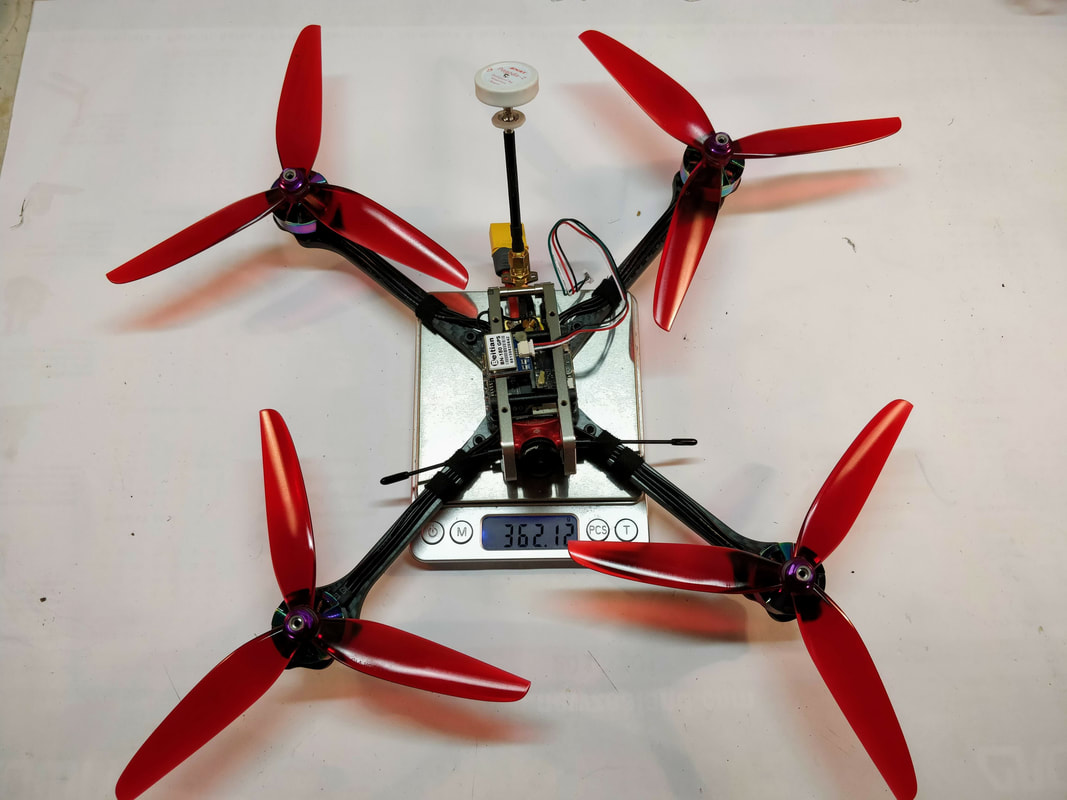
I'm quite happy that this location keeps the antenna away from harm but does a reasonable job of keeping the active elements away from the frame - good enough for what I'm after. GPS connection and mouning Luckily for me GPS setup was mostly a simply excercise I chose the Betian BN-180 GPS unit which is cheap and runs the popular GLONASS protocol. Connect the RX and TX ports on the GPS to the TX and RX ports respectively of a spare UART (of which the Omnibus V6 has 5!) and then ground and 5v power from your FC. Mount the GPS 'upside down' so that the ceramic encase antenna is facing upwards towards GPS satelites in Earth orbit. MAKE SURE THE ANTENNA IS COMPLETELY IN THE OPEN. This was my biggest mistake on this build. I found a spot on top of the quad between the aluminium cage sides where there was good visibility from above but didn't realise the sides of the GPS antenna also need to be exposed. As soon as I figured this out I started getting satellite lock. It's now on an uglier but altogether more functional spot on the rear left arm. Of course it's easy writing about this now but being my first install it took me a good fewhours of troubleshooting! Other clever locations I've seen is the top of a go-pro mount or on top of a battery strap if a top-mount battery is used.
Top of the arm is a good location regardless of whether battery is top or bottom mount GPS Betaflight setup Setup on betaflight 3.5.3 (and later) was a dream - and I'll assume that you are using and F4 or greater processor in your flight controller because betaflight no longer has GPS support for F3 and older processors. Moving on, here are the step to set up GPS in betaflight:
GPS OSD options With GPS now set up, you'll probably want to enable the features in betaflight OSD. personally I've used:
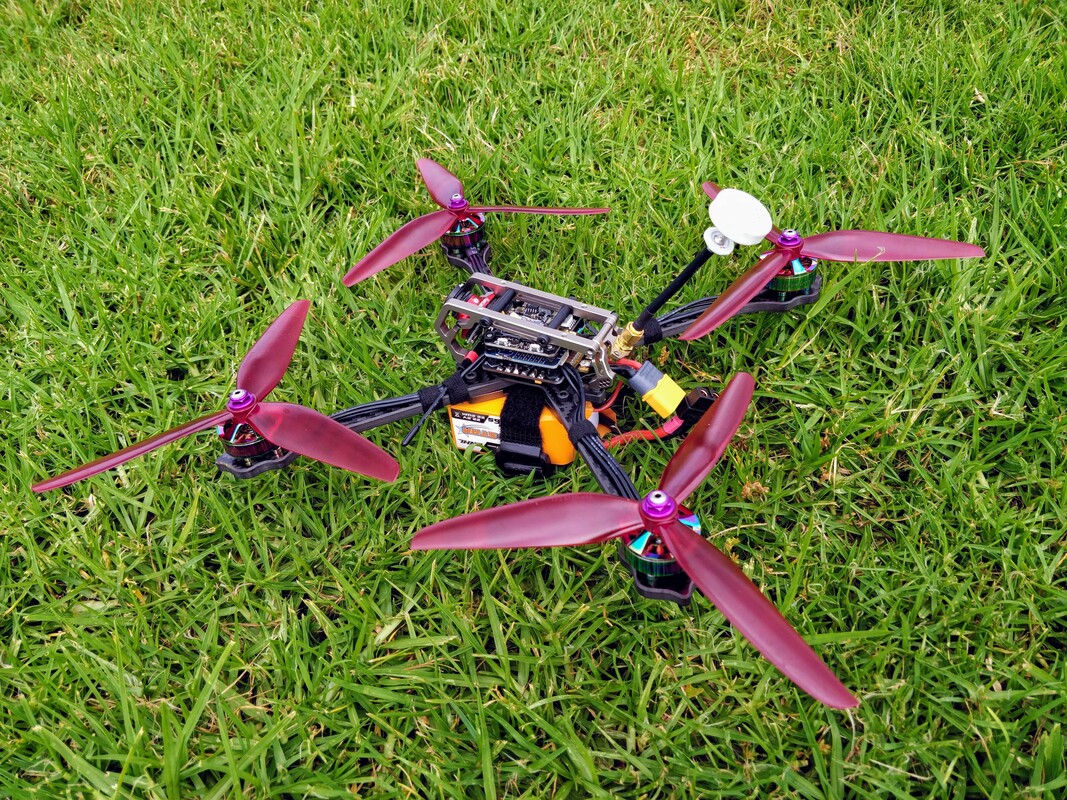
Given the extra data that is provided by GPS I'm tempted to pick up some more units for all my 5" and larger quads. GPS rescue mode One of the latest and greatest features of betaflight 3.5and up is GPS rescue mode where the quad will climb to a set altitude, yaw towards the home locations and then fly at a set angle towards home when you are more than 100m out. This is a great panic function if you are a long way out and suddenly loose video or something. Note, it won't get you home by itself but it will automatically get you back to a closey location where you may be able to recover video feed and then take back manual control. I'd recommend the official betaflight guide to GPS recue here to set this up. Conclusion Unfortunately this is probably the most boring but conversely hopefully the most useful section of my long range build series because I know it was certainly the most time consuming for me because I learnt as I went. Hopefully what this does mean though it that I've shared as I've learnt meaning it should be able to help someone in the same position as me. Obviously with the machine now set up I've been flying this big quad with a screen full of OSD and it's quite a unique experience - I've had up to 8 minutes flight on a 6s 1000mah battery. I've only been about 600m out so far but I plan to push it as time and space allows. Once I've pushed out further I plan to wrap up my build series with a reiview covering the performance of the quad and my findings. If you found this article useful or helpful please feel free to like or share using the Facebook buttons below.
3 Comments
 As part of my long range series I've decided on an objective for the buildand sourced the parts primarily from Amain Hobbies who are based in the US, and this article can be found here. These parts have been delivered and I have now completed the build process which is documented below. Build preparation If you are attempting a long range build then you are probably not new to quadcopter building. Regardless, please see below for some things that I light to have before I start a build
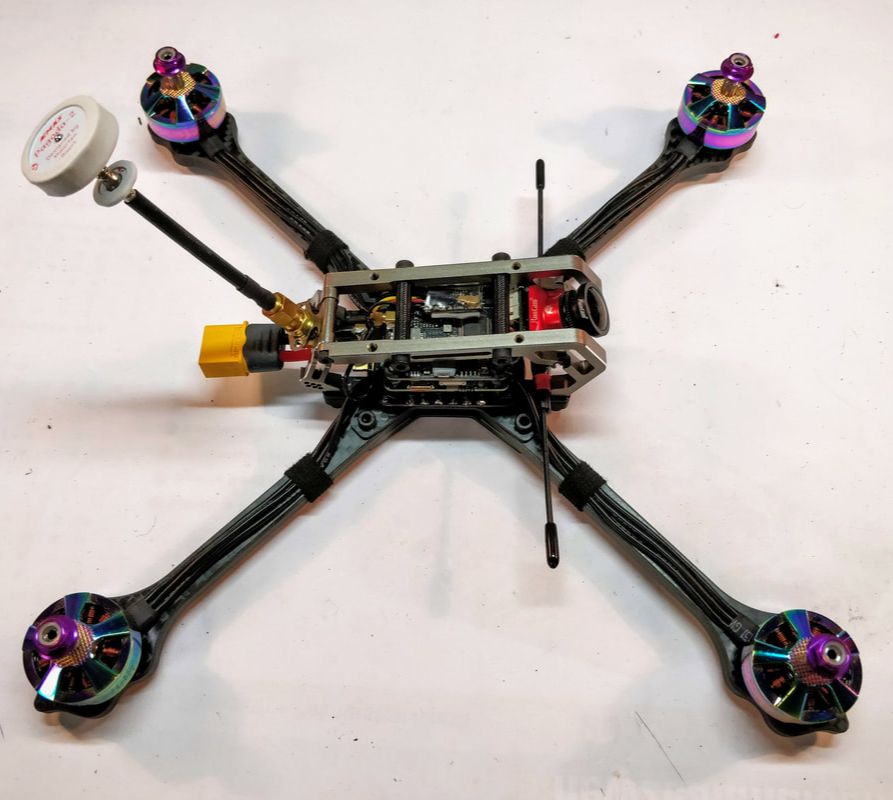
Frame assembly The Diatone GT-M7 is a lovely frame in my opinion with some nice features. It went together easily even without instructions although I did need a plastic M3 washer between the head of the screw and the frame that holds the front of the canopy to the frame. Picture below does the talking. Motor and camera install Nothing much to see here other than the fact that I love the loom tape that is available from banggood. It is very light and looks much tidier than electrical tape. Brother Hobby Returner R6 2306 1660kv Motors held on with all four screws each whereas I usually only use 2 on other builds
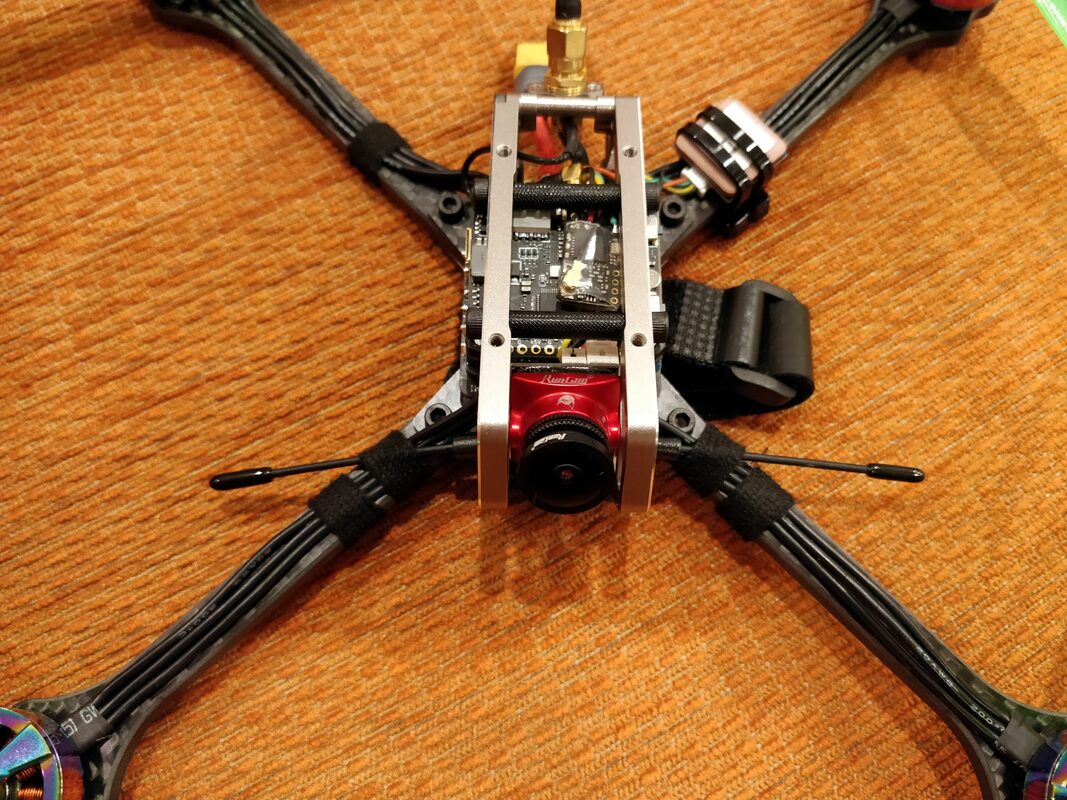
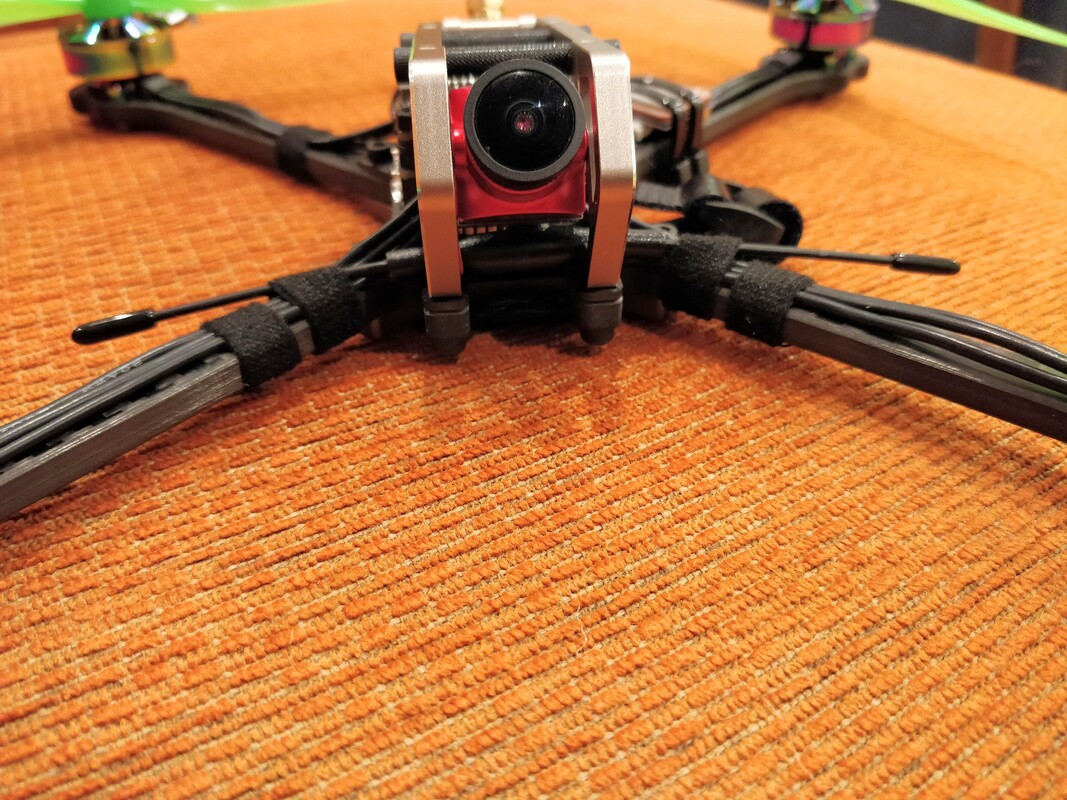
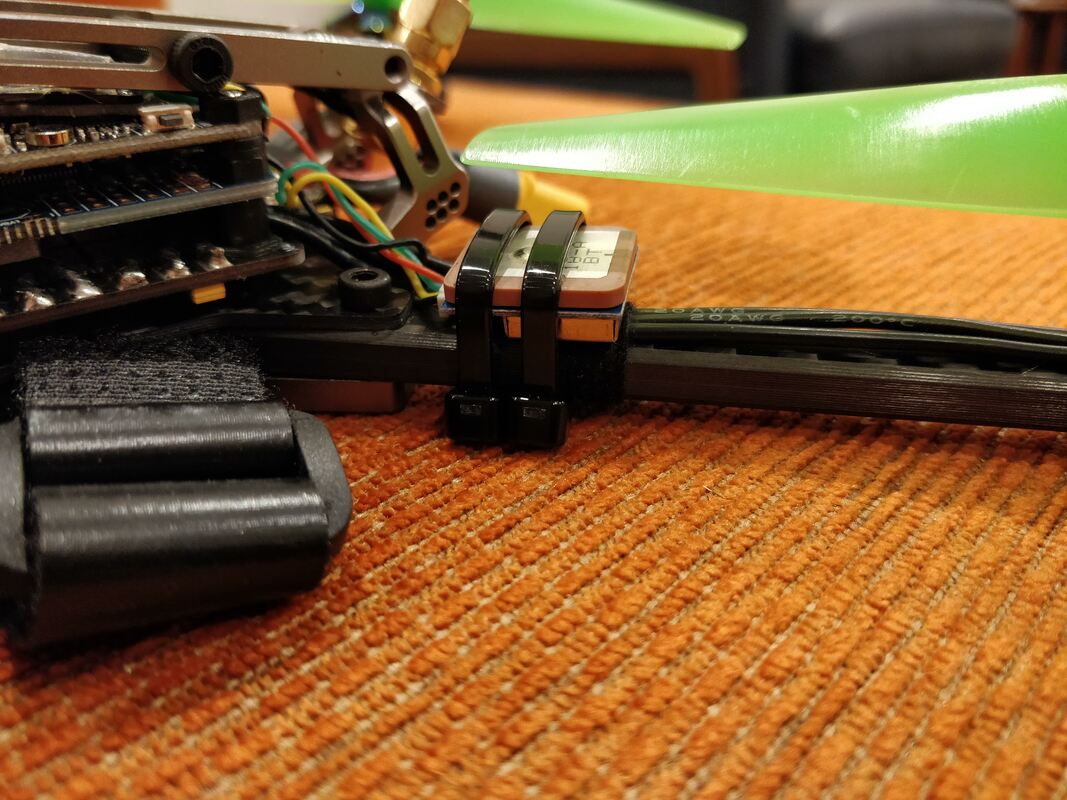
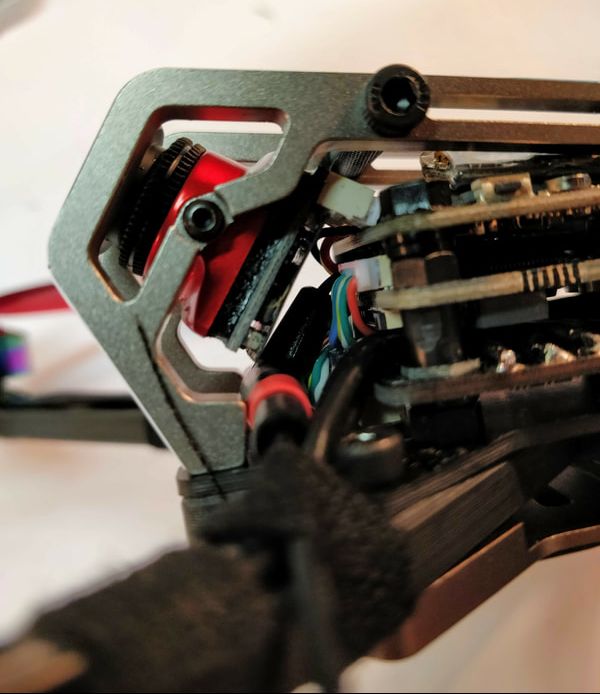
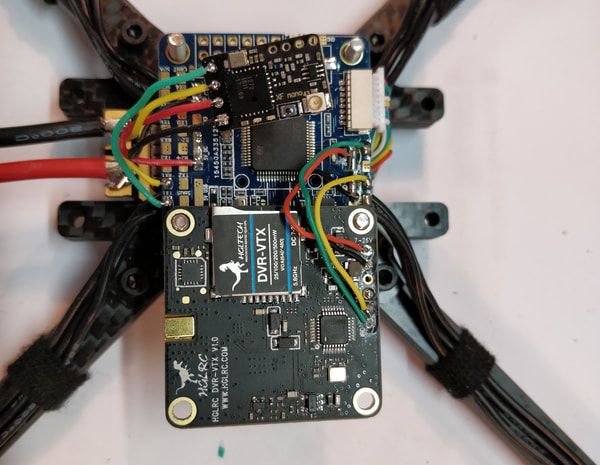
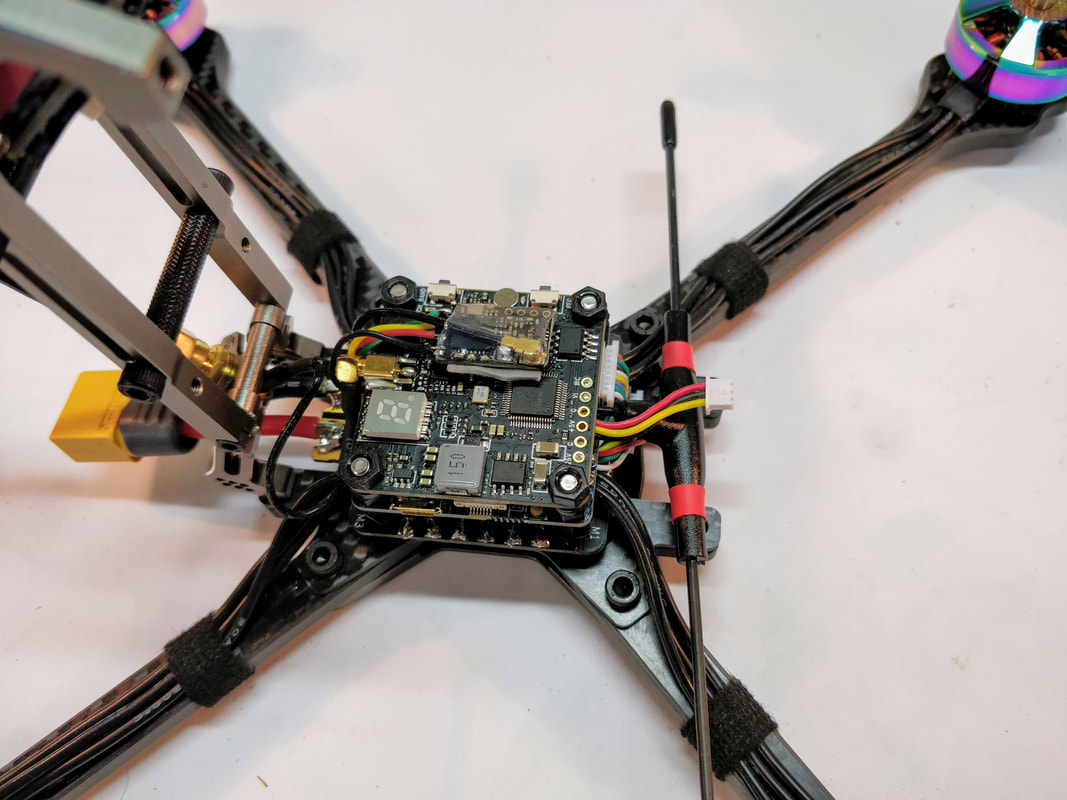
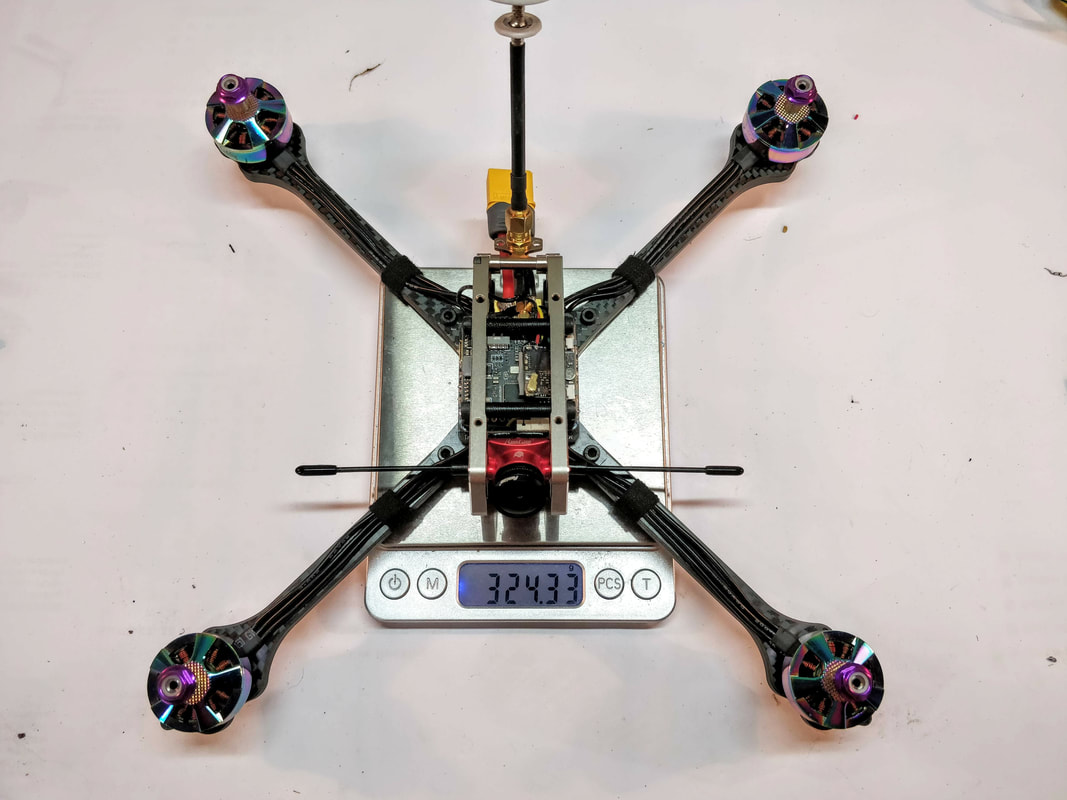
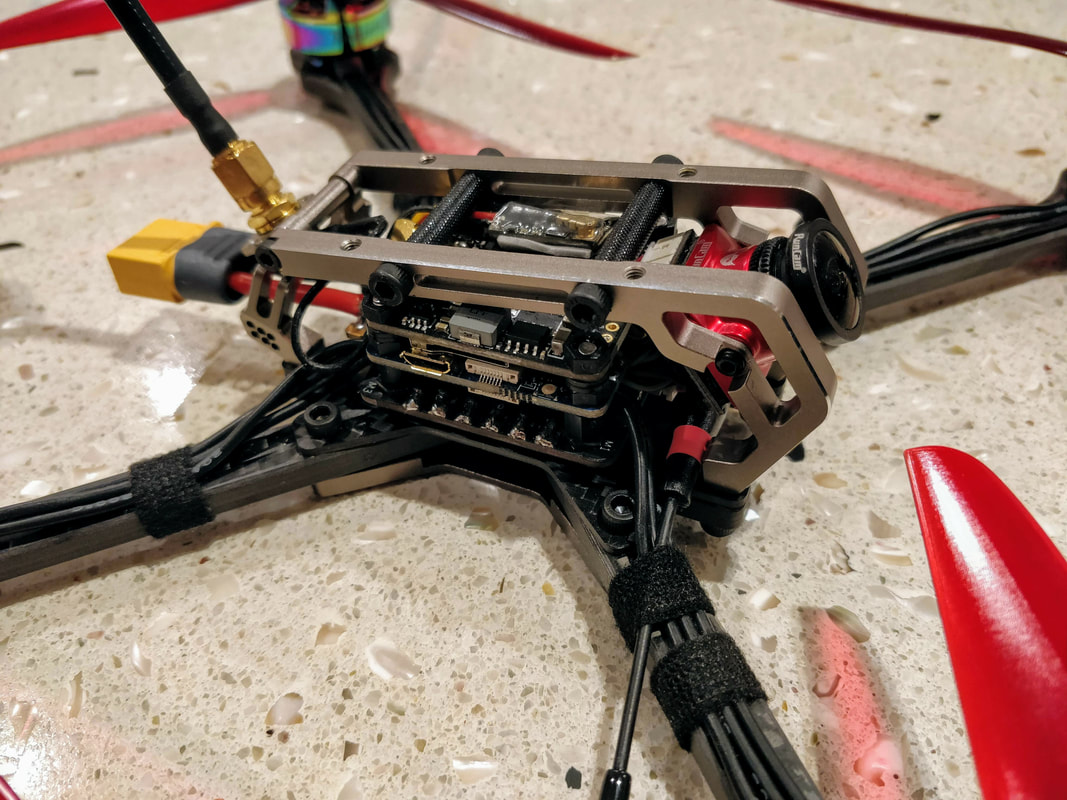
Electronics install This is where it gets a little tricky due to the relatively tight space to work in. I did a lot of test fitting with various hardware and location of boards but a common element for all builds now is that I use proper long steel or stainless steel screws for the stack. This makes for much more positive mounting than those crappy nylon standoffs and allows for more variation in spacing. As it was the ESC ends up on the bottom, then the flight controller, then the vtx/dvr. I tried to sandwich the crossfire nano receiver between FC and VTX but it was a little too tight. GPS will go on top of the receiver until I get a go pro at which time I'll relocate to an arm. I'm pleased with the immortal-t antenna location which looks good and should give me enough range to meet my objective. I really like the VTX antenna mount which is clean and gives a sturdy base to get a long antenna on. A also like the pivoting cage which makes building and servicing a little easier given the tight space. All pictures below to cover off anything in more detail that warrants discussion
What would I do differently? Anytime you get to the end of the build to see what you'd do differently and I'll quickly note some of the things that went through my head.
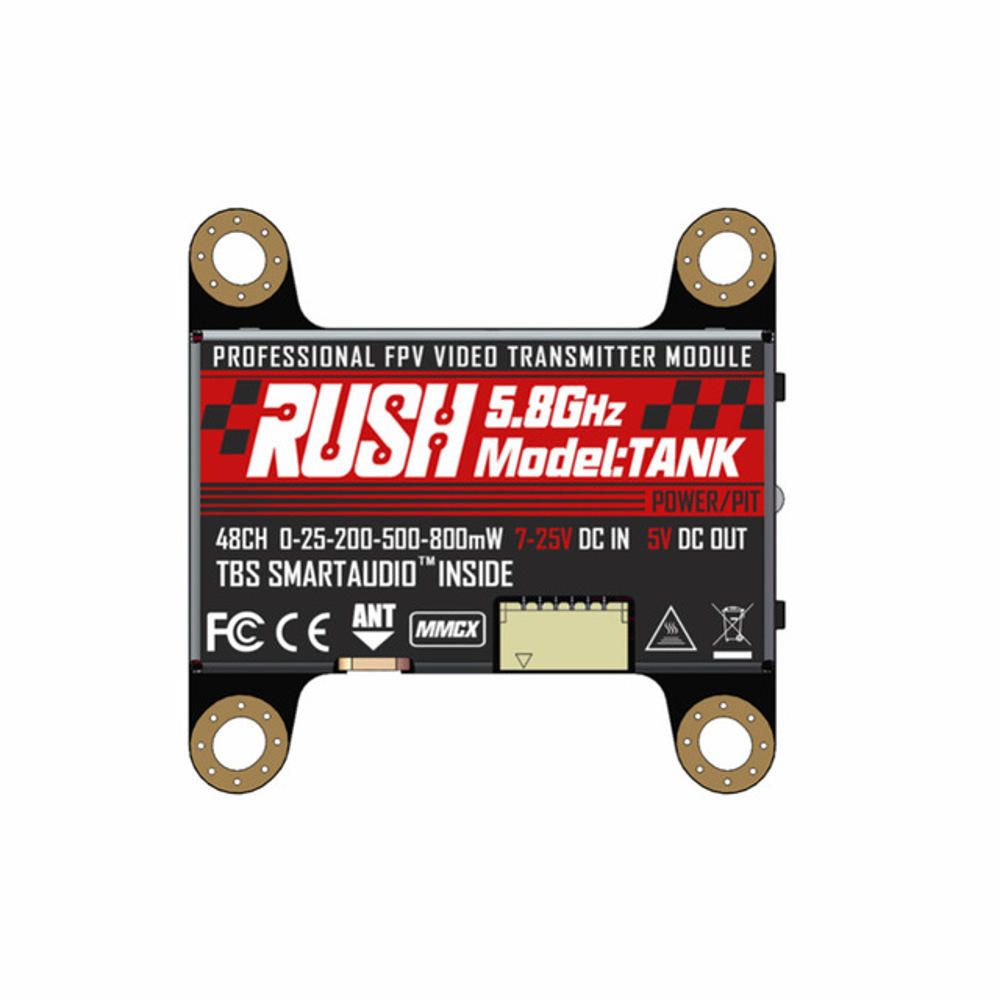
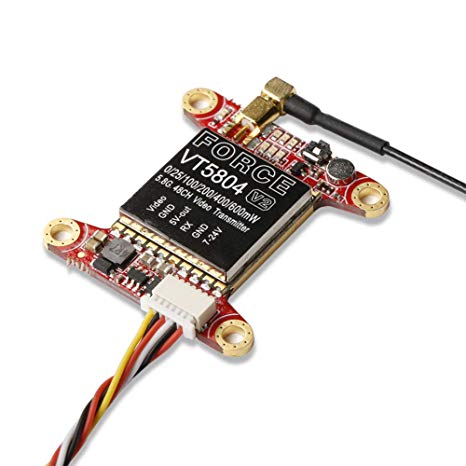
These VTXs still allow you to stack mount but offer more peripheral space. That is it for the build, I've since powered on and setup software to confirm all is working and I'll cover this in the next article since moving to crossfire and setting up GPS took a little more work than I am used to. Maiden to follow after that, hopefully with DVR.
|
ArchivesCategories
All
|


 RSS Feed
Thanks for visiting QuadifyRC.com Follow us on facebook below to get all the latest updates