QUADIFYRC MODS AND REVIEWS
  • RC Cars
  • Car of the Month
  • Quad Reviews
  • Quad Mods
  • COUPONS AND DISCOUNTS
  • Long Range
  • About & Contact

Long Range Quads

Long Range Build - THe Build process

9/1/2019

0 Comments

 
Picture
As part of my long range series I've decided on an objective for the buildand sourced the parts primarily from Amain Hobbies who are based in the US, and this article can be found here. These parts have been delivered and I have now completed the build process which is documented below.
Build preparation
If you are attempting a long range build then you are probably not new to quadcopter building. Regardless, please see below for some things that I light to have before I start a build
  1. A clean, clear well lit workspace. I have to consciously tidy mine up before I start a build! If you don't have one of those cool cutting surface I'd recommend an A2 deskpad, the kind that supplier have a habit of giving you with their branding on. Just turn it upside down ;)
  2. A reliable soldering iron you are familiar with (I love my TS100), some good lead-free 63/37 solder, flux and a tip cleaner. 
  3. Lots of spare M3 hardware - mine is collected as leftovers for builds, you'll inveitably need parts especially for the stack build in a tight frame like this one. I stongly recommend m3 plastic washers as can be found here.
  4. Heat shrink of various colour and sizes and spare silicon wire of various colours and size, particularly in a light gauge for signal wires
  5. Some good double sided tape - I use 3m UHT.
  6. Loctite - not usually a big user of loctite but would strongly recommend in a long range build as you are typically in flight for longer and you are light further out if something rattles loose.
  7. Plenty of time for building and a coffee or beer
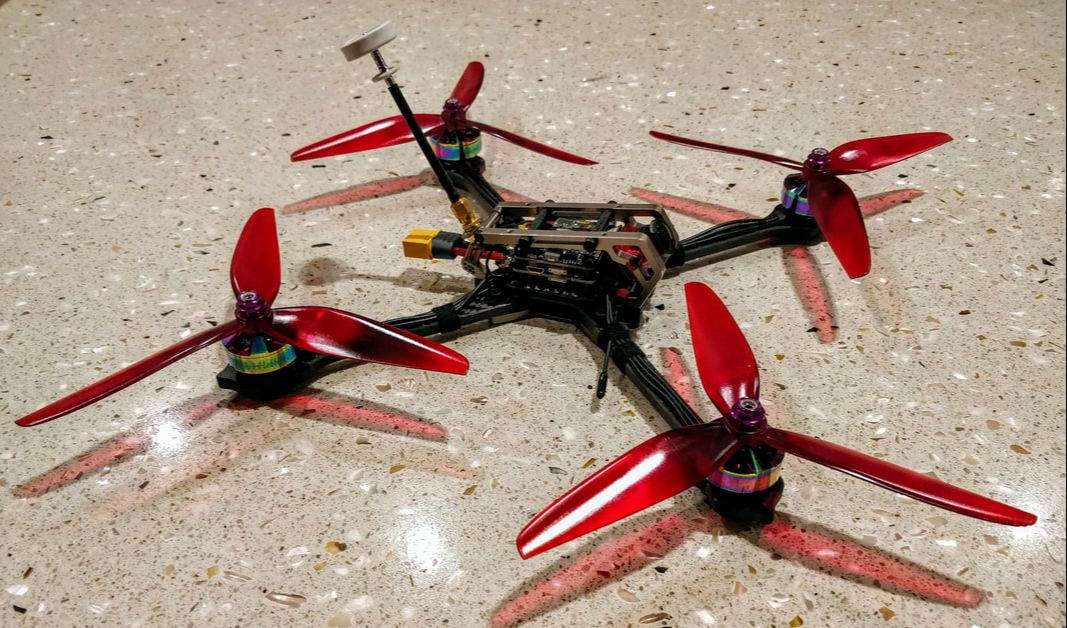
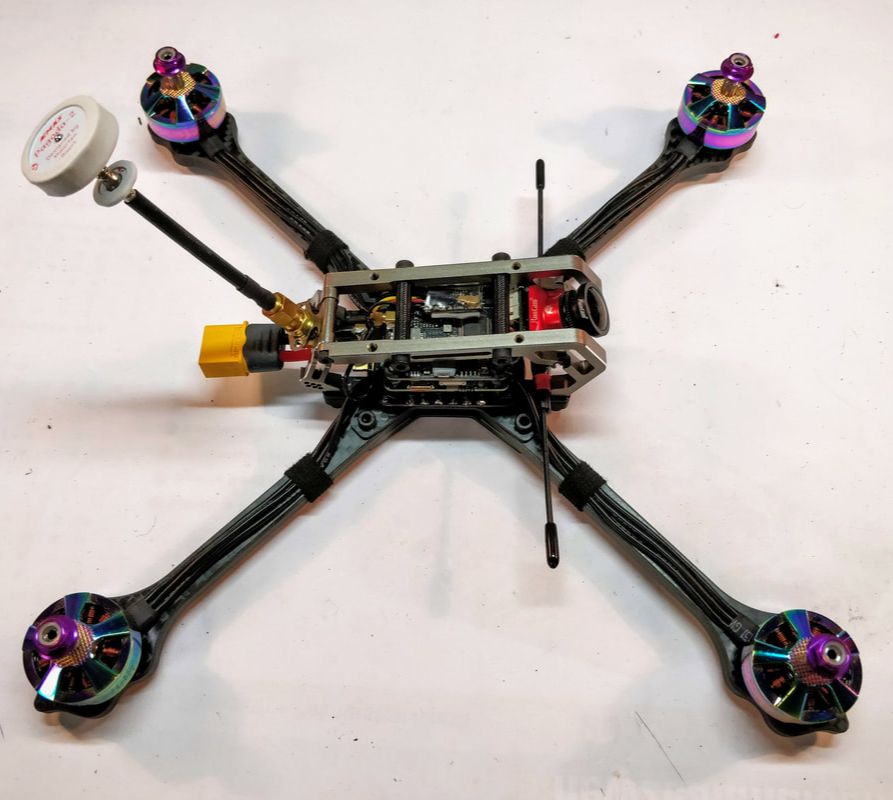
Frame assembly
The Diatone GT-M7 is a lovely frame in my opinion with some nice features. It went together easily even without instructions although I did need a plastic M3 washer between the head of the screw and the frame that holds the front of the canopy to the frame. Picture below does the talking.
Motor and camera install
Nothing much to see here other than the fact that I love the loom tape that is available from banggood. It is very light and looks much tidier than electrical tape. Brother Hobby Returner R6 2306 1660kv Motors held on with all four screws each whereas I usually only use 2 on other builds
Picture
Runcam Micro Eagle Camera connector unfortunately fouls on VTX so this is the maximum angle I can use which is fine. If I want more angle I can flip the cam upside down (and correct from OSD interface) and relocate the immortal-T antenna to the back
Picture
Motors use 4 screws (and loctite) each - I don't want anything coming loose in flight.
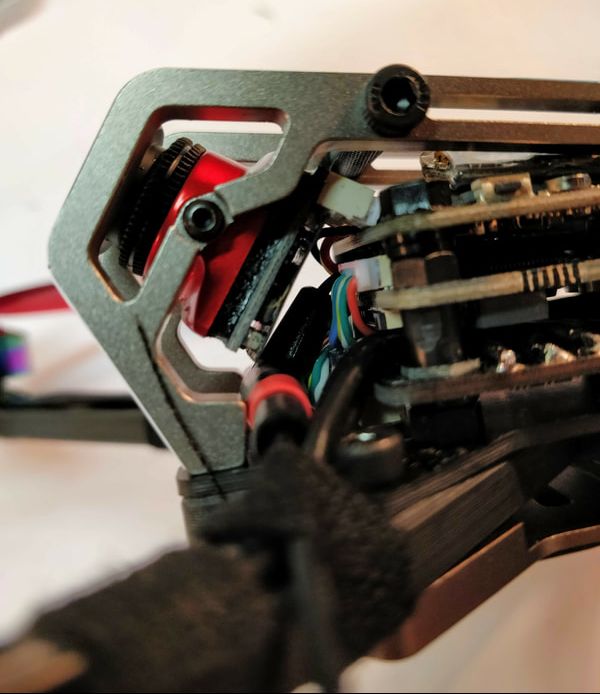
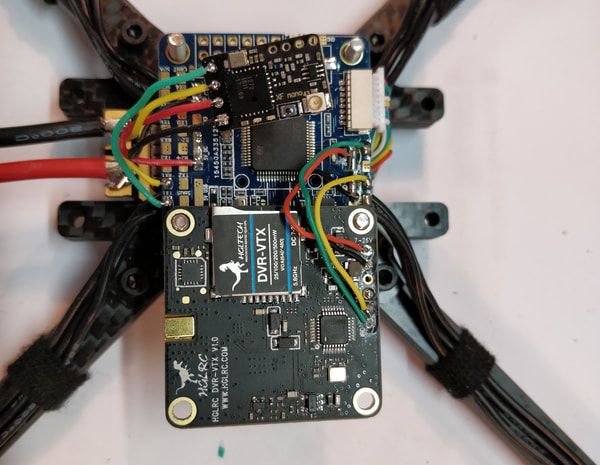
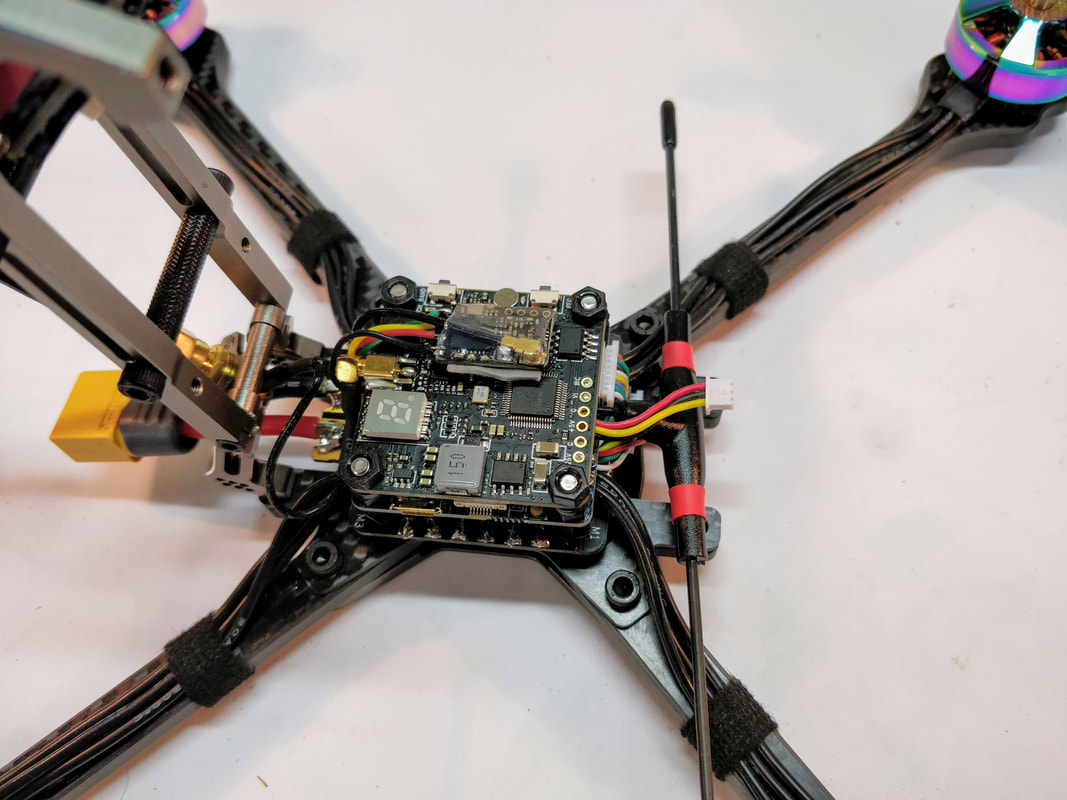
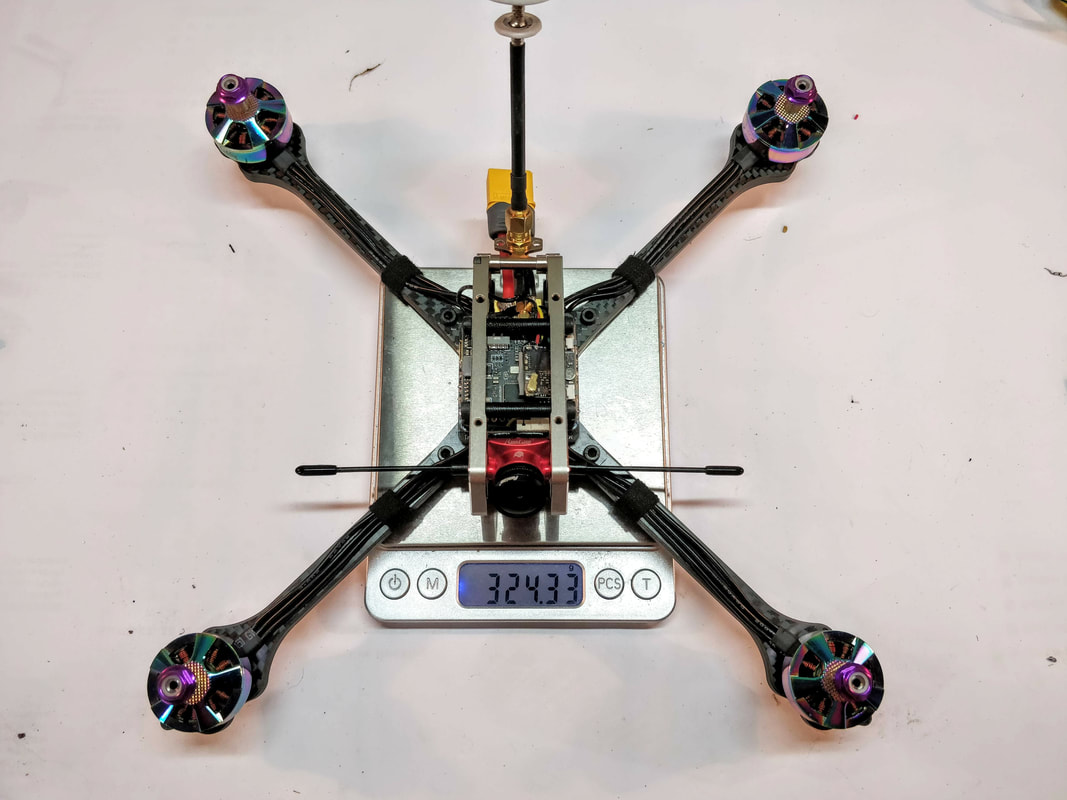
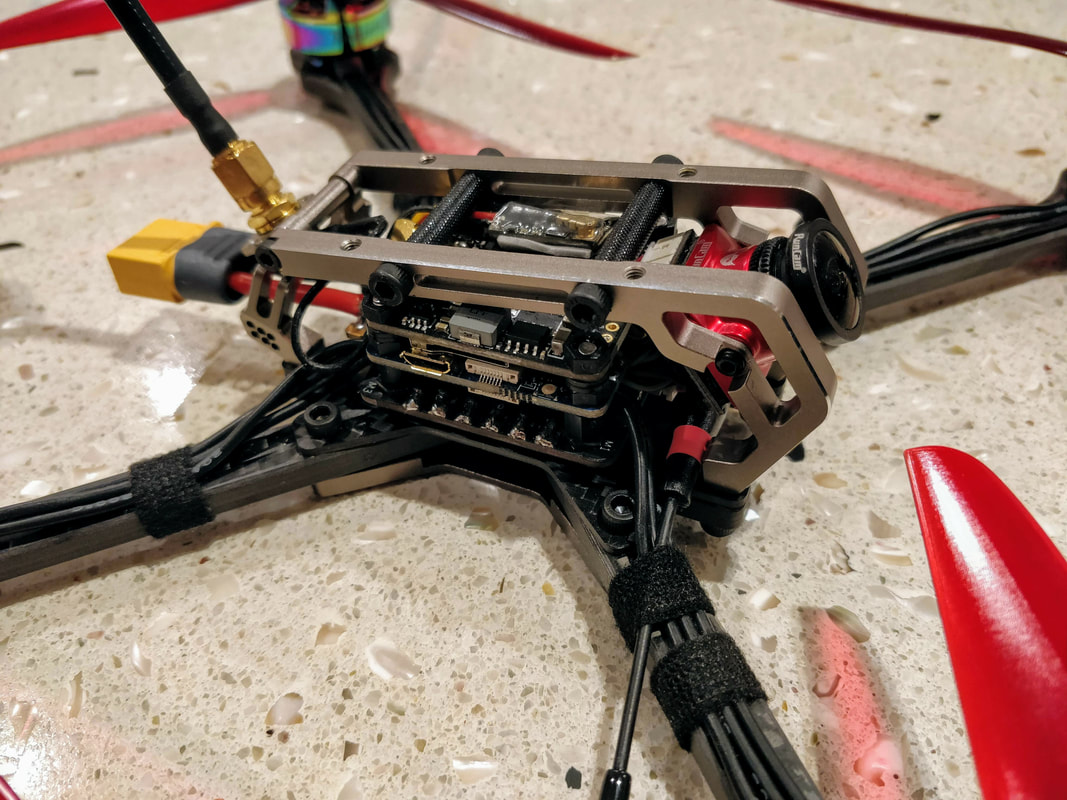
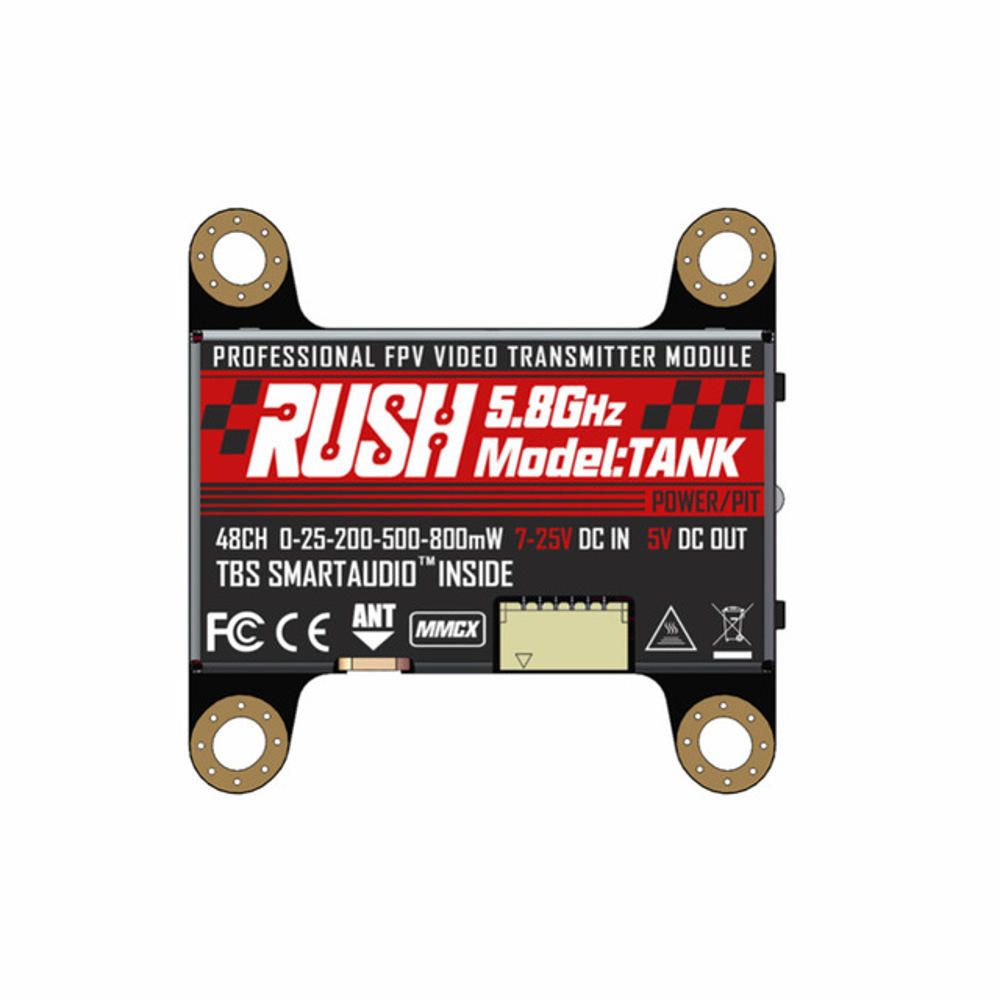
Electronics install
This is where it gets a little tricky due to the relatively tight space to work in. I did a lot of test fitting with various hardware and location of boards but a common element for all builds now is that I use proper long steel or stainless steel screws for the stack. This makes for much more positive mounting than those crappy nylon standoffs and allows for more variation in spacing. As it was the ESC ends up on the bottom, then the flight controller, then the vtx/dvr. I tried to sandwich the crossfire nano receiver between FC and VTX but it was a little too tight. GPS will go on top of the receiver until I get a go pro at which time I'll relocate to an arm. I'm pleased with the immortal-t antenna location which looks good and should give me enough range to meet my objective. I really like the VTX antenna mount which is clean and gives a sturdy base to get a long antenna on. A also like the pivoting cage which makes building and servicing a little easier given the tight space. All pictures below to cover off anything in more detail that warrants discussion
Picture
Unfortunately I was unable to sandwich the receiver between FC and VTX once the antenna and heatshrink was on
Picture
Having the chassis pivot like this made it much easier to work on what is a reasonably tight build. Will be good when it comes to servicing too.
Picture
Final weight without battery, props, GPS, battery strap
Picture
Final weight including HQ 7x3.5x3 props and GPS (just missing battery and strap)
Picture
Side view of the electronics stack, the rear nylon stack nuts just touch the aluminium frame.
What would I do differently?
Anytime you get to the end of the build to see what you'd do differently and I'll quickly note some of the things that went through my head.
  1. Frame - this is a beautiful frame and I loved the build challenge but it is tight considering the extras I'm not used to installing extra components like the immortal-T antenna or GPS
  2. VTX - Although the functionaly of this vtx suits me well, the full 30.5mm board size has meant wire routing is a little tight. Given my time again I'd consider getting rid of the DVR and going with a better shaped stackable VTX like the RUSH Tank, Iflight Force or AKK X2 Ultimate mini.
  3. FC - This is a part I just love rather than want to change - 5 full UARTS, a built in barometer (to help my rescue mode) and a superclean 8v power feed for a clean video signal.
Picture
Picture
Picture
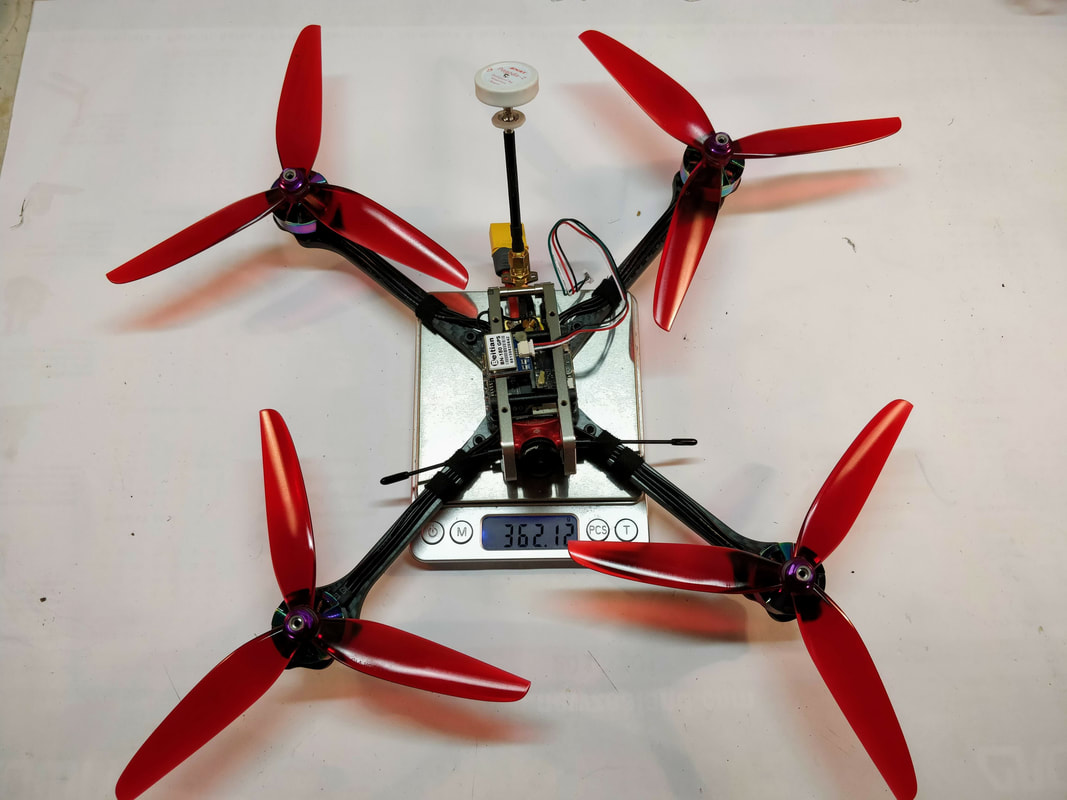
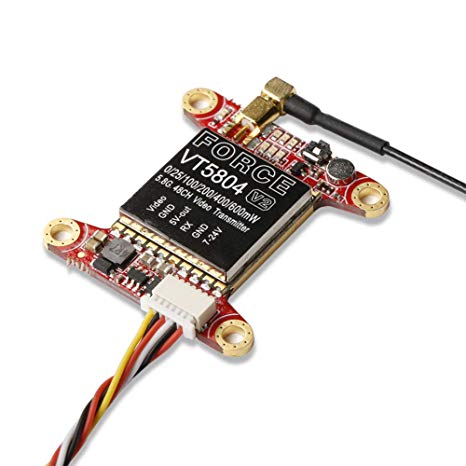
These VTXs still allow you to stack mount but offer more peripheral space.
That is it for the build, I've since powered on and setup software to confirm all is working and I'll cover this in the next article since moving to crossfire and setting up GPS took a little more work than I am used to. Maiden to follow after that, hopefully with DVR.
0 Comments


Leave a Reply.

    Archives

    January 2019
    December 2018

    Categories

    All
    7 Inch
    Airbot
    Amain Hobbies
    Brother Hobby
    Clearview
    Crossfire
    Diatone
    Gemfan
    GPS
    HGLRC
    Iftron
    Parts List
    Rescue Mode
    Setup
    TBS
    VAS

    RSS Feed

Thanks for visiting QuadifyRC.com Follow us on facebook below to get all the latest updates
  • RC Cars
  • Car of the Month
  • Quad Reviews
  • Quad Mods
  • COUPONS AND DISCOUNTS
  • Long Range
  • About & Contact