|
The iFlight FPV Goggle Headstrap is an adjustable length of elasticated material designed to make wearing FPV goggles more comfortable. It is suitable for both analogue goggles and DJI digital HD FPV goggles and includes the necessary mounting hardware. This review focusses on replacement for the DJI goggles but is also relevant for Fatshark, Skyzone and practically all other goggles as well. 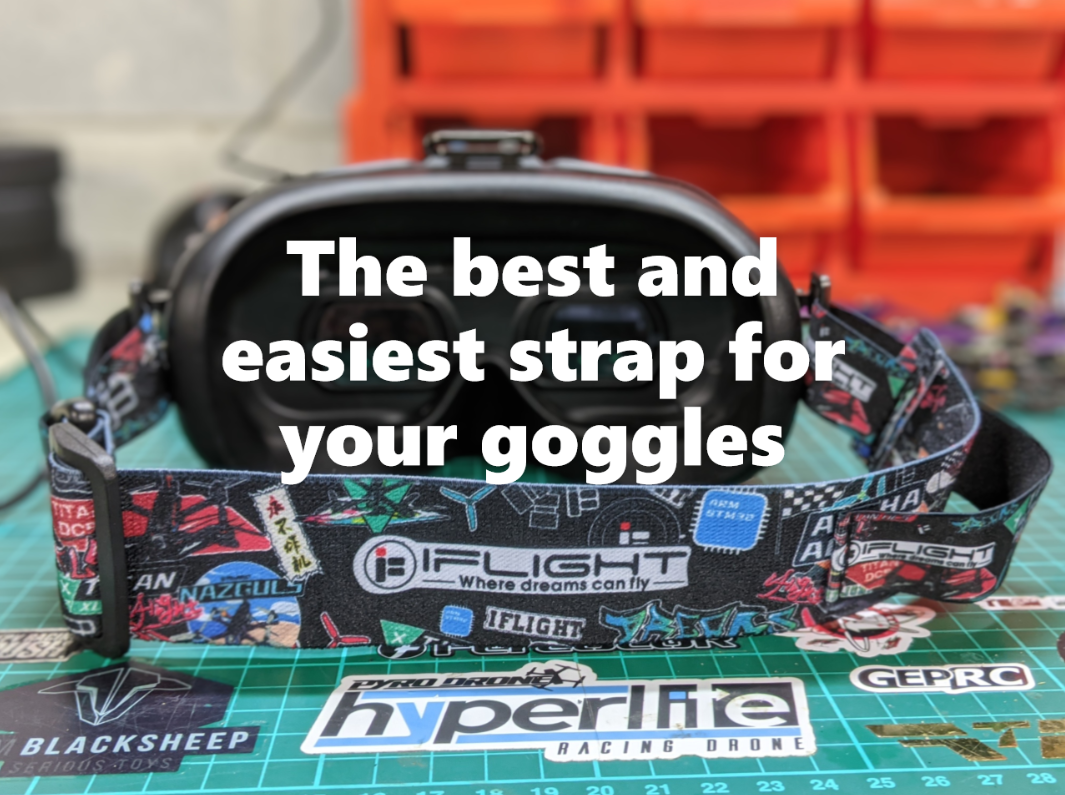 In order fly FPV quadcopters we strap one or two monitors to our head with all the associated electronics and in some case batteries. This is quite a bit of weight so having goggles that are comfortable to wear for a long period of time is important. Straps are a key part of this and because most of the material investment for goggles (rightly) goes into the screens and receiver, the strap is typically neglected and are often inconvenient, uncomfortable or both. I knew when I purchased my DJI FPV goggles that the included strap was poor and that fitting and aftermarket strap was made difficult thanks to the closed loop clips on the DJI model which is why I was so pleased to hear the release of the iFlight fpv goggle headstrap that included new open loop clips especially to fit DJI goggles and at a reasonable price. To be clear this means that they include everything needed to fit to the dji goggles without cutting or trimming anything
0 Comments
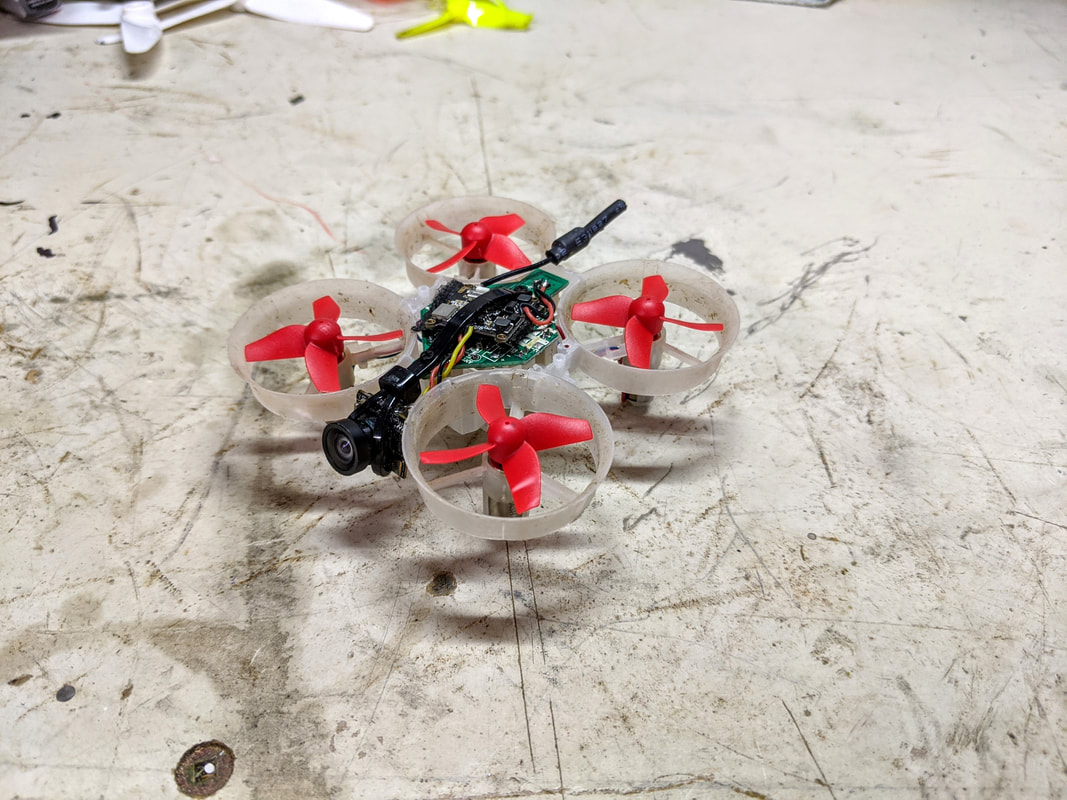
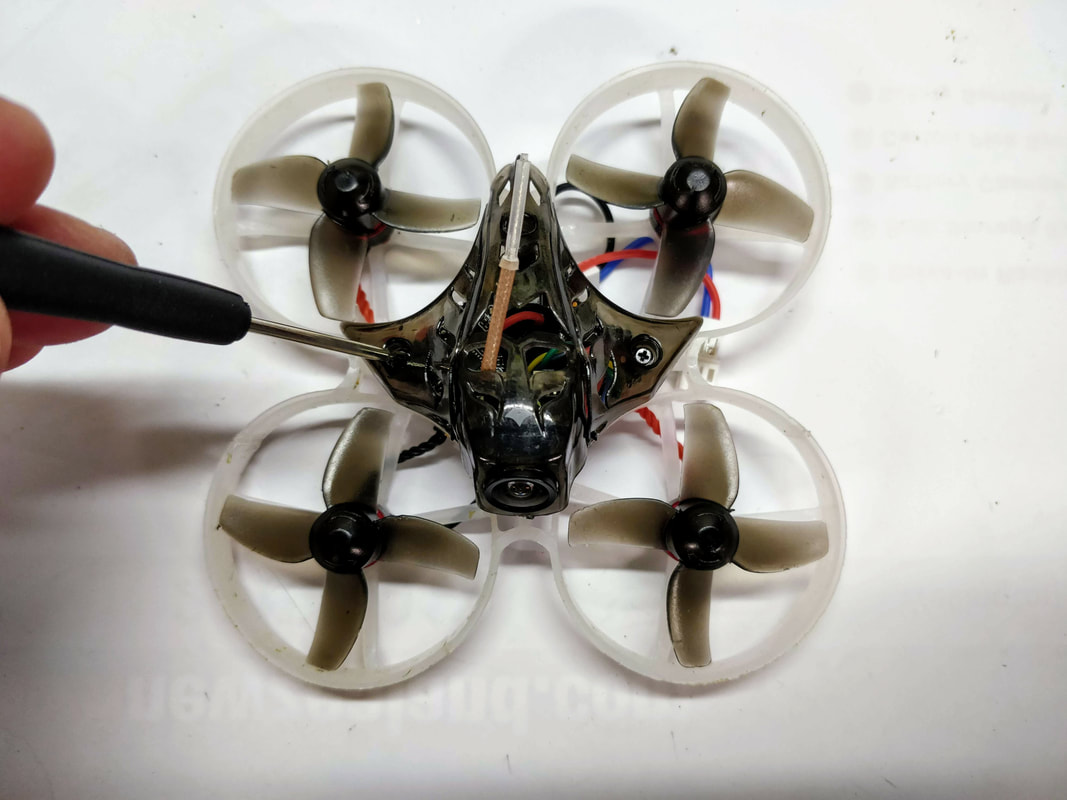
Currently where I live it is winter and so it gets dark early meaning I don't have as much time to fly my quad. On the other side of the world it is too hot to be outdoors during daylight hours. Should this limit us to simulators? Nope. I've got a build here that will allow you to see better at night and is very quiet so as not to upset the neighbours. 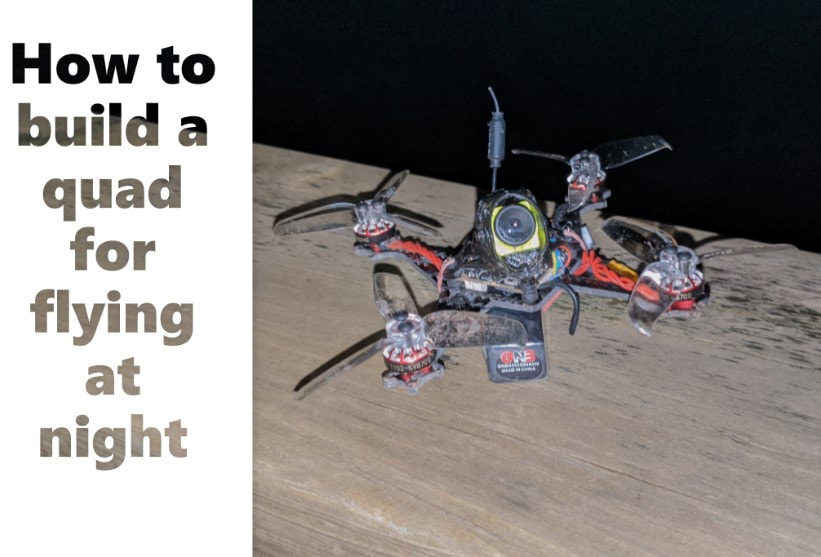 First of all the build needs to be based around a very light micro quad; 3 inches or smaller. This is because anything larger will make too much noise and will be travelling too fast to fly in you local neighbourhood and to avoid objects at night. Lightness (and the right choice of props) is key to making this quiet but more on that later. How to see in the dark Without putting to fine a point on it, it is the improvement in cameras that have made this build possible and practical: it used to be that the only good night cameras light the runcam owl were very large, even the more recent runcam eagle micro was too big for a lightweight quad. However now that we have the foxeer toothless nano 2 (and to a lesser extent the caddx baby ratel) we have MUCH better night vision. There are many good review on the toothless 2 nano at night, particularly the one by Nick Burns that I based this choice on. I've also included DVR from a day flight to show that even though you gain performance in low-light, it doesn't sacrifice daytime performance.
You can simply slap this cam on an existing build and have a night flier as is but to really make it discrete to fly at anytime read on...
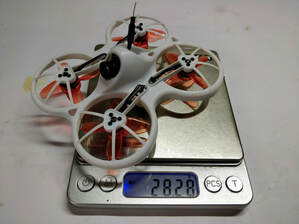
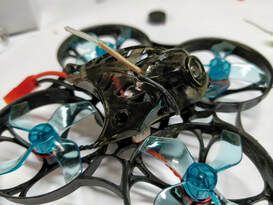
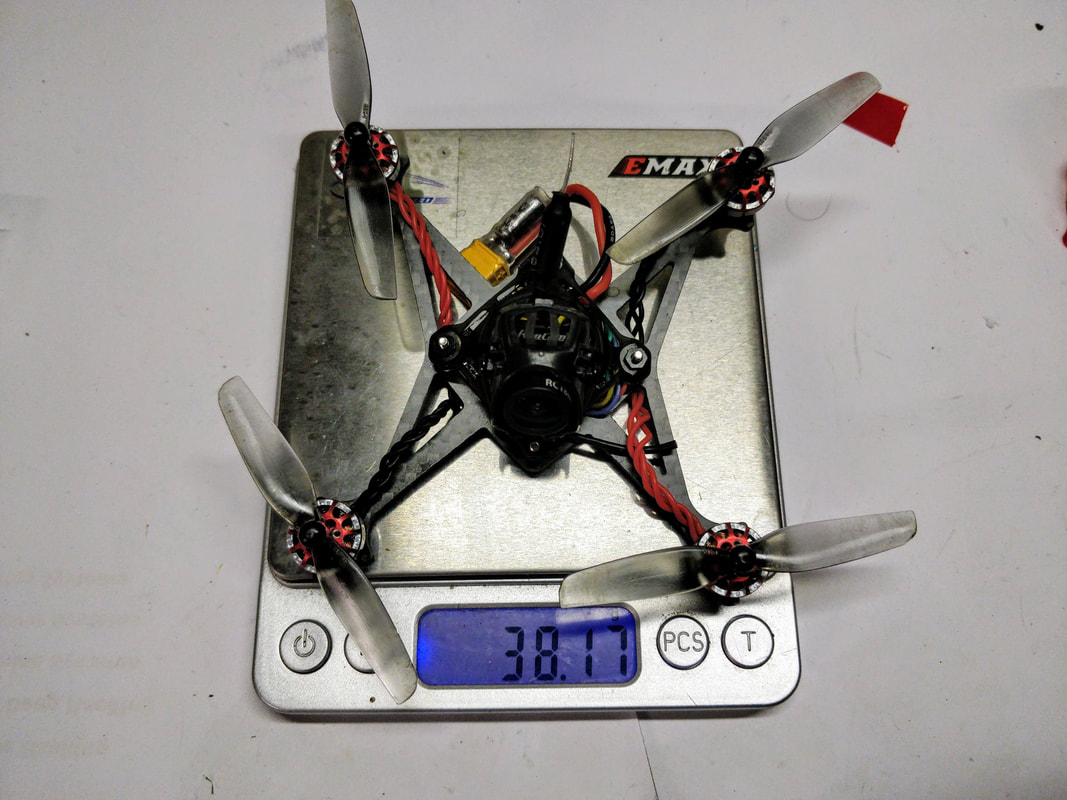
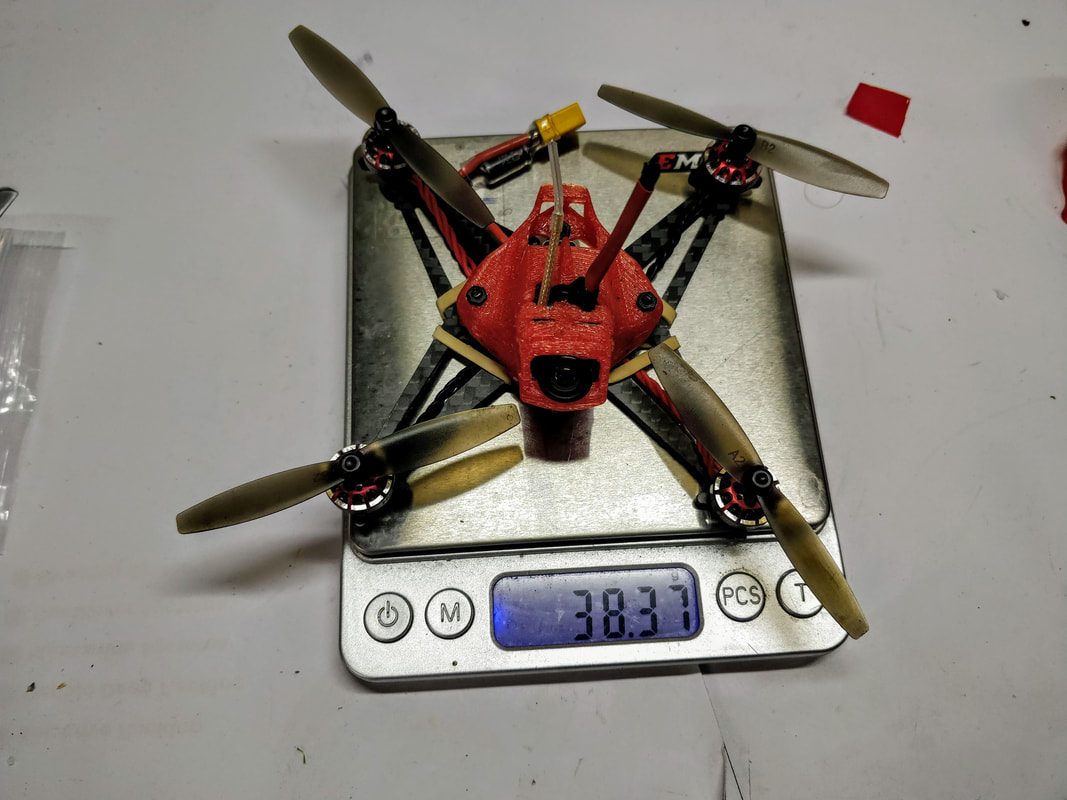
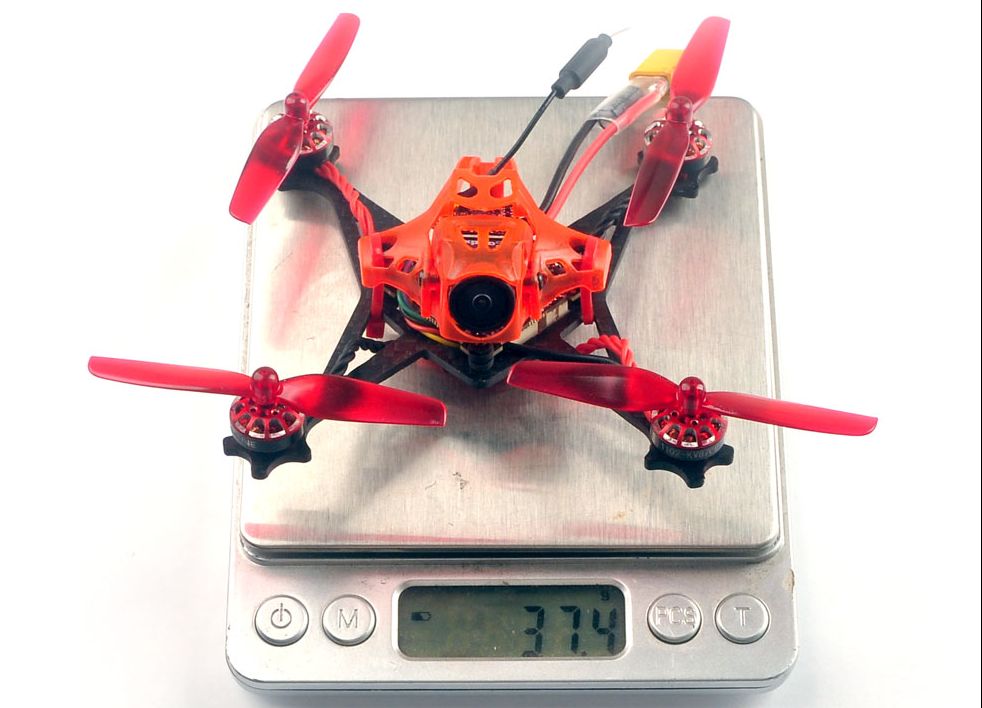
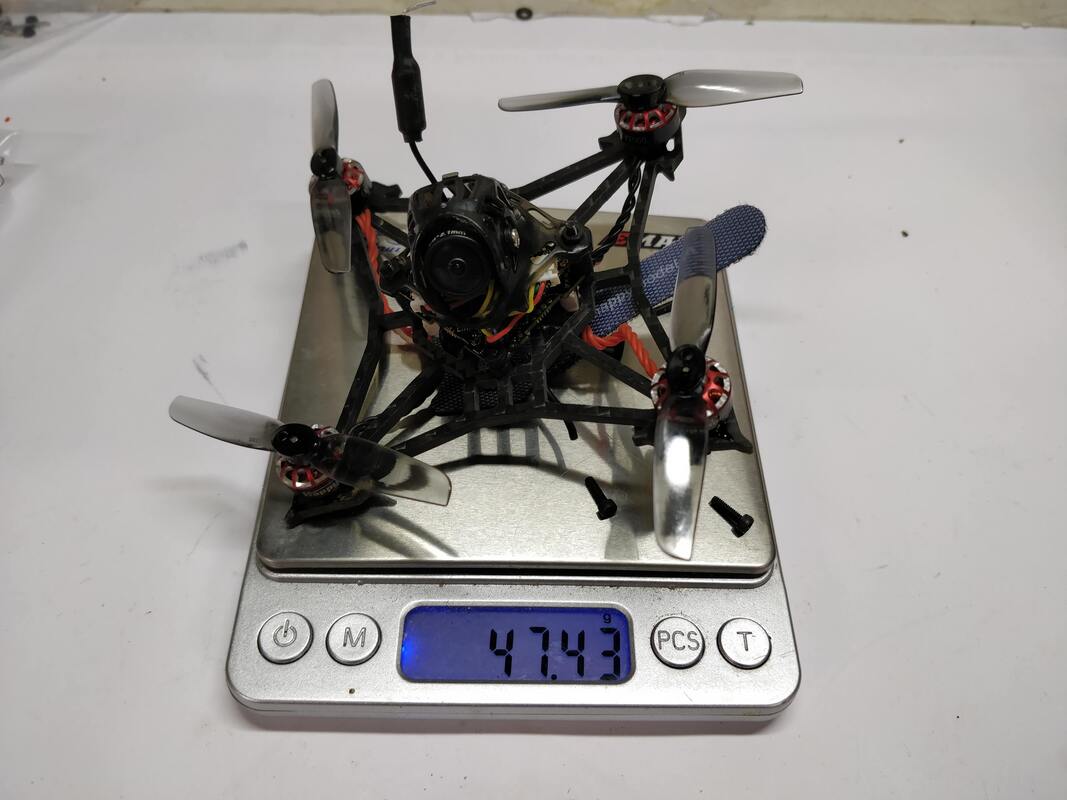
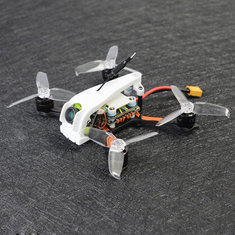
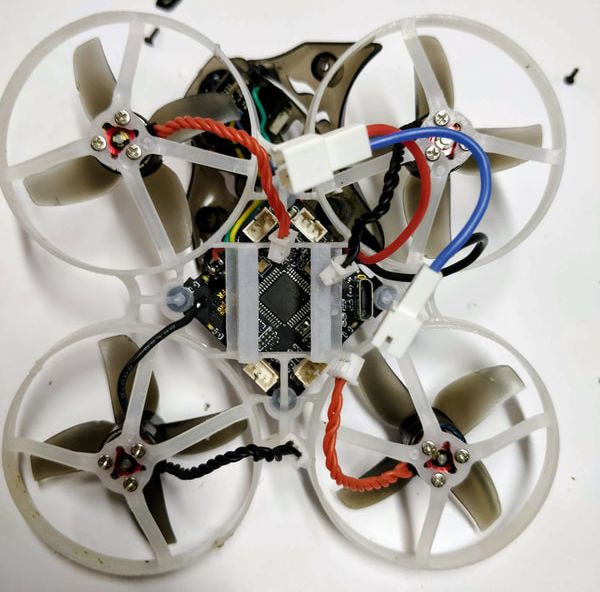
 The Happymodel Mobula 6 is proving to be one of the most popular drones of early 2020 just like the mobula 7 in 2019. What makes it so successful? It is small, light and agile and fast enough given the power source. And, with the introduction of esc firmware capable of running at 48khz, it seems to offer the flight time. Even though it’s a great quad as is, I always like to tinker to see what can be squeezed out. In my opinion it is the super light weight of the Mobula6 that makes it so good in all the parameters above, so how to make it better? Make it EVEN lighter.
So how is it done?
Get a pack of zip ties (like these) that are at least 80mm long and 4mm wide. The smaller the zip mechanism the better. Use a new blade on a hobby knife to cut a slit along the length as below. The lens of the camera will be wedged in this slit and tightened at an angle that suits your flying. 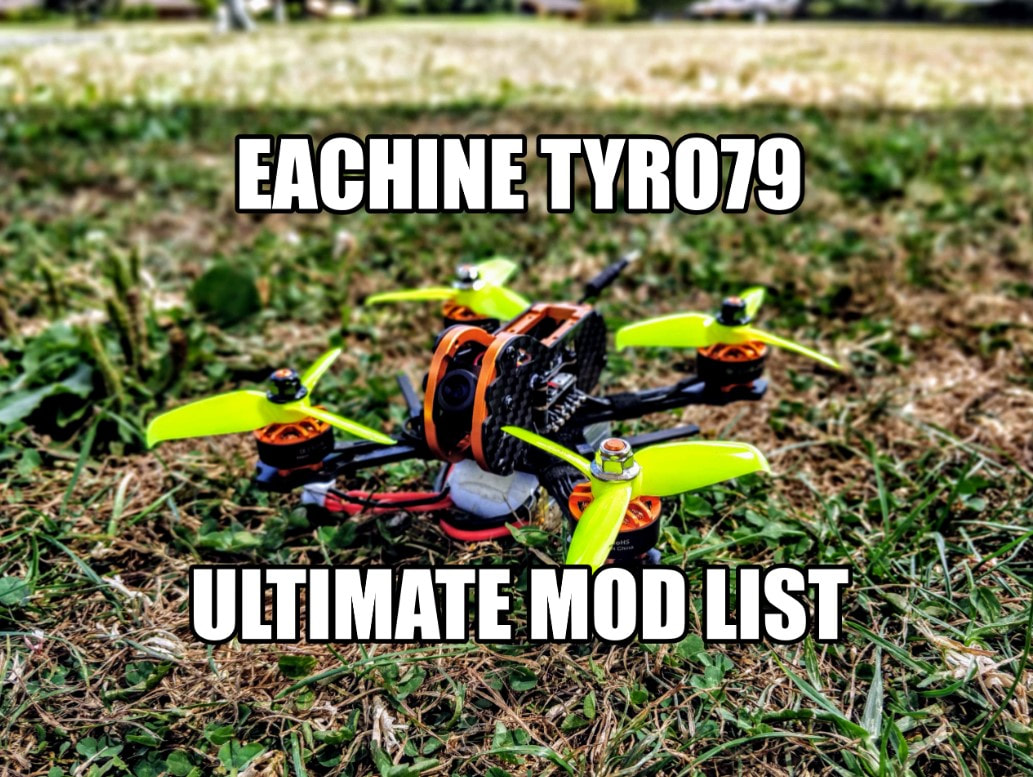 The Eachine Tyro79 is a low cost brushless high performance FPV quadcopter that is sold sold as a kit exclusively from Banggood. I have written a full review here and the popularity has prompted me to write this full and final upgrade guide after nearly a year of testing, tweaking and changing parts. Sadly my Tyro 79 has been lost in a dense bush area and I have not been able to recover so cannot share pictures of the upgraded on the quad. However, I have noted carefully what has worked for me and this is shared below split into the following systems:
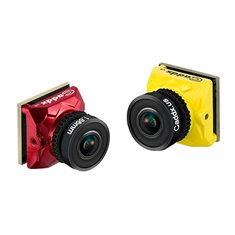
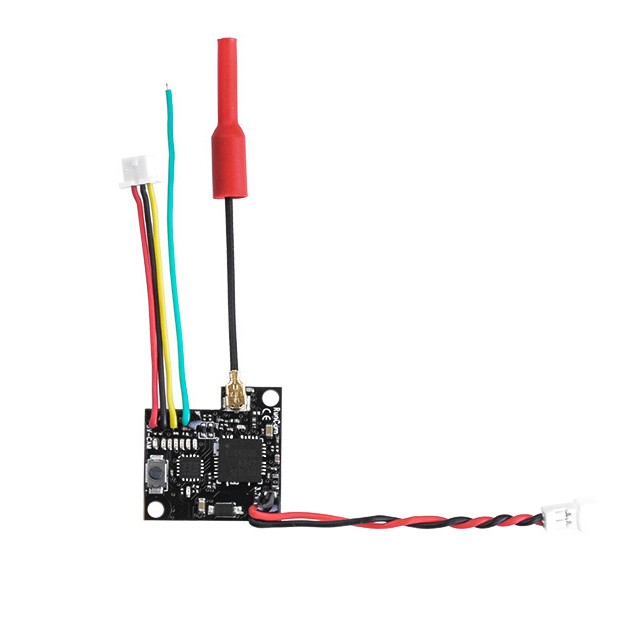
FPV systems (Came, VTX, Antennas, Goggles) I put this first as I think the most crucial improvements are here. Without mincing words the default camera is awful. Although it was working well for the first one or two flights you can see from this video below in slightly overcast conditions that it can be nearly impossible to fly. The good news is that the tyro79 takes a standard micro 19mm camera and there are some good options available for not much money as below. This is the very first upgrade I would recommend.
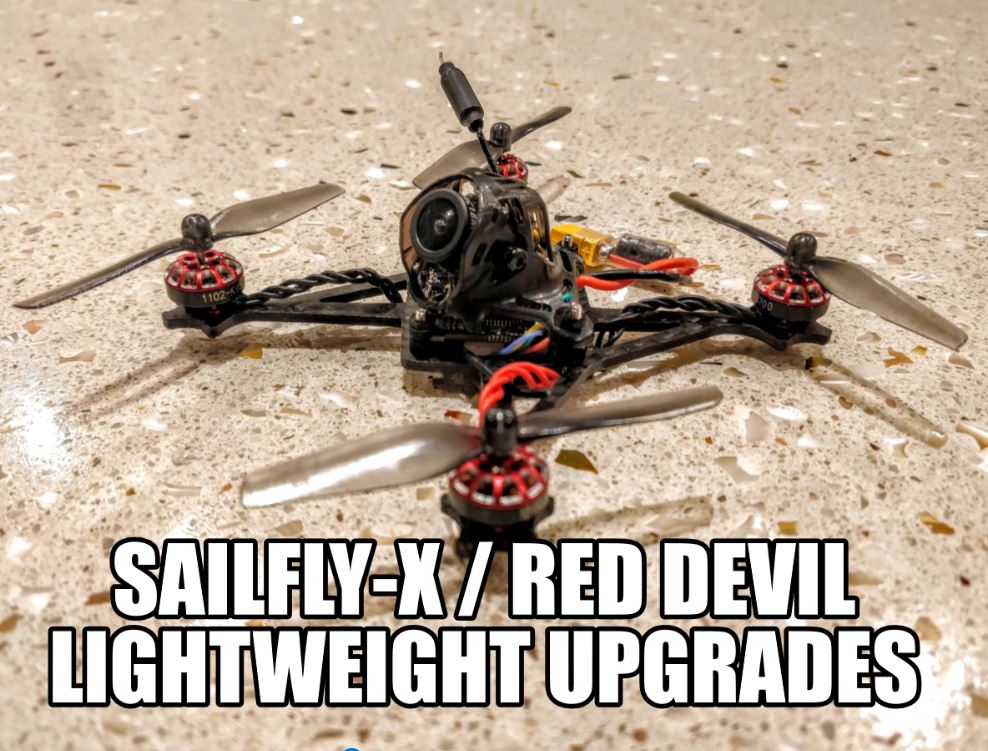 The good and bad of the Sailfly-X and Red Devil Happymodel have launched two of the better value toothpicks recently of which I have reviewed both - the Happymodel Sailfly and the Eachine Red Devil. Unfortunately both have minor niggles on the FPV side of things -
The objective of the mods: Since the underlying powertrain of these quads is light and effective I set out to improve the above issues while trying to stay as light as possible. Also, in order to keep things simple I wanted to avoid soldering where possible to provide an easy and cost effective upgrade path for those who wanted to emulate the build. The result? I'm super pleased: 
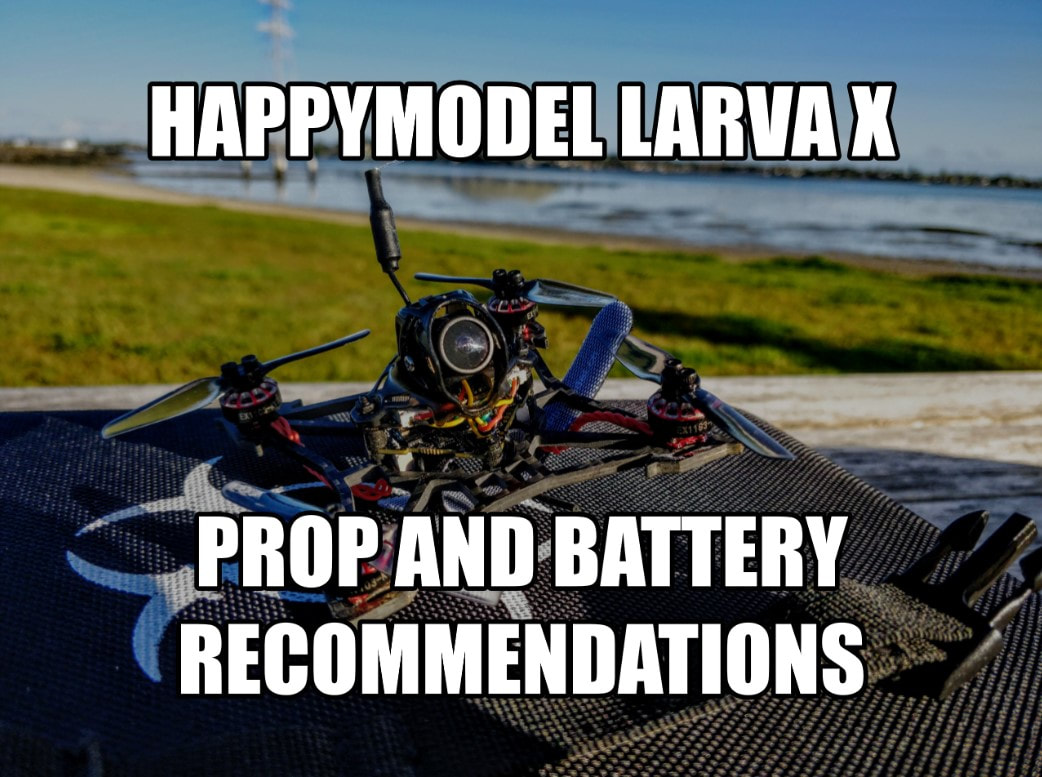  The stock Larva X comes fitter with Emax Avan props and no battery The stock Larva X comes fitter with Emax Avan props and no battery Introduction That Happymodel Larva-x is a great value bind and fly ultralight toothpick-style quad which I reviewed and provided and improved tune for here. This is their first model to come without a battery which is due to the fact that many international shipping suppliers are banning lipo batteries from shipment. Stock propellers are the Emax Avan Rush 2.5 but due to supply issues HQ Prop 2.5x2.5x3 are also included as spares. My full review is here where I flew almost exclusively on the HQ 2.5x2.5x3, not because they were necessarily better but because they were less stiff and transmit less impact to what is a relatively weak motor (see my review for more details including a response from Happymodel). If you're new here you'll find I'm never satisfied with status quo and like to tinker. Propellers and batteries are dispoable items so I've chosen to share the outcome of my tinkering with these. What I did find however is that this quad is very sensitive to these combinations and although some improvements can be had, there are also some very poor combinations that are inefficient and noisy with less than stellar performance.
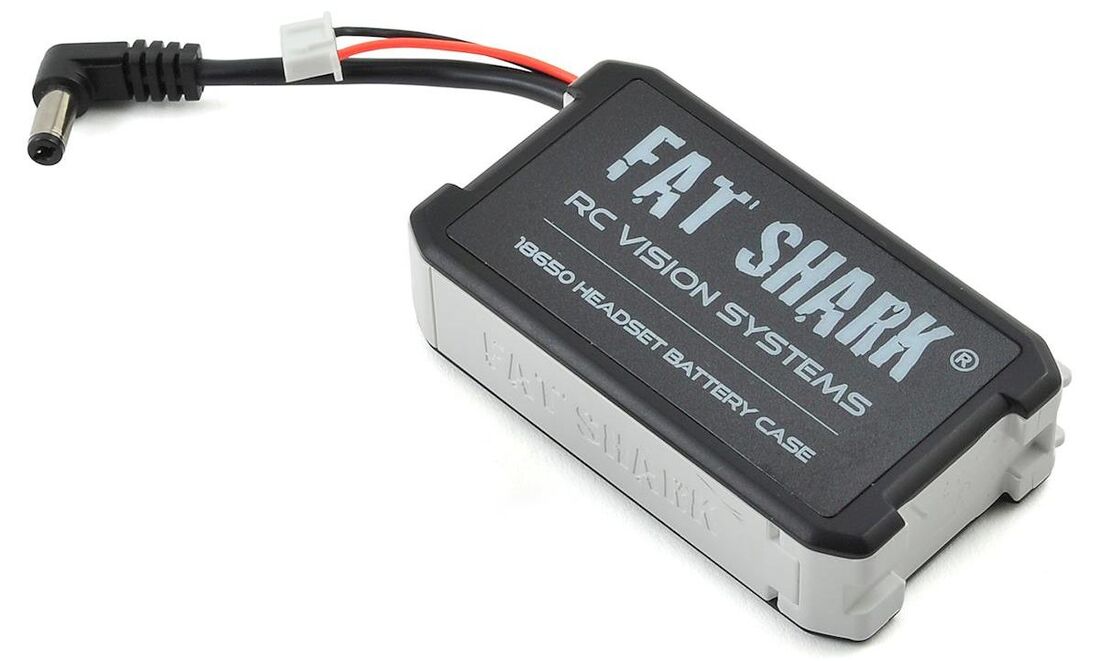
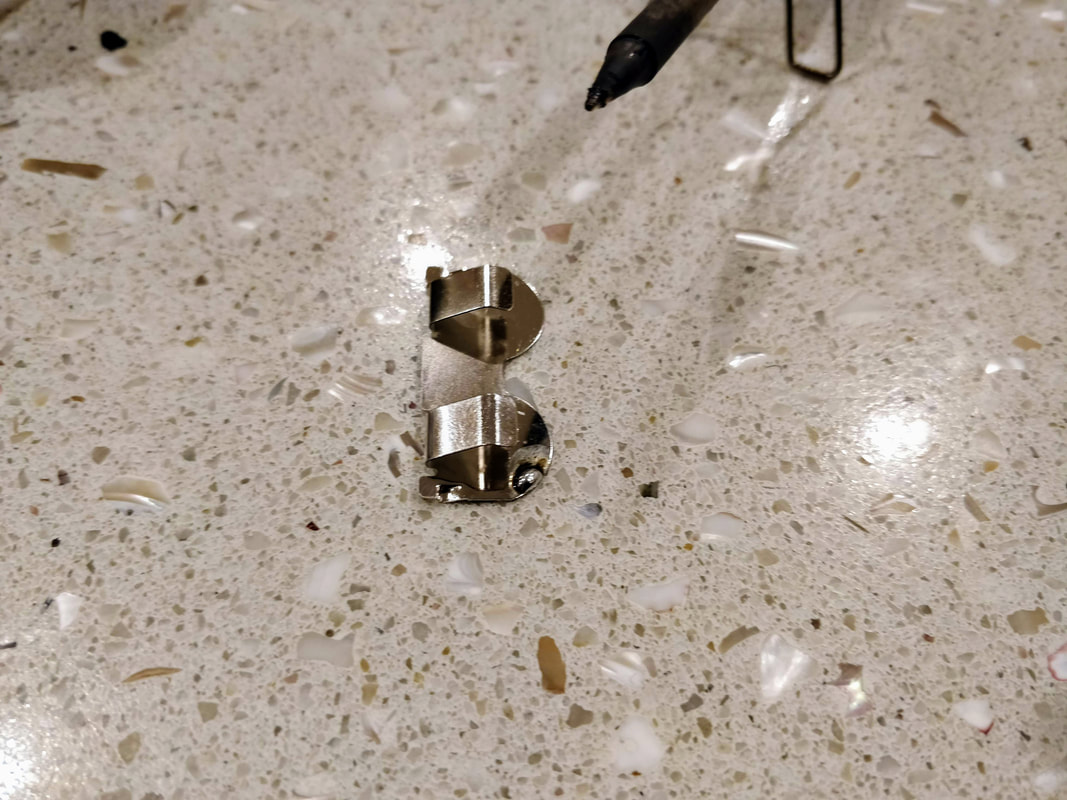
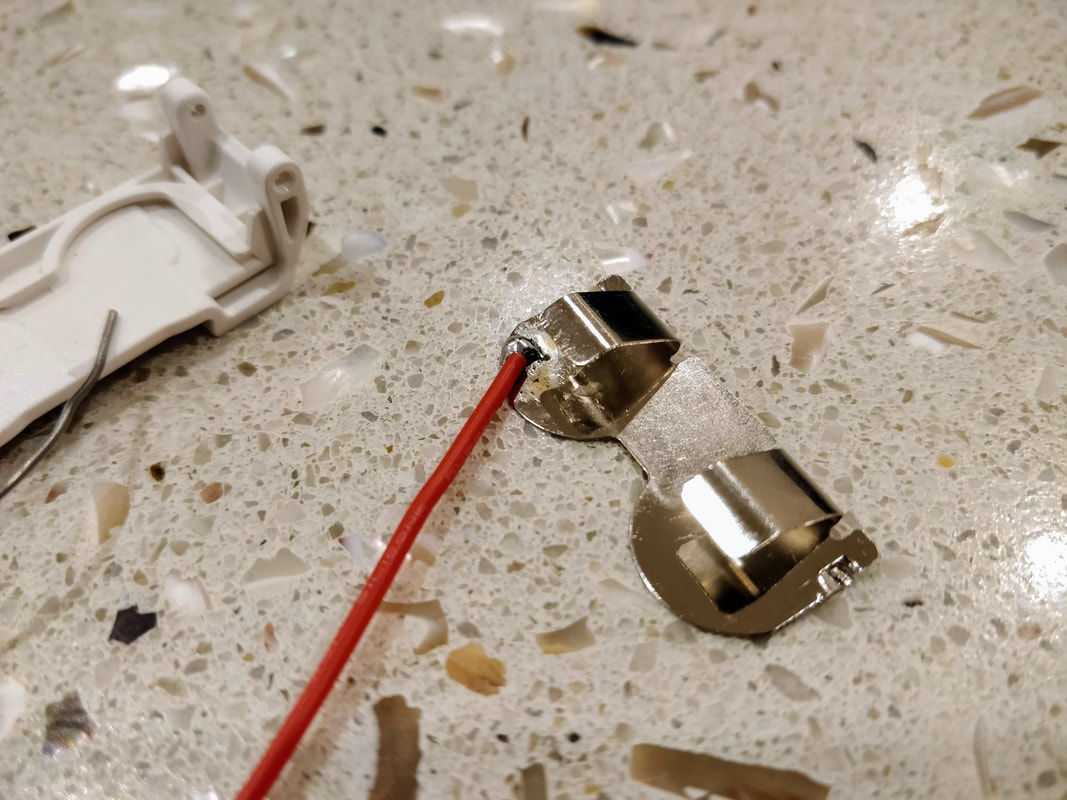
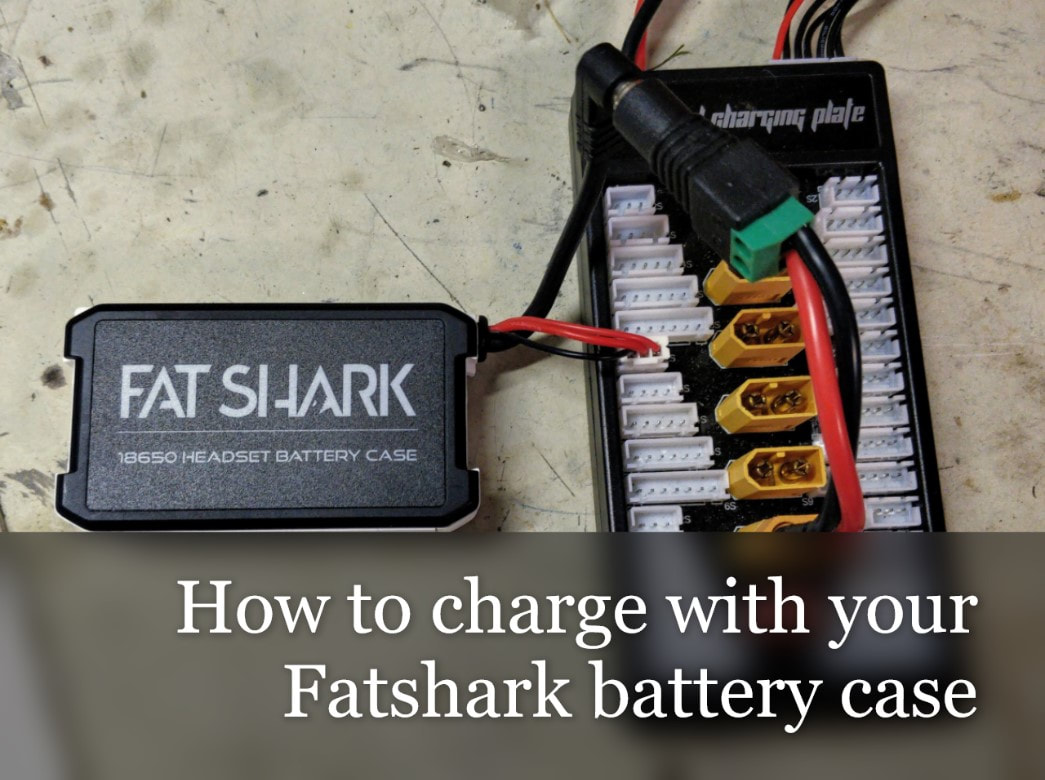 Recently I made my biggest ever FPV purchase - the Fatshark attitude V5 FPV goggles with the new 30 degree FOV OLED screens. I'm still field testing these for a review which will follow but first I wanted to look at the battery case, more to the point, how to fix the shortcomings. 
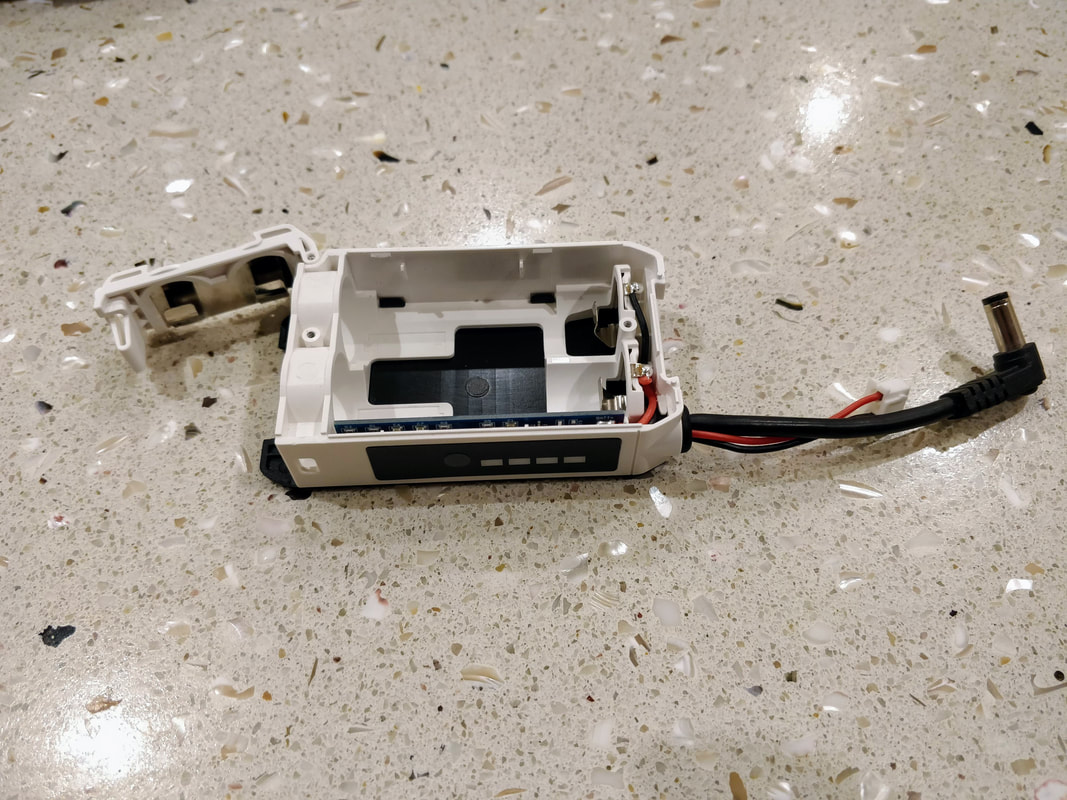
In this tutorial I rectify this issue by showing you how to safely open the case and mod it to allow for real balance charging whilst losing noe of the rest of the functionality. With this mode you do not need a special charger for 18650 cells, you can use your regular balance charger and charge your pack safely and efficiently. If you need batteries a local vape shop will probably have the best prices but if not then I used these 3000mah ones that have been rebranded. Tools needed
See below how to complete the work. This took me about 30 minutes. Most of the time was to figure out the best path for the wire and make the path for it accordingly. As always, pictures can be embiggened
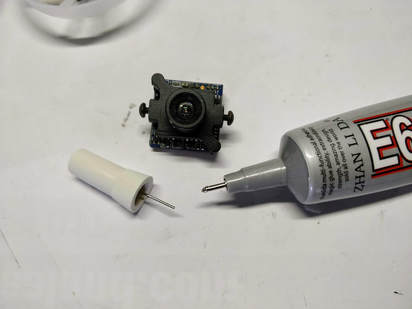
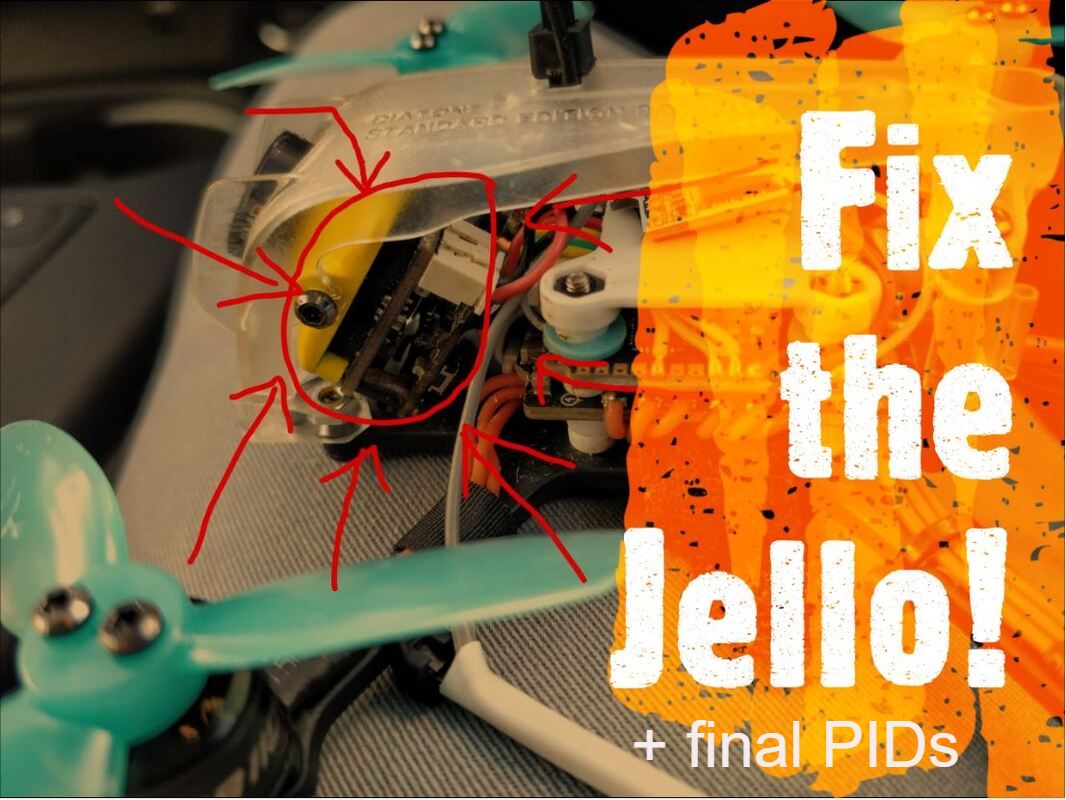 The Diatone GT R249+ is my favourite traditional 2.5 inch micro quad based on it's relatively lightweight in this class, motors which have a wonderful mix of power and efficiency, reliable electronics and excellent built quality. My review of this quad is here and it is still available across multiple retailers. However over a short period of time I started getting a lot of Jello which is concerning given the camera is a CCD which should be much more stable. I did a lot of PID and filter tuning but gave up after a while and let it sit on my shelf. Now I've come back to it with a fresh set of ideas and believe I have fixed the Jello problem once and for all. Firstly I can categorically state that in my case it was not the tune nor the propellers that fixed the issue as I've seen stated elsewhere. The issue is around the camera/VTX and this fix should be relevant to all canopy versions of this quad that doesn't use the TBS vtx i.e.
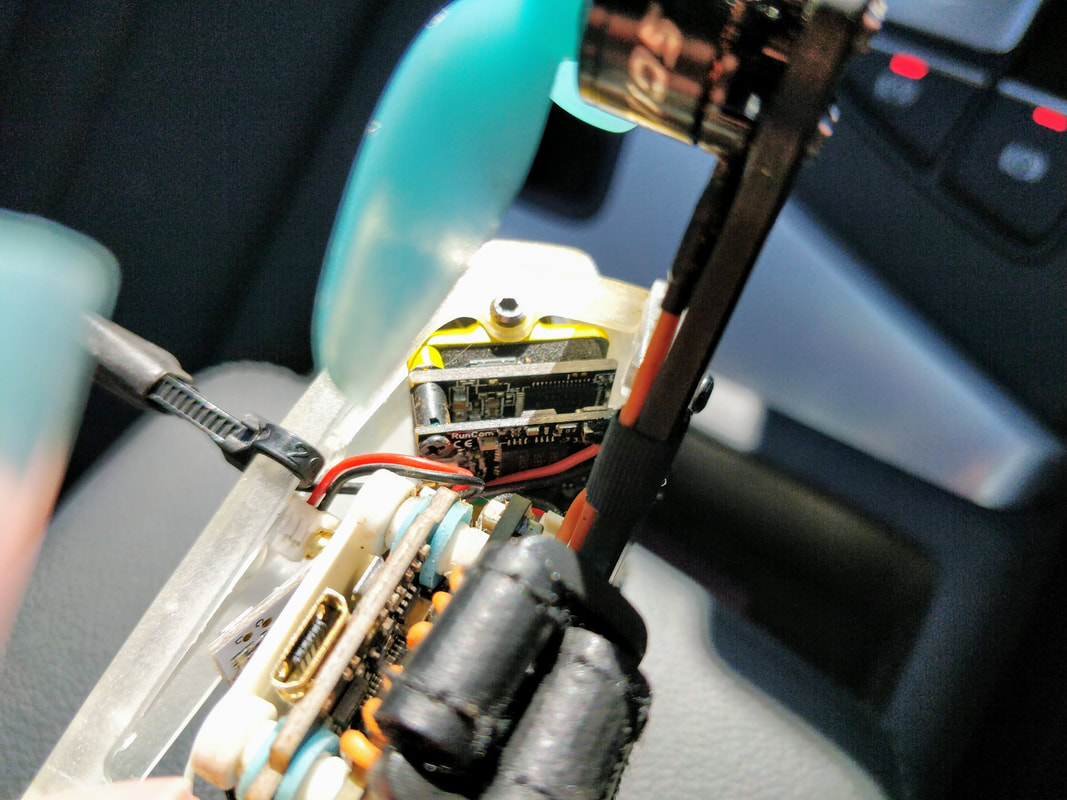 The screws that hold the vtx to the cam also hold the sensor board to the lens housing and I believe the connection between the board and housing is compromised as a result. At least the Caddx Turbo F2 has some foam tape between board and housing unlike the stock runcam swift although I don't believe a camera change is necessary.
Over the time that I have owned this quad I have improved and customised this quad to overcome some of the initial shortcomings and improve on what already makes this great. I have written several articles on this and have summarised these here with links to the full article plus any other improvements I've since made. Practically all of these upgrades are relevant for the Eachine Trashcan as well (which I reviewed here) Frame Upgrades
Since then I have found I prefer the V2 mobula frame which is the same design as the V1 but stronger (although not as strong as the V3). This is because I found it was easier to fit my favourite gemfan props and the overall flight characteristics were better, most notably decreased yaw washout compared to the V3. Note: the mobula7 v1 has been discontinued and all new mobulas ship with the V2. Batteries and related upgrades
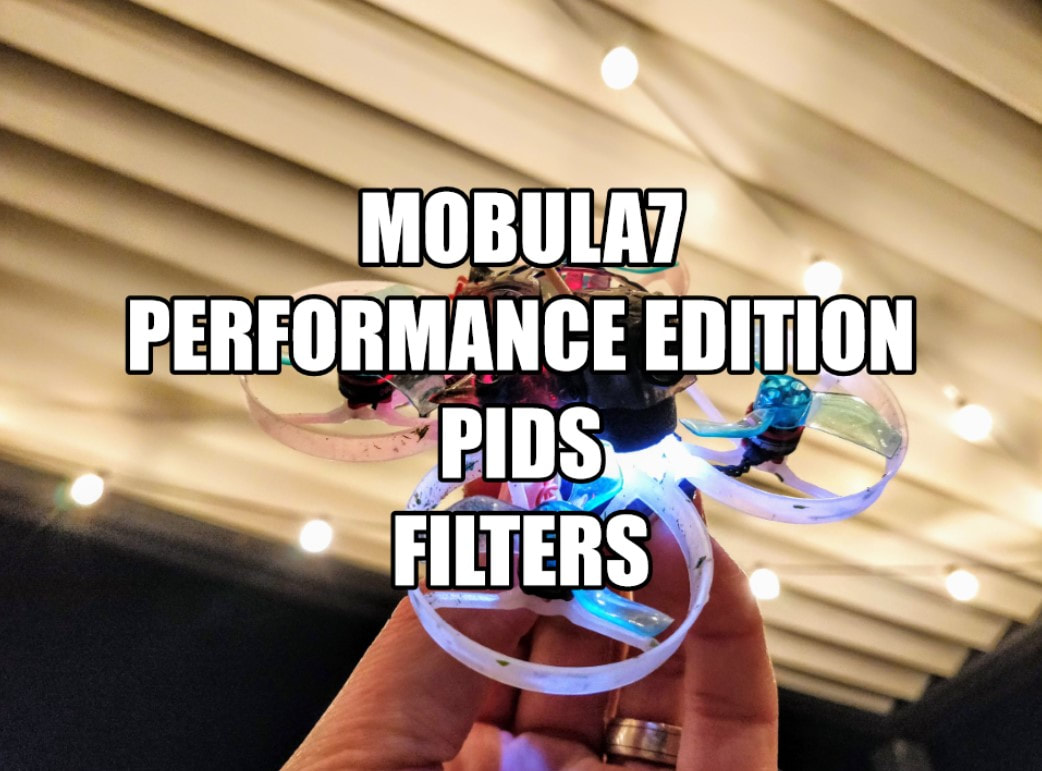 The Happymodel Mobula7 uses a F3 based flight controller and since Betaflight 3.4, these boards have not had full functionality of F4 and F7 boards due to smaller memory size for firmware storage. However in this article I will cover how to upgrade to the performance edition of Betaflight 4.04 kindly compiled by UAVTech (his in depth YouTube Channel is here). This special version adds the key performance functions at the cost of typically irrelevant features like servo control, acro trainer, camera control etc. In this article I will show you where to access this firmware and then I'll show you the filters that suit brushless whoops best as well as some good starting PIDs. This is the seventh and likely final article in my series of HappyModel Mobula7 upgrades, many of which can be used for the Trashcan too. Also to come are:
Betaflight 4 Performance edition for F3 boards This is the final version of Betaflight you can use and I strongly recommend you use this version rather than the one on the Betaflight configurator to get full performance functionality otherwise you will miss out on features like:
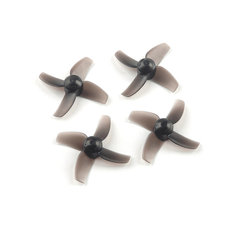
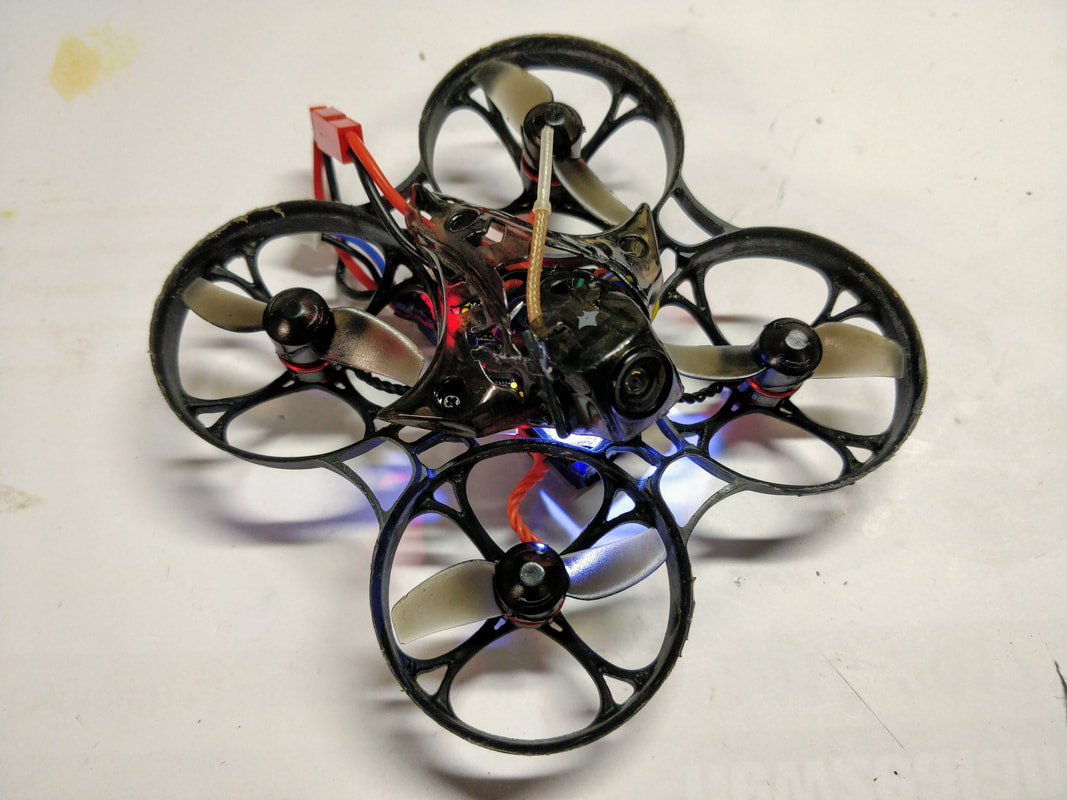
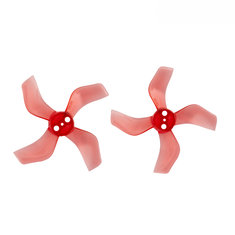
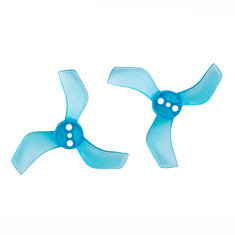
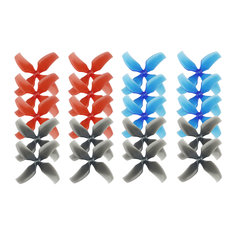
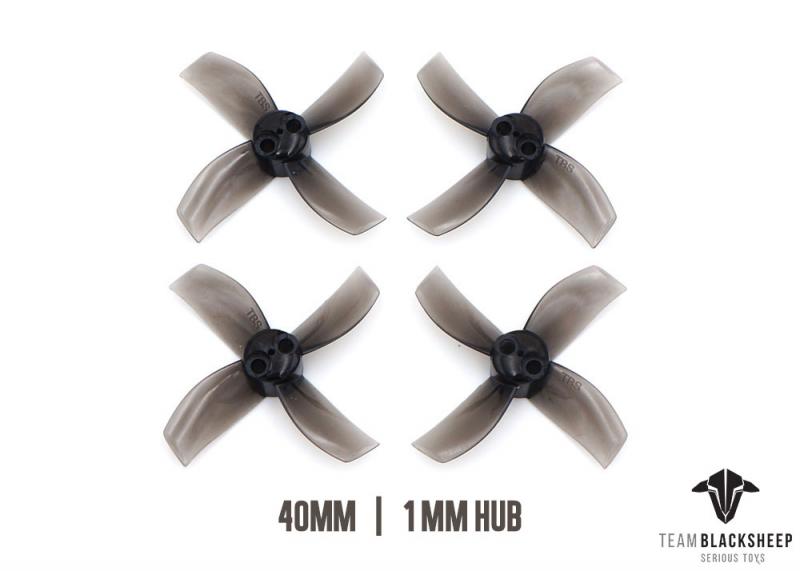
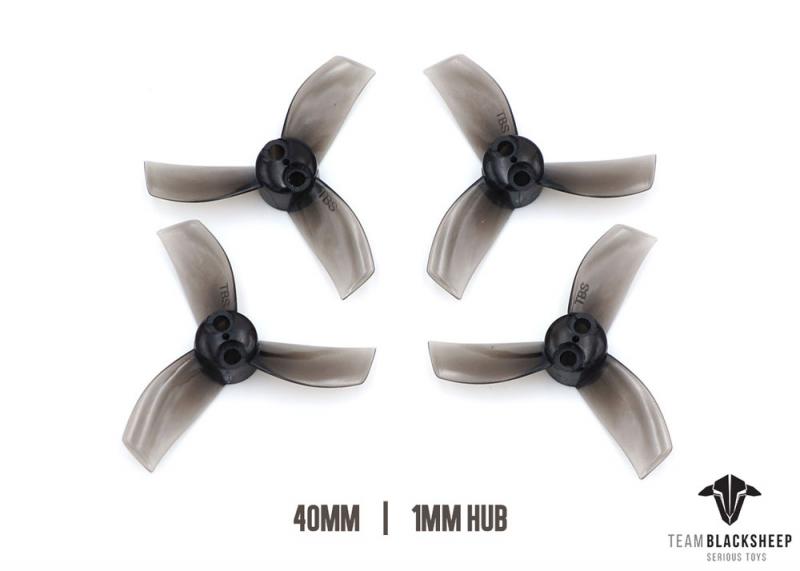
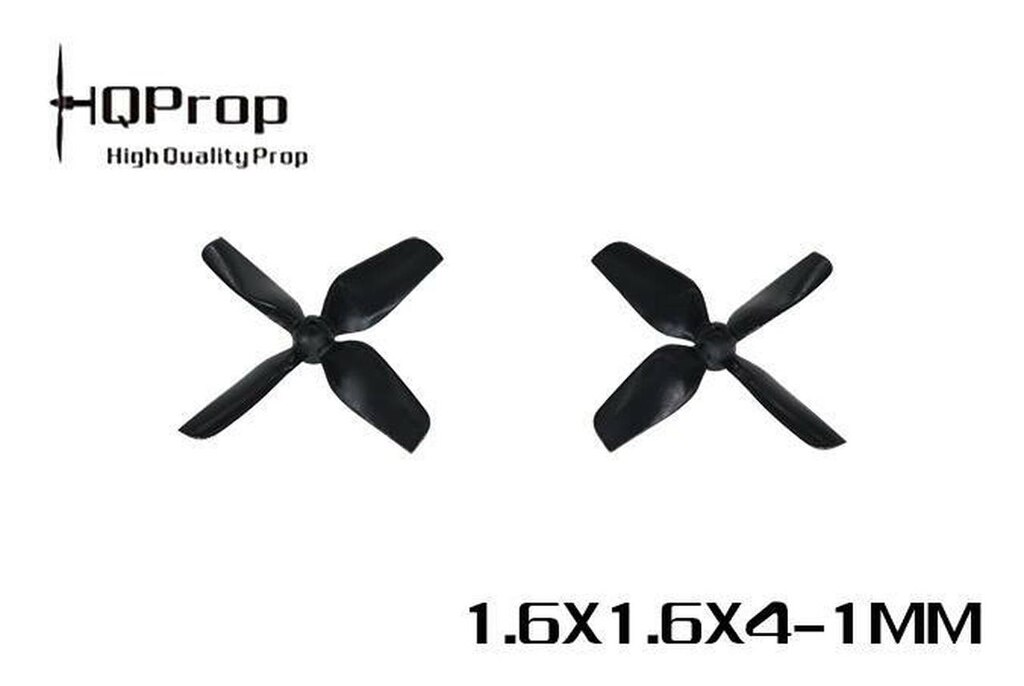
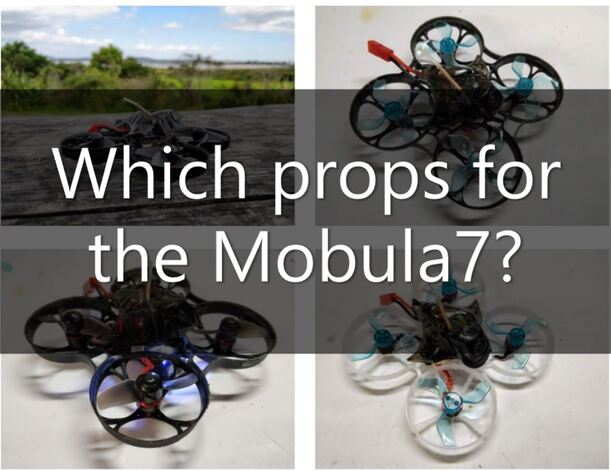 The Happymodel Mobula7 (reviewed here), Eachine Trashcan (reviewed here) and many other brushless whoops use generic 4 bladed 40mm props that are cheap and readily available but are they the best? Simply put, no. They are from a toy grade mould and we have accepted them because when these brushless whoops were first released there was simply nothing else available. Fast forward to the present day with the growth in popularity of these models there are a lot more options, some readily available internationally, some not so much. In this article I'll give you my experiences on what I found to be my favourite prop and the justification of why (what it is I look for in a propeller). This is the sixth article in my series of HappyModel Mobula7 upgrades, many of which can be used for the Trashcan too. Also to come are:
What props are available? If you're in North America probably the full list of what is below. I'm not in North America though so I was limited to what was locally available and what had low (or no) international shipping cost. Therefore this is not an exhaustive test, my approach was more on of pragmatism.
My Findings I'll compare all my findings back to a baseline result of the stock props for simplicity 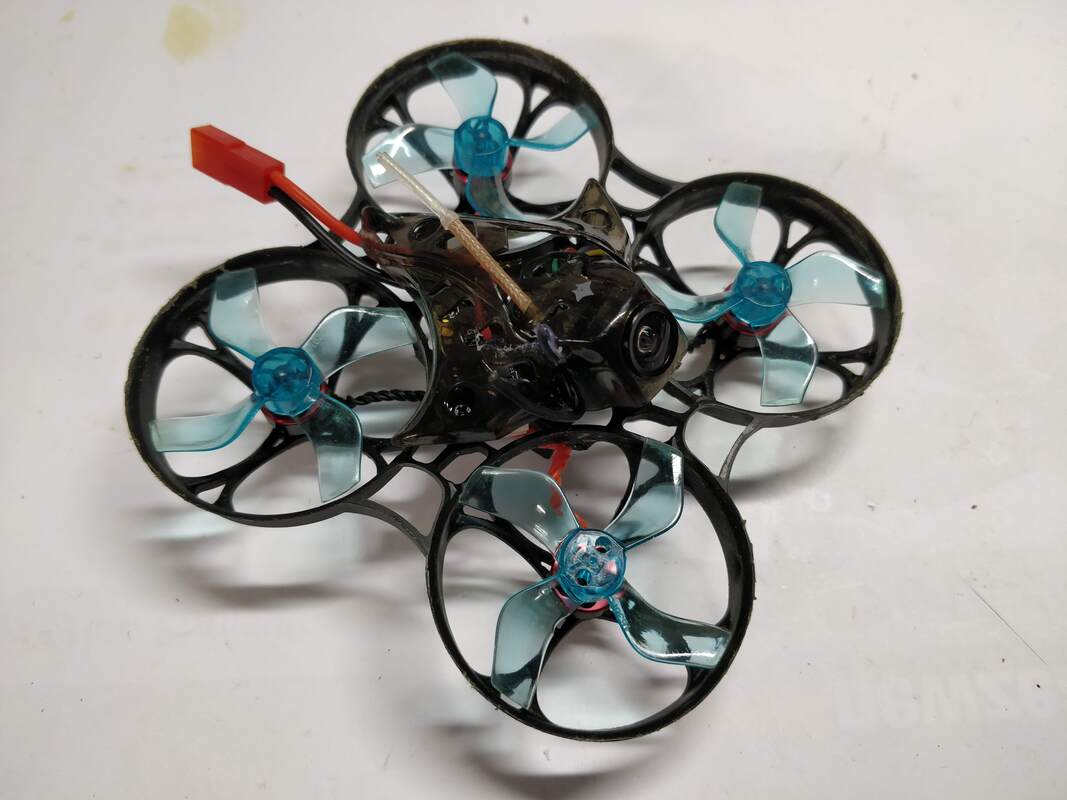 Gemfan 1636 (4 blade)
I used these when I was running the v3/trashcan frame which I blogged about here. These were a direct improvement over the stock props in all aspects but were a little more amp-hungry. Grip and speed was improved and control felt better. Props are well balanced but heavier than stock. They are extremely durable especially when you consider the protection afforded by the ducts. You will achieve hover at very low throttle These props are a good upgrade but not my personal favourite. Note: These are more like 41mm than 40mm and frustratingly don't quite fit in the ducts of of the v3/trashcan frame - the ones you see above were painstakingly sanded down and even then still rubbed every now and then. I hear TBS props have the same issue  The Happymodel Sailfly X is my favourite quad I've reviewed so fat this year (review is here) but as with any product, there are shortcomings especially when is it built to a price. Like I did with the Mobula7 I'm starting a new series of articles on upgrading and customising the Sailfly-x. Current State
Step 1: Software only
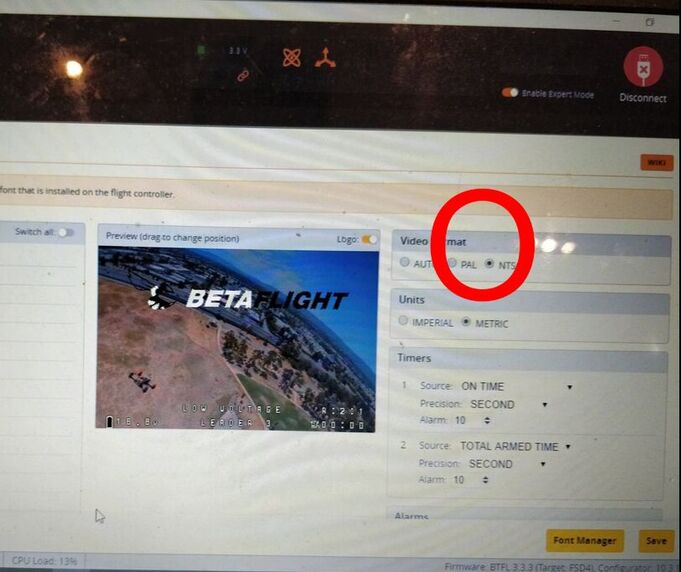
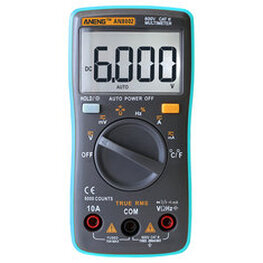
The most simple mod to do is ensure the onboard receiver is given an armchair ride from a software standpoint. This means changing D16 to D8 mode in betaflight and turning off telemetry which has been known to lock up the flight controller. This can be done as below. 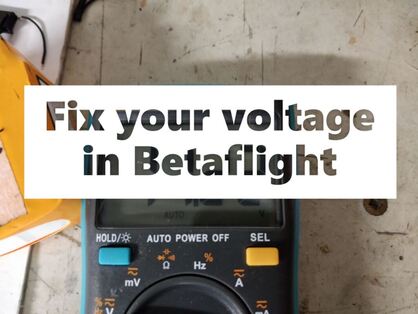 Voltage sensing is critical in Betaflight not least of all because it is the best indicator of when to land in order to protect your batteries to make them last longer. I've always taken for granted that this reading is correct on every board from the factory but I can tell you it is not. On 2 recent quads I've set up it was well out (Happy model Sailfly-x and my 2019 freestyle build) to the point were it reported my 6s battery as being 24v instead of 22v.
First you'll need to connect your quad to betaflight and enter the "power and battery" tab. Next plug in your battery (please do it in this order). With you battery plugged in you'll see the voltage as shown by betaflight in the area highlighted below:  Betaflight reports voltage in either of these locations Next use the digital multimeter to test the battery voltage using the balance connector. Do this by touching the multimeter probes on the terminals at the extreme edges of the balance connector as below. Don't worry if on backwards, your multimeter will just report a negative voltage which is fine. It is important to do this whilst the battery is connected to the quad as the electronics (especially the VTX) will draw a small amount of current and thus cause the voltage to drop a little compared with having the battery disconnected.
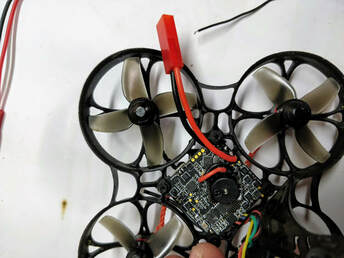
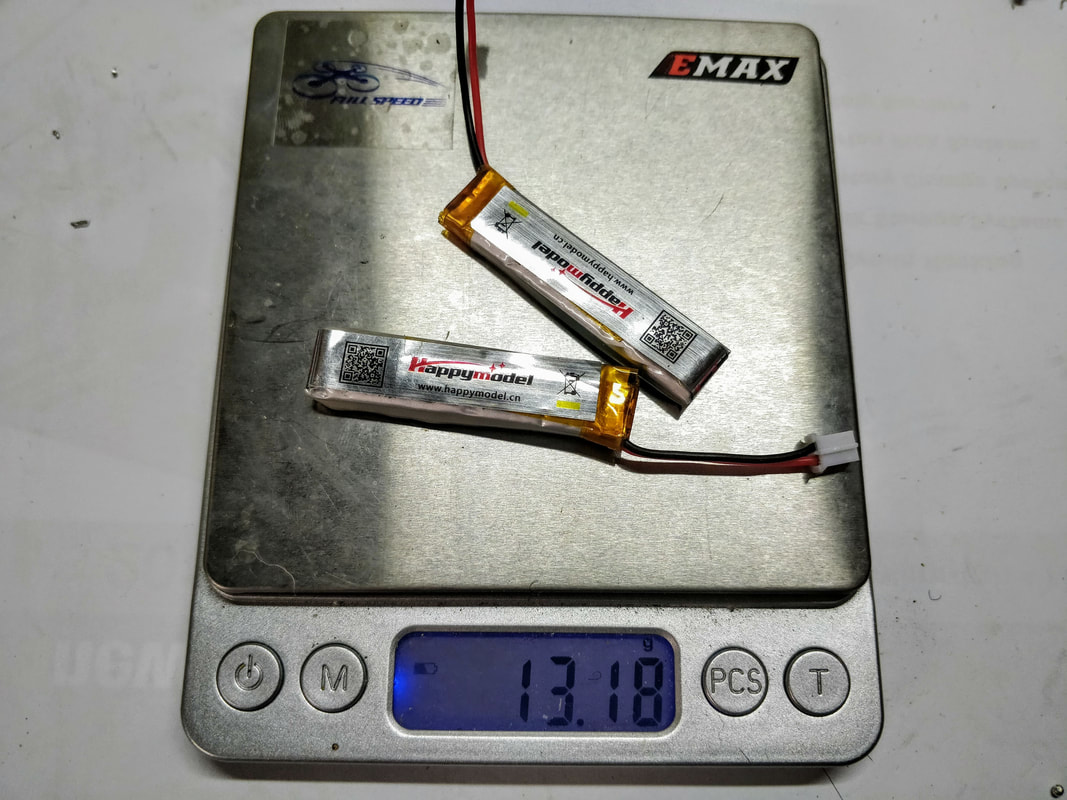
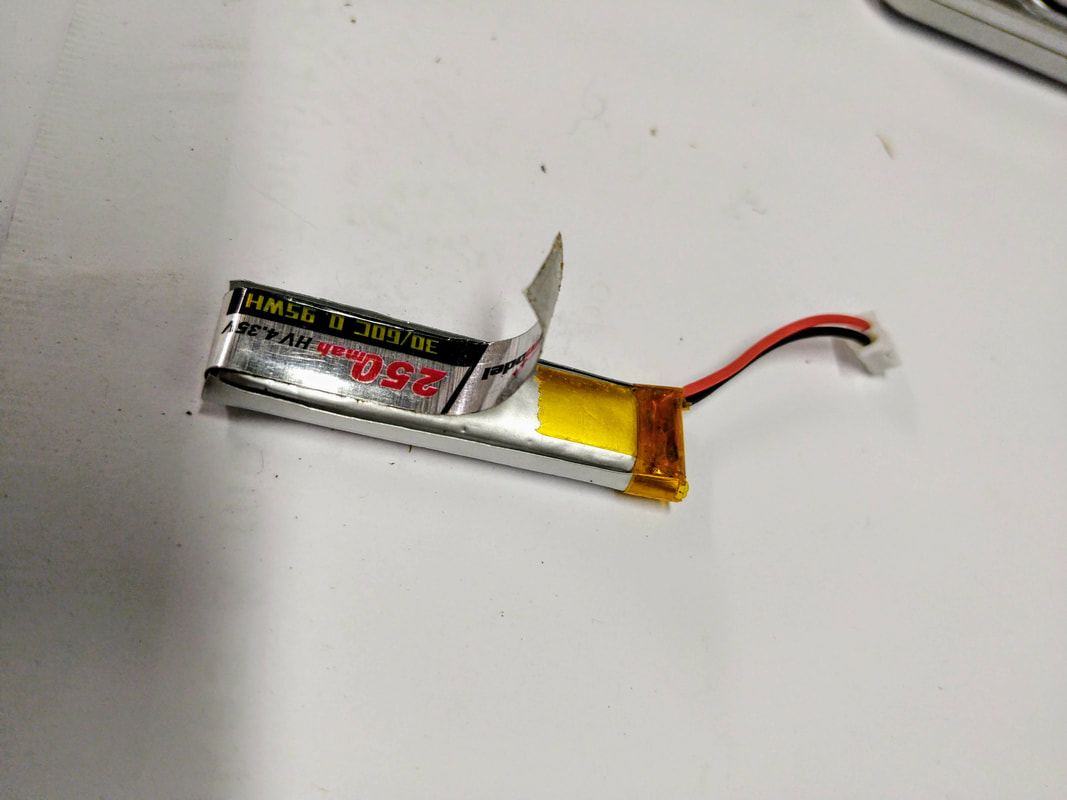
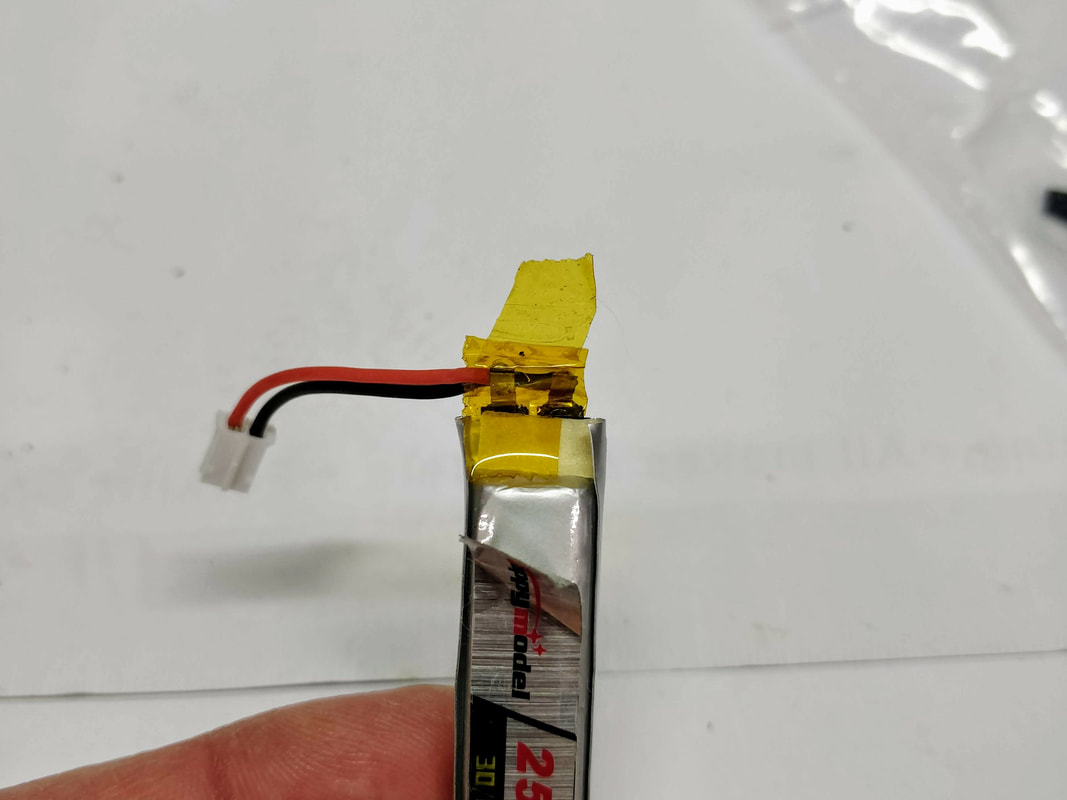
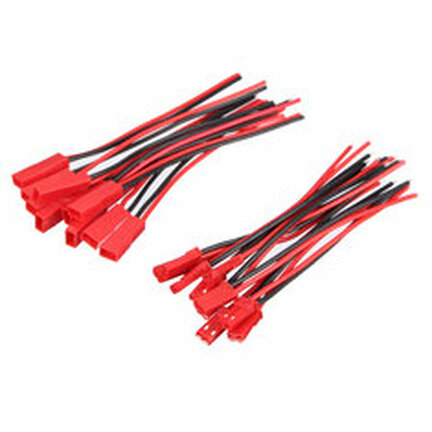
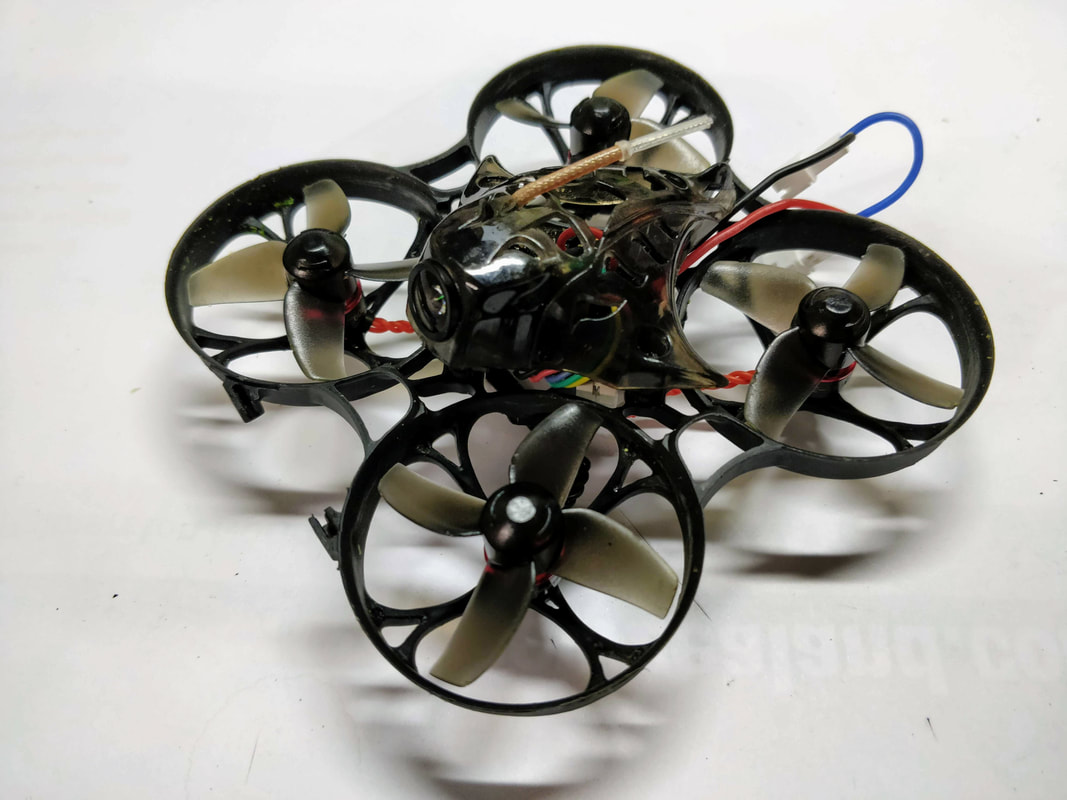
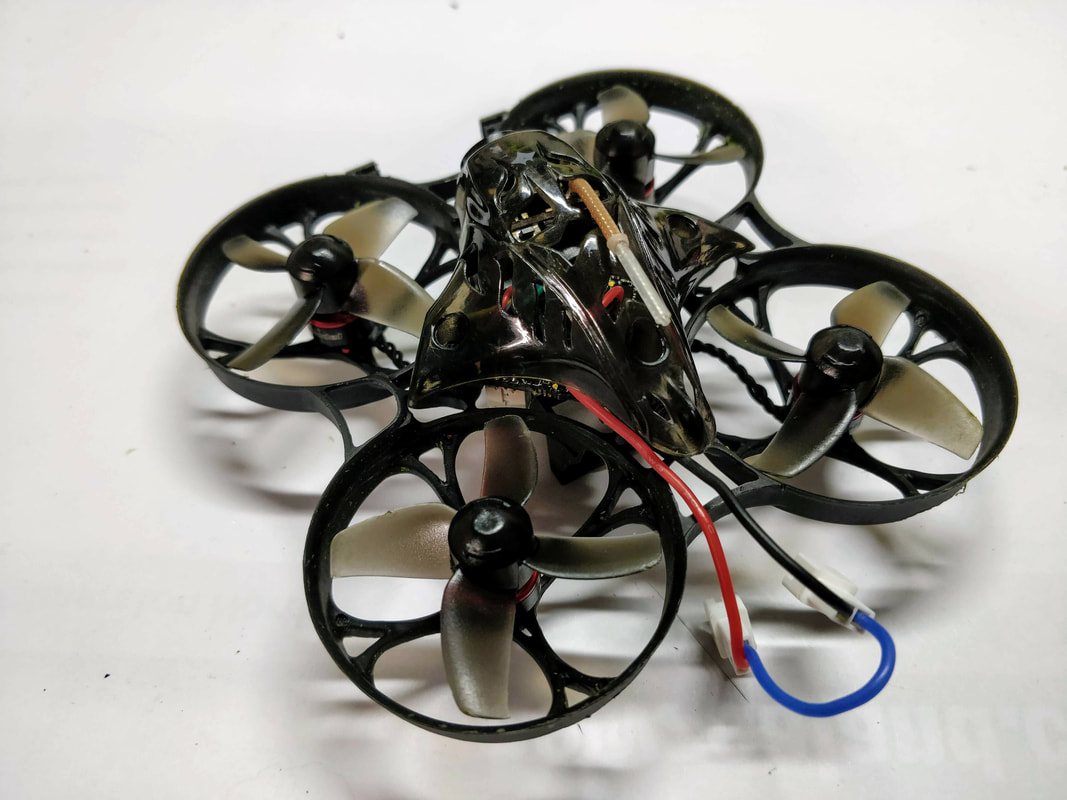
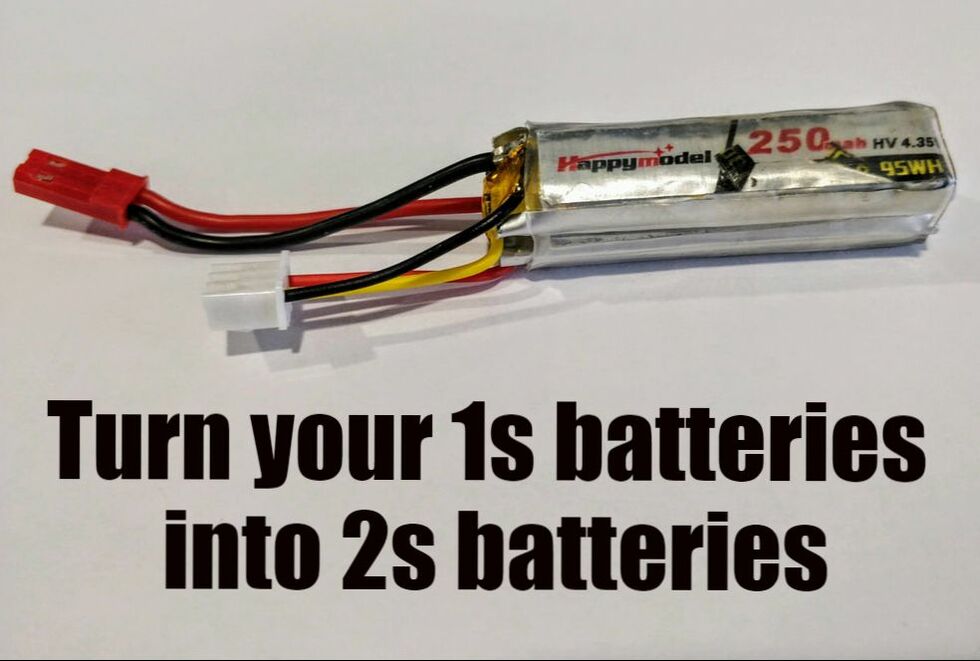 Both the Happymodel Mobula7 (review) and Eachine Trashcan (review) both come with 4 x 1s batteries that are designed to be used in series 2 at a time with a fiddly ph2.0 series connector. This introduces a lot of resistance in the power circuit and resultant voltage drop under load which shows as battery sag. It is easy to upgrade to a true 2s JST connector as I've shown in this blog or a XT30 if you'd prefer. Although 2s 300mah batteries are not expensive it does feel wasteful just leaving the old batteries to die. This article covers how to convert these or any other 1s cell into a 2s battery and is scaleable up to 6s! This is the fifth article in my series of HappyModel Mobula7 upgrades, many of which can be used for the Trashcan too. Also to come are:
A Word of Warning Lipo batteries - even these tiny ones - have a lot of power. Anytime you modify you run the risk of rapid discharge (shorting) which generates heat and possible worse. Only do this mod if you are confident around electronics. Please wear eye protection at a minimum and work in a well lit space. Just go buy the 2s batteries if you are unsure at any point. Getting prepped As well as having a well lit area and a good soldering iron, solder and flux (see my article on budget tools here) you'll nee the following items:
In order to solve the charging issue FullspeedRC (yes the same ones that launched the Leader series of micro quads) have released a simple board that allows the batteries to be balance charge using the existing USB port. It can be bought for around $10 at the following retailers:
Please note this is not a beginner install but if you can solder a FPV cam and vtx to a flight controller you can probably do this. I've put in a LOT of photos and steps in below to make it as straightforward as possible since Fullspeed's manual is accurate but overly short. As usual click any image below to embiggen. Tools I recommend for this job:
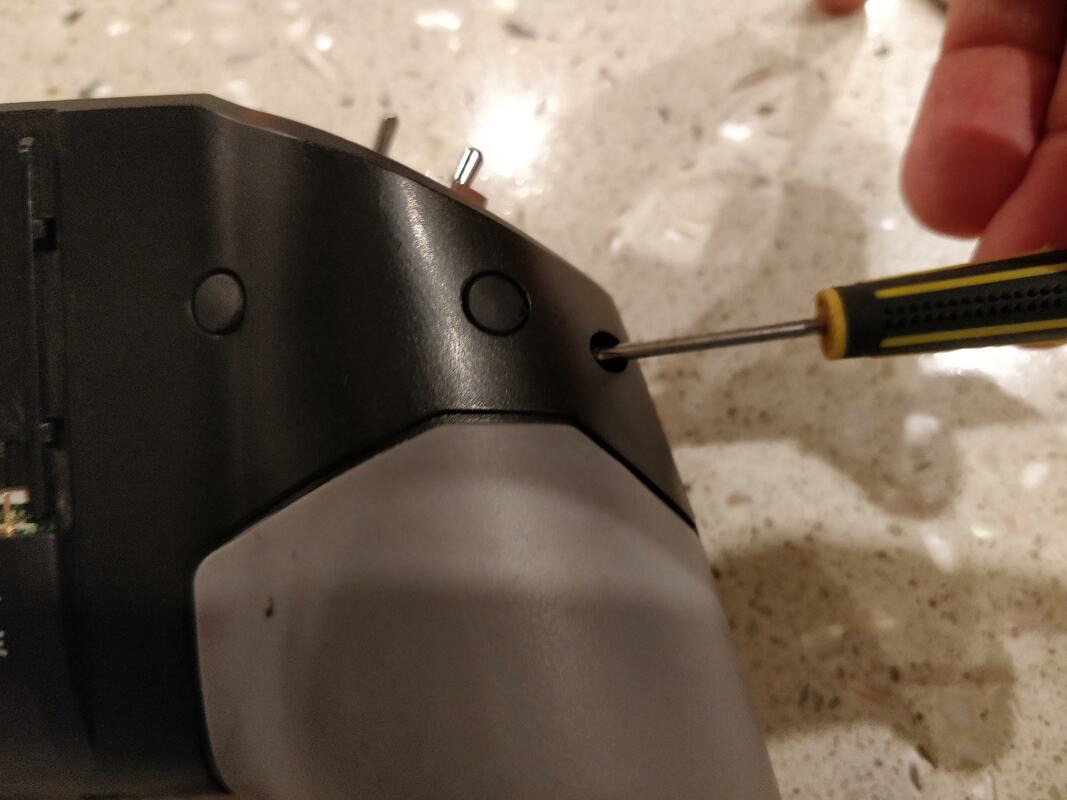
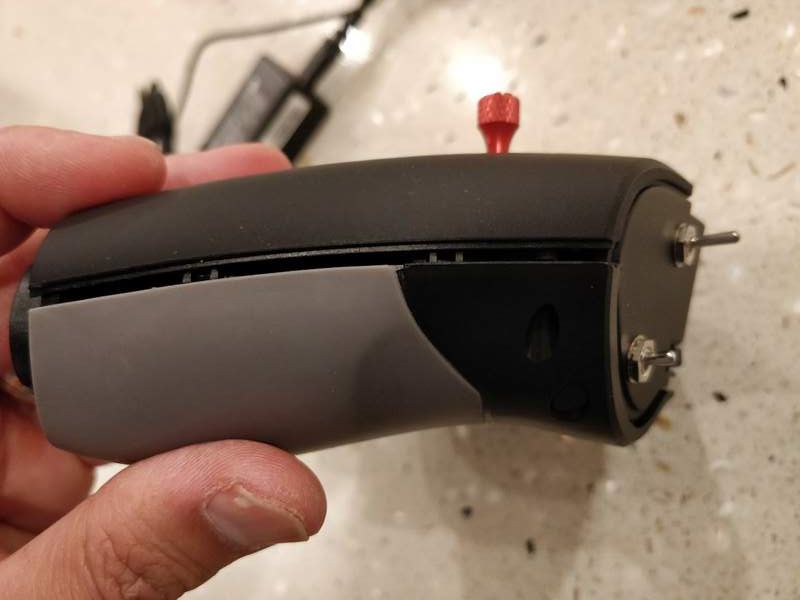
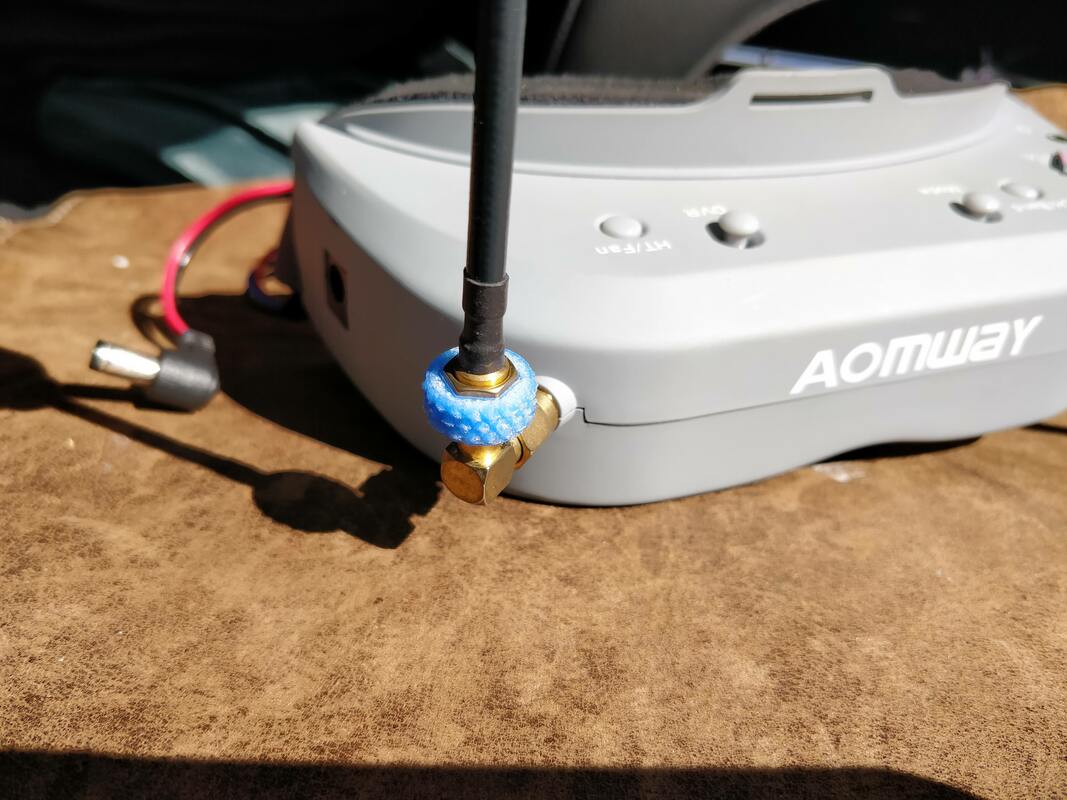
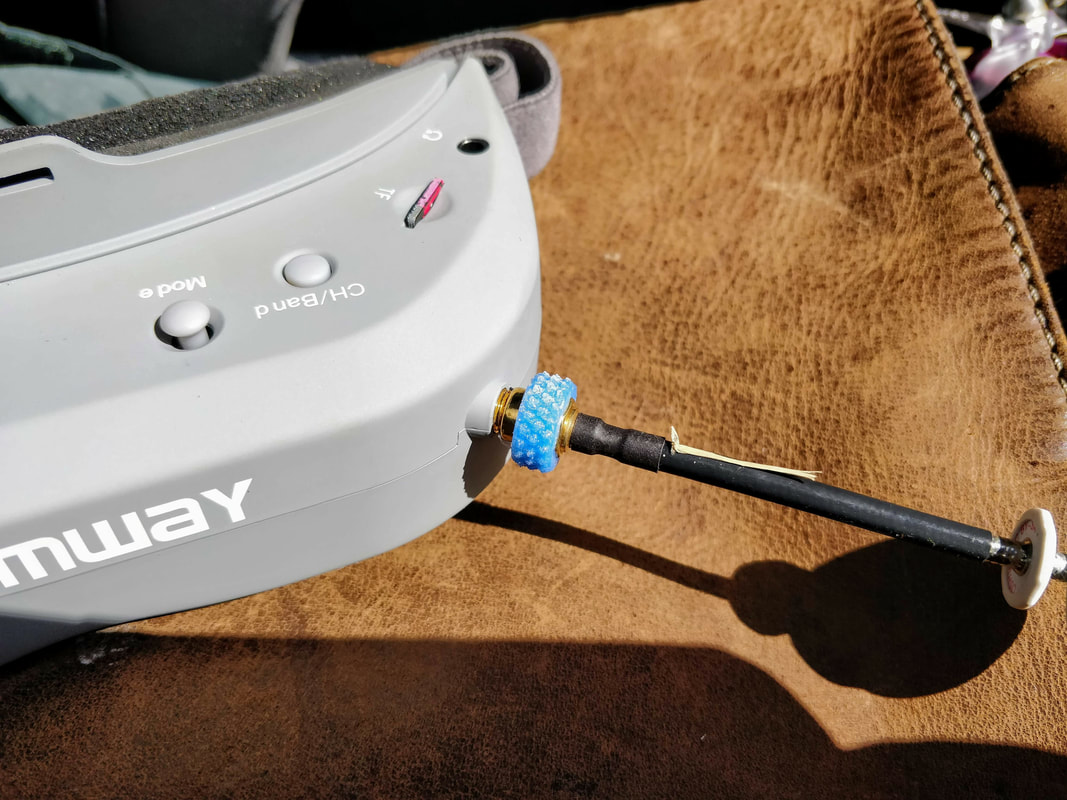
I promise I'll keep this one short. We are forever taking antennae on and off our quads and goggles as we arrive and leave our flight locations. I'm guilty of being too eager to get in the sky and not tightening my antennae correctly thereby leaving a poor connection to the active element on both the quad and goggle ends. Using a spanner is not a fix I'd recommend as it is easy to over-torque and damage the antenna or mount.
The fix here is really easy and I got the tip from my favourite VAS antennas which all include a plastic knurled grip (now I know why). Using a knurled grip that sits over the hexagonal drive on an SMA-style connecter allows you to get a better grip and more torque on tightening whilst avoiding over torquing as above. To put this another way - using these grips allows you to get the right tightness every time - good for the best connection and it will also help them coming loose in flight. 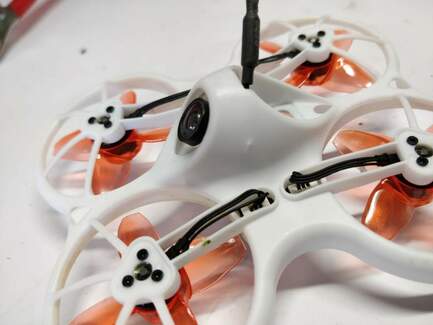 Crap! My Tinyhawk camera has popped out Crap! My Tinyhawk camera has popped out I love the emax tinyhawk, even though it is 'only' 1s it is well suited as an indoor racer and they've recently started a spec class near me just for this. My full review of it is here. One one common furstration however is that the FPV camera can come loose in a crash and if you try to push it back in the wrong way you can easily snap the tabs on the frame that hold it in. I've prepared a simple step by step walkthrough heretht will allow you to fix it safely in less than 5 minutes (I timed it!).
 Tinyhawk fitted with the new 4-bladed props Tinyhawk fitted with the new 4-bladed props Introduction
The Emax Tinyhawk is a 1s brushless whoop-style quadcopter that has steadily grown on me since I first reviewed it here. It's certainly not the fastest but is probably the most well designed ducted quad available at present. It comes stock with very good 3-bladed emax props that perform well except that lack thrust when running in reverse meaning "turtle mode" does not work. I've installed and reviewed their new 4-bladed props where turtle mode works and how they perform in general. 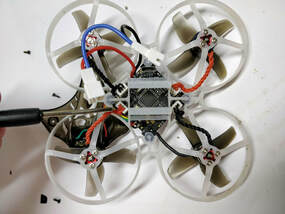 Reversing the rotation of all of your propellers (known as 'props out') is something you commonly do on larger quads to eliminate debris bring flung into your FPV camera and to push obstacles like branches clear. Obviously these don't apply when the props are gaurded like in a Mobula 7 but there is also a hypothesis out there that it can improve flight characteristics such as note on KababFPV's video here. Some of the beta fpv guys also believe it helps with yaw washout but the evidence appears inconclusive. Typically to do this correctly you need to
This is the fourth article in my series of HappyModel Mobula7 upgrades, many of which can be used for the Trashcan too. Also to come are:
 This mobula 7 is getting more and more upgraded This mobula 7 is getting more and more upgraded Introduction The crazybee F3 and F4 series of all in one boards that are the heart of the mobula7, m7hd, eachine trashcan, snapper7, ur65, uk/us65 and even beta75pro2 are an amazing piece of technology that incorporates a flight controller, 4xBL_HeliS ESCs and a receiver. Cramming all of this on one board does mean some compromises though and the biggest one for me is the poor receiver range. This brief article will show how to get a minor improvement with zero investment. Note: this mod is relevant for all the models listed above. This is the third article in my series of HappyModel Mobula7 upgrades, many of which can be used for the Trashcan too. Also to come are:
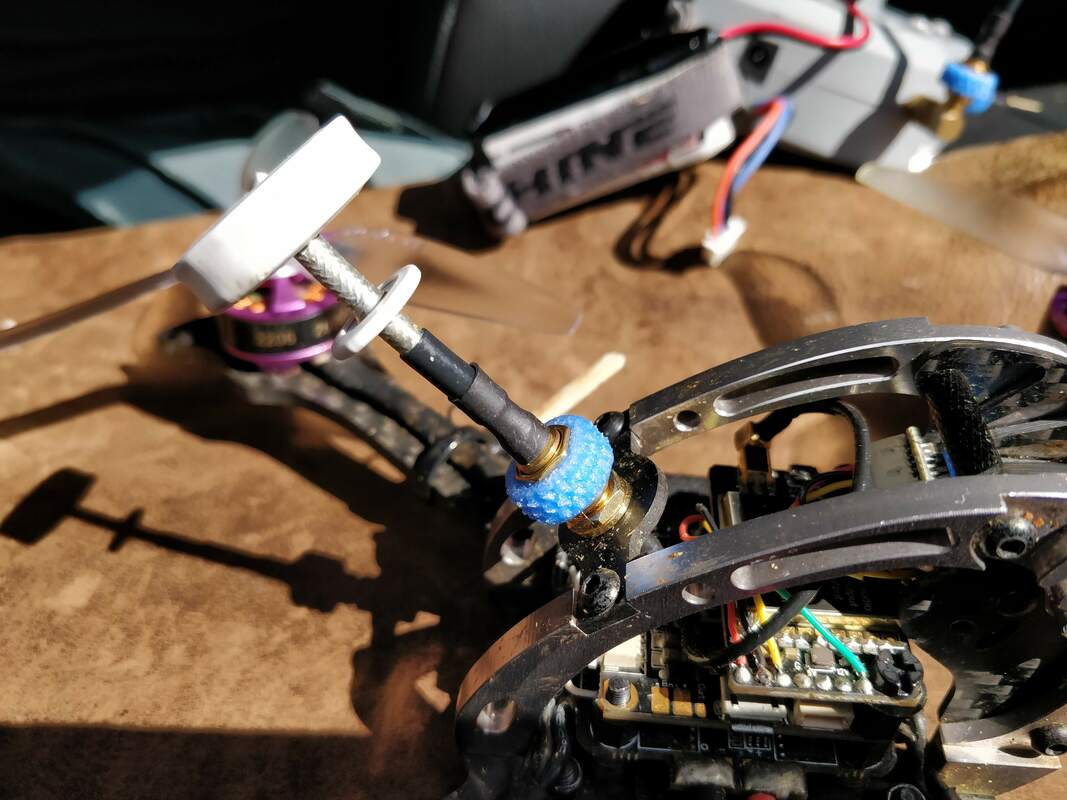
 Introduction In order to run 2s, the Mobula 7 comes standard with 2 x PH2.0 connectors that allow you to run 2 x 1s batteries in series. When running in series the strength of the connection is determined by the weakest link in that circuit. The strength of connection determines the maximum current that can pass and the voltage drop that results. Although it works this system has a very low current overhead from a design perspective - 2 x budget PH2.0 connectors with the dreaded 'folded' pin and very lightweight 26AWG wire. All this adds up to a lot of voltage drop when even reasonable current is pulled - something all will be familiar with on the mobula where you see voltage drop to scary levels (6v and below) during punches even when you have a full battery. Although it recovers almost immediately it does mean you don't get access to the battery's full voltage potential. This is the second article in my series of HappyModel Mobula7 upgrades, many of which can be used for the Trashcan too. Also to come are:
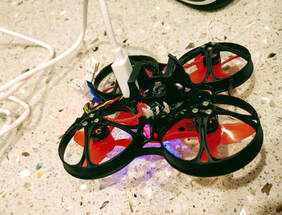
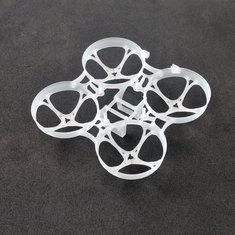 The Mobula7 v3 frame (same as the Eachine trashcan frame) The Mobula7 v3 frame (same as the Eachine trashcan frame) Introduction and why I like the Mobula7 better. It's been a few months since I reviewed the HappyModel Mobula 7 (here) and have more recently reviewed the Eachine Trashcan here. Since reviewing the Trashcan I've been flying the Mobula 7 more and find I actually prefer it. Why? Even thought the image quality is better I can't get used to the narrow vertical field of view on the traschan's EOS2 16:9 camera and I find the 0803 motors on the trashcan draw too much power on without delivering a whole lot more speed. The Mobula7's major downside is the frame which breaks easily even though the v2 frame is an improvement and e6000 glue (as tested here) is great for repairs. For this reason I've written an article for newcomers on how to upgrade to the V3 (trashcan) frame which completely addresses the strength issues. This is the first article in my series of HappyModel Mobula7 upgrades, many of which can be used for the Trashcan too. Also to come are:
Instead of just writing about it, please see the steps below with captions. Click on the picture to embiggen
 Introduction
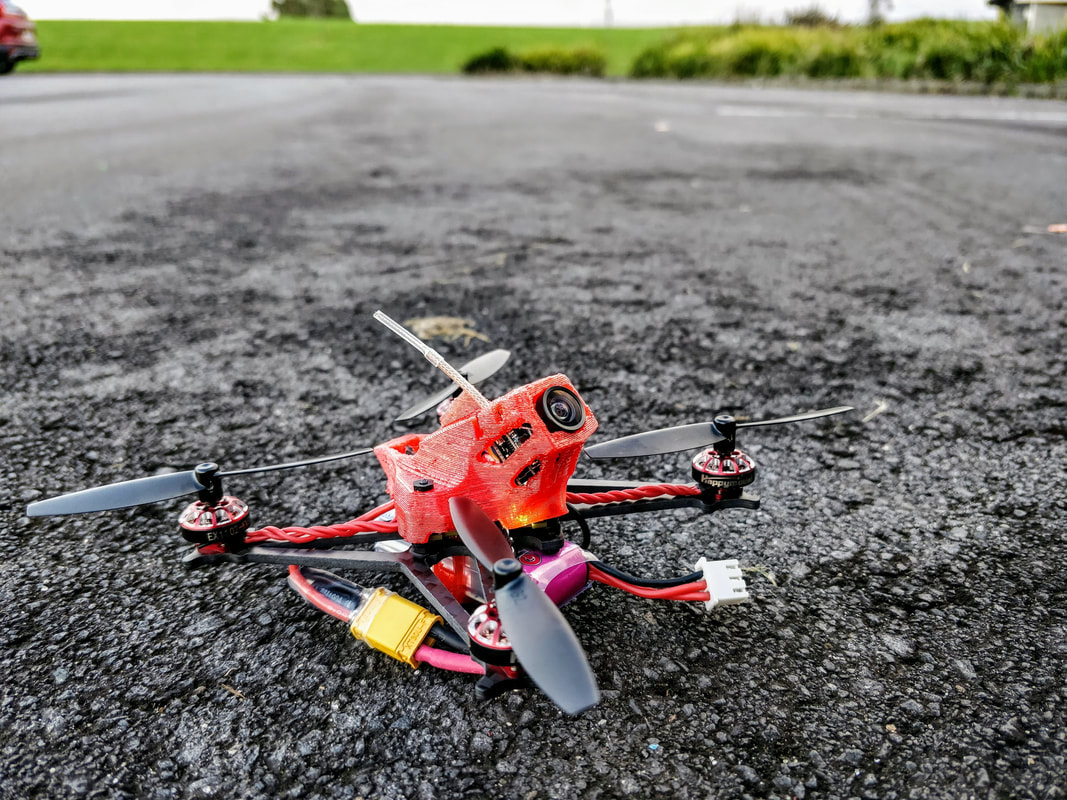
Recently I've reviewed the Eachine Trashcan and in many ways it is superior to the Mobula7 as I found in my review here. One omission from the trashcan though compared to the Mobula7 is the lack of a physical beeper. On the upside though is that the trashcan (like most other brushless quads) uses Dshot as the ESC protocol meaning you can use the motors as a beeper. This is in fact immediately available on the Trashcan with some simple software changes which I will outline below.  I did a thing. After reviewing the new FullSpeed TinyLeader 2s-3s brushless whoop (review here) I learnt to fly around the heavier weight which has come about because of it's larger motors and better FPV system. I still think that 1103 motors like on the TinyLeader and Beta75x are better suited to a lightweight 2" propeller like my ultralight build here rather than the 40mm props (1.6") as we see so commonly on the brushless whoops now. I decided to put my money where my mouth is so to speak and prove it rather than just hypothesing.
|
Archives
November 2020
Categories
All
 |
|||||||||||||||||||||||||||||||||||||||||||||||||||||||||||||||||||||


 RSS Feed
Thanks for visiting QuadifyRC.com Follow us on facebook below to get all the latest updates